I have been baking since I was a little girl alongside my mom. Spending hours in the kitchen with mom, while she created all her orders was fun. She always baked from scratch. So, for her, there were no shortcuts. Even, if she needed cake flour she made it herself. She taught me the basics and that has been my foundation all these years. Over the last several years, I’ve shared with you 100s of cake recipes, from coffee cakes, layer cake, bundt, etc., in all three blogs. And guess what? Each and every cake is baked from scratch.
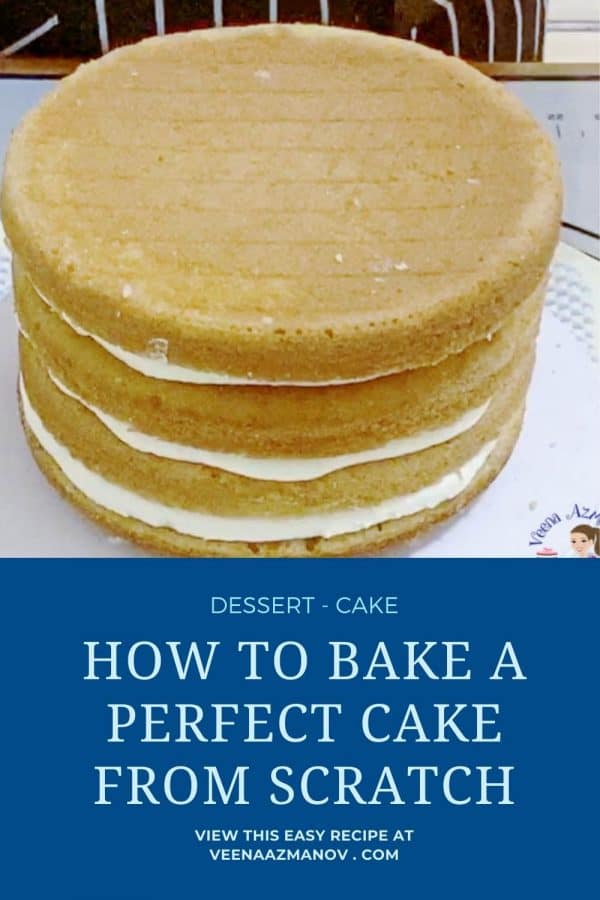
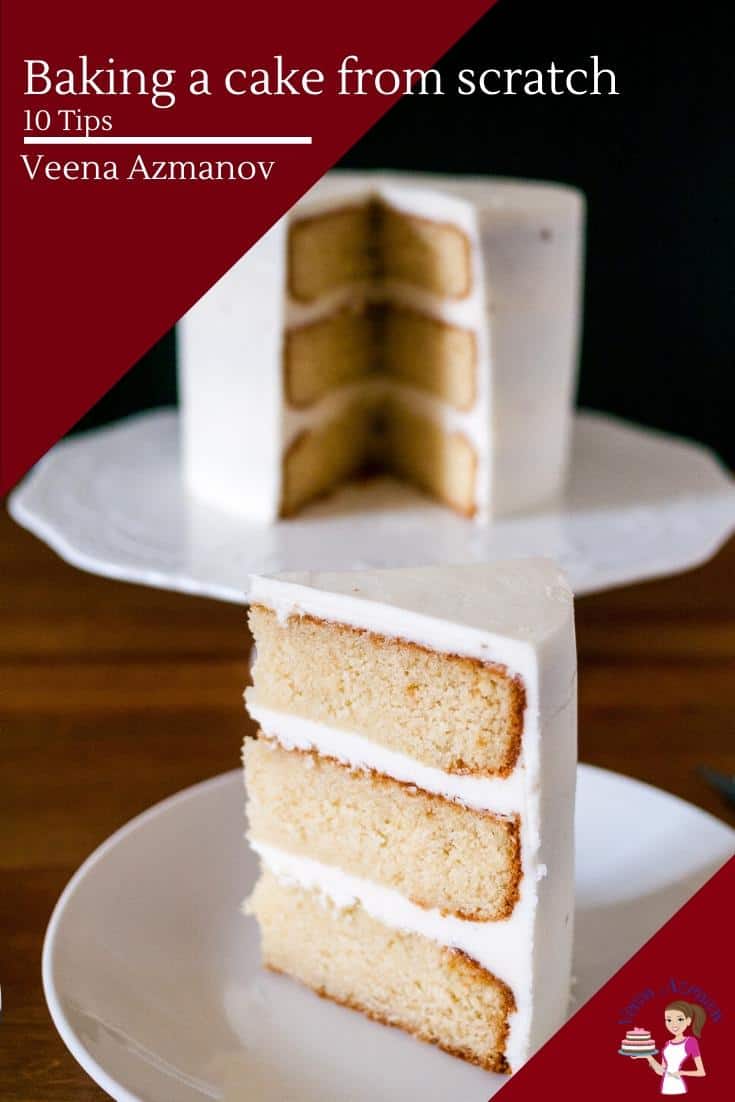
How to bake a cake from scratch
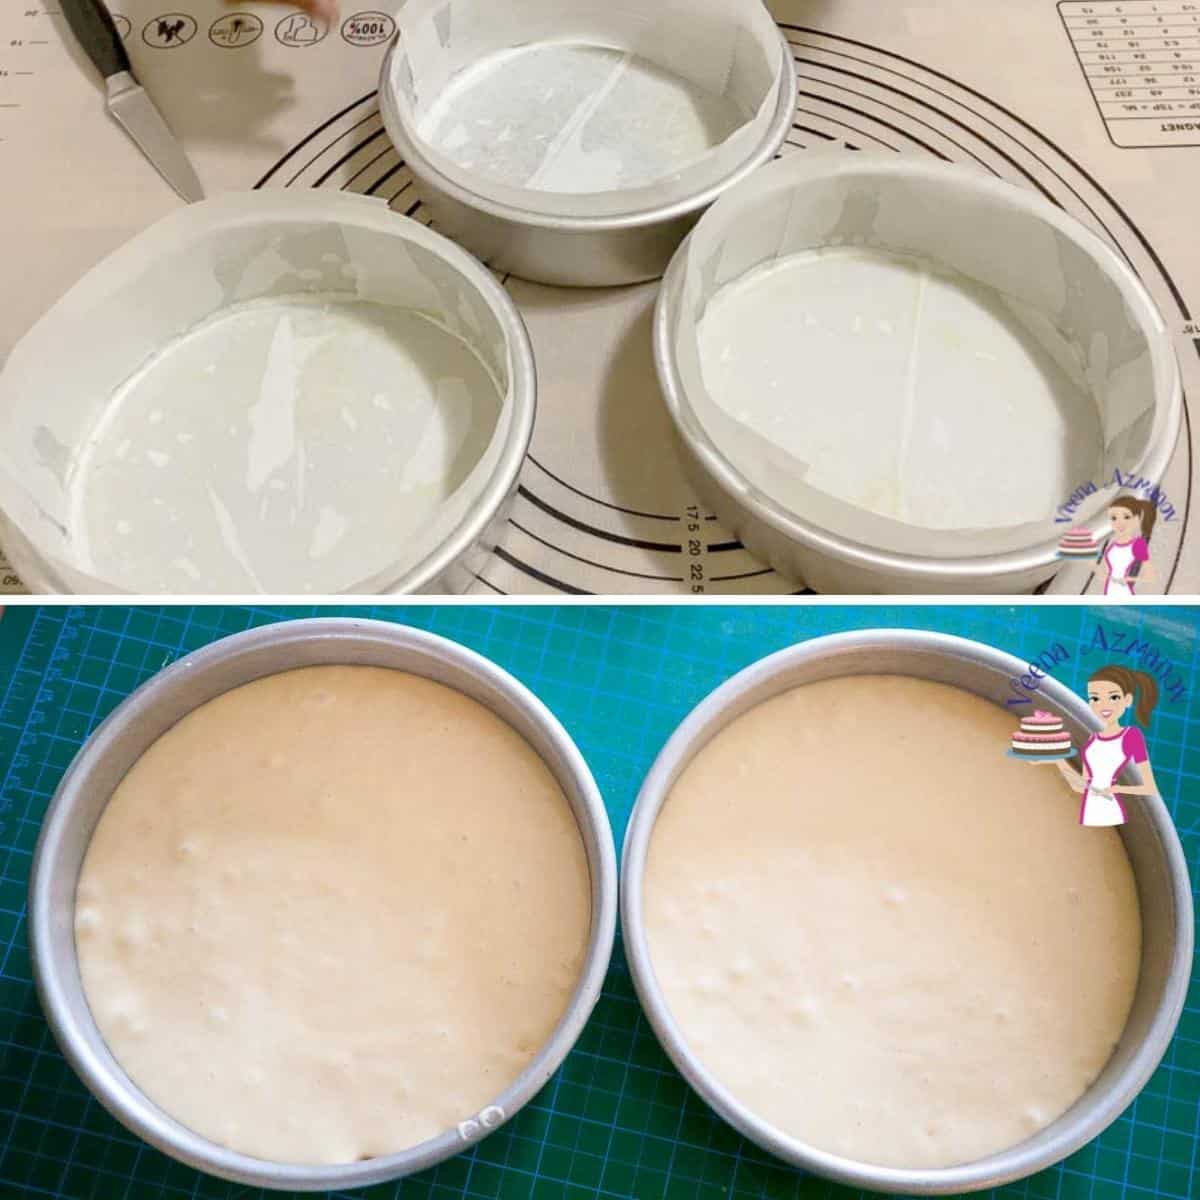
Preheat the oven to 325°F / 165°C / Gas Mark 3. Grease and line 3 x 7-inch round cake pans or 2 x 8-inch round cake pan with parchment paper.Pro tip – You can also make 4 x 6-inch round cakes for a tall cake.
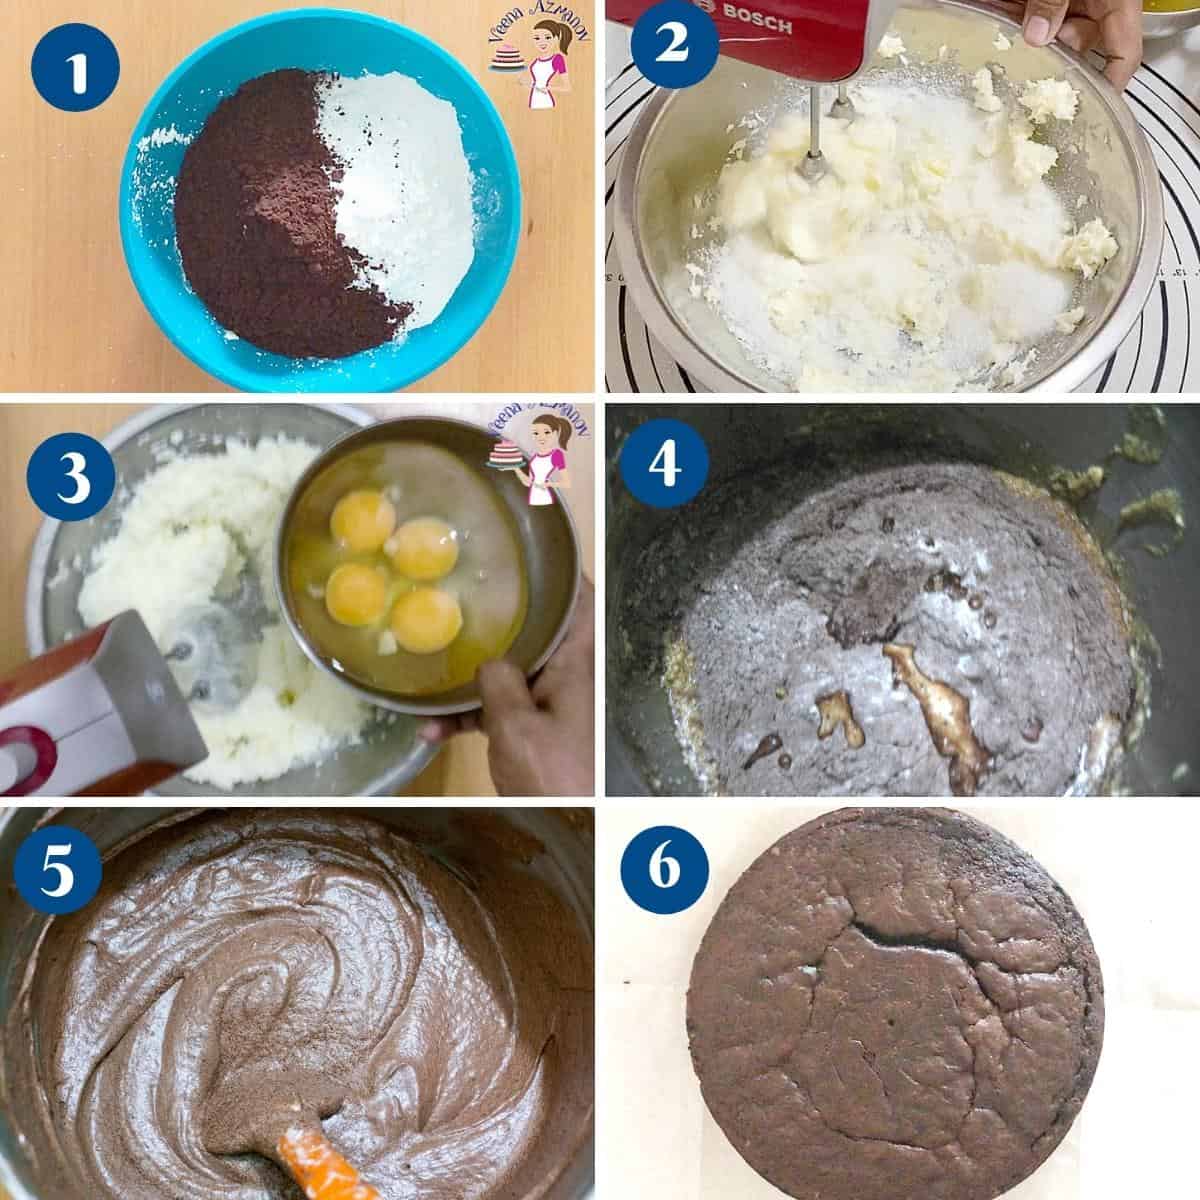
Dry ingredients – Vanilla cake – Sift flour with baking powder and salt. And set aside. Chocolate cake – Sift flour with baking powder, baking soda, cocoa powder, and salt. Set aside. In the bowl of a stand mixer with the paddle attachment, cream butter and sugar until light and fluffy.Pro tip – We want to add some volume to the batter and the sugar is completely dissolved. So, make sure to cream well. Next, add eggs, one at a time. Followed by the vanilla extract.Pro tip – Ensure the eggs are at room temperature or the batter will curdle. If that happens, just add a tablespoon or two of flour and combine well. Then, add the flour mixture and milk alternating in three batches.Pro tip – Since whipping cream is thick the batter looks a bit stiffer than regular vanilla cake but the cream will melt in the oven so don’t add any more milk.
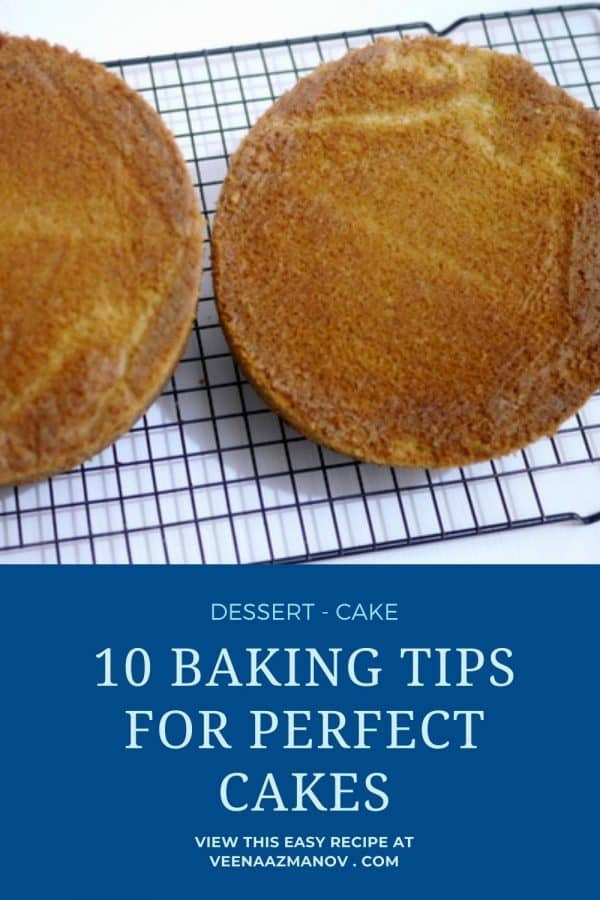
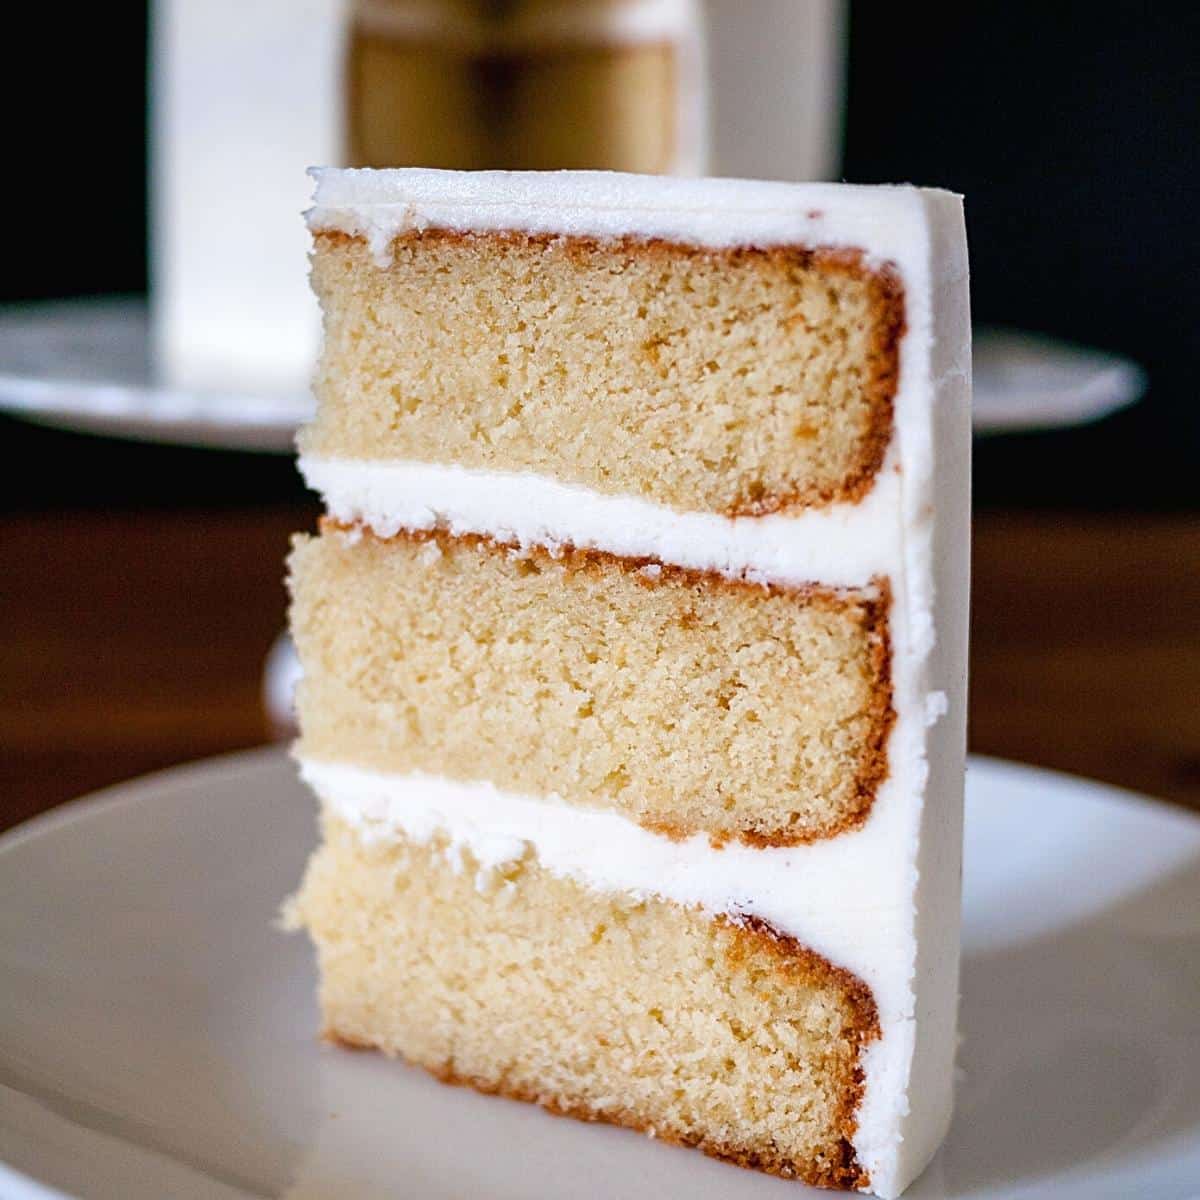
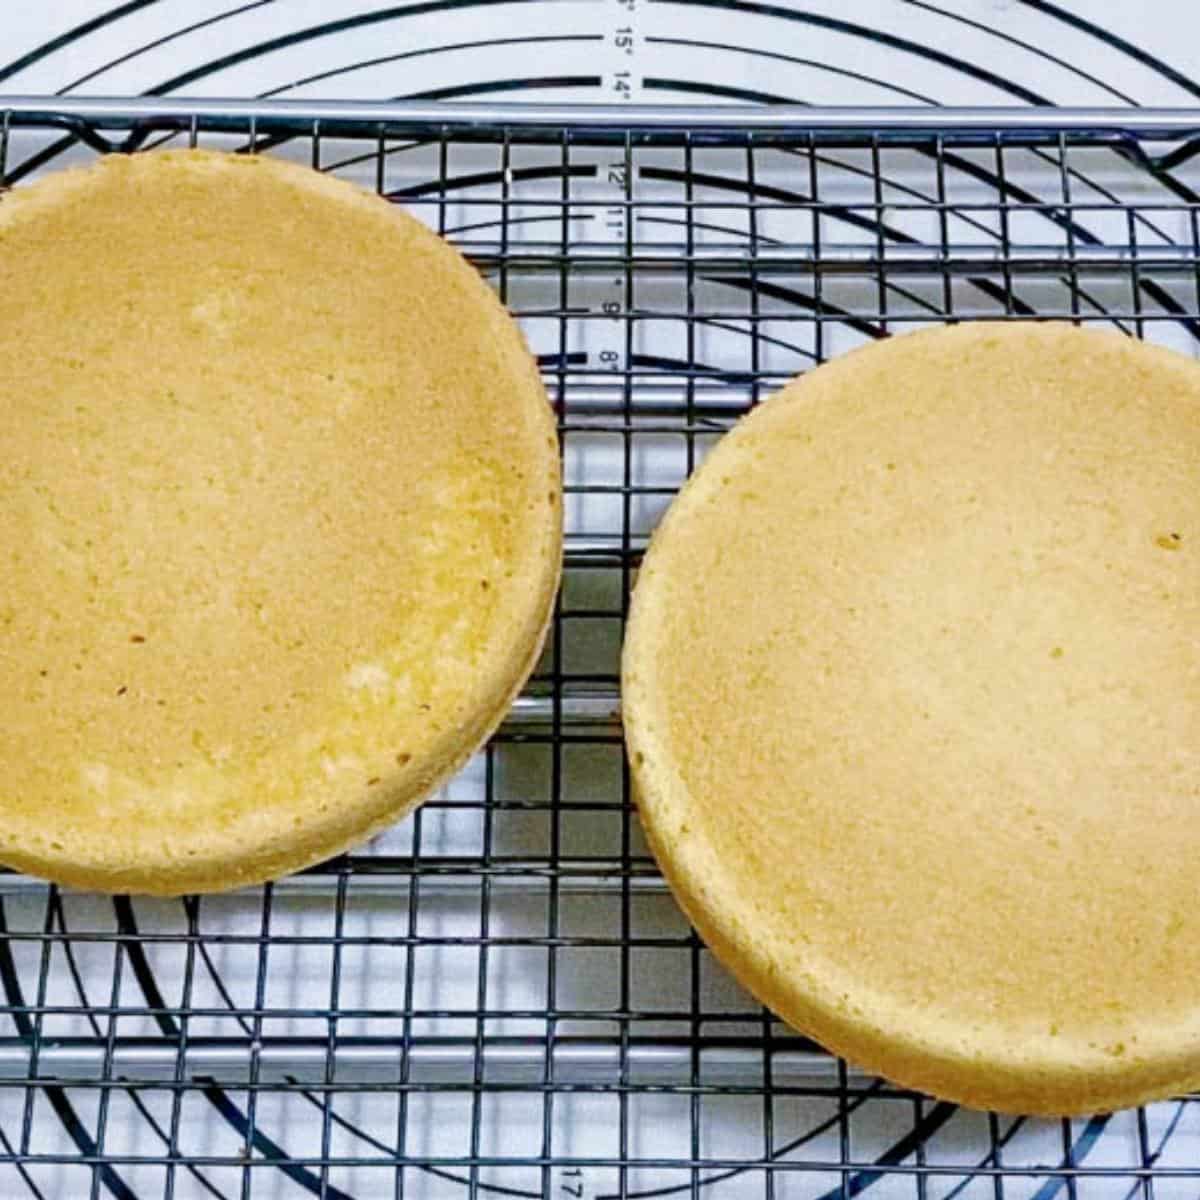
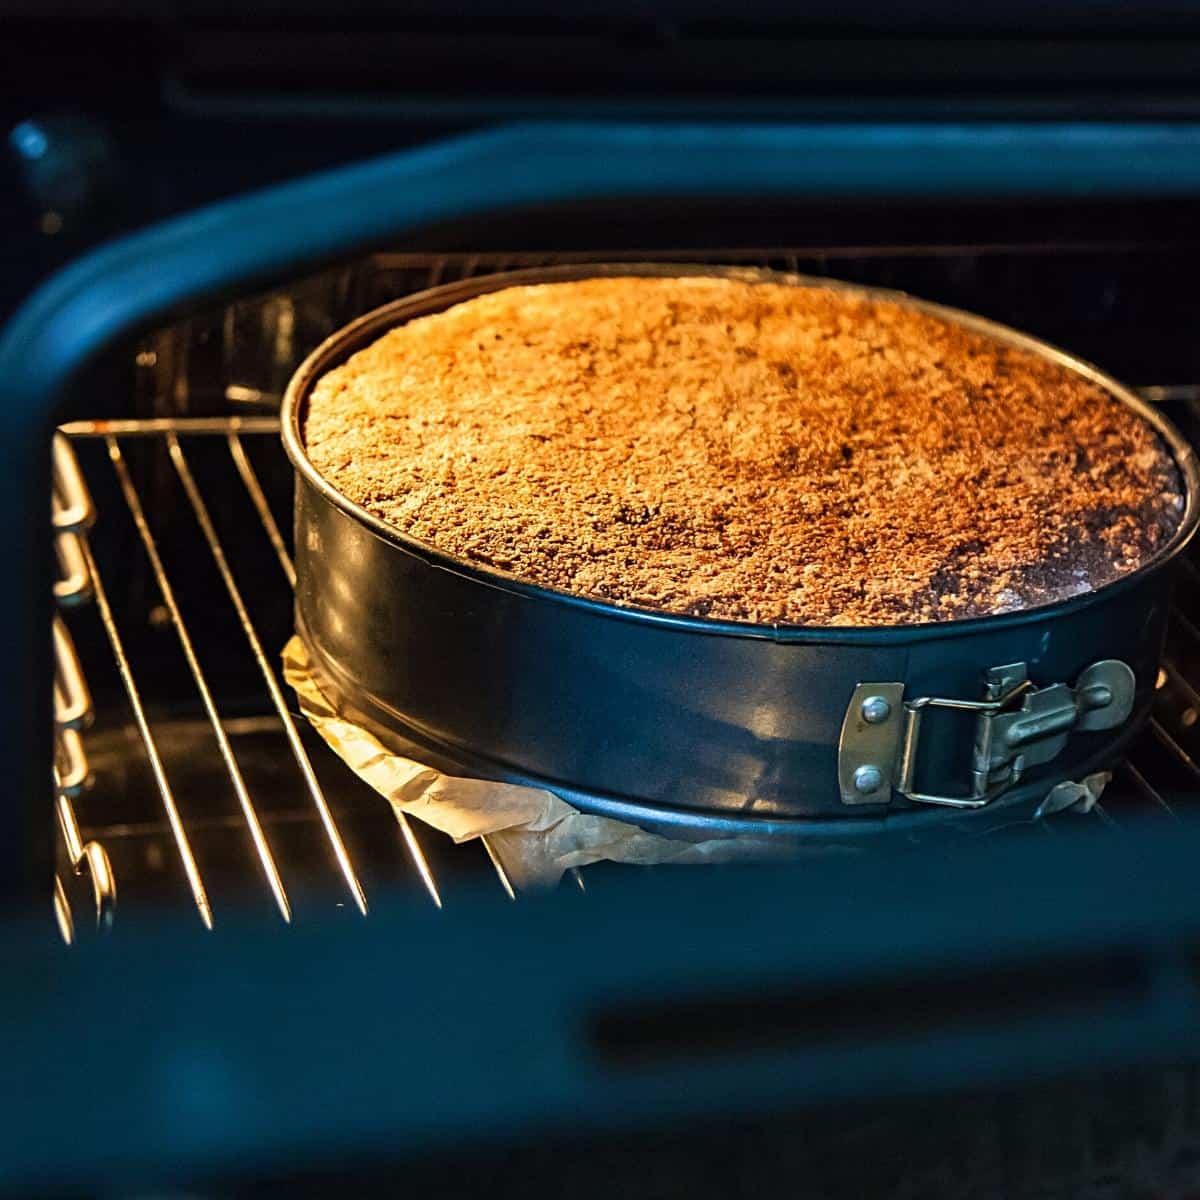
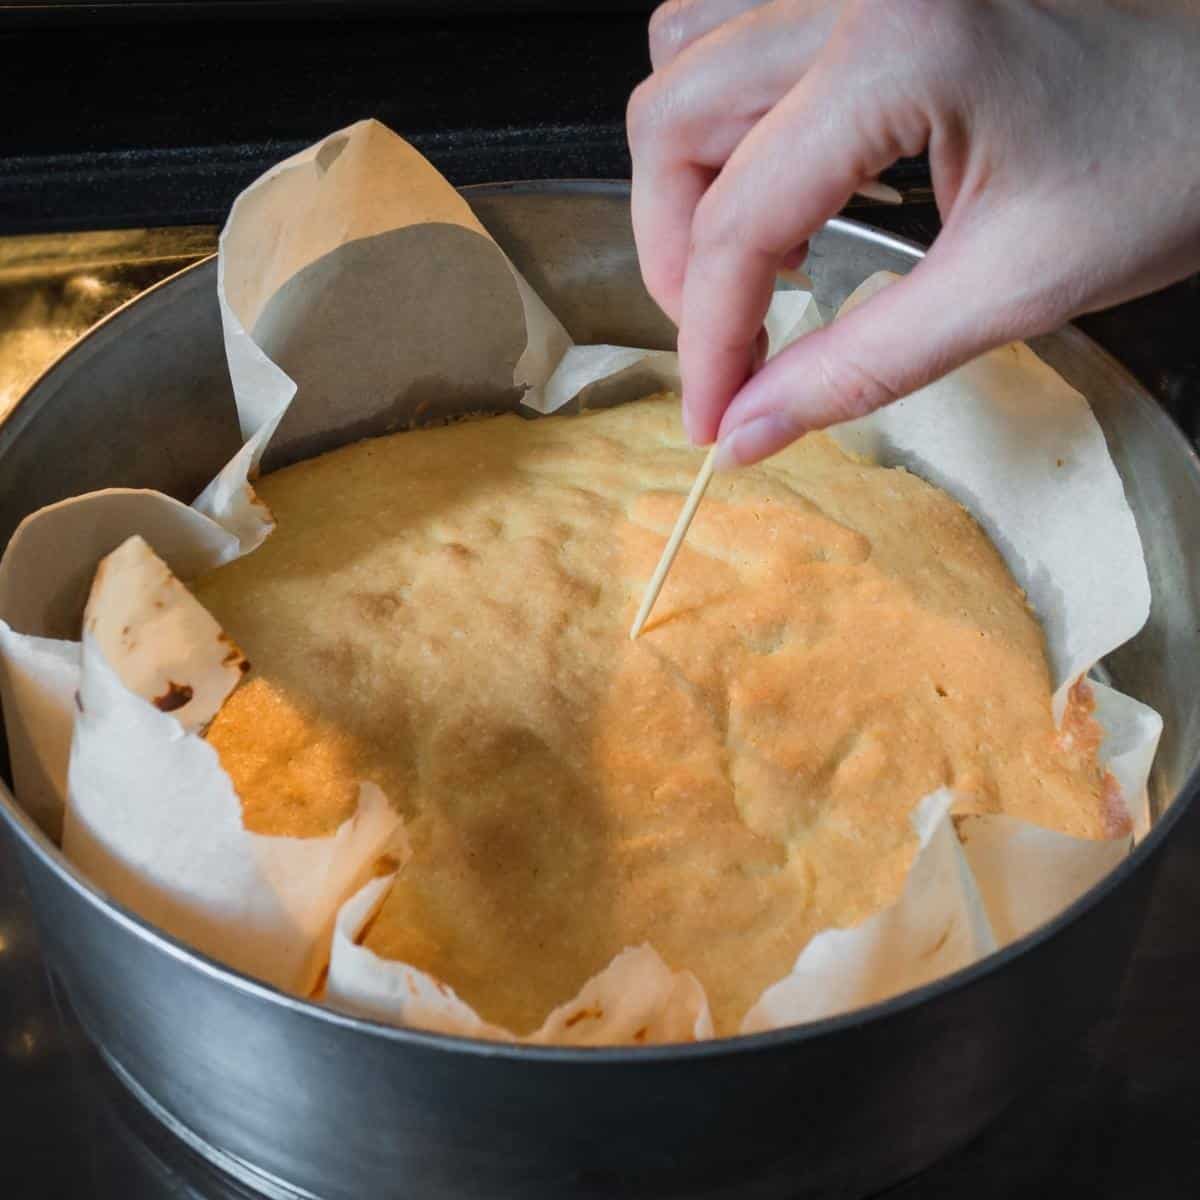
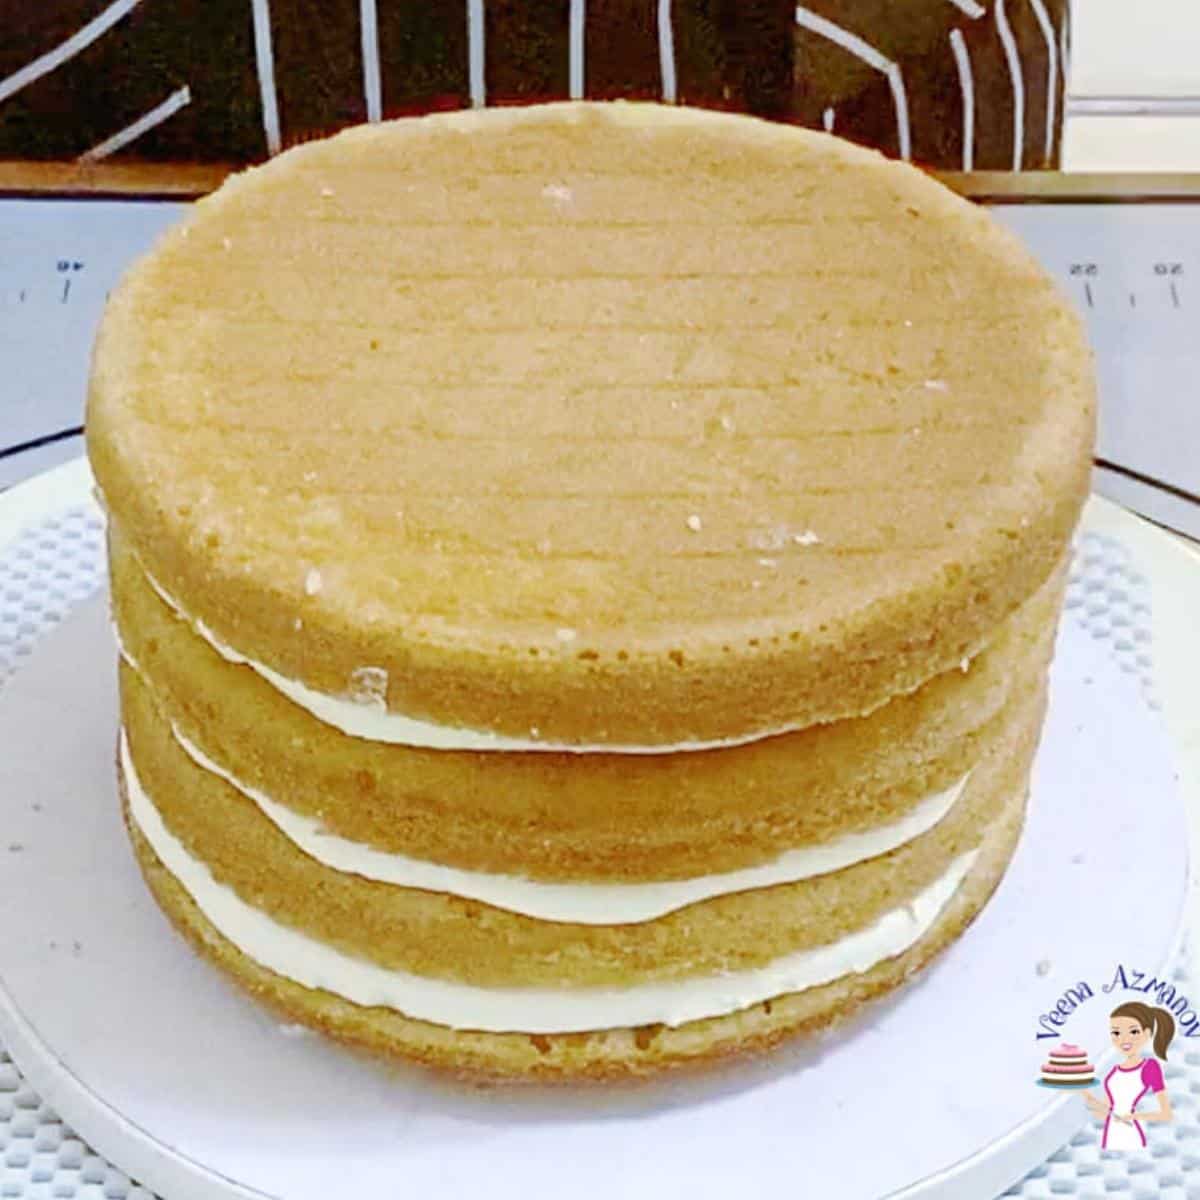
Scrape the sides of the bowl, ensuring you have a smooth batter. Then, divide the batter between the prepared baking pans.Pro tip – Use an offset spatula to spread the batter evenly in the pan so it bakes evenly. Bake for about 25 to 30 minutes until a skewer inserted in the center comes out clean.Pro tip – I like to use cake strips to ensure my layer cakes bake flat. Cool in the pan for 10 minutes then invert on a cooling rack and cool completely. Always cool cakes completely before you decorate or store them away.Pro tip – Wrap in plastic wrap and place in the freezer for an hour. This will make fewer crumbs when torting and leveling the cake.
Frequently asked questions
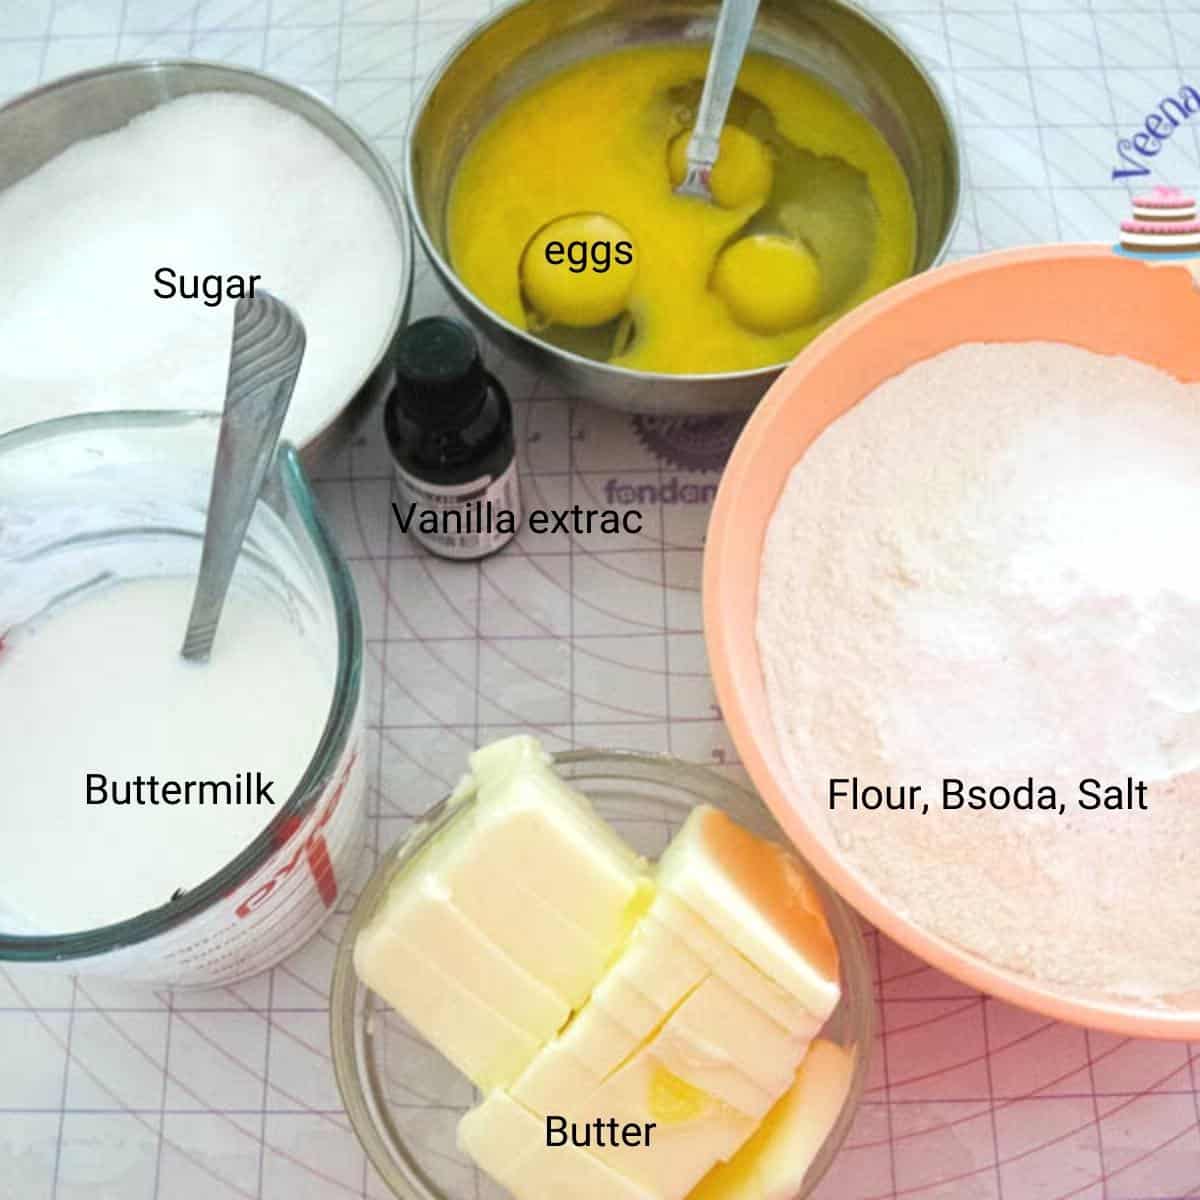
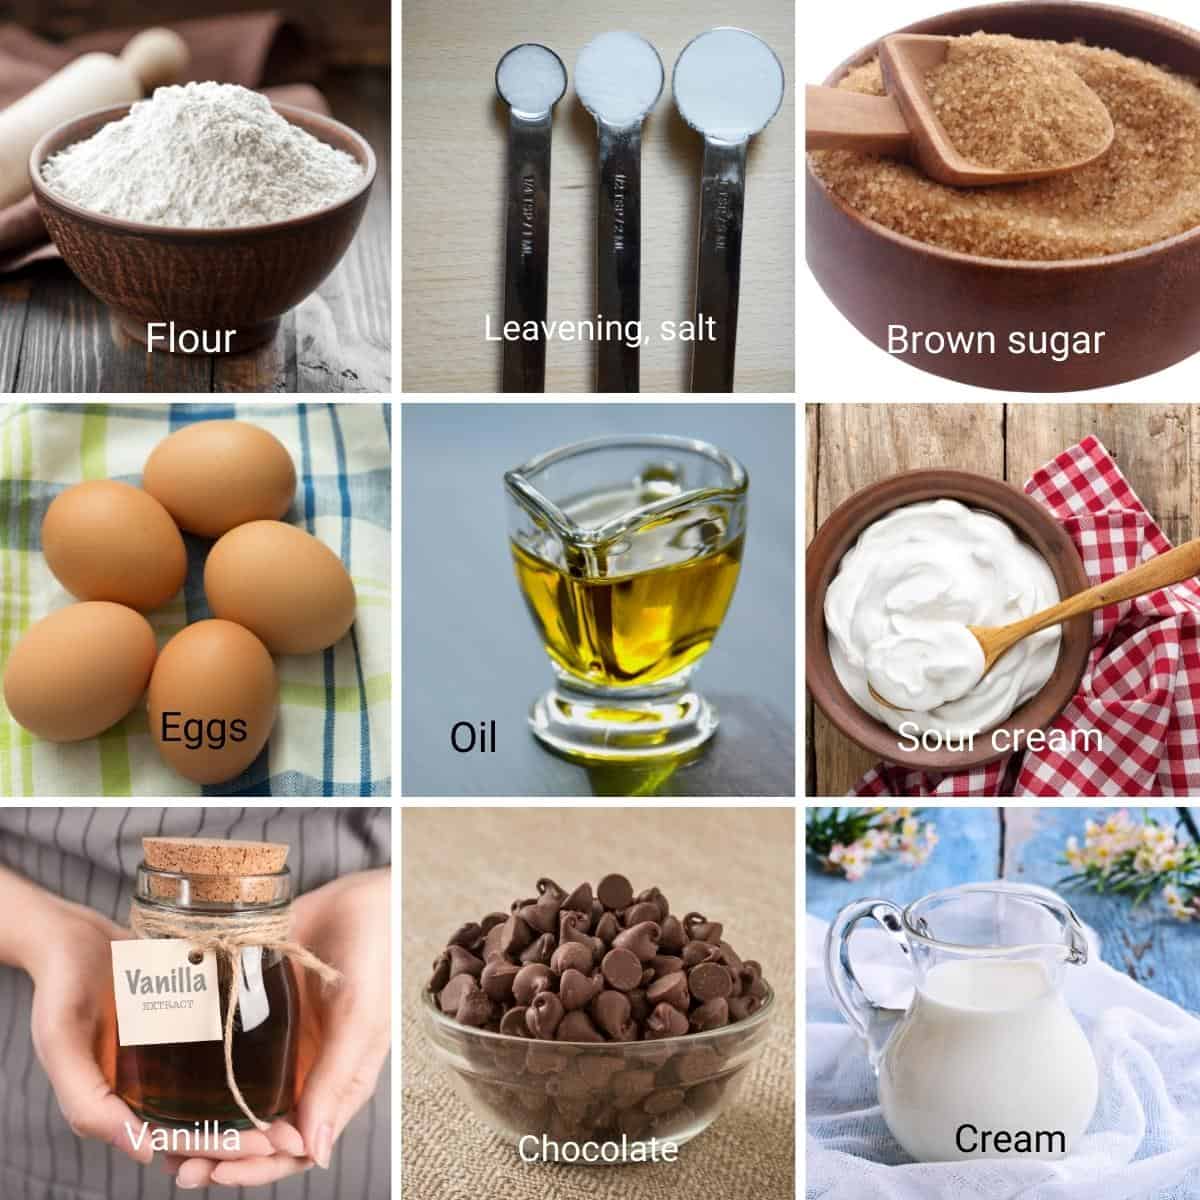
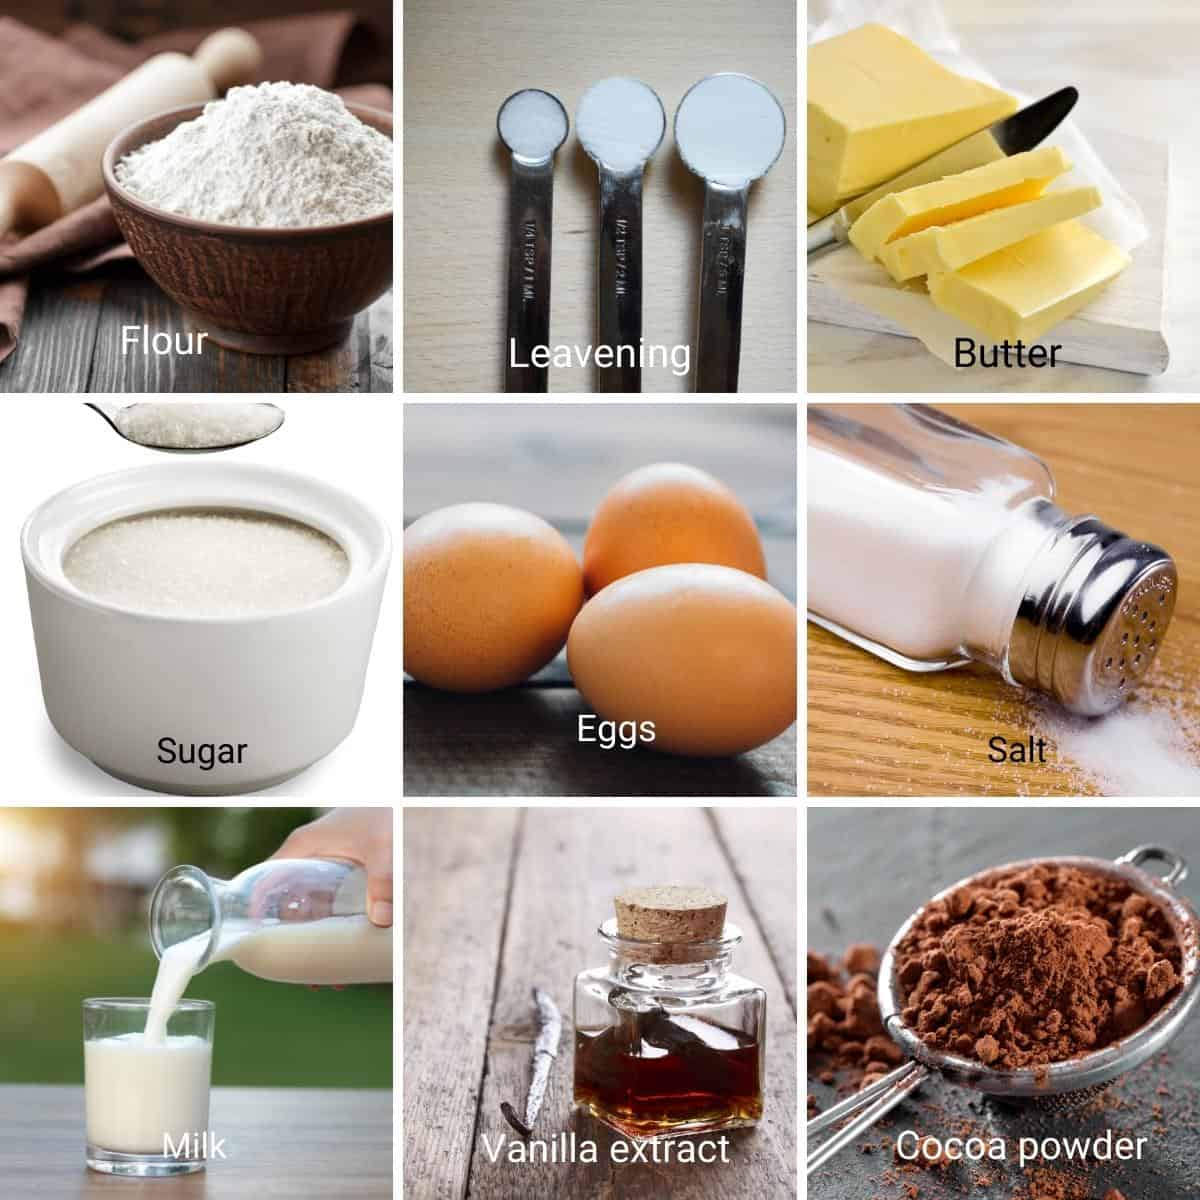
Choose the frosting that suits your preference and taste buds, and enjoy the deliciousness of your chocolate cake! First of all, let’s look at the ingredients in a basic cake – butter, sugar, flour, leavening, and liquid. I bet these are ingredients you already have on hand. So, in truth, the box mix is an extra ingredient that you need to buy. So how it is easier? Let me know in the comments. And yet, baking is a science, each ingredient plays an important role and has the ability to alter the end product. Hence, it requires a specific process and procedure that we must follow to get the best results.
Butter cakes have a richer flavor and denser crumb due to the butter’s higher percentage of saturated fat. The creaming method used to make a butter cake also helps to create a tender texture. On the other hand, oil cakes tend to have a lighter texture and a more delicate crumb due to the oil’s liquid consistency. Oil cakes also tend to stay moist for longer periods of time. Keep in mind that substituting oil for butter in a recipe can change the flavor and texture of the cake. For example, if a recipe calls for melted butter, using oil instead will result in a cake with a slightly greasier texture. If a recipe calls for creamed butter, using oil will change the texture of the cake, resulting in a crumb that is not as tender. When deciding between a butter or oil vanilla cake, consider your desired flavor and texture. If you want a rich, dense cake with a buttery flavor, go with butter. If you prefer a lighter, more delicate cake that stays moist for longer, opt for oil.
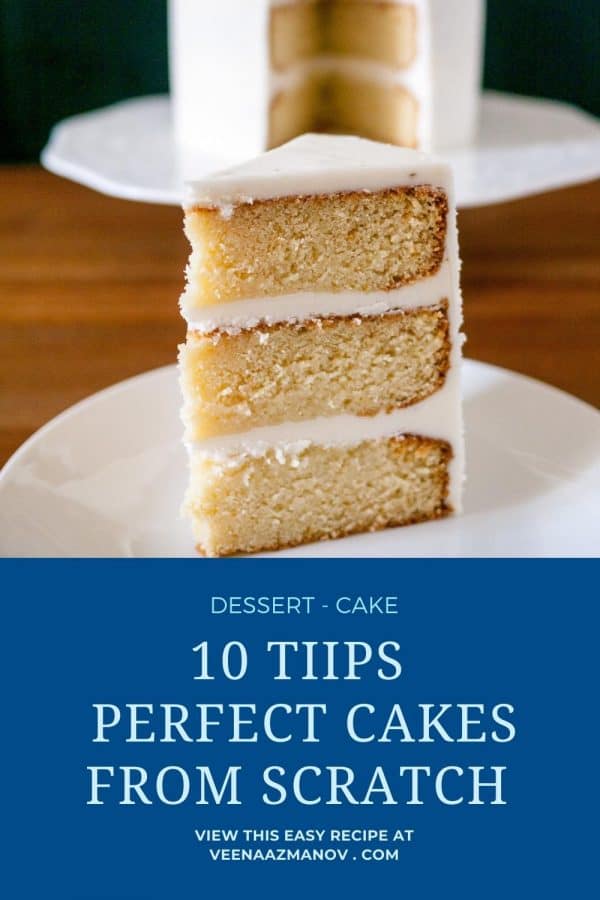
In this post, I share with you my 10 baking tips. And I will tell you exactly why you should or should not do something. So, no more following blind rules. In fact, once you understand these tips they will come to you naturally. Understanding your ingredients and the baking process is a great way to really become a good baker. So, let’s start with the baking tips.
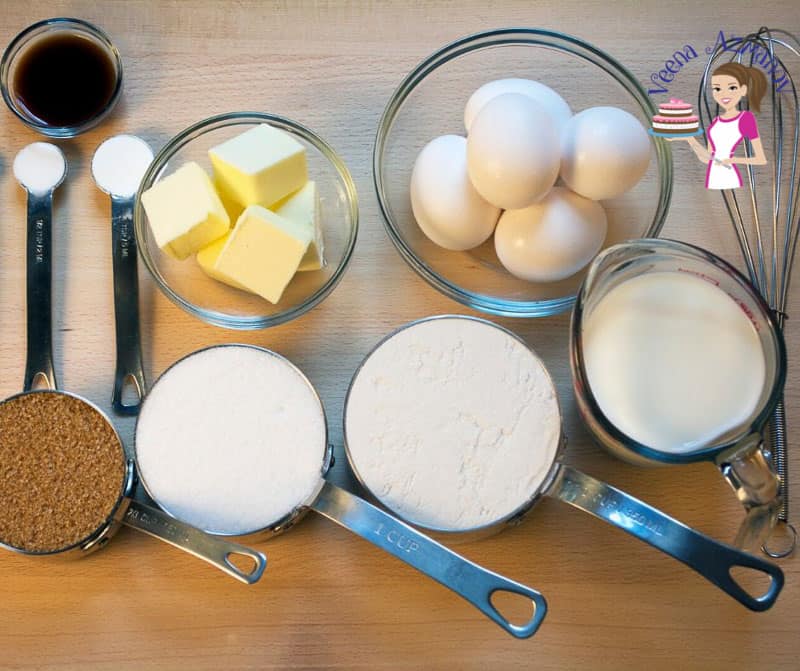
Always prepare all your ingredients on the table before you start mixing. That way you won’t forget anything. And, you won’t over or undermix ingredients while trying to look for something. Follow the steps mentioned in the recipe. There is a reason why a recipe says – to preheat the oven, prepare your baking pans, etc. This gives you just enough time for preheating, measuring, sifting, creaming, etc.
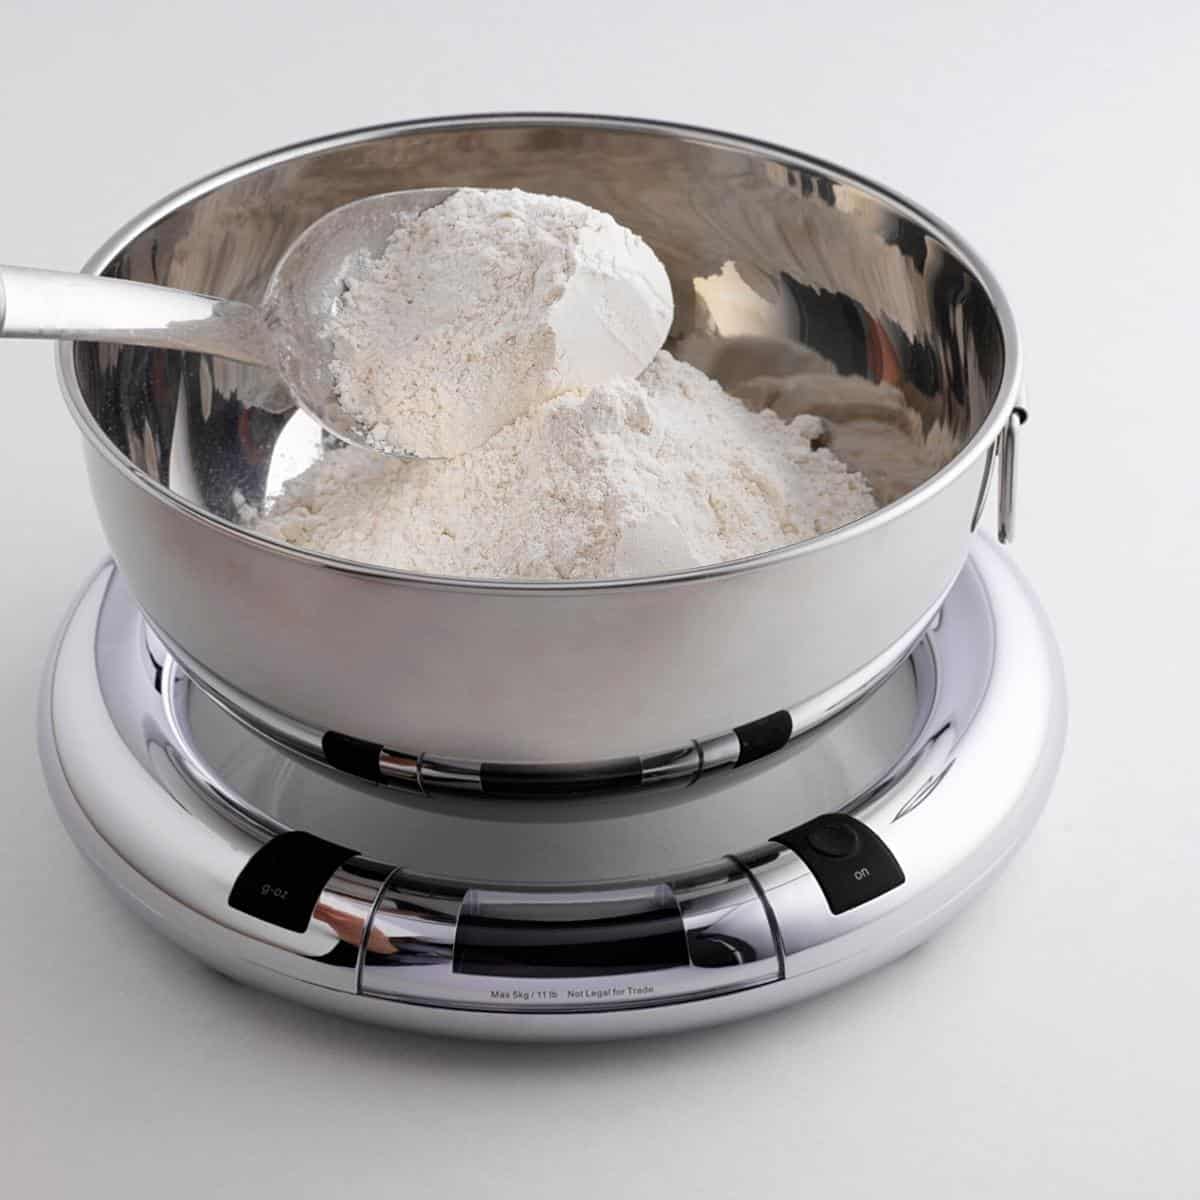
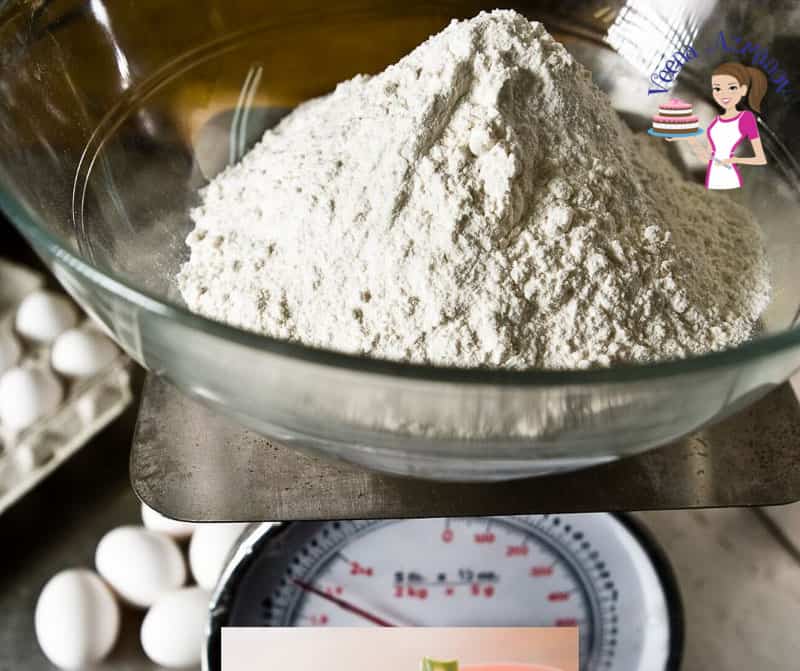
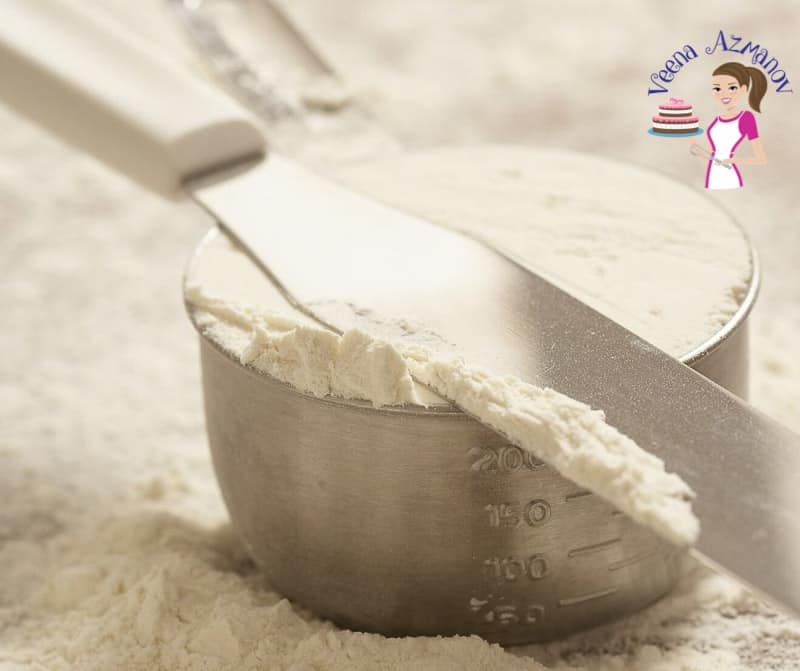
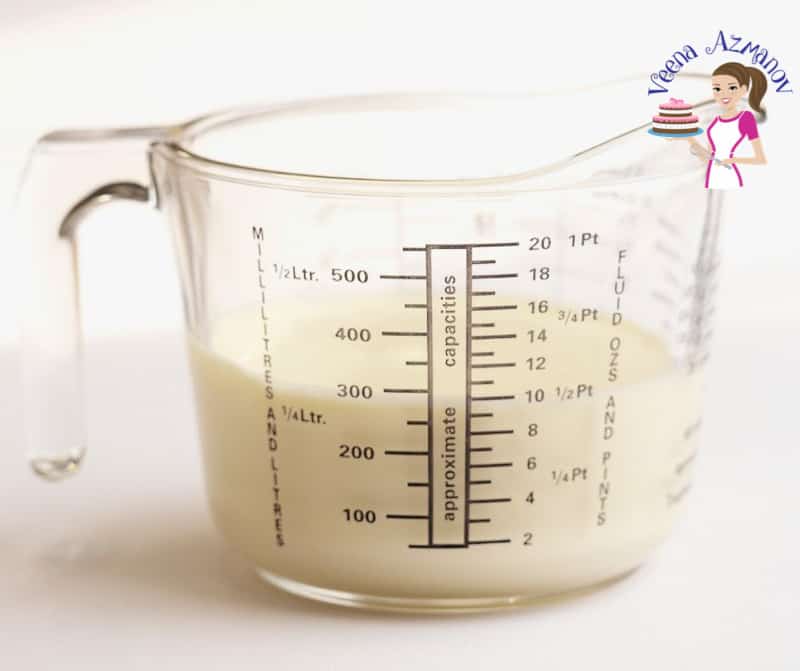
For example– A few extra tablespoons of flour can make your cake dense, and crack on top. While a few tablespoons less can cause the cake to sink. Also, if we both scooped a cup of flour, guess what, they wouldn’t weigh the same. So, the best way to ensure you have the right amount is by weight rather than volume. Read measuring ingredients by weight and volume in more detail.
Butter – If the butter is not at room temperature it will not cream well with the sugar and will stay lumpy. And, if it won’t cream, it won’t’ become light and fluffy. Pro tip – To thaw butter quickly, don’t put it in the microwave. Instead, invert a warm glass bowl over it. It takes about 5 to 7 minutes to thaw. Eggs – Start at room temperature. This will help them combine well with the rest of the ingredients and not give you a curdled batter.Pro tip – If you need to separate eggs, separate them when they are still cold. Eggs separate better when they are cold but whip better when they are warm ? Sugar – Use finer or small-grain sugar that will cream well. Since coarse granulated sugar takes longer to cream and ends up staying grainy or warming the butter too much.Pro tip – If you cannot find fine-grain sugar just pulse the coarse sugar in a food processor for a few seconds.
Most recipes will tell you how long to mix. And yet, if you’re still not comfortable, use a kitchen timer. (I do it all the time, mostly because I’m multitasking). Most standard cakes have a simple formula:
Cream the butter and sugar – You will know when this it’s done because it will appear light, fluffy, and creamy. (Usually about 2 to 3 minutes.) When overmixed, the butter will get softer and soupy rather than creamy. Add eggs, one at a time, and incorporate each egg well. What it means is, to add each egg at about 20-sec intervals, and combine the first until no yellow is visible. Then, add the next one, and so on. It is important to mix the eggs well as this can give your finished cake that light and airy texture we all love. When you overmix, the batter will curdle or separate. Pro tip – The batter is still good to use. Just add a tablespoon of flour and continue to mix (you probably just lost a little volume – but no biggie). Adding the dry and wet ingredients – Always alternate the dry and wet ingredients, starting with the dry and ending with the dry (dry/wet – dry/wet-dry). It is important to combine them until they are incorporated completely. But, this is where we do not want to overmix. When overmixed, we activate the gluten in the flour, which makes the cake dense (sometimes chewy).
You can buy a special spray for baking, which is a combination of flour and oil. But, the simplest is of course to brush the pan with butter and coat it with flour. Shake the pan so the flour coats the surface properly then tap the pan over the sink to shake out the excess flour. It is important to tap out the excess flour otherwise it can affect the texture of the crumb of the cake. For me, the rule of thumb is to grease the pan and line it with a piece of parchment paper on the bottom. In some cases, if you do not prepare the sides of your pan, it can affect the rise of your cake. So, when necessary, I use the same approach: grease and line with a piece of parchment paper on the sides as well. And at other times, I will use an oil spray for the sides and its good to go. In addition, always fill your pan 2/3 full leaving enough room for the cake to rise.
Leaving the cakes open on the counter can cause the cake to dry out with the air. So, wrap them in plastic. If you plan to keep the cake in the fridge, wrap it well in double plastic. The fridge sucks up moisture and cakes can dry out easily. (keep a slice of bread open in the fridge and see how dry it becomes in a few hours – that’s what happens to cakes too). If you must leave your cake for longer, wrap it well and keep it in the freezer. The freezer does a wonderful job of keeping the cakes moist. And, always cool cakes completely before you frost them otherwise the frosting will melt on warm cakes.
When you take a moment to think about what this ingredient is, or how this ingredient works, you are already on the path to becoming a good baker. I don’t plan to give you the whole history or encyclopedia, and yet here is some background information that will help you better understand your cake ingredients. First of all, a cake has mainly 5 basic ingredients that are used in almost all basic cakes. As you explore more recipes, you will learn how these can be used in many ways to get different outcomes. My mom would refer to this as playing with your ingredients. She’d smile and say: “have fun and let’s see what happens.” Remember to follow the recipe instructions and measure ingredients as precisely as possible. Baking is a science, and accurate measurements play a crucial role in achieving the desired texture, consistency, and taste in your baked goods.
Vanilla extract is the most common vanilla flavoring used in baking. It is made from vanilla beans that have been macerated in alcohol and has a strong, pure vanilla flavor. Vanilla bean paste, on the other hand, is made by blending vanilla bean seeds with sugar syrup and has a thicker consistency with visible vanilla bean specks. It has a more complex, almost caramel-like flavor than vanilla extract. When deciding which to use in your cake, it ultimately comes down to personal preference. Vanilla extract is more widely available and easier to find in grocery stores, making it the practical choice for most bakers. However, if you have access to vanilla bean paste or want a more pronounced vanilla flavor with visible specks in your cake, it’s worth the extra effort to seek out and use it. Regardless of which you choose, remember that a little goes a long way. Start with the recommended amount and adjust to taste. And don’t forget to use high-quality vanilla for the best flavor.
If your cake is coming out dry, it might be overcooked. Check the cooking time and temperature, and consider reducing the time in the oven by a few minutes. Another possibility is that you’re using too much flour; be sure to measure your ingredients precisely, as too much flour can make your cake dry and dense. My cake is too soft and breaks – Adding too much flour or adding less butter and eggs can cause the cake to be very dry and crumbly. This is why always follow the recipe correctly. On the other hand, if your cake is coming out overly moist, the issue may be with the ingredients. Be sure that your eggs are at room temperature before mixing them into your batter. Cold eggs can cause your cake to be overly damp. You may also want to consider reducing the amount of liquid in your recipe slightly. Dense chewy cakes – Overmixing can make cakes dense and chewy. Often, the reason could be that the ingredients were not at room temperature. This lead to ingredients not being fully combined. Follow the recipe correctly so you know the steps. Have all your ingredients ready so you don’t go looking for things. Do the right amount of creaming, beating, and folding. Do not undermix or overmix. If your cake is coming out slightly uneven or lopsided, make sure that your oven racks are level, and that you’re placing your cake pans in the center of the oven. If all else fails, you can try adding a few baking strips around your pans to help distribute the heat more evenly. Finally, if your cake is sticking to the pan, you may not have greased and floured it sufficiently. Be sure to give your pans a generous coating of cooking spray or butter, and then dust them lightly with flour before adding your batter. You can also try using parchment paper to line the bottom of your pans for added insurance.
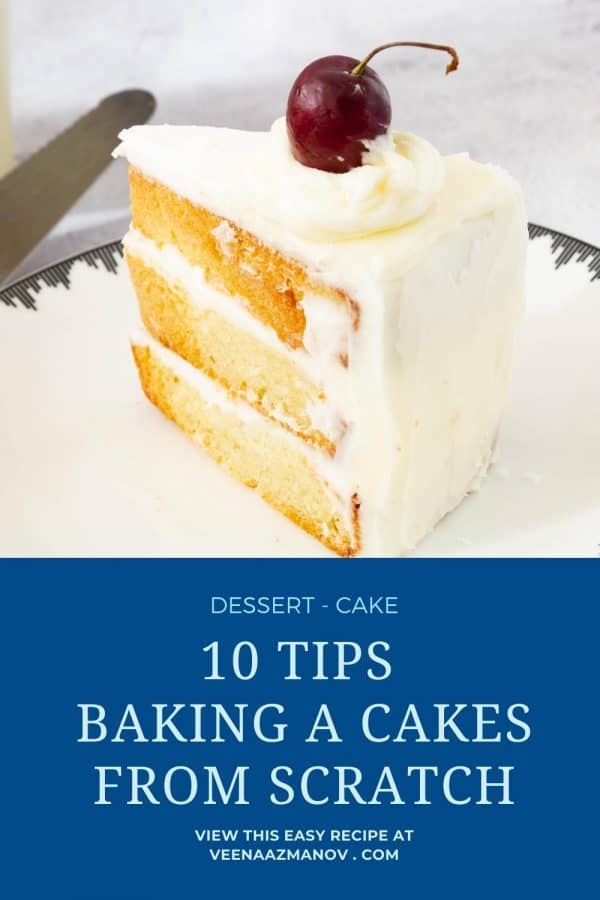
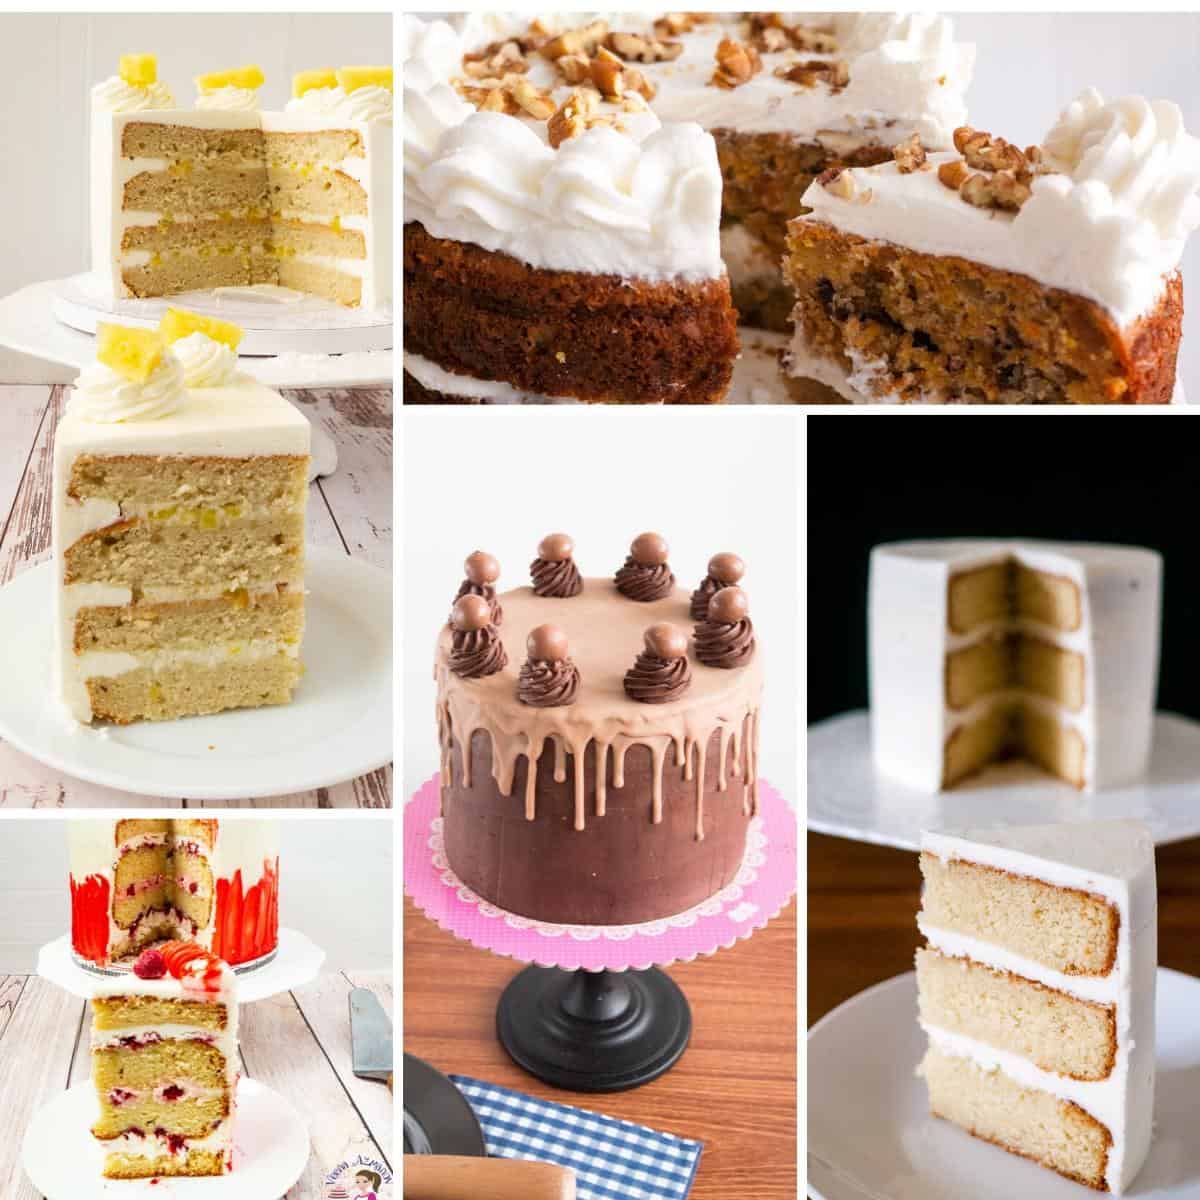
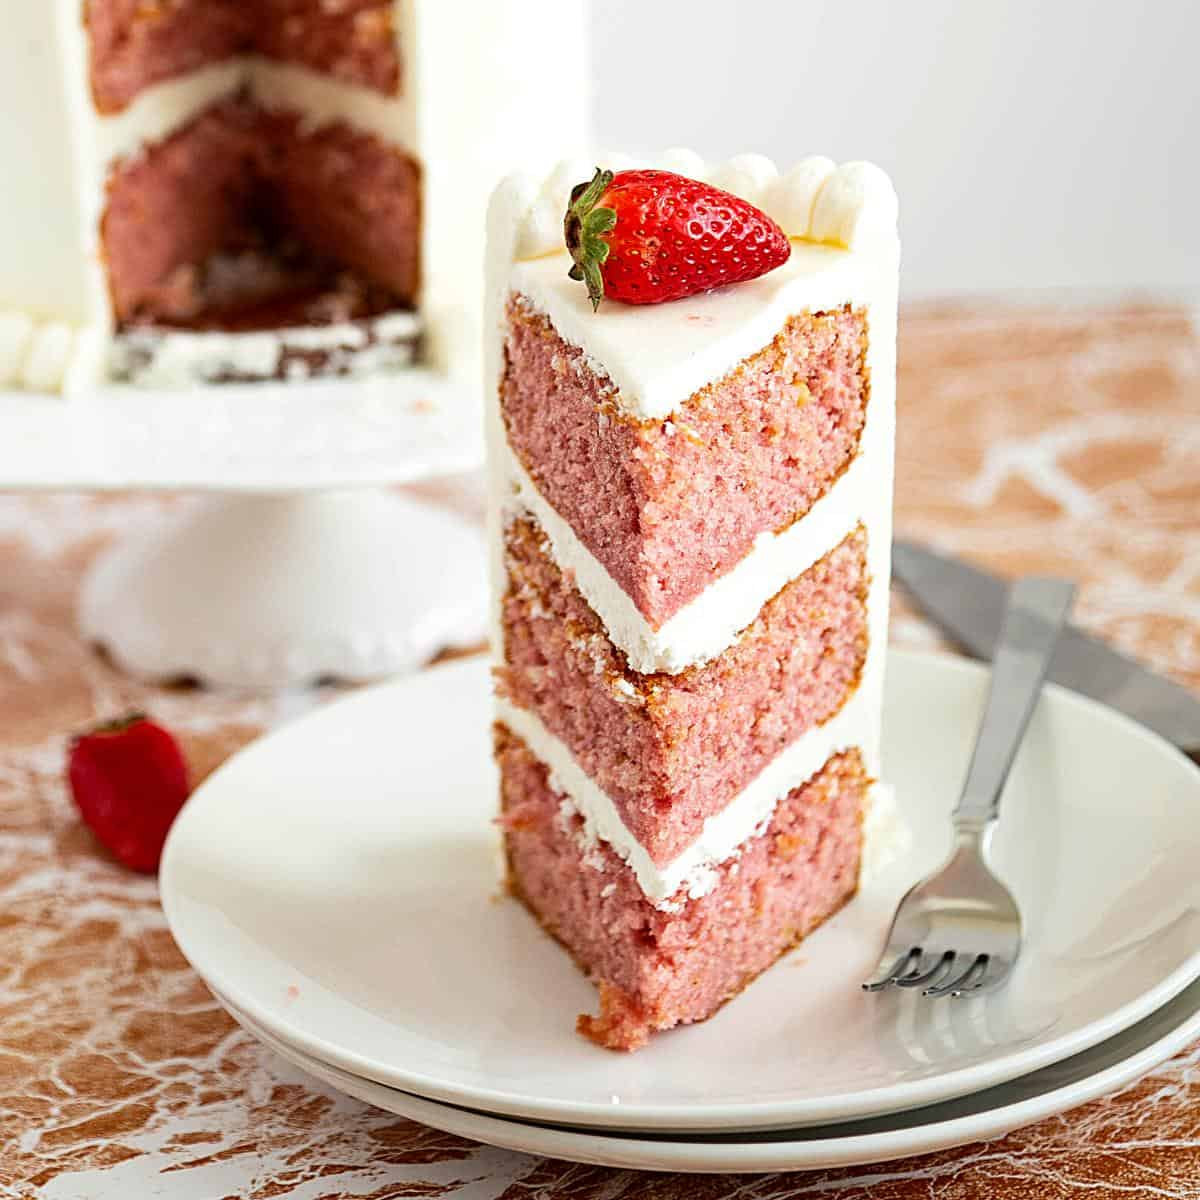
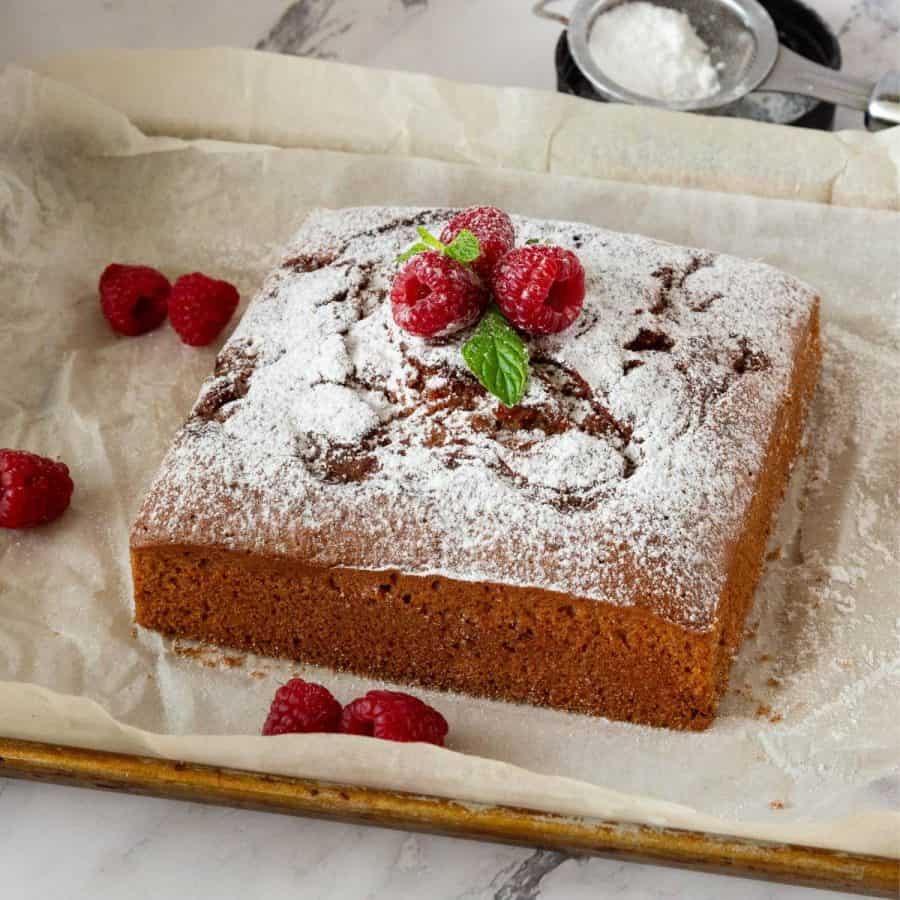
One easy and classic option is to simply dust the top with powdered sugar and serve with fresh berries or a dollop of whipped cream. If you’re looking for something a bit more unique, try layering sliced strawberries, raspberries, or peaches over the top of the cake for a fruity twist. For a more formal occasion, consider using a piping bag and frosting to decorate the cake with intricate designs or personalized messages. You can also add edible flowers or other decorations to give it a touch of elegance. Another fun option is to cut the cake into fun shapes and designs, such as squares or triangles, and serve on a platter with a variety of toppings and sauces. Whatever your choice for decorating and serving your vanilla cake, be sure to have fun and let your creativity shine.
In conclusion, baking the best cake is a simple yet rewarding endeavor when you have the right ingredients, tools, and guidance. Whether you prefer butter or oil cakes, vanilla extract or vanilla bean paste, or have questions about troubleshooting or decorating, this ultimate guide has got you covered. Remember to take your time when mixing and baking, and don’t be afraid to show off your creativity when serving and decorating. As Julia Child once said, “A party without cake is just a meeting.” So go ahead and create something sweet and memorable that will bring joy to your loved ones. Happy baking! Thank you for sharing - Save for later