If you love coconut, you are going to feast over this cake. Coconut may be a tropical fruit, but it is easily available in all parts of the world these days. Fresh coconut is very perishable and often needs to be used up in two to three days. But, the dry desiccated coconut and coconut cream in a can have a much longer shelf life, which works in our favor.
Step-by-step: Simple moist coconut cake
Cake
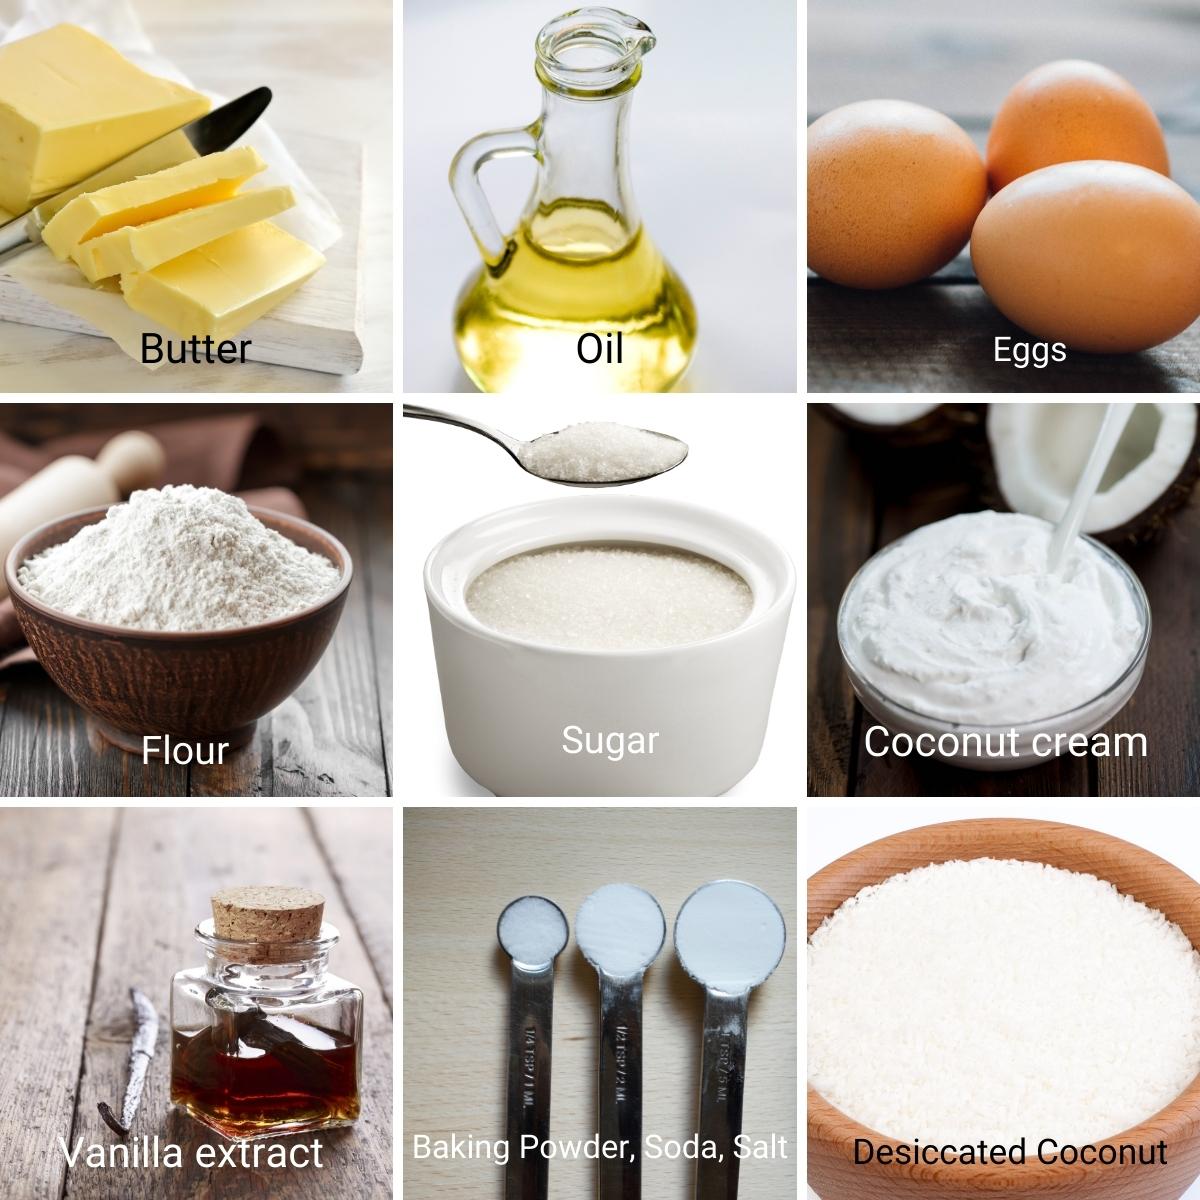
Preheat the oven to 325°F/ 165 °C / Gas Mark 3 Grease and dust or line, 3 x 8-inch round cake pan with parchment paper. Divide the recipe in half (½X) to make 3 x 6-inch round cake layers. Dry ingredients – in a bowl combine well the flour, baking powder, baking soda, and salt – set aside.
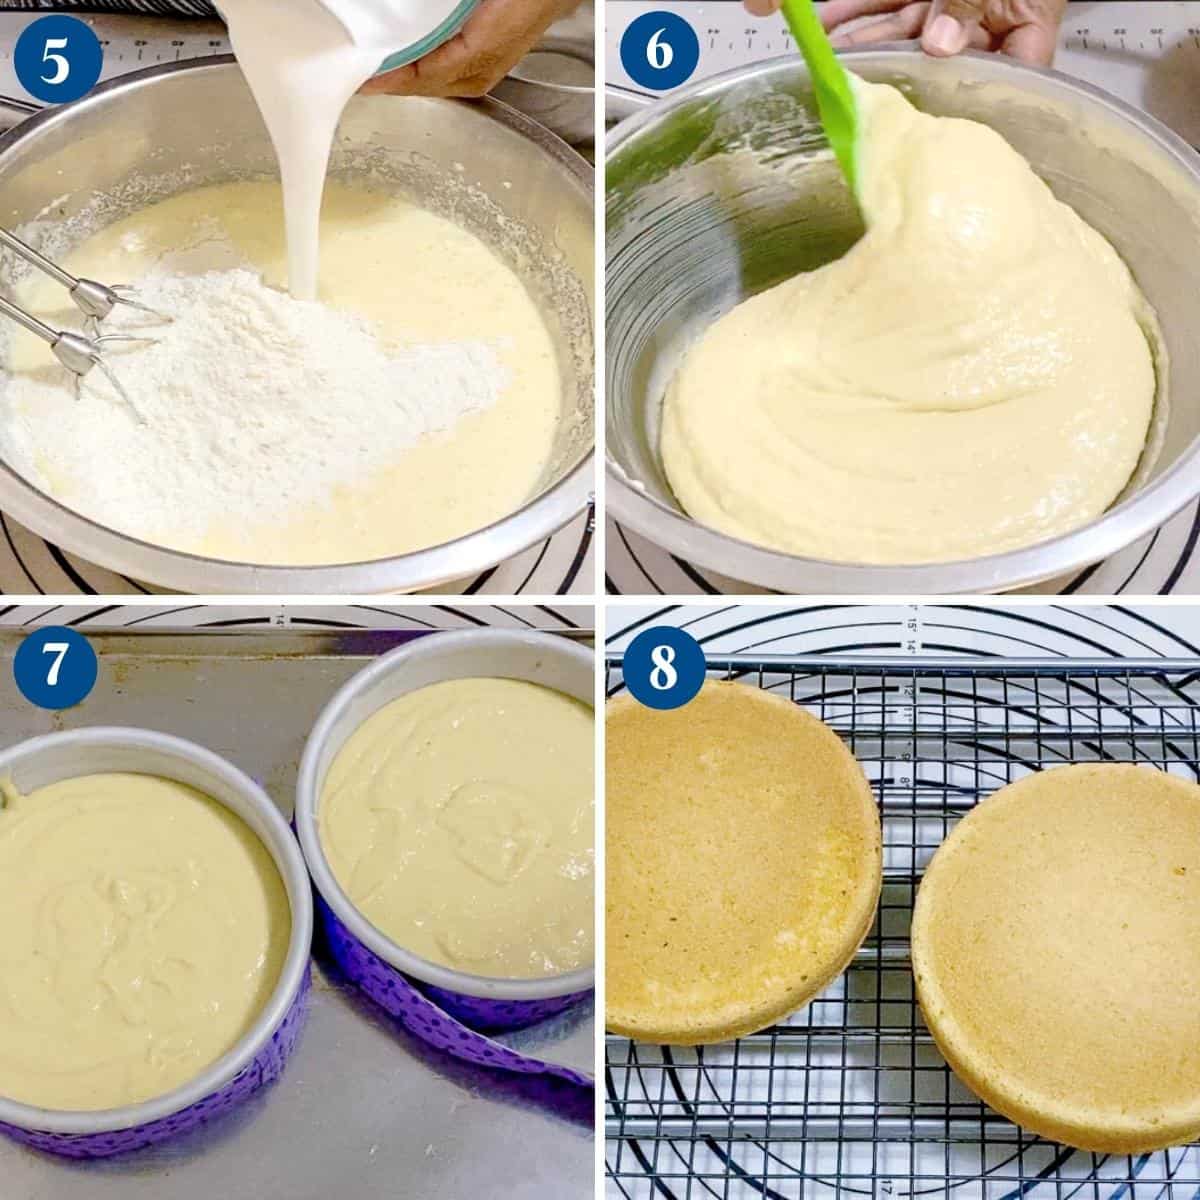
Wet ingredients – In the bowl of a stand mixer with a whisk attachment, whip the whole eggs. After a minute, gradually add the sugar a tablespoon at a time. After all the sugar is in, continue to whip the eggs for 2 to 3 minutes until a ribbon stage. Then, gradually add the oil, a little at a time. We need the oil to emulsify with the whipped eggs. Next, add the vanilla extract and coconut extract.Pro tip – adding the sugar and oil gradually will help whip more volume into the eggs and prevent the liquid from separating. Combine – Add the shredded or desiccated coconut – combine well. Finally, add the flour mixture and coconut cream in three batches.Pro tip – Once all the flour is in, do not over mix as we do not want to activate the gluten in our batter. Pans – Divide the batter between the prepared baking pans. Spread evenly with a spatulaPro tip – I like to use cake strips to ensure my layer cakes bake flat. Tap the pan to remove any air pockets.
Bake in the preheated oven for 25 to 30 minutes. When done, cool in the pan for 10 minutes. Then, invert onto a cooling rack and cool completely before decorating. Cool – Wrap in plastic wrap and place in the fridge to cool completely before decorating
Coconut cream filling
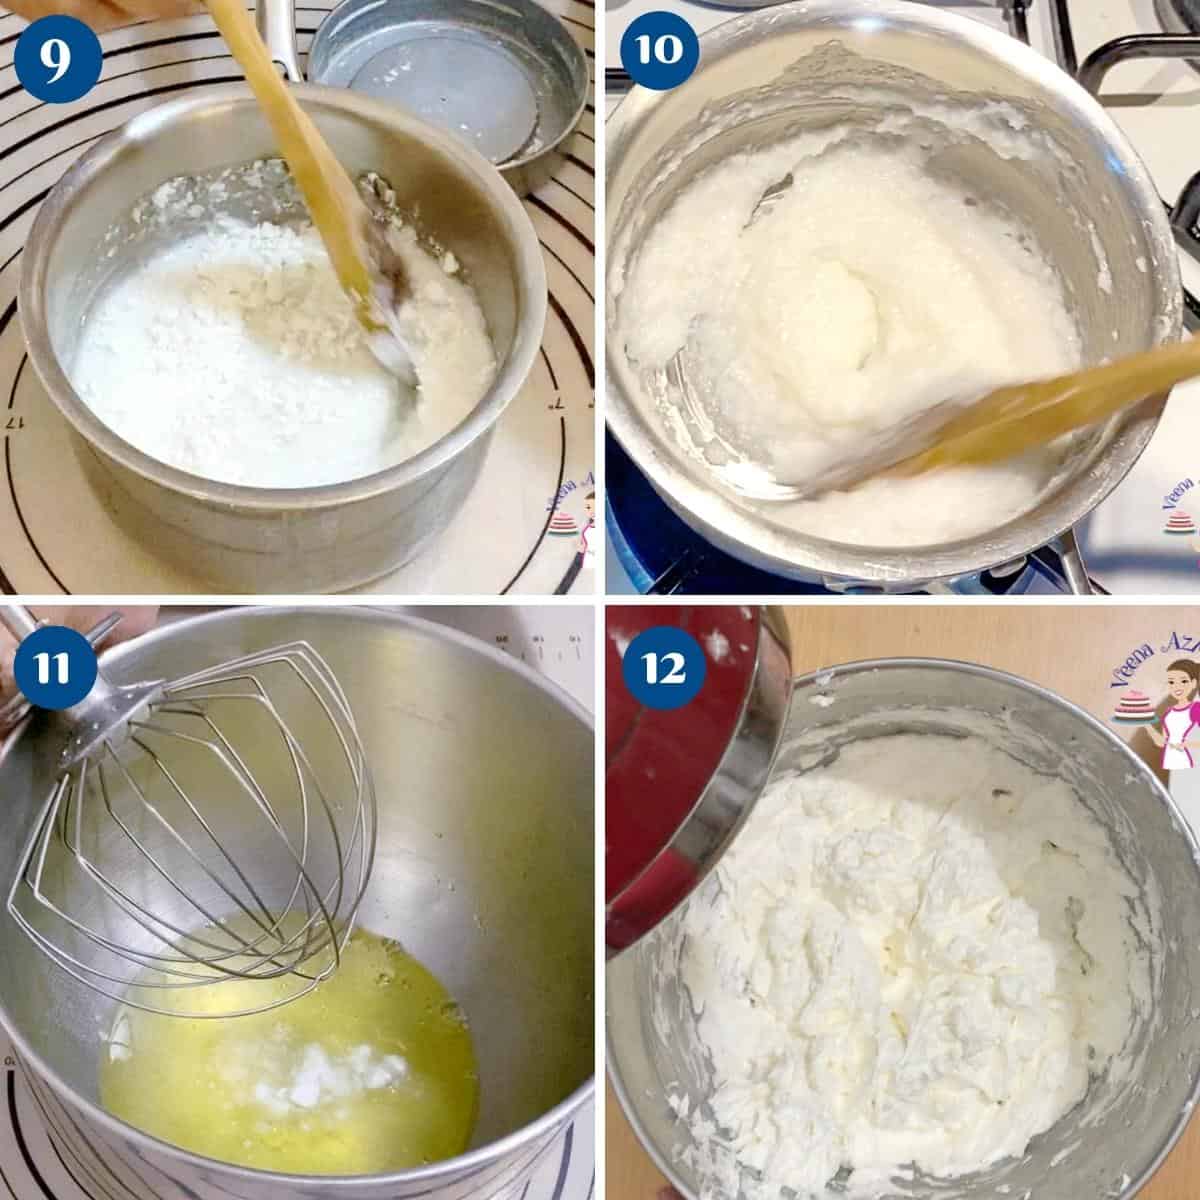
In a saucepan, add coconut cream, desiccated coconut, powdered sugar, salt, and cornstarch. Cook on low heat for 3 to 4 minutes until everything is heated through and thickened (see consistency in the video). Set aside to cool completely.
Swiss meringue buttercream
Watch a video on how to make Swiss meringue buttercream in this video. Temper – In a grease-free bowl of a stand mixer add the egg whites and sugar. Using a whisk, place the bowl over a double boiler and constantly whip until all the sugar has dissolved and the egg whites are fairly warm (about 160 F).Pro tip – you don’t need a thermometer, as long as all the sugar has completely melted your eggs are ready to use Meringue – Take the bowl off the heat and whip the egg whites until you have a thick meringue with stiff peaks.Pro tip – it is best to start whipping eggs at medium speed then increase speed as you go for the best meringue Cool -Let the mixer continue to whip on medium-low until the mixer bowl feels cool to the touch. Then gradually add butter, one cube at a time, with the mixer at medium speed.Pro tip – it is VERY important that the meringue is cooled completely before you add the butter otherwise you will have a soupy mess. Whip – Once all the butter is added, whip on medium-high for 2 minutes. Lastly, add the vanilla extract and rum. Combine well until everything is well combined Bag – Put 2 cups buttercream in a piping bag for the buttercream dam.Pro tip – don’t skip the buttercream dam otherwise all the filling will ooze out of the cake from the sides which looks very messy.
Assemble
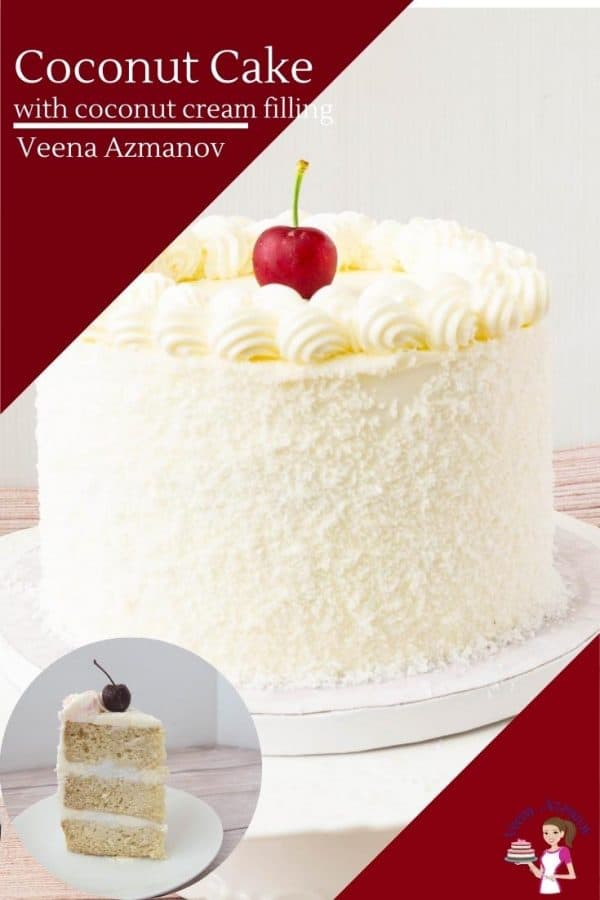
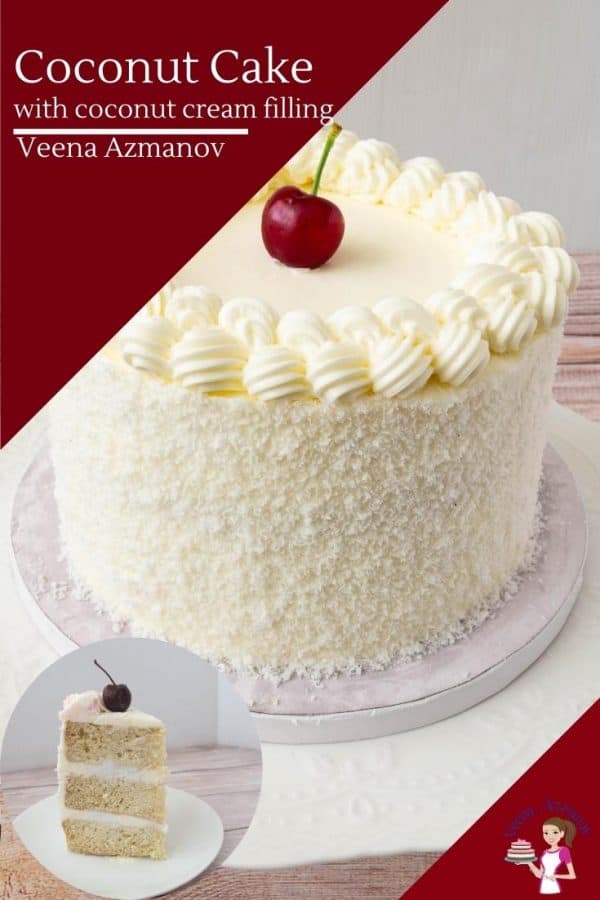
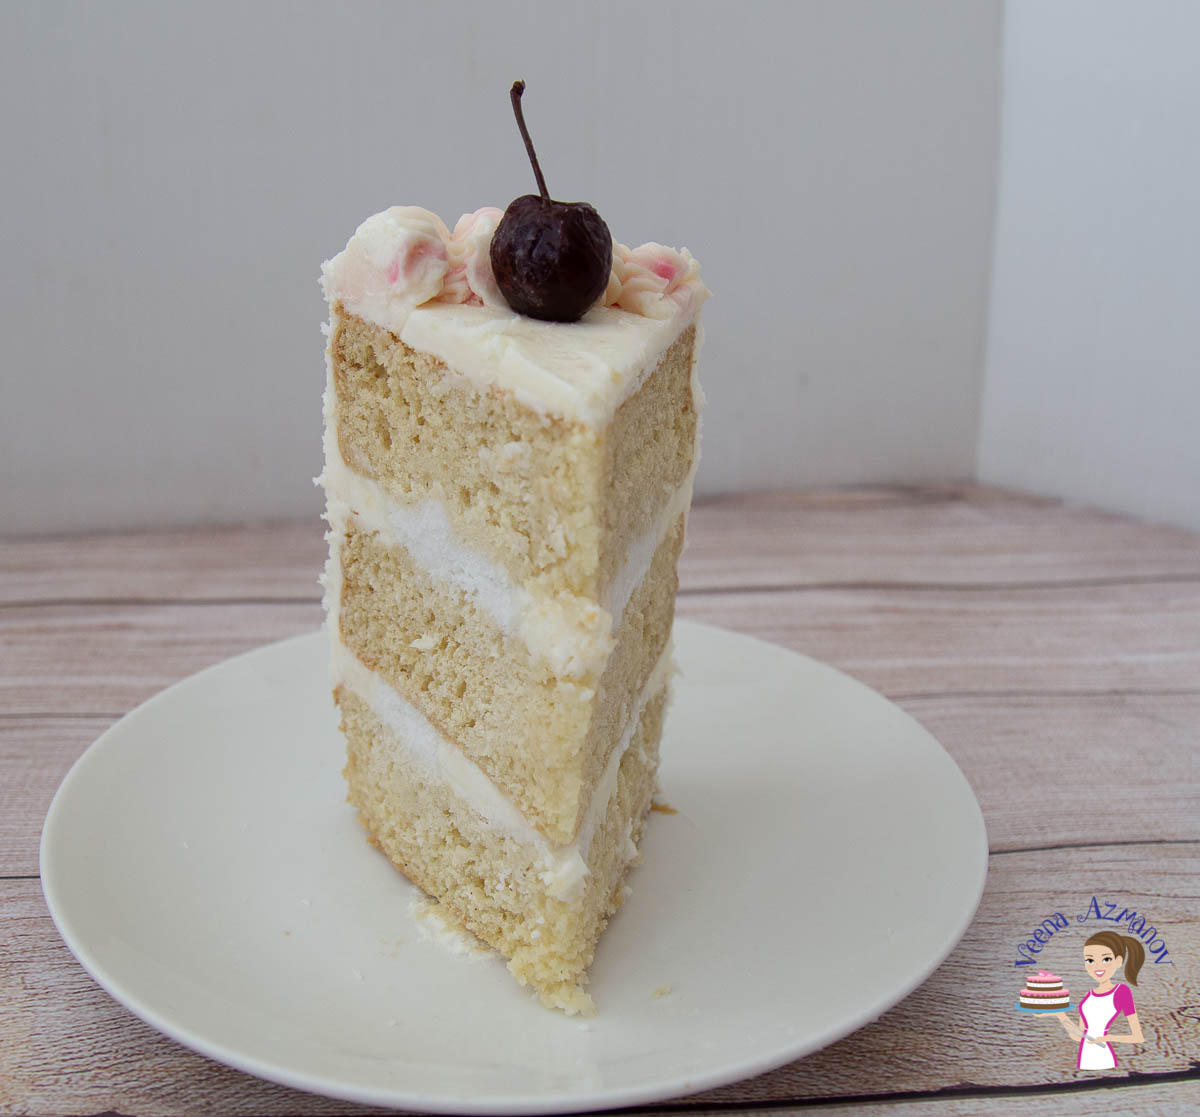
Prepare simple syrup – cool completely before using.Pro tip – simple syrup is just sugar and water boiled for 3 minutes. It keeps the cake layers moist. Torte – Once cooled, cut the domes off the cake layers using a serrated knife. Brush each layer with the cooled, simple syrup. Place a cake layer on the cake board or cake stand.Pro tip -if you plan to move the cake again, it is best to use a cake circle under the cake, so you can pick the cake with its base without any accidents. Fill the cake – Pipe a buttercream dam on the cake layer (see video). Top with a big dollop of the coconut cream filling – spread evenly with an offset spatula or spoon but within the piped buttercream dam/edge. Stack – Next, top the second cake layer on top followed by buttercream dam and filling. Then, place the last cake layer on top.Pro tip – it is best to lift individual cake layers on pieces of clean cardboard or cake lifter so you do not break them from table to cake.
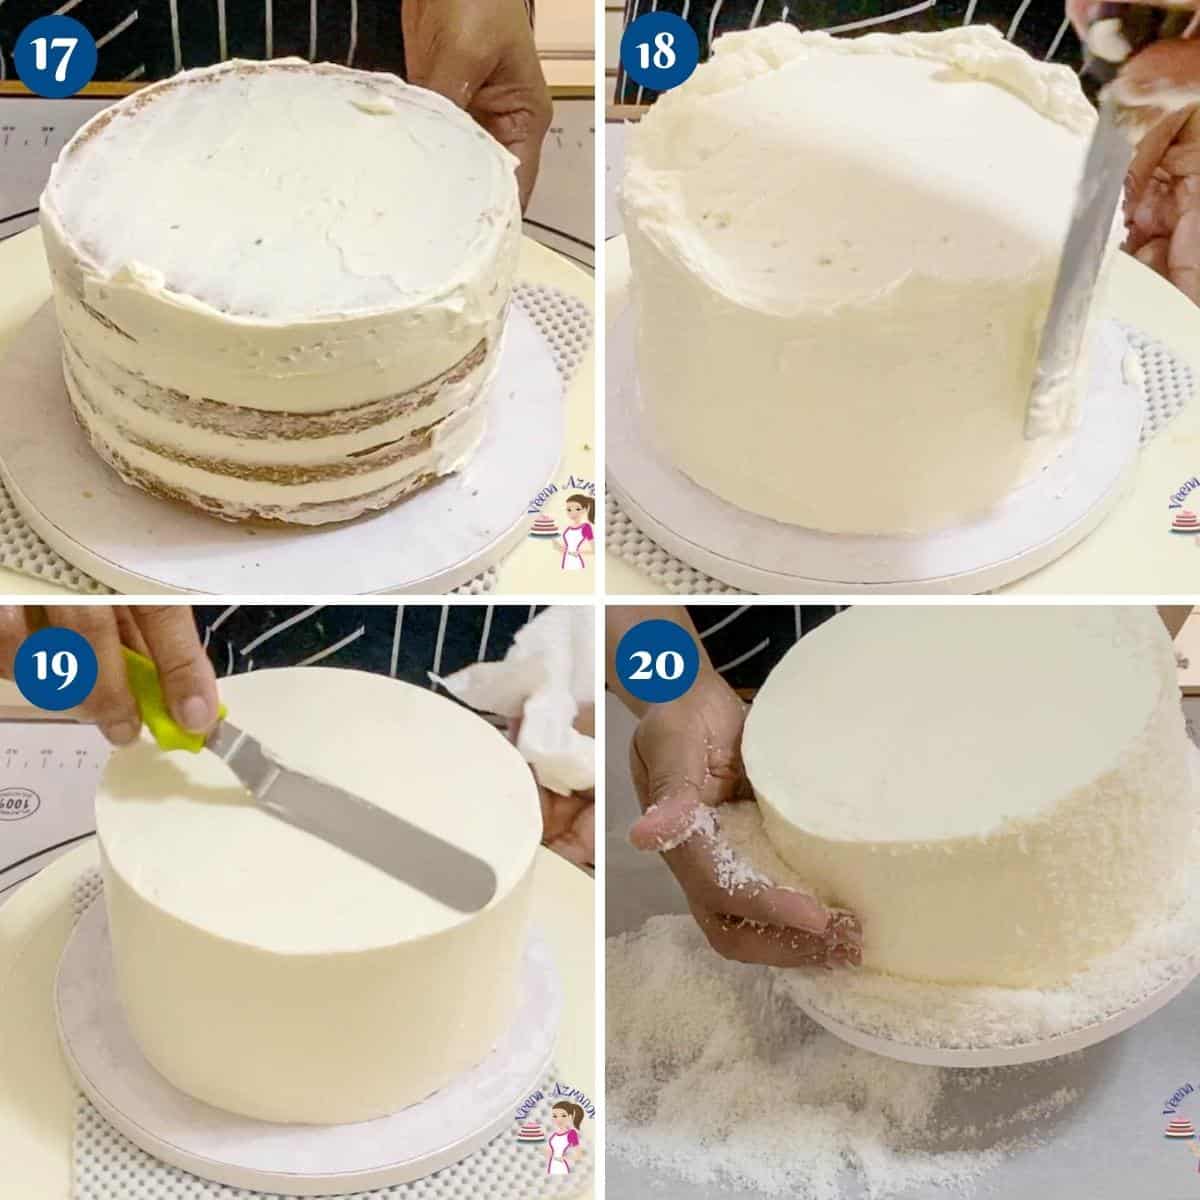
Chill – Place the cake in the fridge to chill for 10 to 15 minutes.Pro tip – Chilling the cake at this point will ensure the layers don’t move when you frost the outside. Though, if you leave the cake uncovered in the fridge for too long it can dry out. So, 10 minutes is all you need Frost – Spread more buttercream around and on top of the cake. (see video). Chill the cake for another 15 to 30 minutes.Pro tip – chilling the crumb-coated cake will ensure no cake crumbs get into the rest of the buttercream and you will have a nice clean cake. Frost – Spread the remaining buttercream around and on top of the cake. Dip an off-set spatula and bench scraper in warm water and smooth the sides and top of the cake. Chill the cake for 15 minutes.
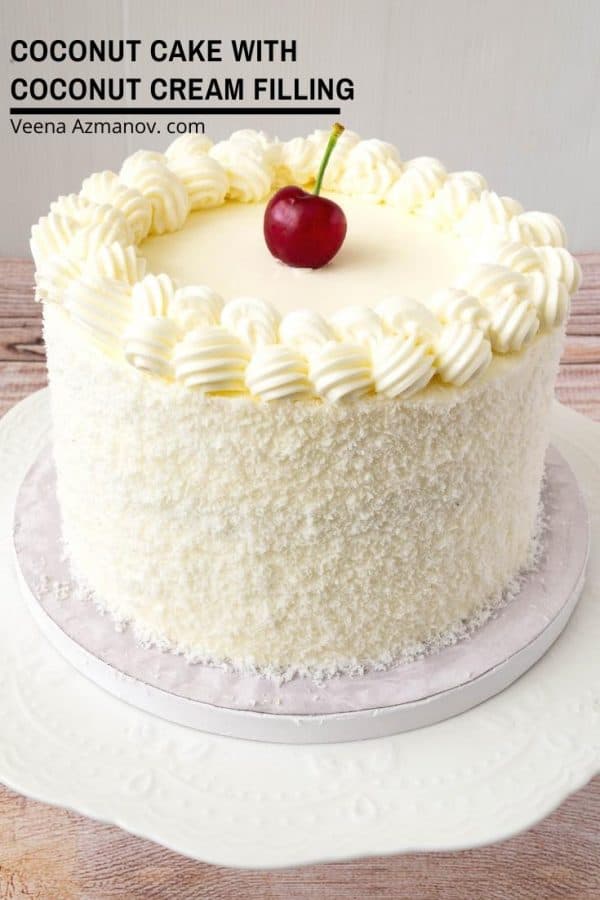
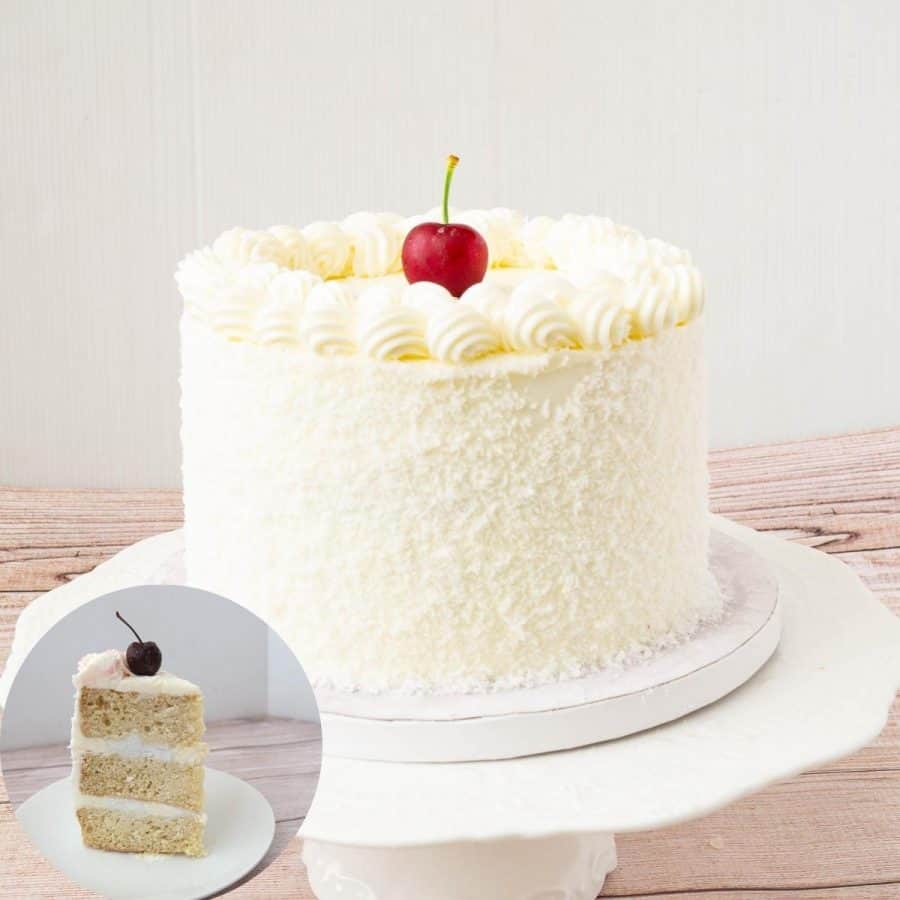
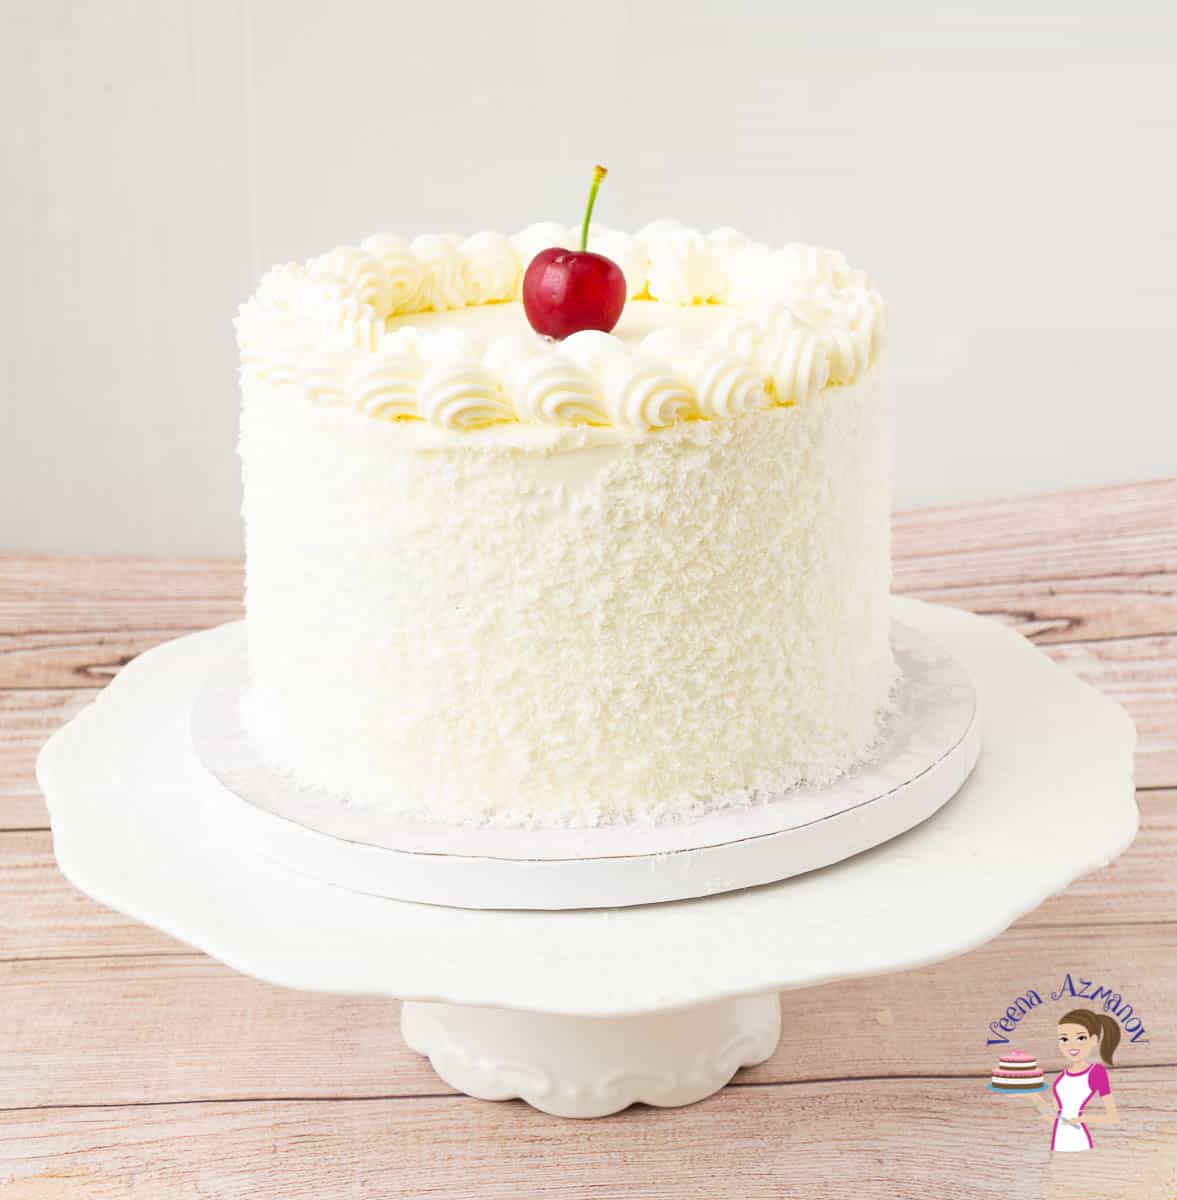
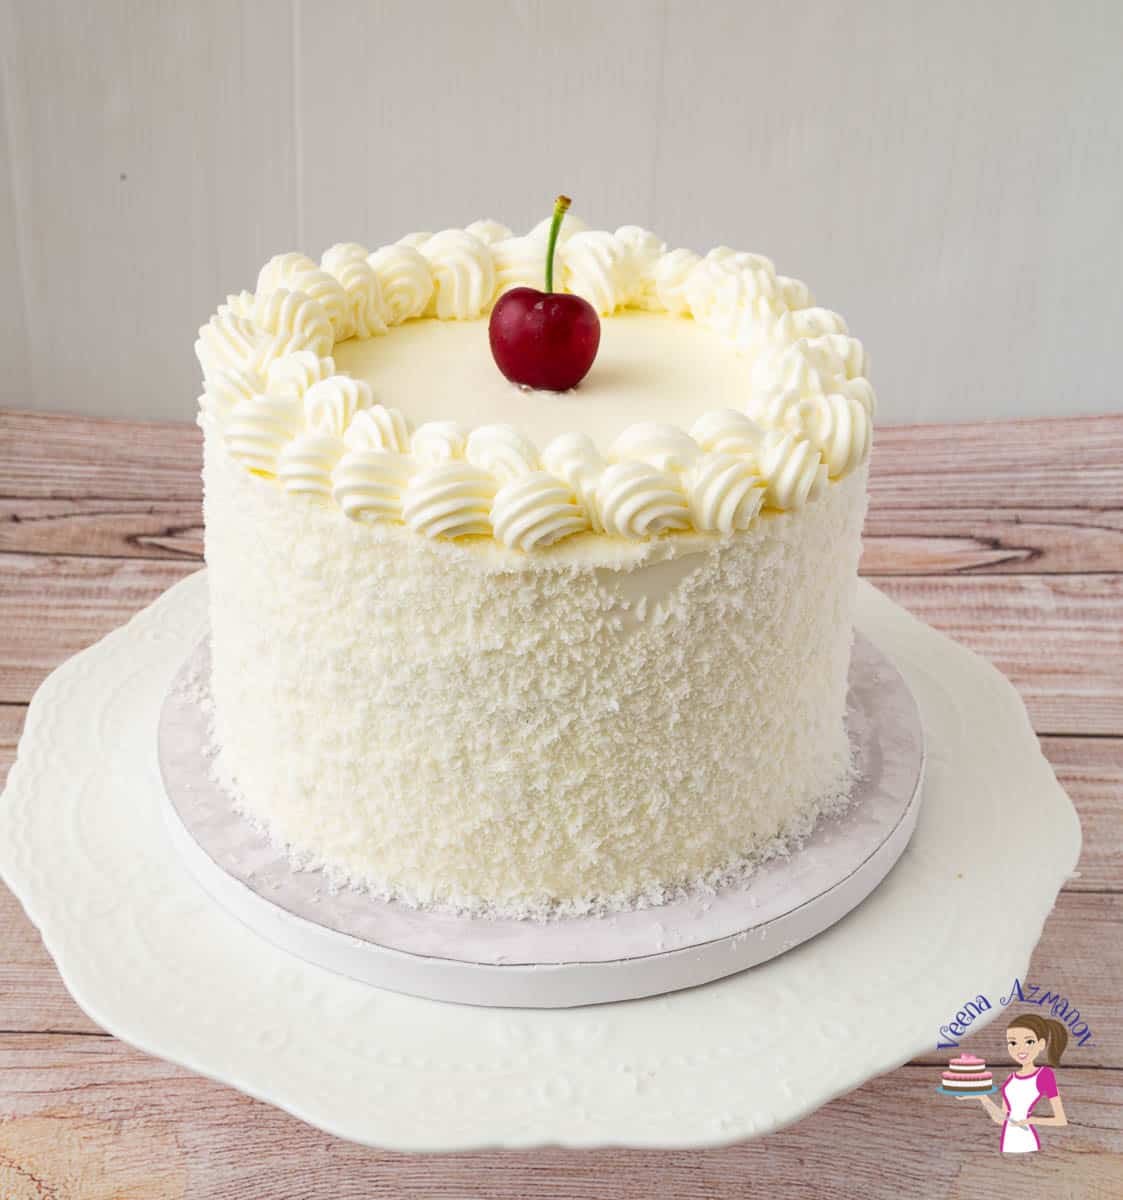
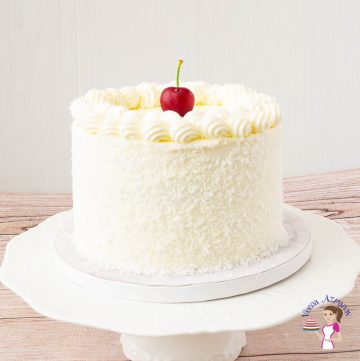
Coconut – Place the desiccated coconut on parchment paper and spread it on the sides of the cake as shown in the video.Pro tip – if you chill the cake for too long and the cake dries out just moisten the cake with some water before you add the coconut. Pipe – Add the remaining frosting in a large piping bag with the star tip. Pipe a border on top of the cake (see video). Garnish – I had cherries in the season so I used a lone cherry today (see video).
Frequently asked questions
Creative ways to decorate vanilla cake
One easy and classic option is a naked cake! Simply dust the top with powdered sugar and serve with fresh berries or a dollop of whipped cream. If you’re looking for something a bit more unique, try layering sliced strawberries, raspberries, or peaches over the top of the cake for a fruity twist. For a more formal occasion, consider using a piping bag and frosting to decorate the cake with intricate designs or personalized messages. You can also add edible flowers or other decorations to give it a touch of elegance. Another fun option is to cut the cake into fun shapes and designs, such as squares or triangles, and serve on a platter with a variety of toppings and sauces. Whatever your choice for decorating and serving your vanilla cake, be sure to have fun and let your creativity shine.
Creative ways to serve layer cake
Mini Layer Cakes: Create mini coconut layer cakes using a round cookie cutter to cut out small rounds from the cake layers. Stack them with layers of frosting in between for mini cake towers. Top each mini cake with a decorative frosting swirl, fresh fruit, or edible flowers. Naked Cake: Embrace the “naked cake” trend by frosting the cake layers thinly, allowing the layers to show through. Decorate with fresh berries, edible flowers, or a dusting of powdered sugar for a rustic and elegant look. Cake Push Pops: Serve the cake in push pop containers, alternating layers of cake and frosting. This makes for a fun and portable dessert that guests can enjoy on the go. Cake Parfaits: Layer chunks of vanilla cake with whipped cream, fruit compote, or chocolate ganache in clear glass containers to create visually appealing cake parfaits. Top with a dollop of whipped cream and a sprinkle of cake crumbs. Ice Cream Sandwiches: Slice the coconut cake into thin layers and use them as the “bread” for ice cream sandwiches. Add a scoop of your favorite ice cream between two cake slices and roll the edges in fun toppings like mini chocolate chips or crushed nuts. Cake Truffles: Crumble the cake layers and mix them with frosting to create cake truffles. Roll the mixture into small balls, dip them in melted chocolate, and garnish with sprinkles, crushed nuts, or colored sugar. Cake Tiramisu: Substitute the traditional ladyfingers in tiramisu with layers of coconut cake soaked in coffee and layered with a mascarpone cheese mixture. Dust with cocoa powder for a delightful twist on a classic dessert. Cake Milkshakes: Blend chunks of vanilla cake with vanilla ice cream and milk to create cake milkshakes. Top with whipped cream and a mini slice of cake for a sweet and creamy treat. Cake Kabobs: Cut the cake into cubes and skewer them with fresh fruit pieces. Drizzle with a complementary sauce, such as caramel or chocolate, and serve as cake kabobs. Cake Fondue: Slice the cake into bite-sized cubes and serve with a warm chocolate or caramel fondue for dipping. Provide an assortment of toppings like chopped nuts, sprinkles, and shredded coconut for guests to coat their cake bites. Deconstructed Cake: Present the cake in a deconstructed form by serving cake cubes, frosting, and various toppings in separate bowls. Guests can build their own cake creations, allowing for customization.
Thank you for sharing - Save for later