Do you make homemade Jams? or do you always buy jams? When I grew up in boarding schools, we got only commercial jams, which were good. And when we were home, Mom made fresh homemade jam. Now that is a real treat! If you’ve never tried making jam at home before, you must try to experience this at least once. The home smells of this sweet aroma. Everybody in the house is looking towards the kitchen, and my kids ask: mama, what are you making? I like the smell. Oooh, jam.!! I want some. Honestly, it makes me feel like my mom, which is fantastic because I loved watching Mom busy in the kitchen with her pretty apron and a big smile that said – I’m cooking for my family.
Why make this jam?
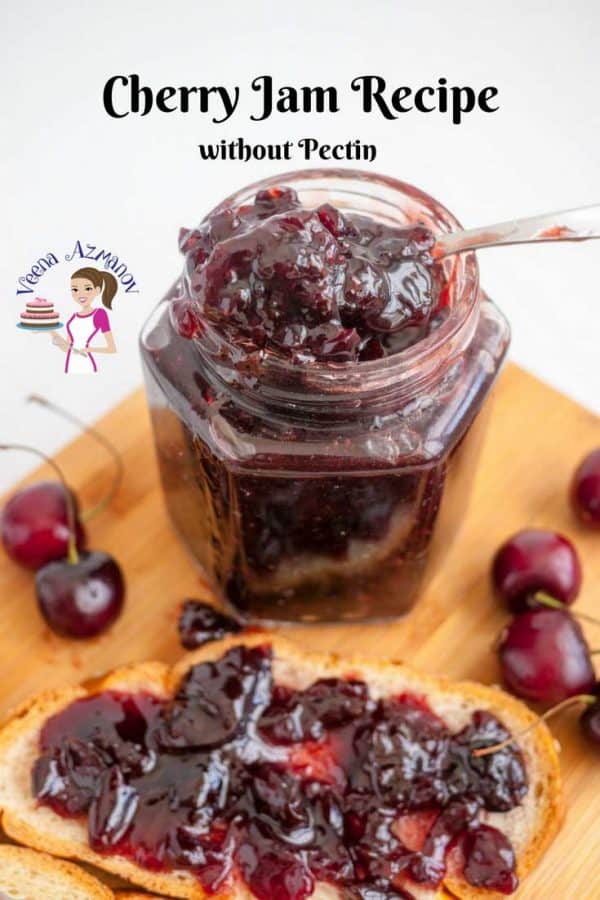
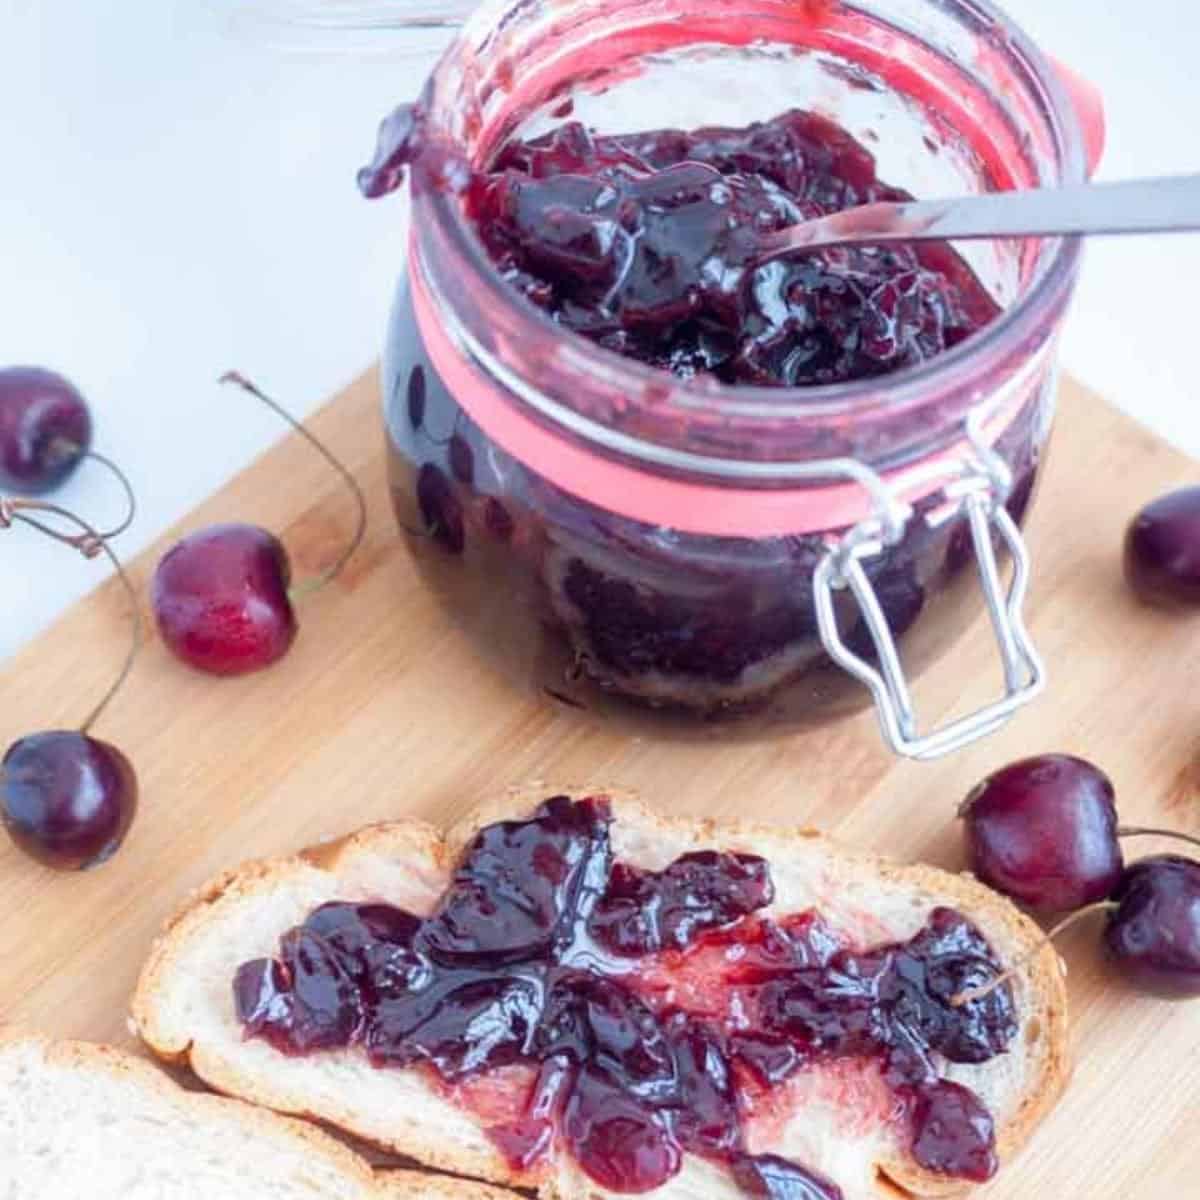
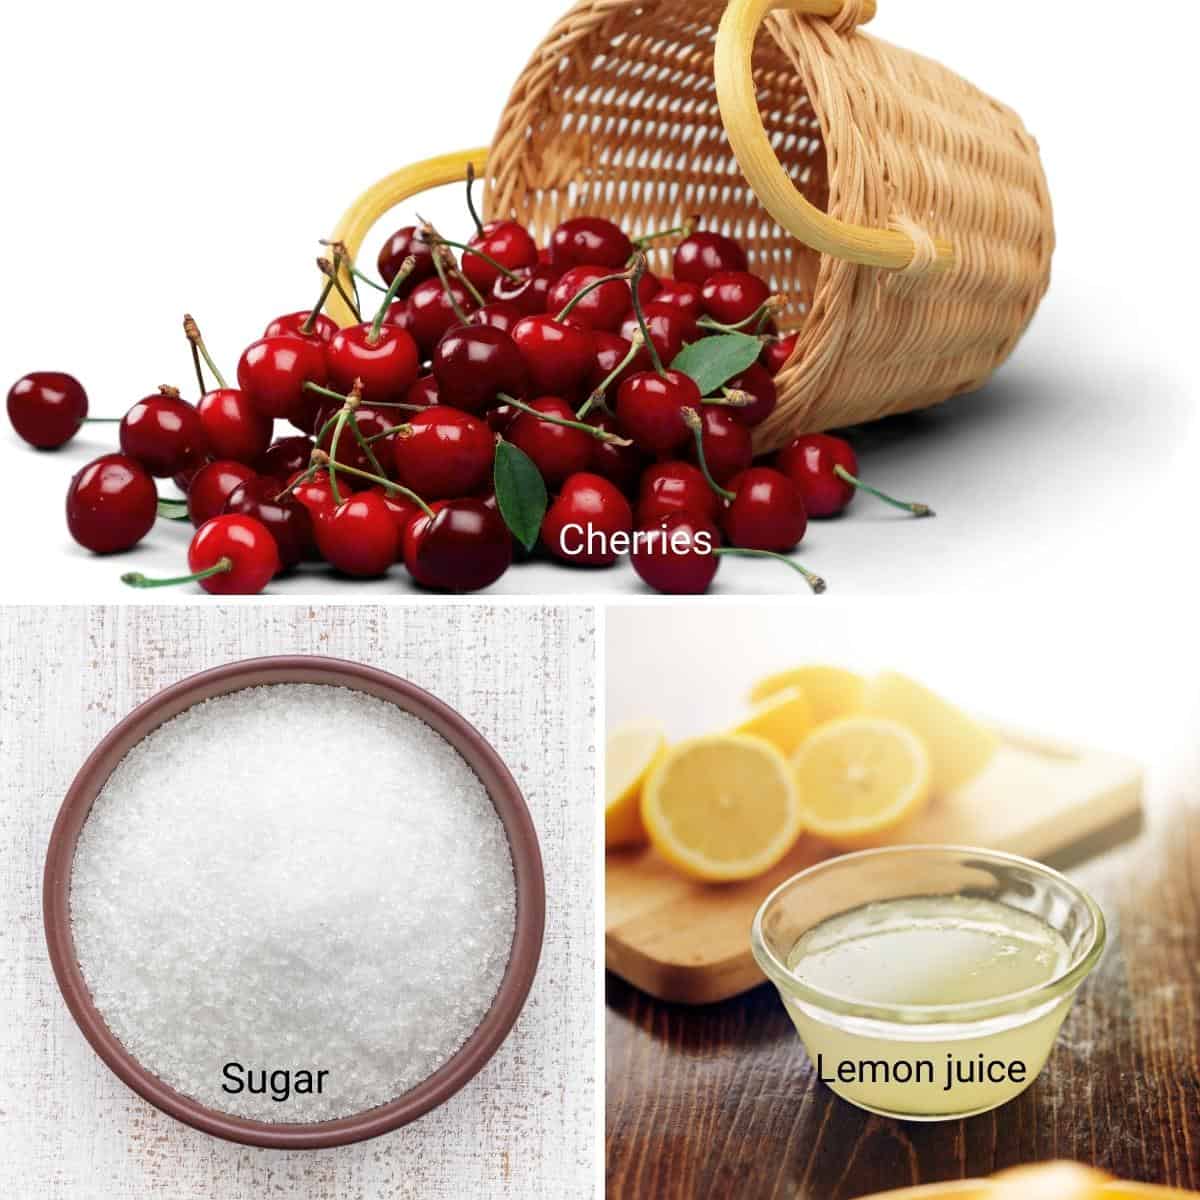
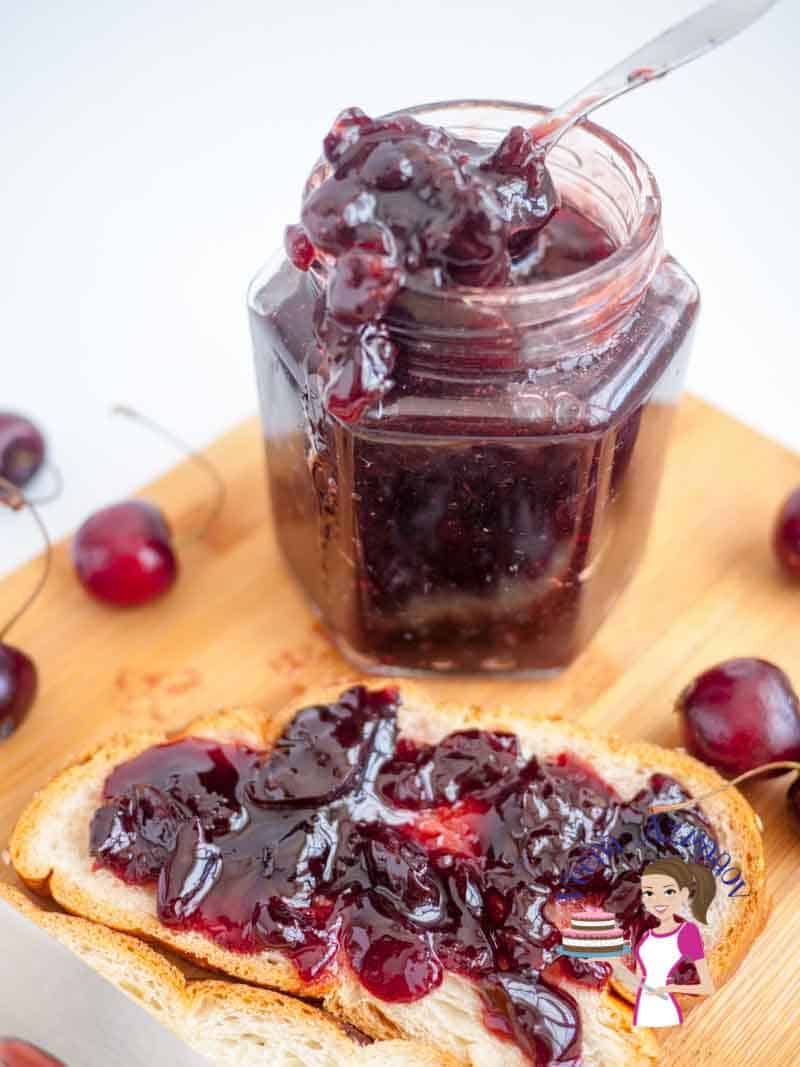
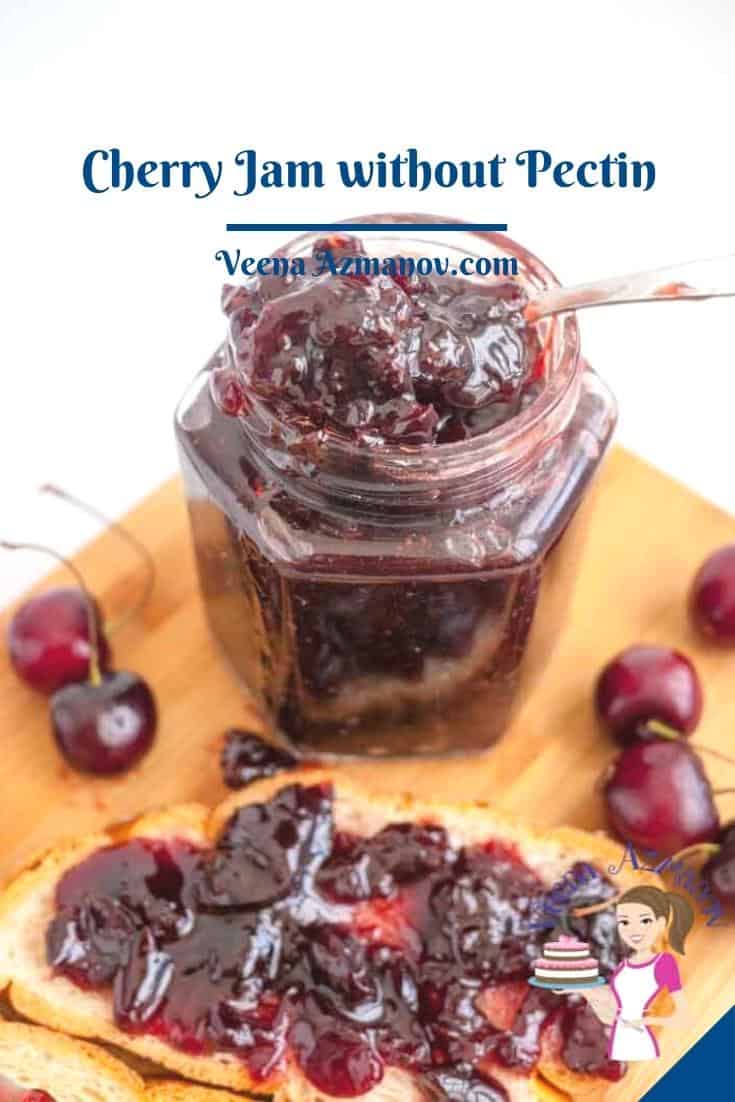
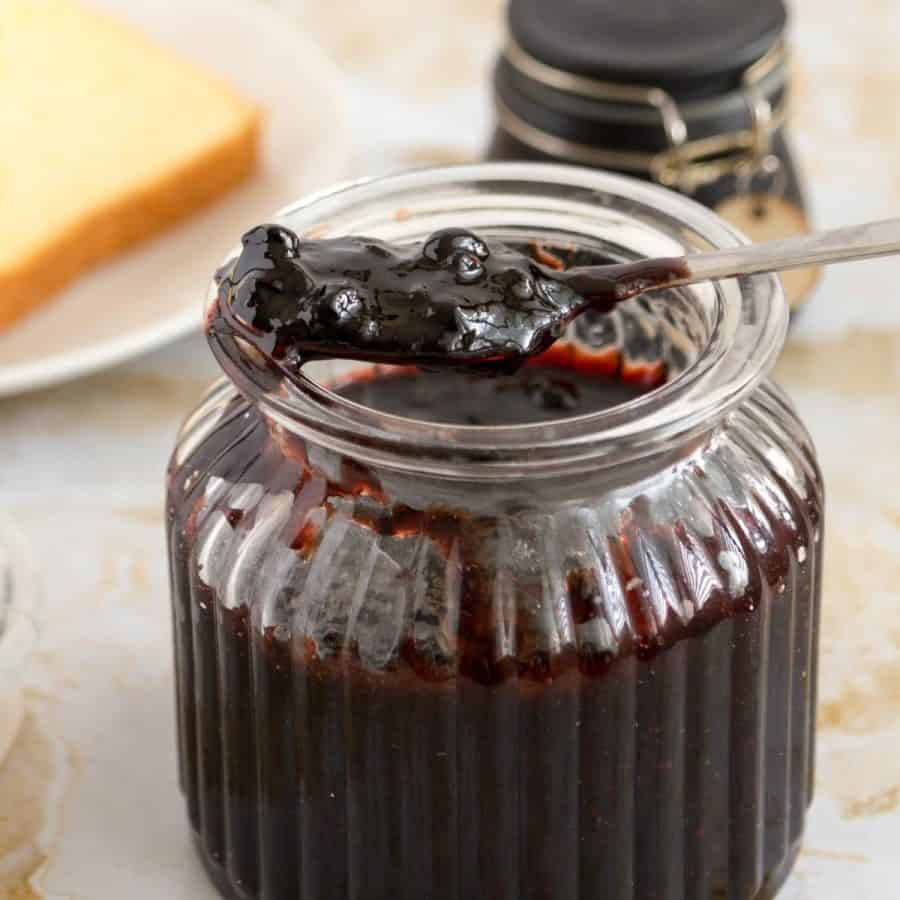
The flavor is amazing, the taste is less sweet than commercial jams, and the color is oh-so-gorgeous!! No-fail method – This recipe is simple and easy. And if you’ve never made homemade jam, you will definitely start now. No canning – This homemade recipe does not involve canning. You can just pour the jam into sterilized jars and store them in the fridge or freezer. However, I have also provided the detailed process for canning. No pectin – Ideally, you can make cherry jam with just two ingredients: cherries and sugar. The thick skin of cherries has natural acidity and pectin in abundance. And yet, adding lemon juice helps break down the skin. Low-sugar – Fresh cherries are naturally soft and sweet, so you don’t need to add a lot of sugar to this jam.
Step-by-step: How to make the best cherry jam
Makes 4 x 8 oz or 250 g jars
Place two small ceramic plates or saucers in the freezer so we can use these to test the jam later. Alternatively, you can use a candy thermometer to check the jam’s doneness. Rinse, drain, and pit the cherries. Discard bruised or discolored cherries. Depending on the texture you need, chop the pitted cherries into small chunks.Pro tip – Soft cherries can be used, but discolored and bruised ones will ruin the jam, so remove those. In a heavy bottom pan, or large saucepan combine the cherries, sugar, salt, and lemon juice.Pro tip : If you are using frozen cherries, let them macerate in sugar and lemon juice for a few hours before cooking. This softens the blueberry skin considerably. Cook on medium heat until the sugar dissolves. Then, turn the heat up and let the mixture come to a full rolling boil. Let it boil for two minutes on medium-high heat.Pro tip – Boiling the jam is essential as it releases pectin from the skin and seeds in fruits.
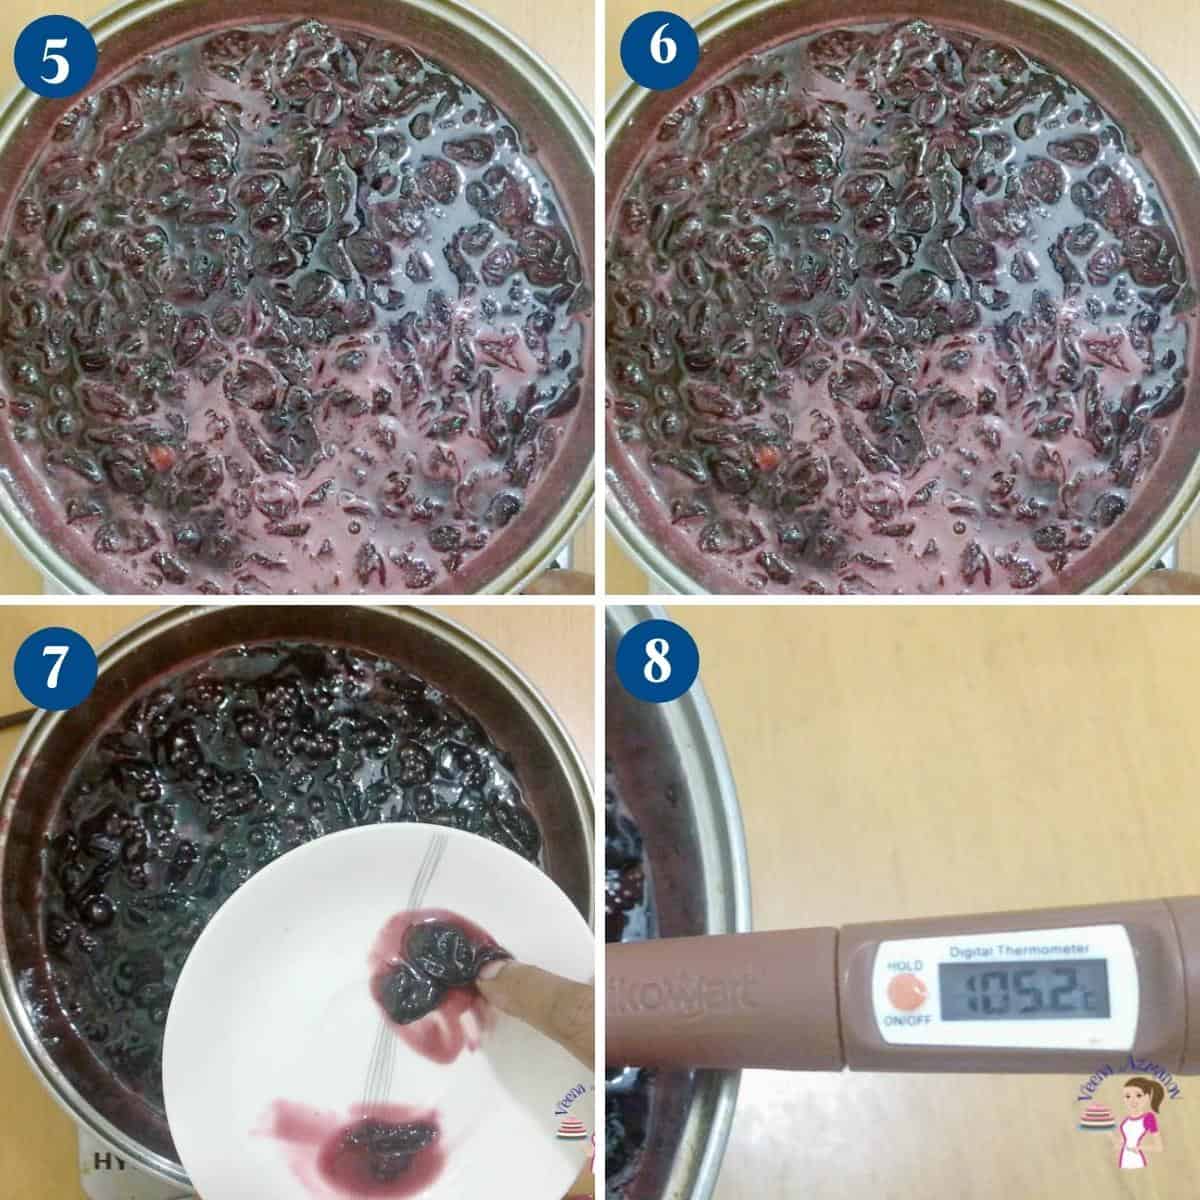
Then, turn the heat to medium-low. The jam should still be simmering but at a low heat, not bubbling. Mash the fruit with a potato masher for a smoother, jam-like consistency.Pro tip – Mashing the fruit is optional. The fruit will break down into smaller chunks as it cooks, similar to preserves. However, mashing will give it a smoother consistency, like jam. Continue to simmer for about 20 to 30 minutes more, stirring often so it does not stick to the bottom of the pan. The jam will continue to thicken and deepen in color as it cools. Skim the top with a ladle as you go. Pro tip – The cooking time will depend on the quantity of the jam and the heat applied to it. It’s okay to cook a little longer, but the fruit must be simmering for the pectin to release.
Testing the Jam
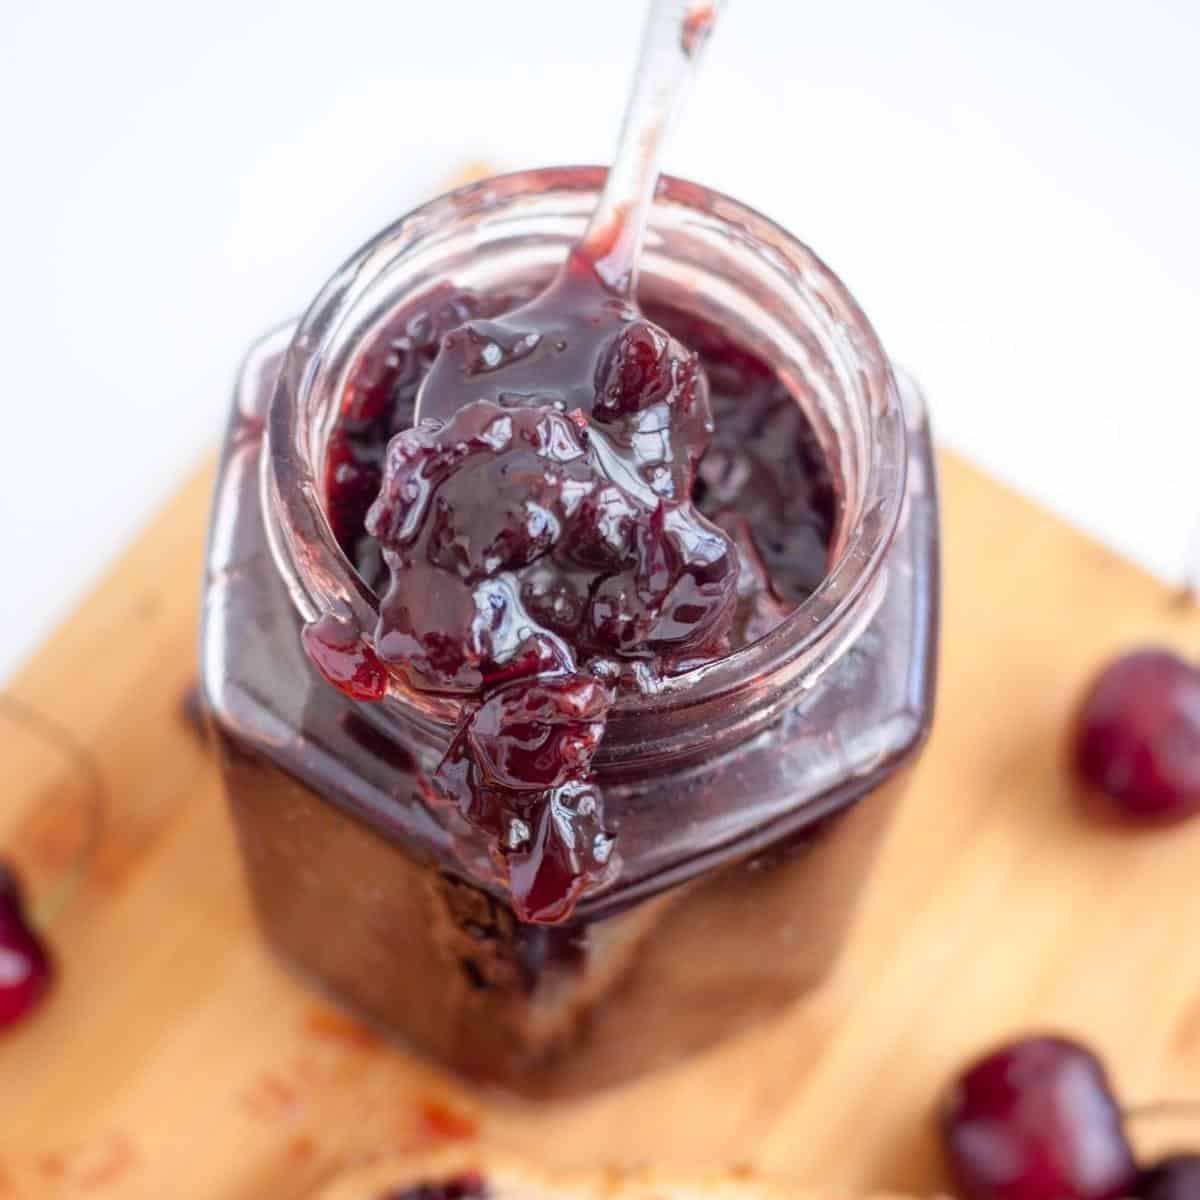
Remove one of the ceramic plates from the freezer. Place a teaspoon of jam on the cold plate.Pro tip : The cold plate will help cool the jam almost instantly and give you a good indication if it is ready. Set aside 2 to 3 minutes, and then test with your finger. Move/push the jam with your finger. If it wrinkles/crinkles, the jam is ready. If not, let the jam cook a few more minutes and test again.Pro tip – Depending on how early you start checking, you may need to test the jam on a ceramic plate more than once or a few times. Alternatively, you can use a candy thermometer – the jam should reach 105 C / 221 F.Pro tip – I find the thermometer the easiest and fool-proof method to check for doneness. Optional – When you are ready to remove the jam from the heat, add a teaspoon of butter and stir well. Butter helps dissolve foam that accumulates on top of the jam.Pro tip – You don’t need more than one teaspoon of butter to help with the foam. It will also give you that glossy shine. Pour the jam into warm sterilized jars, leaving 1/4-inch headspace from the top. Use a clean, sterilized knife or spatula to move the jam a bit—this will remove any air pockets. Place a piece of wax paper on the top before you place the lid on tightly. Clean the rim of the jar with a clean paper towel. Top the lid.Alternatively, use the lid with screw-on rings that come with the canning jars.
The canning process (if you plan to can the jam)
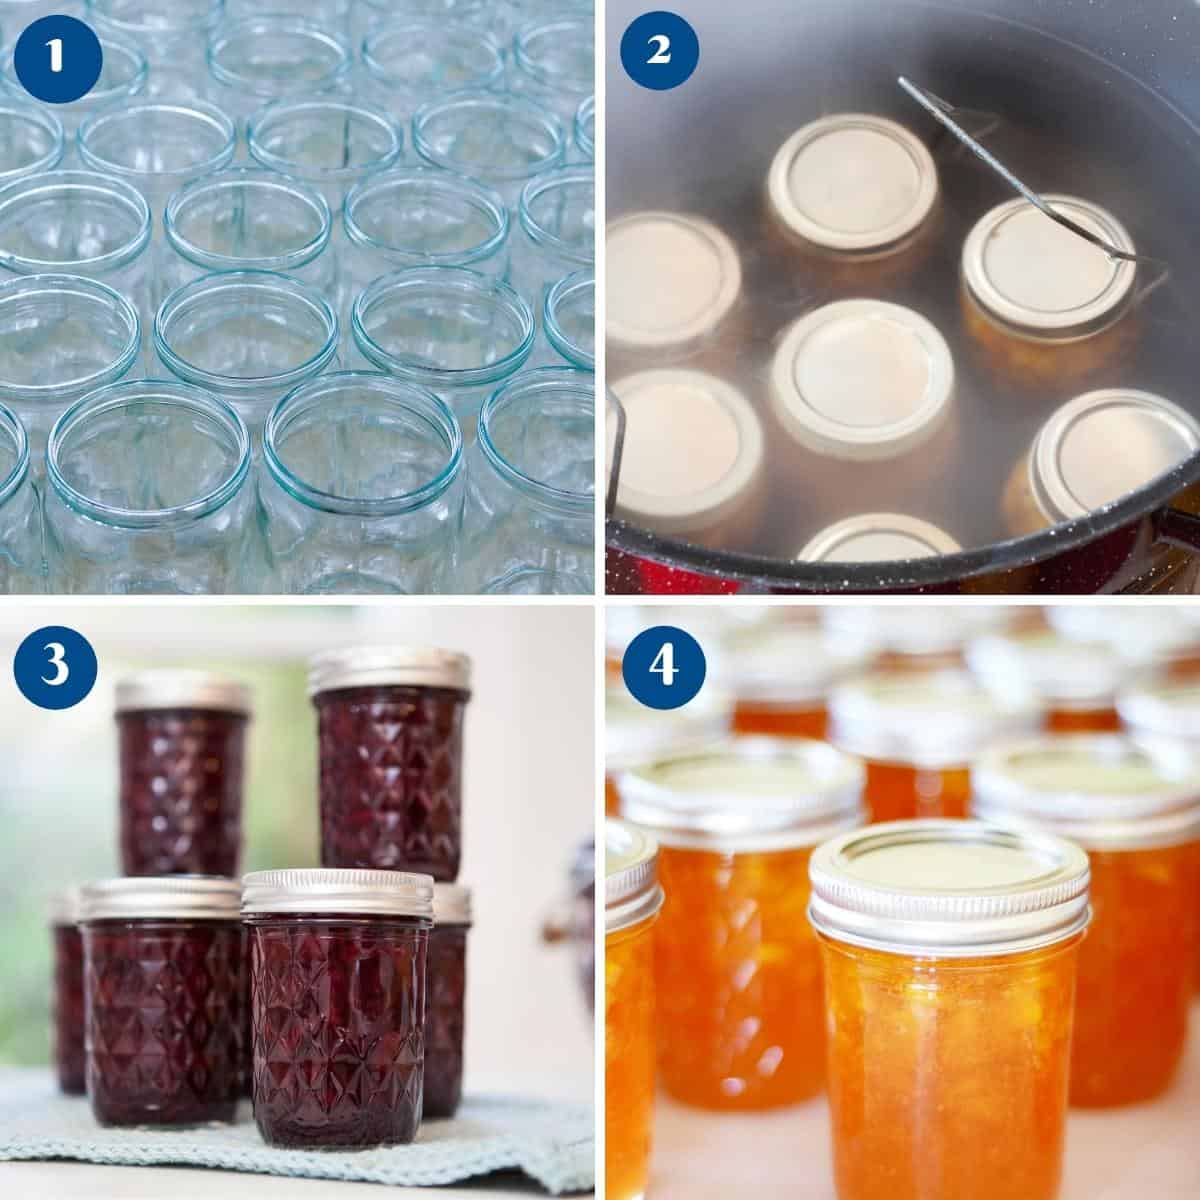
Sterilize the jars
Sterilize 4 x 8 oz (250 g) jars by washing them in hot, soapy water or cleaning them in the dishwasher with a gentle cycle. Then, place them in the oven for 20 minutes at a low 284 F / 140 CPro tip – I find the dishwasher does a good job of cleaning, and the oven dries any excess moisture from the bottles. Note – Leave them on the tray in the oven until you are ready to use them (you can turn the oven off). Don’t forget to wash and sterilize the bottle lids as well.
Canning process
Place a rack in the bottom of a large stockpot or canner. Fill half the pot with water. Bring the water in the pot to a boil on high heat. Place jars over the rack, leaving enough space between them.Pro tip – The water level should be at least an inch above the top of the jars. So, if necessary, pour more boiling water. Bring the water to a boil again. Cover the pot and process/simmer for 15 minutes. Then, carefully remove the jars from the stockpot and place them on a kitchen towel to absorb any excess moisture. Cool completely.Pro tip – The hot jars are very delicate, so make sure to use tongs when taking them out and place them on soft towels to prevent them from breaking. Press the top of the lid to ensure the seal is tight – the lid should not move at all. Store in a cool, dry place.
Storage
If canning, the canned jam will stay in a cool, dry place in the pantry for up to a year or even longer. When not canned, the jam will stay at room temperature for a month or more in good weather. You can also keep the jam in the fridge for 3 to 6 months. Label the jar with the name and date so you know what is in it and when you made it.
Frequently asked questions
Creative ways to use cherry jam
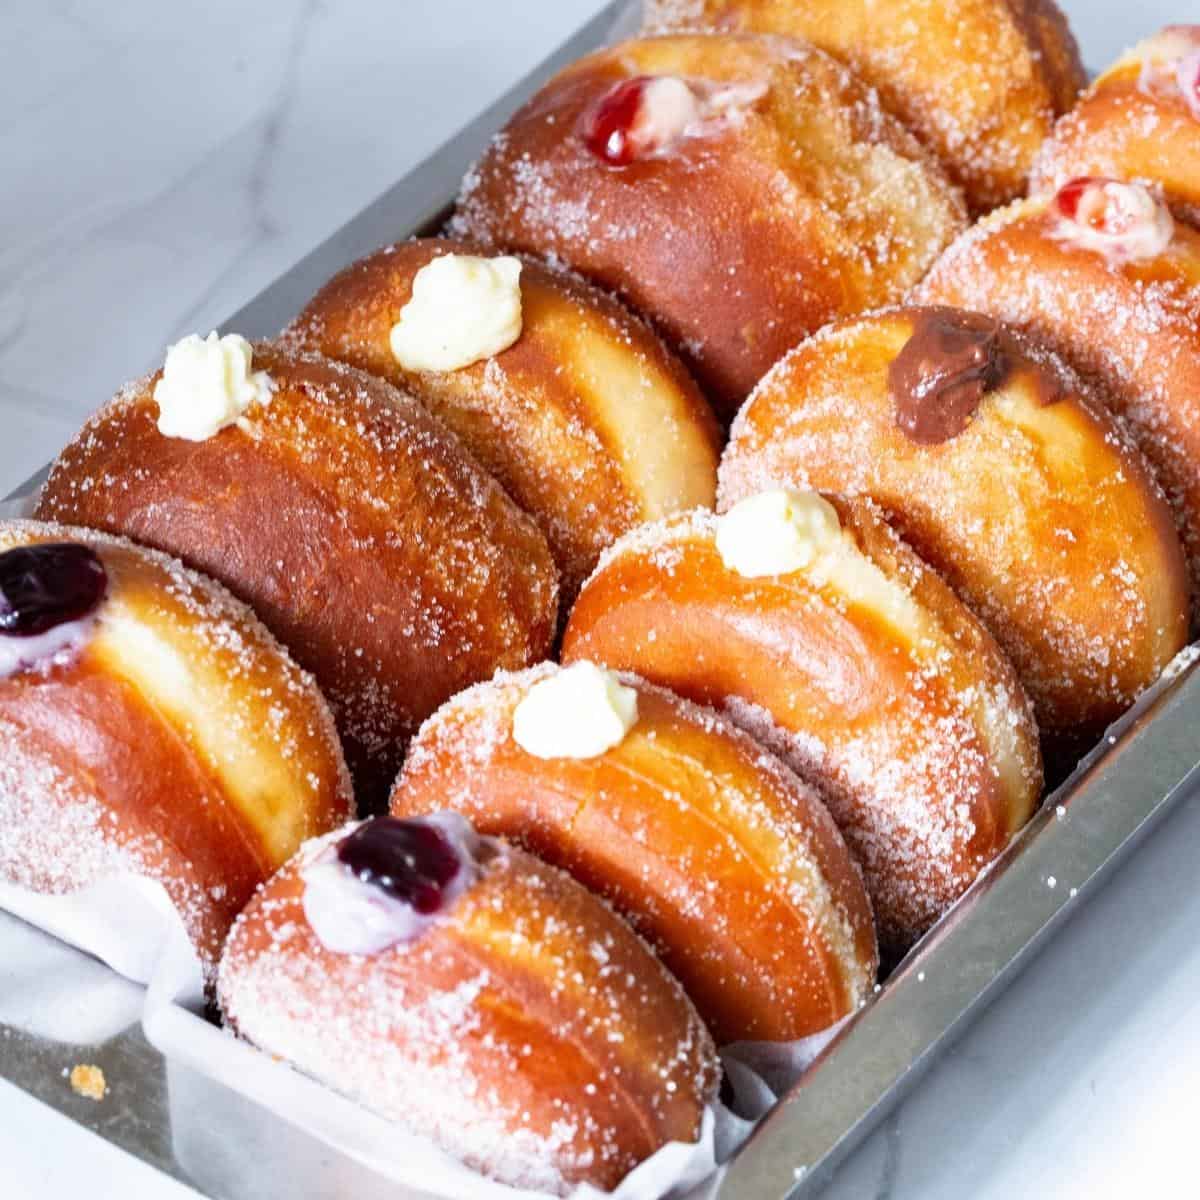
Thumbprint Cookies: Make thumbprint cookies by forming the dough into small rounds and pressing your thumb into each one to create an indentation. Fill the indentations with cherry jam before baking. Cherry Jam Glaze: Mix cherry jam with a bit of water or fruit juice to create a sweet glaze. Brush the glaze over roasted or grilled chicken, pork, or tofu to add a fruity flavor. Jam Yogurt Parfait: Layer cherry jam with Greek yogurt and granola in a glass or jar to create a colorful and flavorful yogurt parfait. Jam Stuffed French Toast: Spread cherry jam between two slices of bread before dipping them in egg batter. Cook until golden brown and serve with powdered sugar and fresh cherries. Jam donuts / Sufganiyots – Fill donuts and donut holes with mixed berry jam and roll them in powdered or cinnamon sugar for a delectable breakfast or dessert treat.
Fresh Fig Jam – No Pectin (just 3 ingredients) Microwave Strawberry Jam – No Pectin Blueberry Jam – No Pectin (3 ingredients) See all jam recipes
Thank you for sharing - Save for later