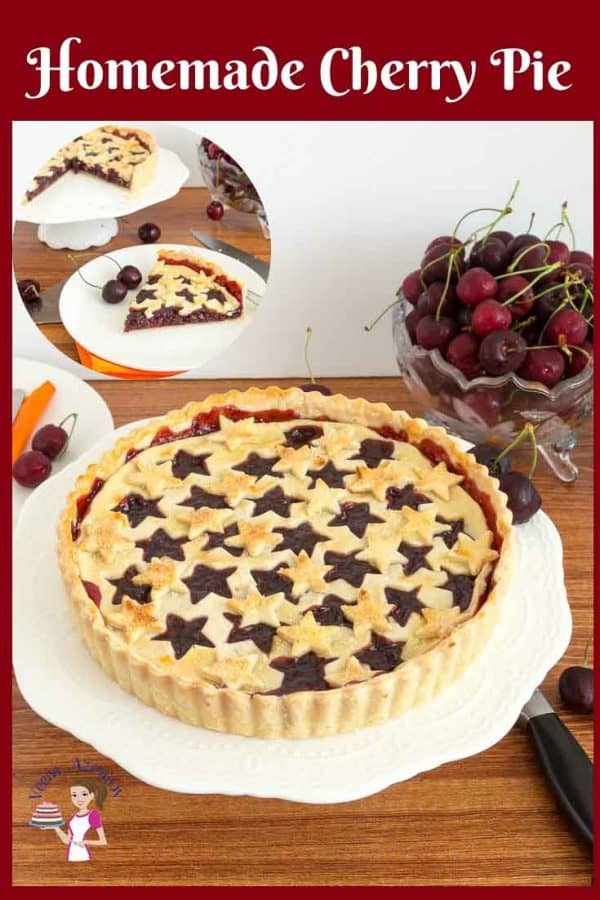
The one thing about the cherry season is that you can never get enough cherries. Some recipes just work better with fresh cherries, right? Like my cherry filling, jam, ice cream, crumble, even cake.
Step-by-step: Easy cherry pie recipe
Pie crust
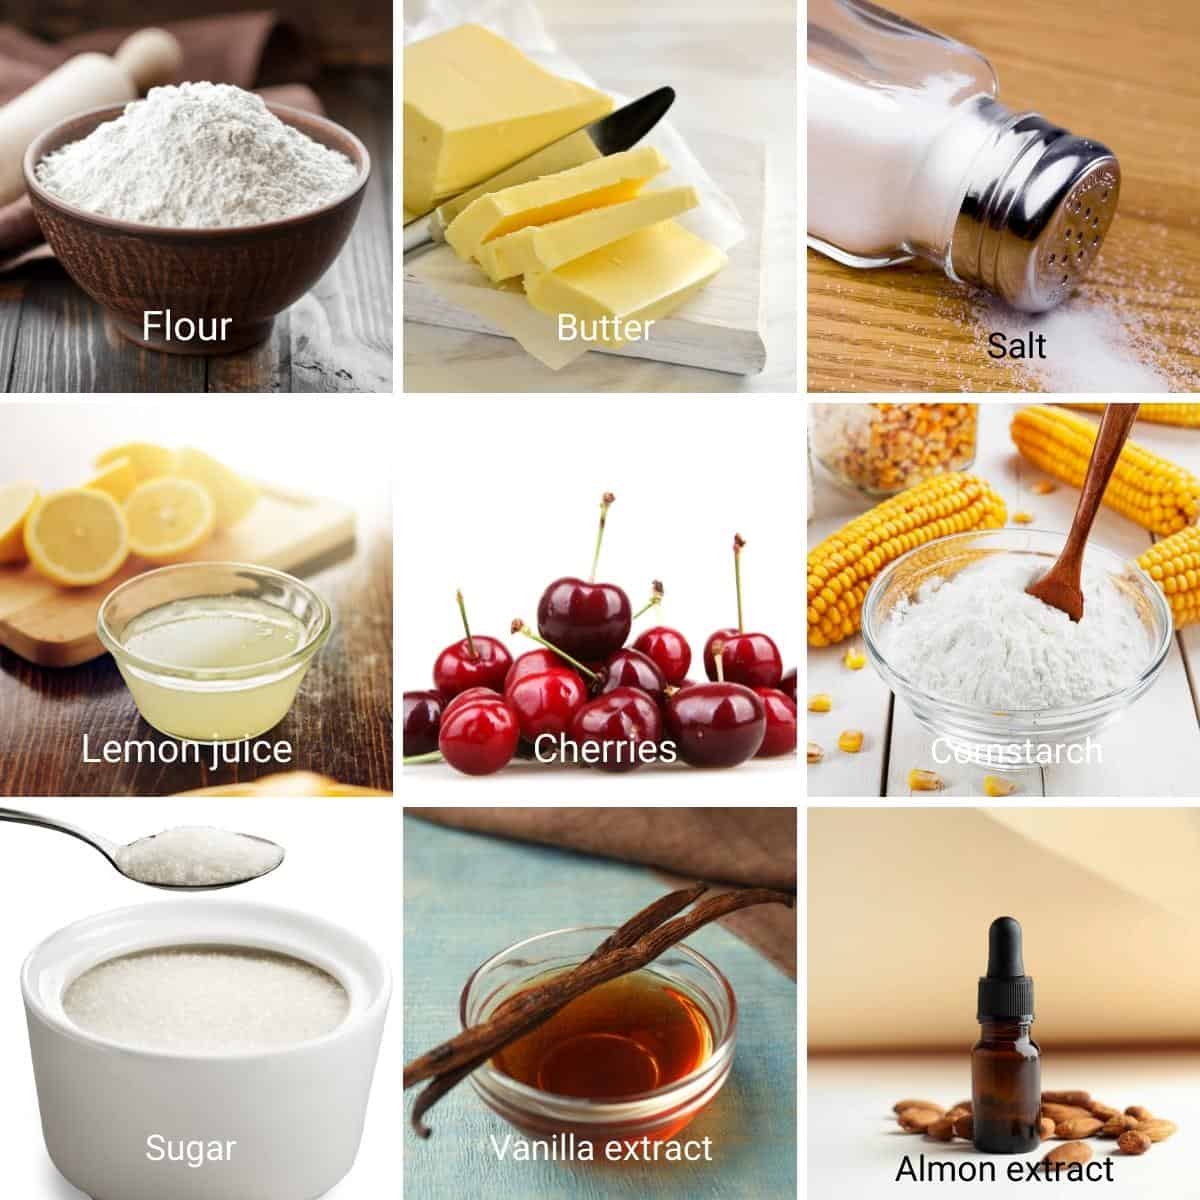
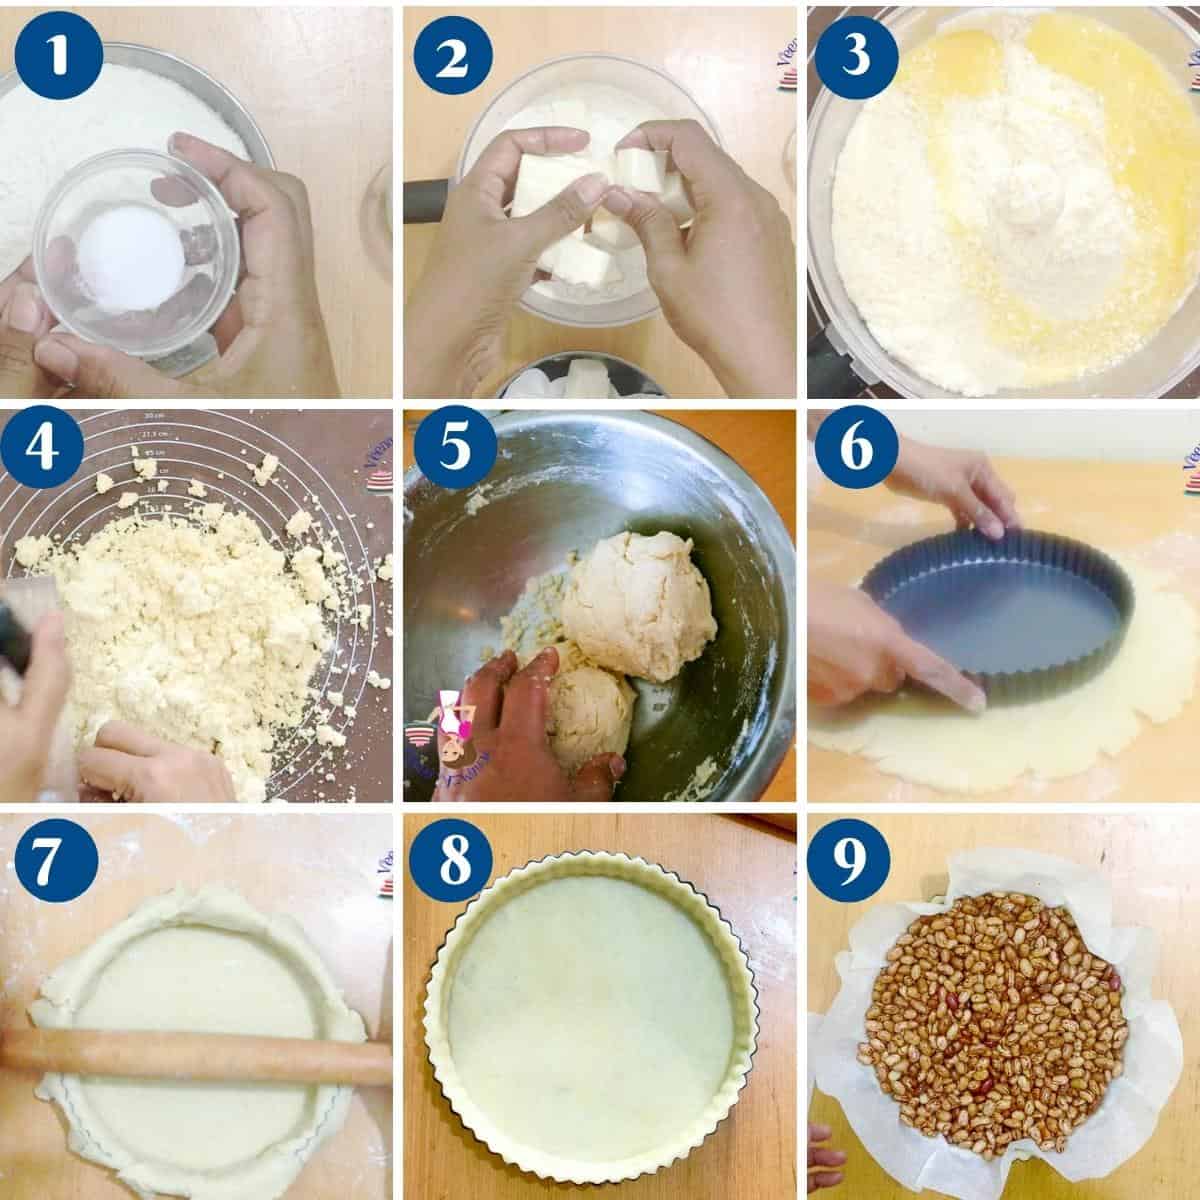
In a food processor add the flour, salt, and chilled cubed butter Pulse for 30 seconds until it resembles coarse bread crumb consistency.Pro tip – You can also do this in a bowl using a pastry blender or fork. Combine the egg with cold water and add it to the mixture. Pulse or combine for 30 seconds more.Pro tip – the mixture will still be crumbly but when squished with your fingers it will shape into a dough. So, don’t over-mix or pulse too much. Pour the mixture onto a work surface. Bring all the crumbs together and shape them into a ball. Divide the ball into two discs. One is larger for the bottom and the second is a little smaller for the top. Wrap in plastic wrap and chill for 20 to 30 minutes or until firm enough to roll.Pro tip – If you flatten the dough into a larger disc it will chill faster and you will have to wait for much less time.
Bottom crust
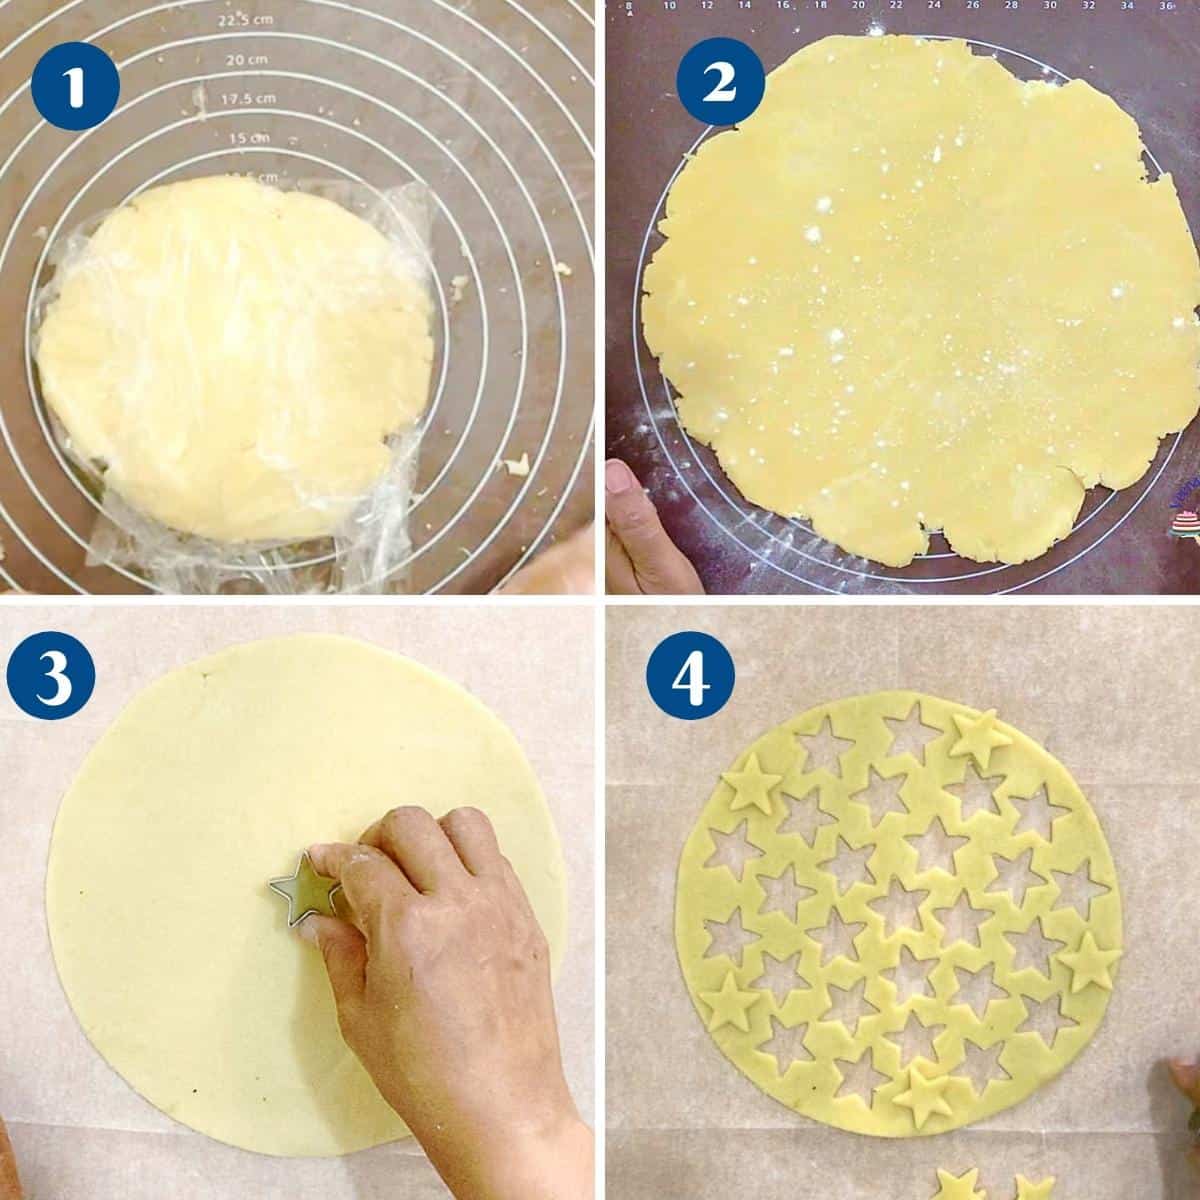
Roll the larger dough onto a lightly floured surface. Start with a tapping motion, then roll from the center out.Pro tip – if the dough cracks too much, means it’s too cold. Let it be at room temperature for 5 to 7 minutes. Use your 9-inch tart pan as a guide to know how big you need to roll it. When you reach the desired size, transfer the dough without cracking. Gently fit it to the pan, especially on the bottom edges.Pro tip – To transfer the dough without cracking too much, I like to roll the dough onto my rolling pin and then unroll it over the pan. Remove the excess dough and neaten the edges of the tart panPro tip – I like to roll my rolling pin over the tart to cut off the excess around the edges. Then neaten the edges by running your thumb along the edges. Chill the pie crust in the fridge for 15 minutes up to 48 hours.Pro tip – if leaving for a long time make sure to wrap in plastic so it does not dry out. Preheat the oven to 400°F / 200°C/ Gas Mark 6Pro tip– it is very essential that the oven is heated to the optimal temperature otherwise the crust can shrink when baking. Dock the chilled pastry all over with a fork to prevent the pastry from puffing up. Line the pie with parchment paper. Then, fill the center with pie weights or baking beans (dry beans). Bake for 15 minutes. Remove the pie weights and parchment paper. Cool for 5 minutes before adding the filling.Pro tip – this is called blind baking the crust. We do this so that the pastry will be partially cooked before we add the filling.
Prepare top crust
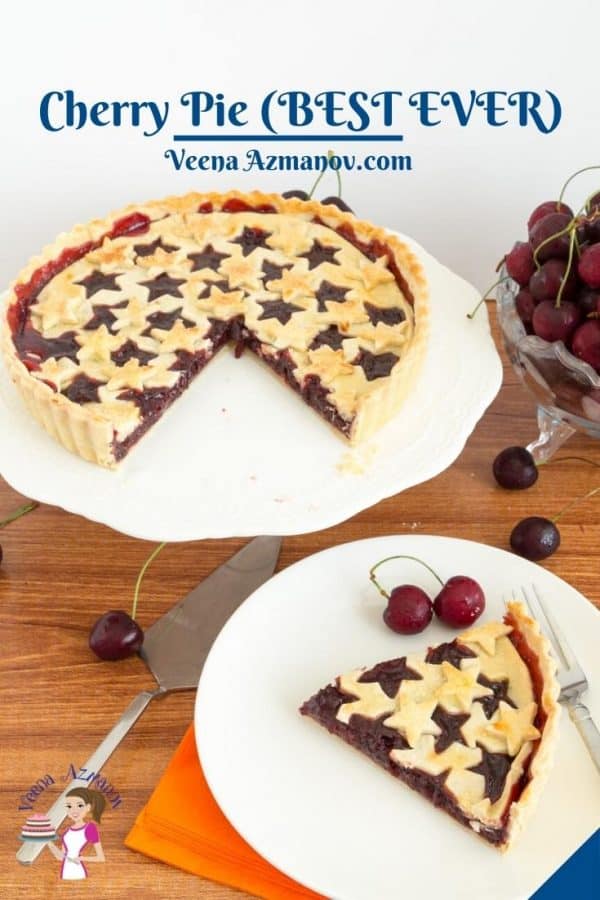
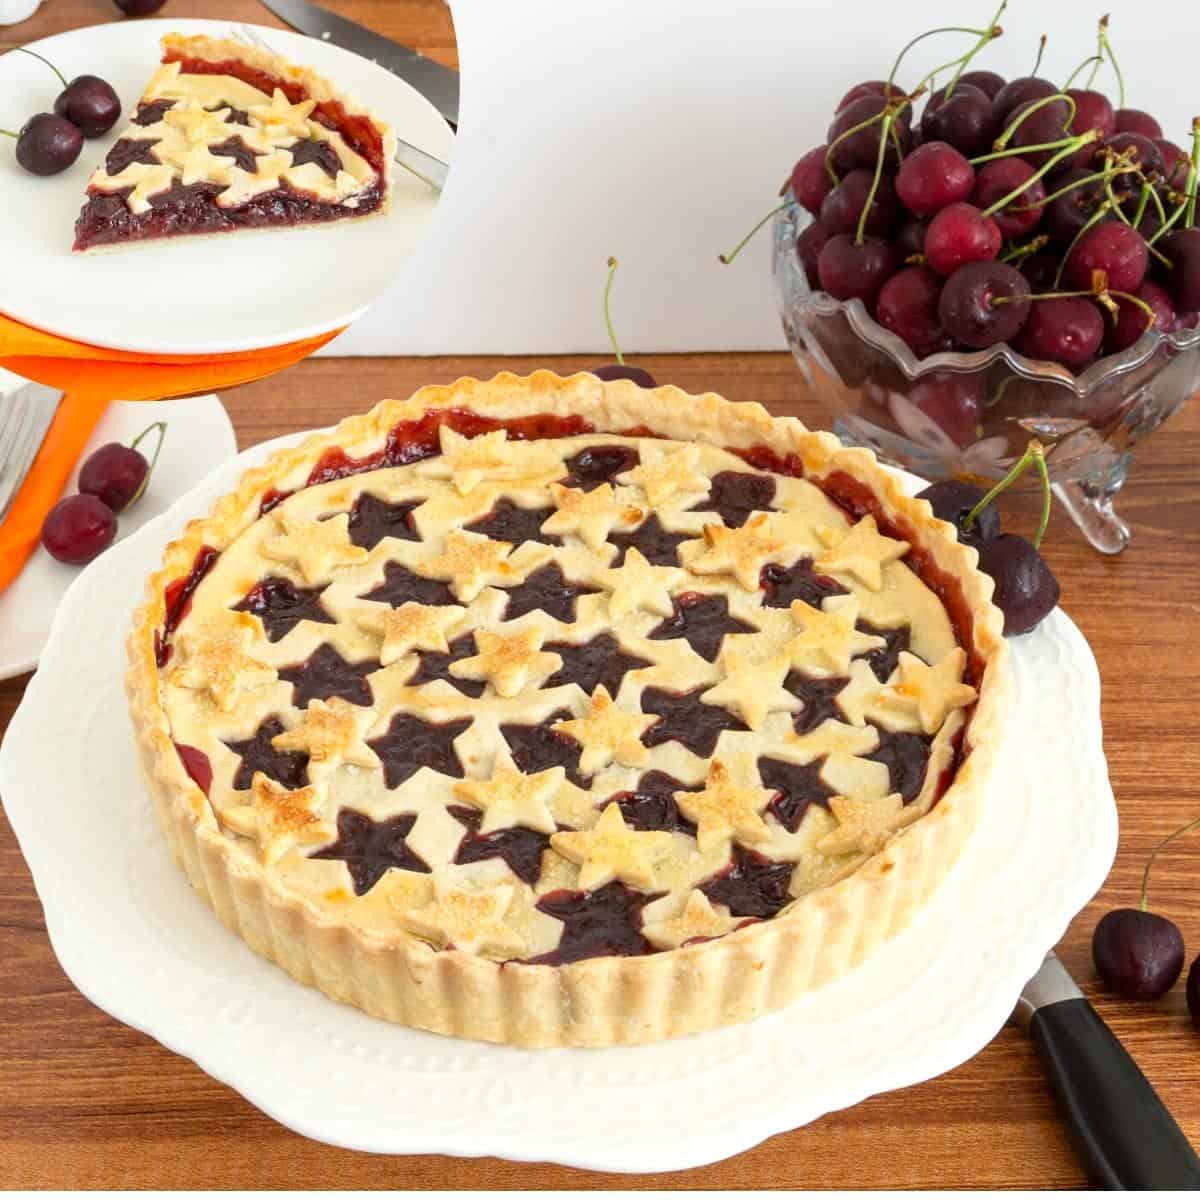
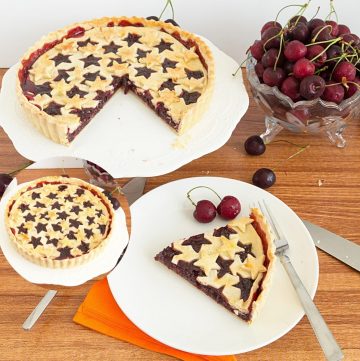
Roll the second disc of the pie crust a little larger than the size of the pie bottom. Place the crust on parchment paper so it’s easier to transfer. Using the pie bottom as a guide cut the crust into a disc (see video). Now use a star cookie cutter and cut out the star shapes all over the crust – starting from the center out or center out.Pro tip – a chilled dough will make clean cuts, if necessary place the base in the fridge for 10 minutes. Save the star cutouts to use as decorations for the cherry pie. Place the crust in the fridge to chill for 15 minutes or until ready to use.
Cherry filling
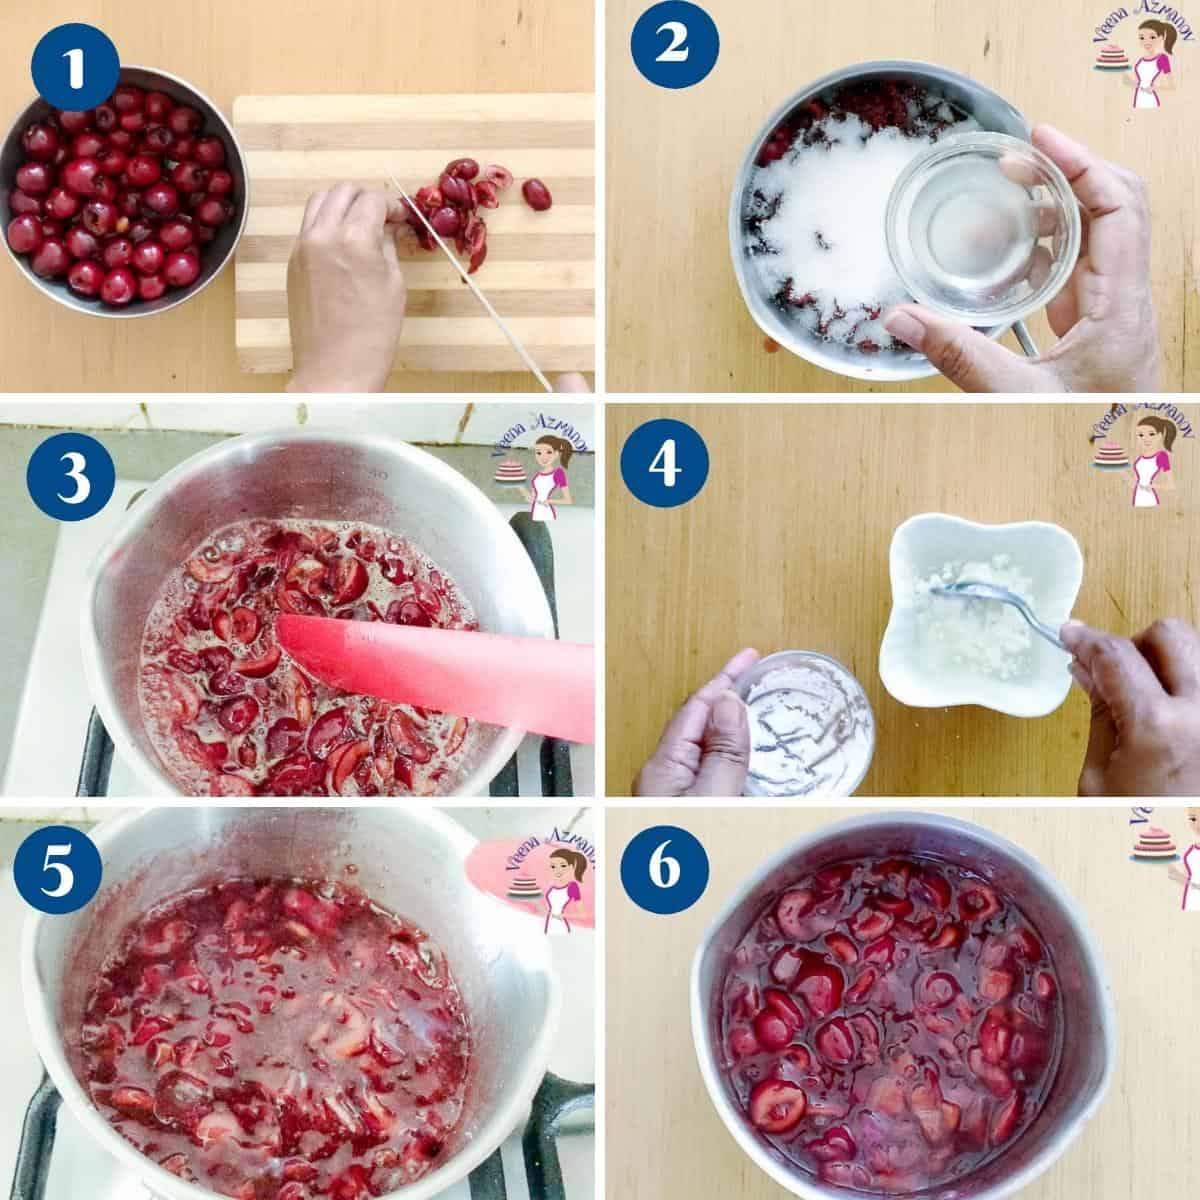
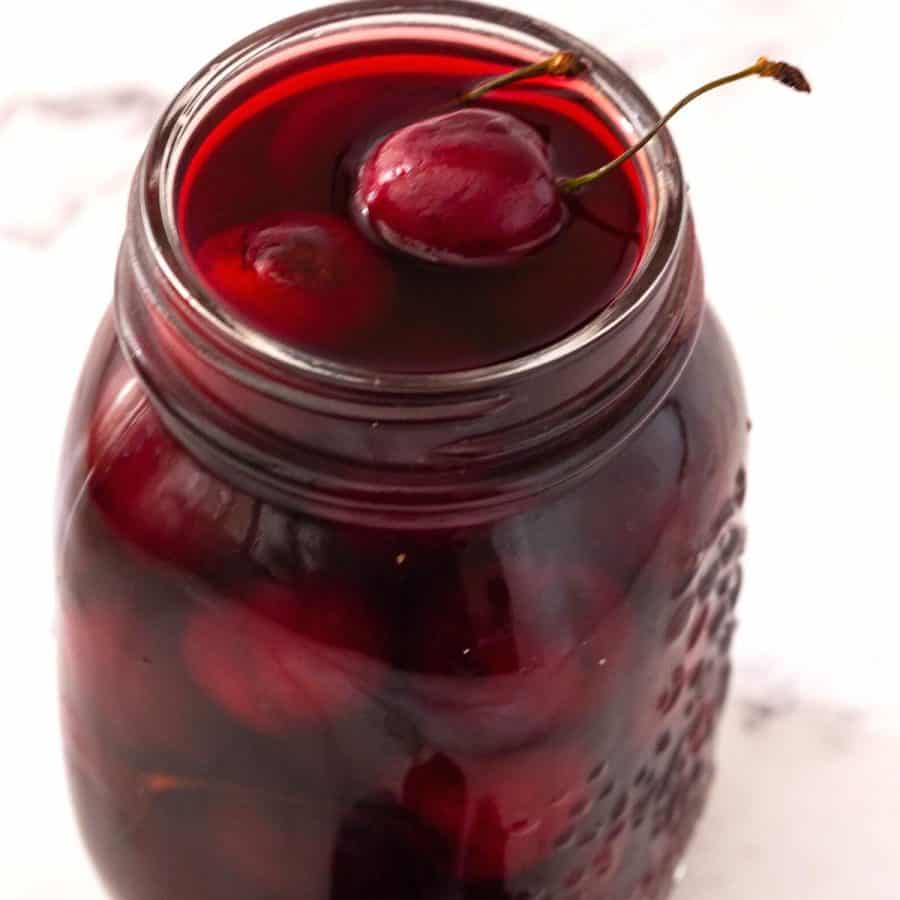
Wash and deseed/pit the cherries (remove seeds from the cherries). In a saucepan, over medium heat, add the cherries, sugar, lemon juice, and 1/4 cup of water. Cook on low to medium heat until all the sugar has dissolved. Use a vegetable masher to mash some of the fruit.Pro tip – Mashing will add a nice thicker consistency to the topping but make sure to leave some cherries whole. Combine the remaining water with cornstarch. Add it to the saucepan. Continue to cook on low heat until the filling is thick and glossy. When thick enough to coat the back of a wooden spoon or spatula it’s ready.Pro tip – Cornstarch can settle to the bottom of the water. So, you must stir it just before adding it to the saucepan. Remove and pour into a mason jar. Let cool completely or use as directed in your recipe.Pro tip – The filling will thicken as it cools so keep that in mind when you take it off the heat.
Baking the cherry pie
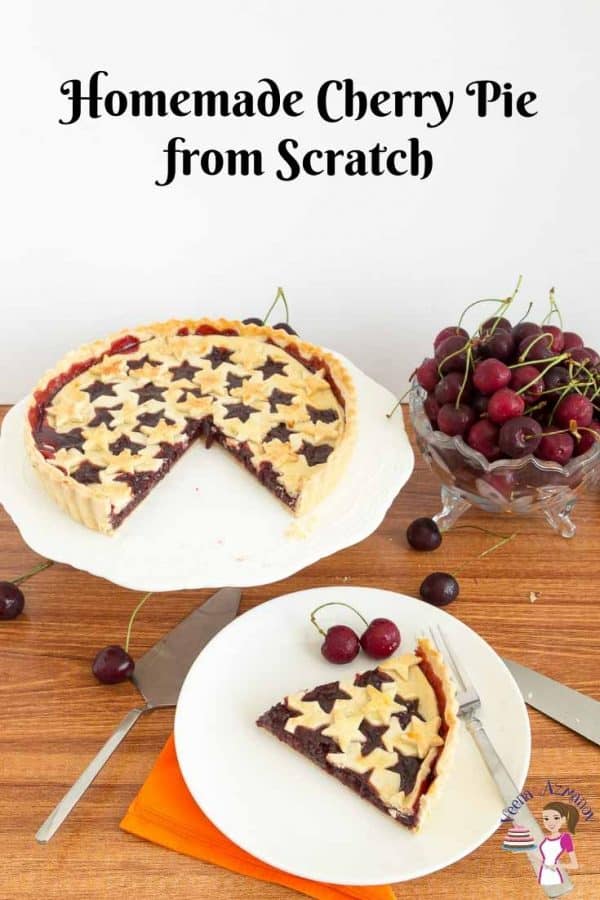
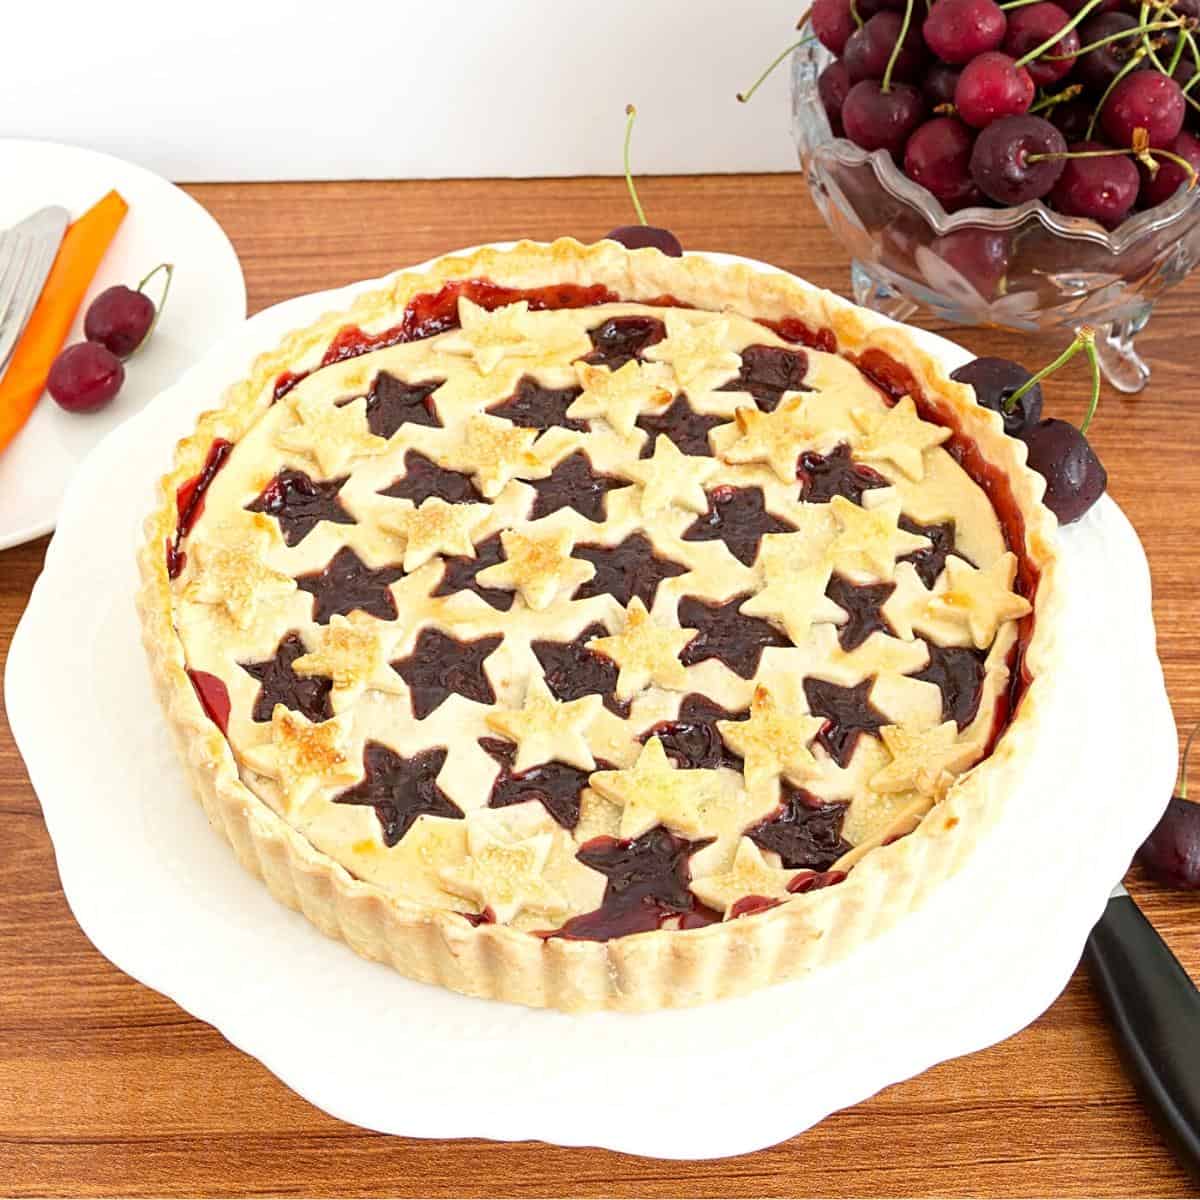
Reduce oven temperature to 350°F/ 177°C/ Gas mark 4 Pour the cherry pie filling into the partially baked pie crust. Place the top crust on the top. Then place the star cuts outs all over the top as decorationsPro tip – I like to use a cake lifter to transfer the disc from the baking tray to pie to prevent breakage. Combine the egg yolk and cream for egg wash. Brush the top crust generously with egg wash. Sprinkle white coarse sugar over the top crust. Bake on the center rack for a further 35 to 45 minutes or until the top crust is lightly golden.Pro tip – Place the pie on a baking tray for each cleanup in case of spillage. If the pie edges brown to quickly cover the edges with aluminum foil or a pie shield
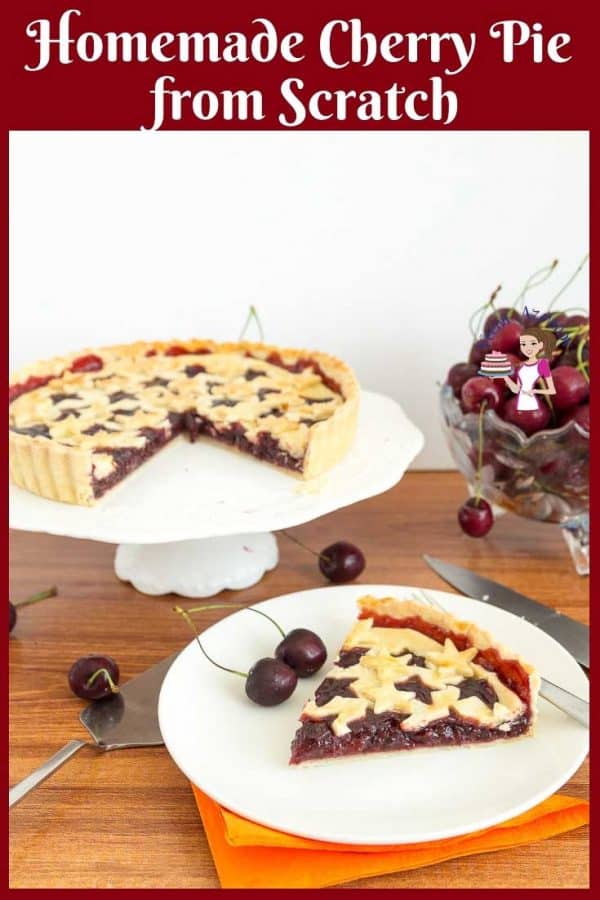
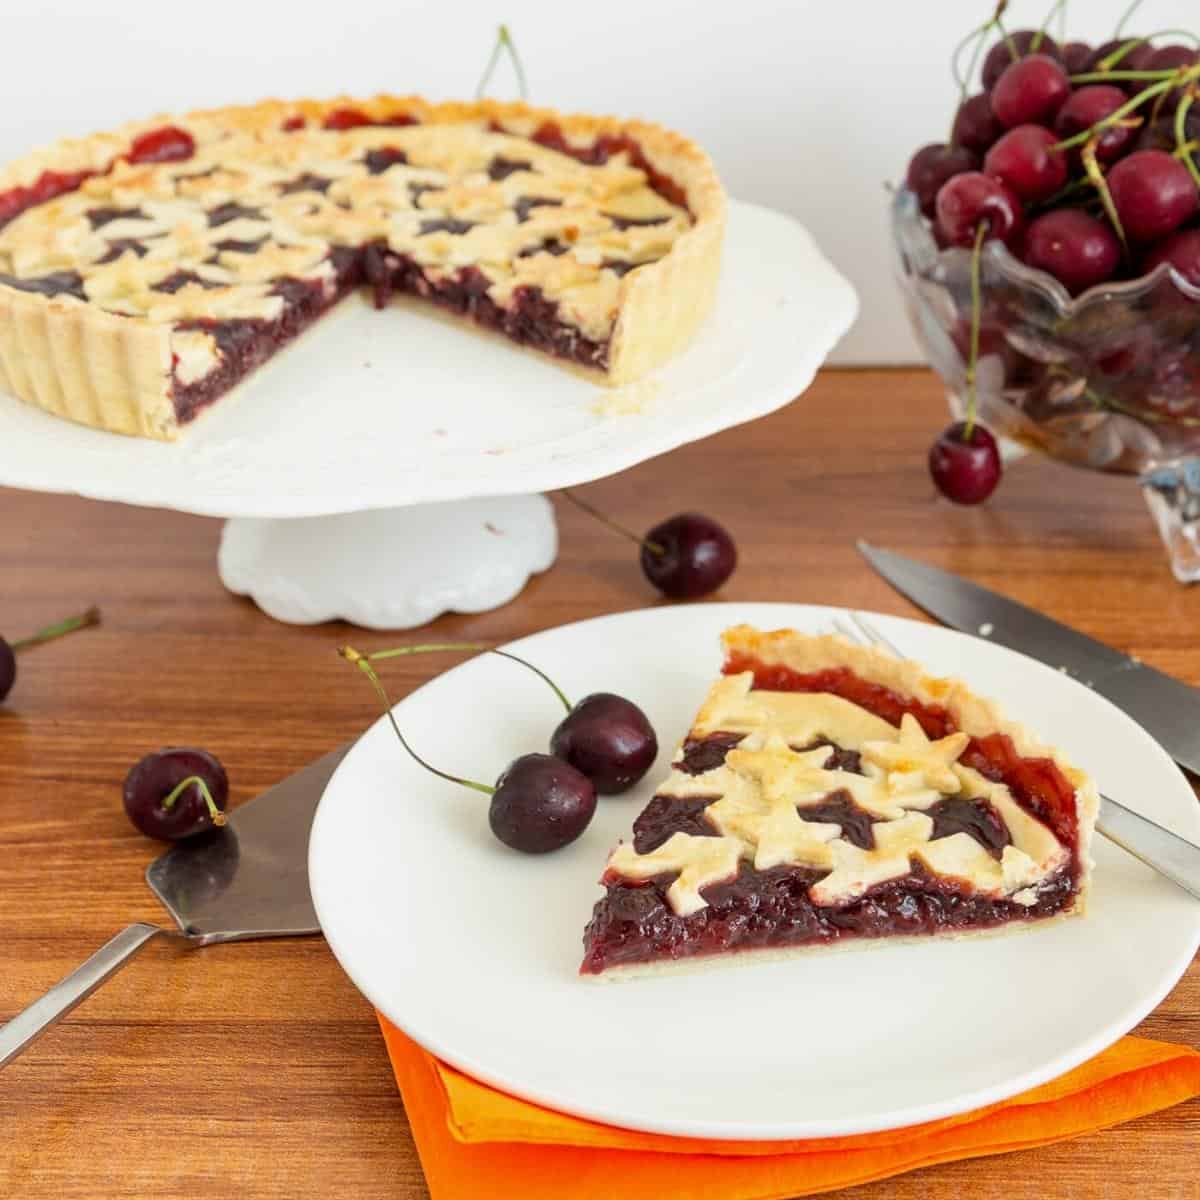
Serving the cherry pie
Chill the pie for at least 3 hours, preferably overnight. The cherry filling is very hot and bubbling so never touch it and never serve it hot.Pro tip – Cooling the pie also helps thicken the pie filling giving you pretty pie slices otherwise the pie filling will be messy if cut warm.
Frequently asked questions
Thank you for sharing - Save for later