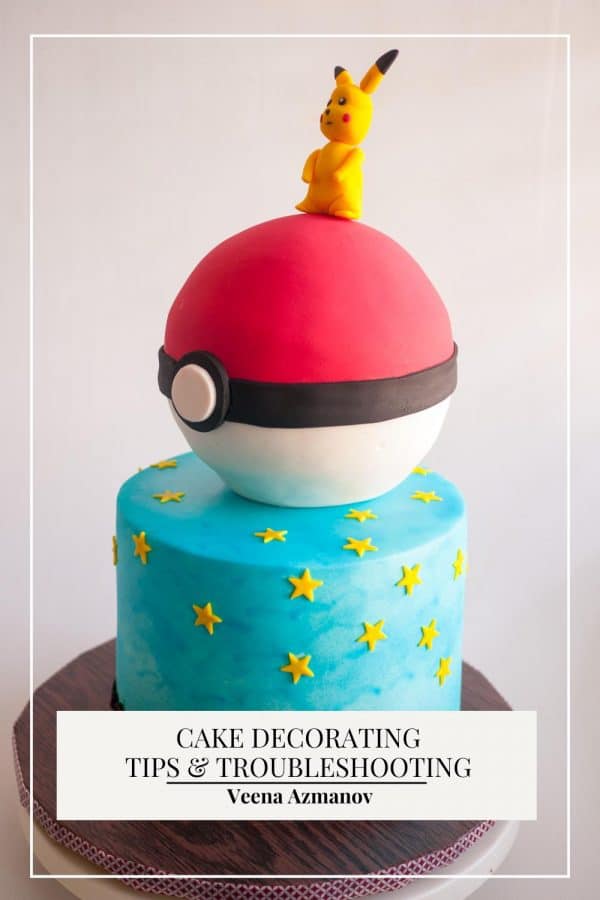
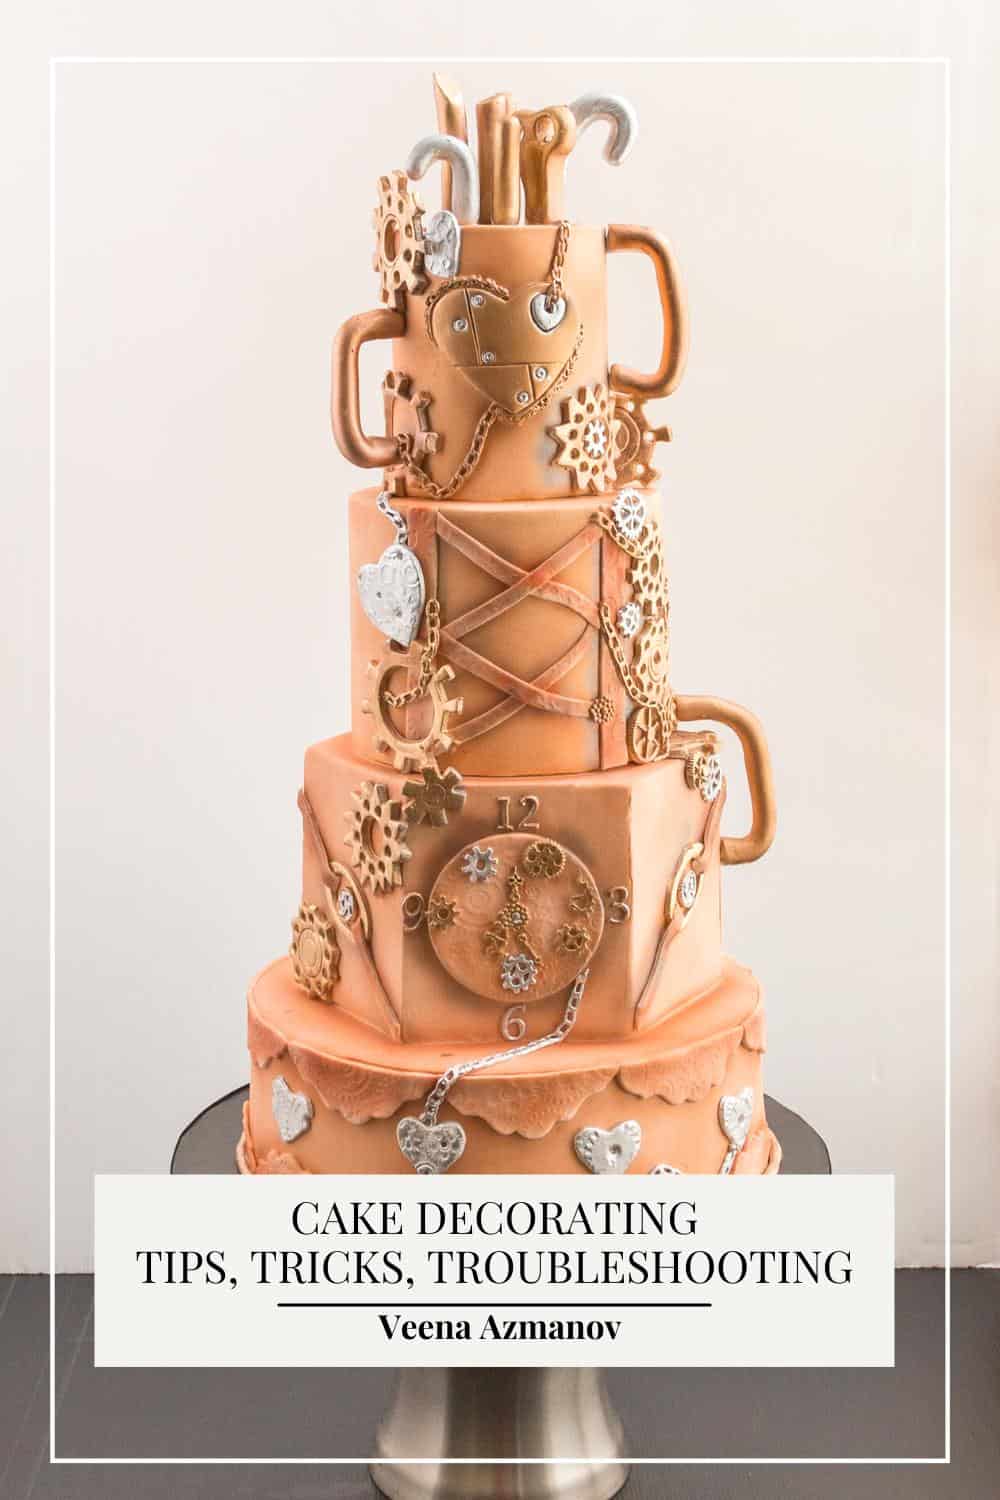
In this article, we’ll explore some tips and tricks to help the beginner cake decorator create delightful treats with ease. We’ll cover topics such as how to choose the right frosting, troubleshooting techniques for common mistakes, and choosing decorations that will impress your guests. With a bit of practice, you’ll be crafting delicious and beautiful creations in no time – perfect for any occasion.
Bulges around cake
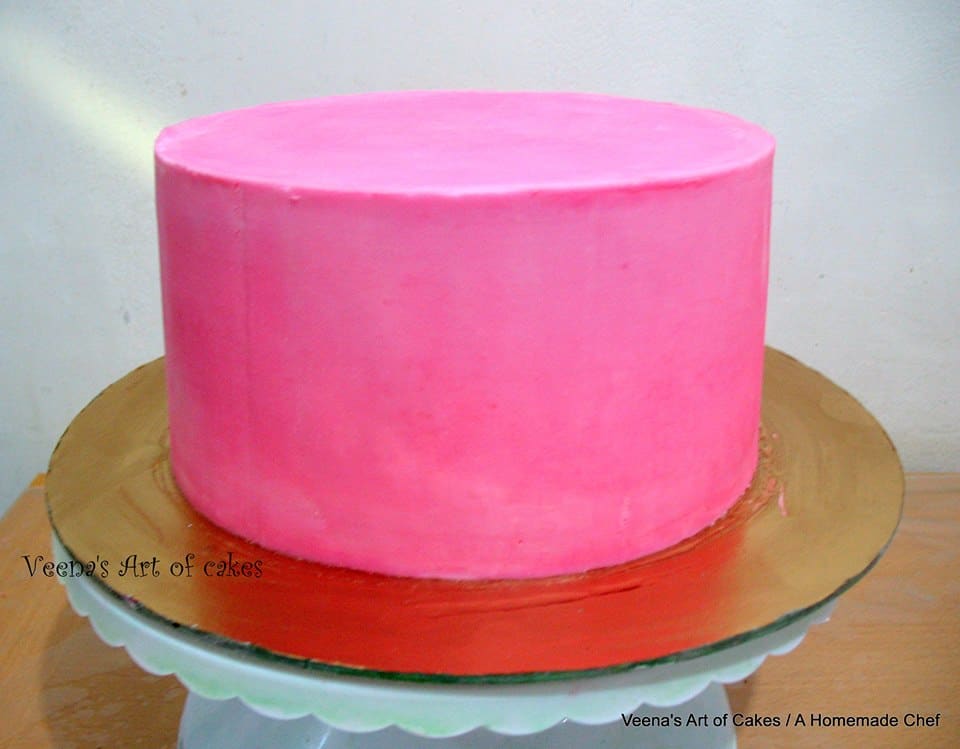
Have you ever made a cake and then had the issue of bulges around it? The type that actually looks ugly and embarrassing? What is worst, is often, you finish decorating the cake, waiting for it to be picked up by the client, then suddenly, you see a pregnant belly emerging on one side of the cake
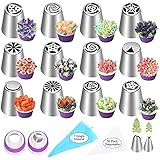
Piping Bags: These are used to hold and dispense frosting or icing onto the cake. They come in disposable plastic or reusable cloth options. Piping Tips: These are metal attachments that fit onto the piping bags to create different designs and shapes. There are numerous types of piping tips available, including round, star, leaf, petal, and specialty tips. Start with basic tips like round and star tips and gradually expand your collection. Offset Spatula: An offset spatula is a versatile tool for spreading frosting, smoothing surfaces, and creating even layers. It has a bent angle, allowing for easy maneuverability. Bench Scraper: This tool is used for smoothing the sides of cakes and creating clean edges. It’s especially useful for square or rectangular cakes. Cake Turntable: A turntable is a rotating stand that holds the cake while you decorate. It allows for easier access to all sides of the cake and smoother frosting application. Cake Leveler: A cake leveler is used to create even layers by cutting the top of the cake. It ensures that your cake layers are flat and uniform. Cake Boards and Cake Drums: These are sturdy boards or drums used to support and transport cakes. They provide a stable base for decorating and presenting your cakes. Decorating Brushes: Food-safe brushes are useful for applying glazes, brushing on edible dusts or colors, and adding delicate details to cake decorations. Fondant Smoother: If you work with fondant, a fondant smoother helps achieve a smooth and polished finish on the surface of the cake. Rolling Pin: A rolling pin is essential for rolling out fondant or dough for cake decorations. Decorating Tips and Couplers: Apart from piping tips, you will need couplers, which allow you to change the piping tips without emptying the bag. Couplers are especially useful when using different tips for the same color of frosting. Cake Decorating Comb or Scraper: These tools create textured or patterned designs on the sides of cakes. Edible Decorations: Various edible decorations like sprinkles, edible pearls, edible glitter, and edible flowers can enhance the visual appeal of your cake. Palette Knife: A palette knife or flat spatula is useful for spreading and smoothing icing or ganache. Food Coloring: Gel or paste food coloring is preferred for achieving vibrant and accurate colors in frosting and fondant. Flower Nail: If you plan to create intricate buttercream flowers, a flower nail is used as a base for piping the flower petals. Cooling Rack: A cooling rack is used to cool cakes and allow air circulation for even cooling. Cake Stand or Platter: A decorative cake stand or platter is used to showcase your finished cake.
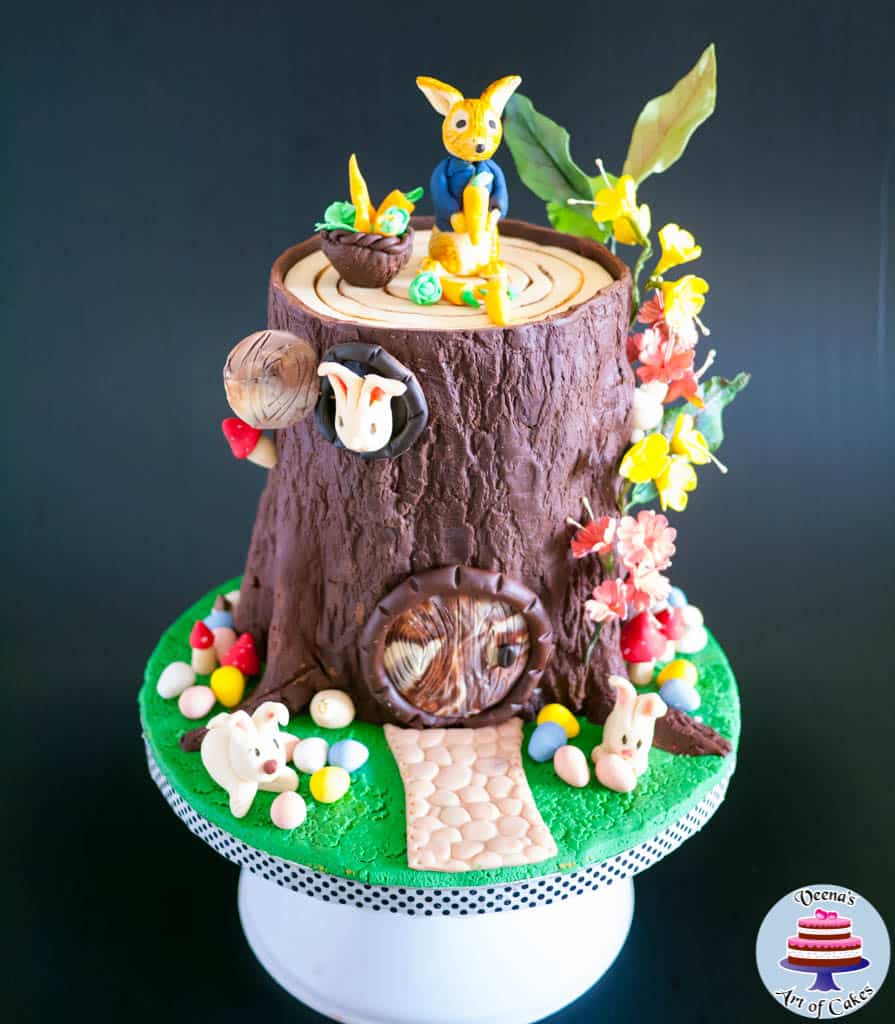
Double barrel cakes
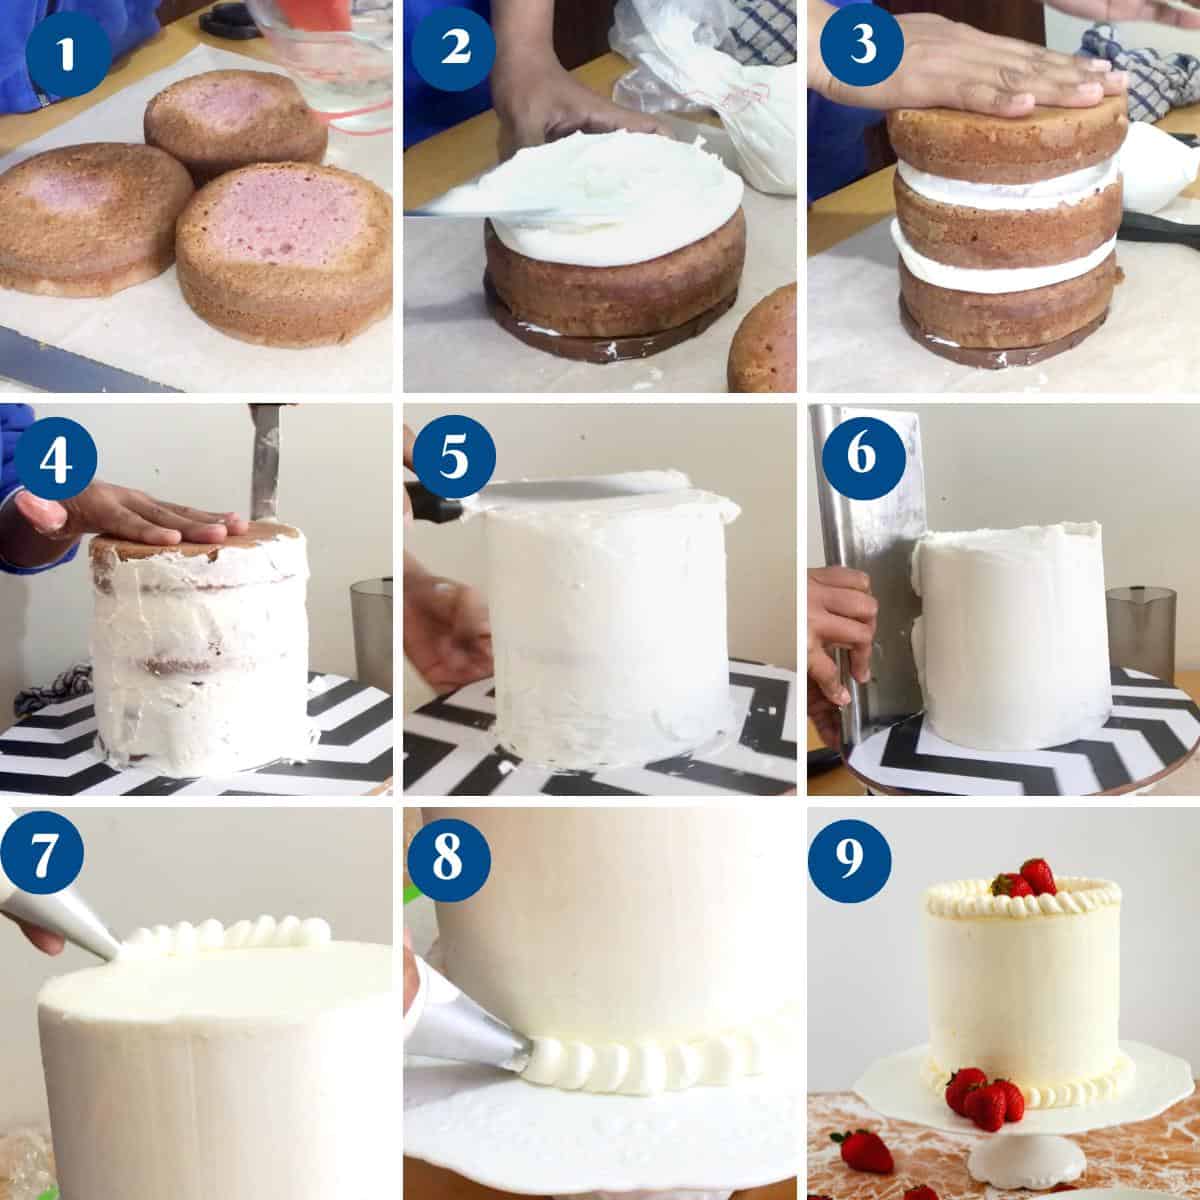
Double Barrel Cakes have become a new trend. They give you an opportunity to extend a design far and wide opening up a whole new world of possibilities. While they are not easy or difficult, here are a few basics worth paying attention to. This post explains all about double-barrel, and a few tips that may help you along the way including serving and pricing. There are a few possible reasons for pressure build-up causing these bulges:
If you don’t level your cake properly (see have a dome on the cake). Not giving your cake enough time to rest. Your cake is warm – which is why places with warm climate have more issues with bulges around the cake. Sudden change in temperature – getting the cake out from the fridge and into a hot and humid room (especially here in the Middle East). Overfilling your cake – too much filling in between the layers. Not doweling the cake properly – few dowels.
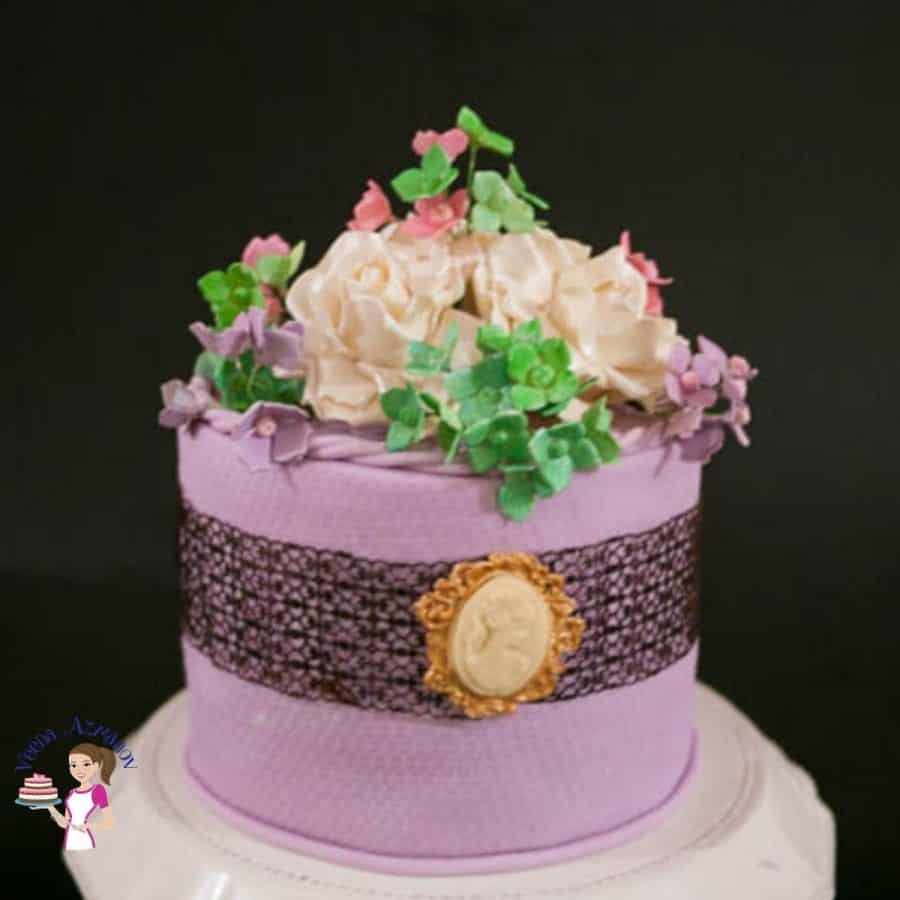
I have used a black lace to cover the bulge and placed the cameo to cover the pinprick. You can also use other things like place flowers or fondant cutouts to cover the bulged area.
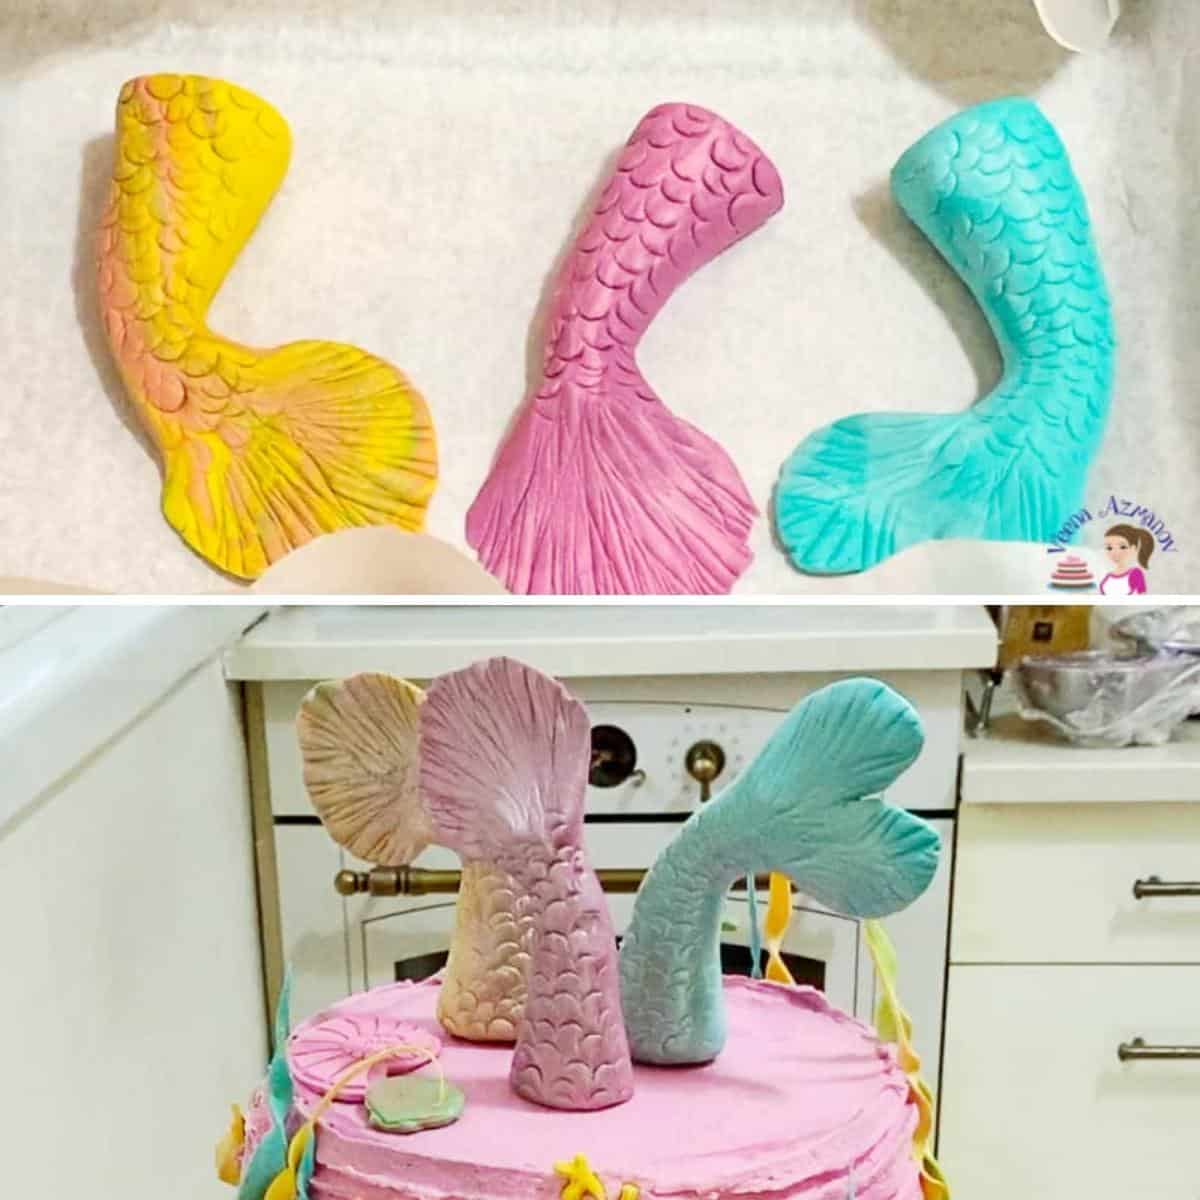
Note : Most dust is labeled as non-toxic and non-edible. This means if consumed they won’t harm you but they are not to be consumed. An item with this dust is to be removed from the cake before serving the cake. The term “double barrel” refers to the fact that the cake appears as if it has two barrels stacked on top of each other. It is a popular choice for special occasions, such as weddings or large celebrations, where an impressive and grand cake is desired. To create a double barrel cake, you typically bake two separate cakes of the same size and stack them on top of each other using a sturdy support system, such as dowels or cake boards. The layers are usually filled and frosted together, giving the cake a cohesive appearance. Double barrel cakes offer more room for creativity and decoration due to their increased height. They can be decorated with various techniques, such as fondant covering, buttercream piping, edible decorations, or tiered designs. The additional height allows for more elaborate and eye-catching cake designs, making them a striking centerpiece for any event. In summary, a double barrel cake typically consists of two distinct cake layers stacked together, while a tall cake can refer to any cake that is taller than a single-layered cake, including those with three or more layers. However, the specific terminology used may vary, and the distinction between the two terms can be blurred in practice.
Types of cake decorating dusts
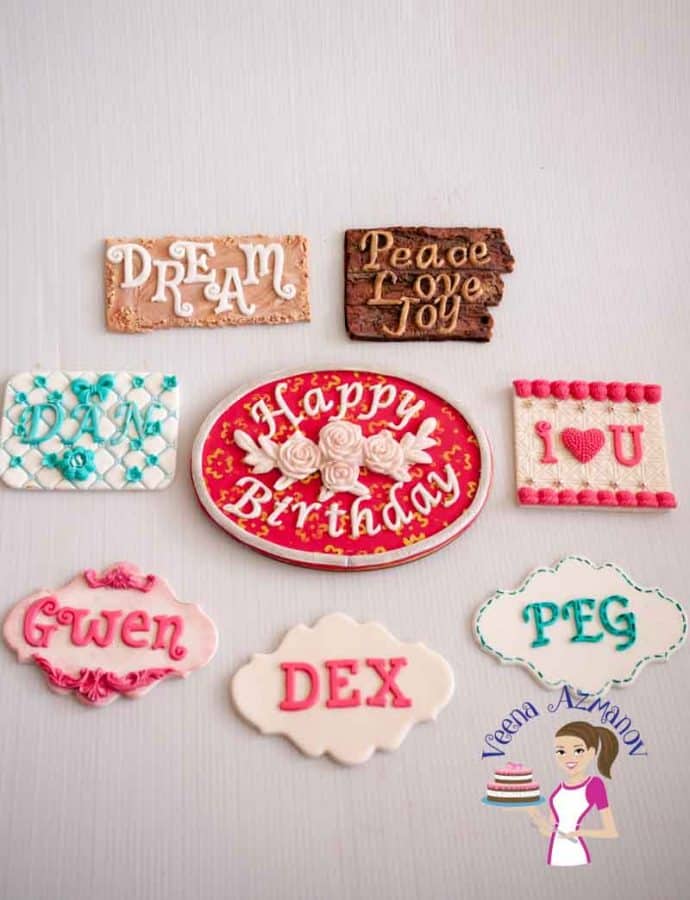
Petal Dust – Used to color the petals of flowers hence the name petal dust. They are usually in matt finish to achieve a more realistic look. Petal dust can be added to luster or pearl dust to add color and sheen. Pearl Dust – Usually comes in white and gives a pearlescent finish to fondant or gum paste such as fondant pearls. You can add petal dust to petal dust to achieve a colored shiny finish. Luster Dust – Comes in different colors and has shimmer added to it. When applied they have a colored shiny sparkly appearance. It can be applied dry or dissolved with alcohol to obtain two different effects. Sparkle Dust – Similar to luster but the grains of shimmer are larger. Disco Dust – grains are larger than sparkle dust. Contains shimmer and glitter and is used to give a bolder sparkly glittery finish. Highlighter Dust – Gold, silver, and metallic are supposed to be used for decorative purposes only which means they are not to be consumed. Objects with highlighter dust are to be removed before serving. Mostly used dissolved in alcohol to obtain a paint-like finish. Edible glitter or fairy dust – is tiny flakes of shimmer that can be white or colored. Most of these are said to be edible because they are made from gelatin.
Here’s how to use cake decorating dusts:
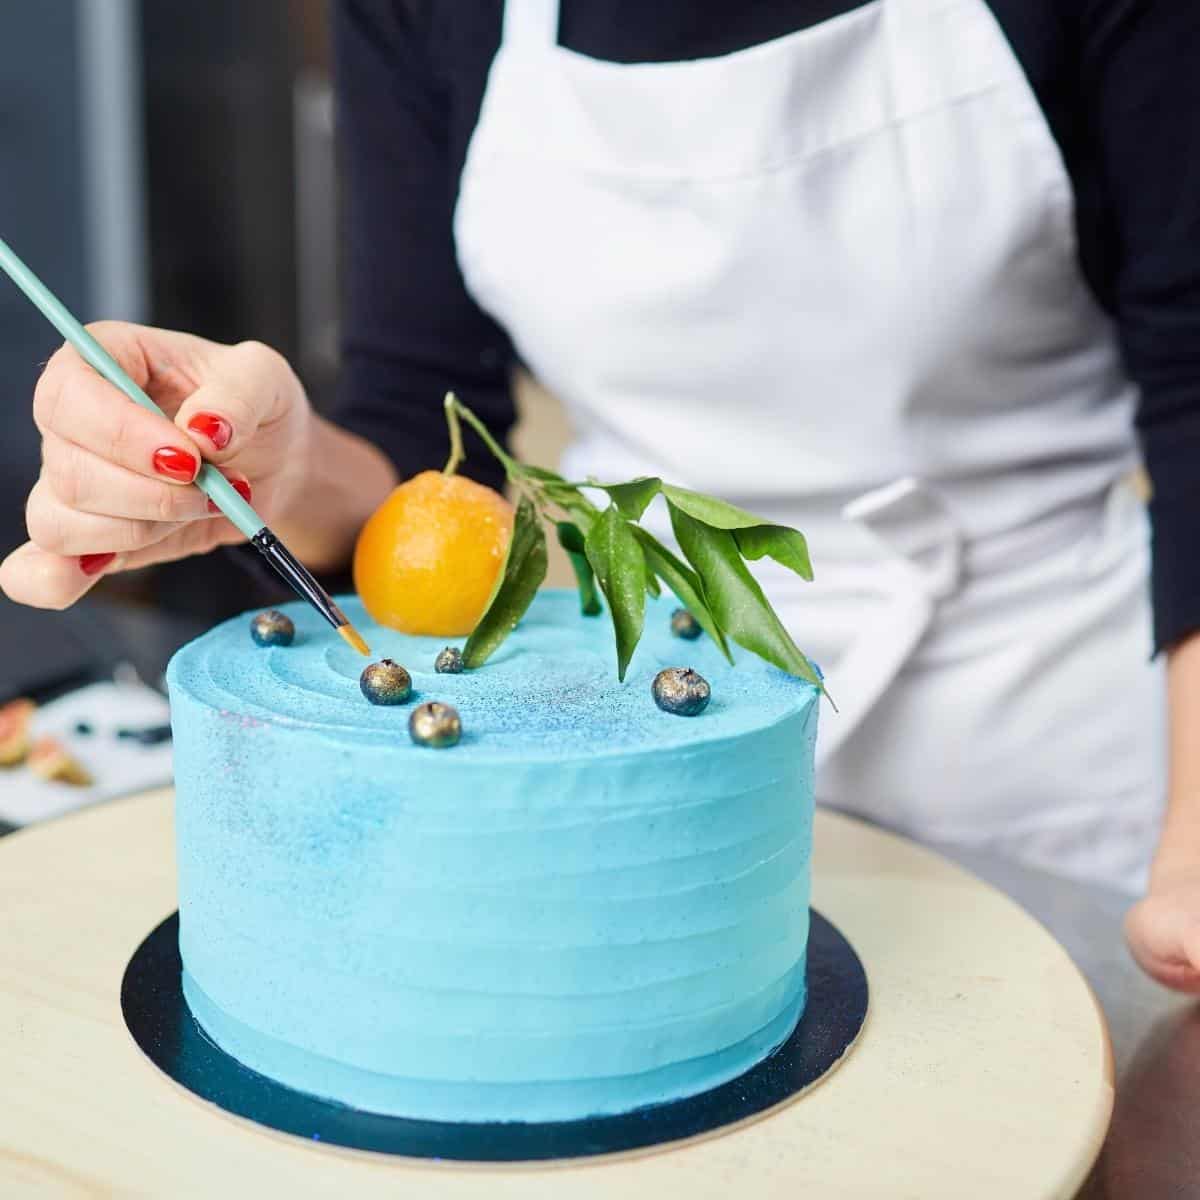
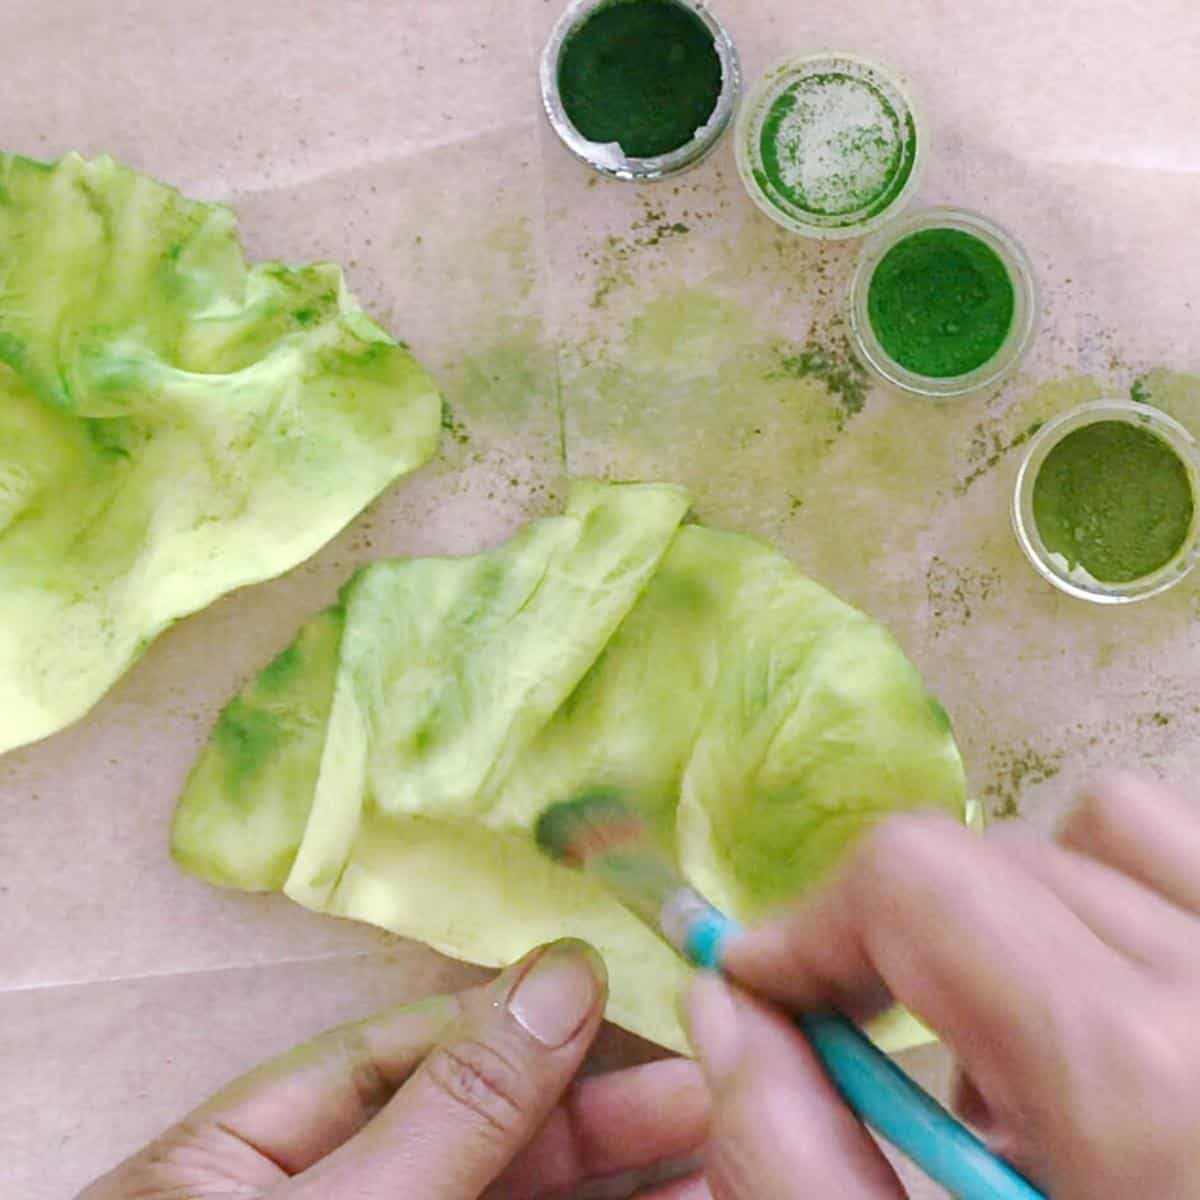
Choose the right dust: Select the dust color that suits your desired effect. There are various shades available, including metallic tones like gold, silver, and bronze, as well as an array of vibrant or pastel colors. Prepare the surface: Ensure that the surface you want to dust is dry. If using on fondant or gum paste decorations, let them air-dry or apply a thin layer of water or edible glue to adhere the dust. Apply the dust: There are a few methods to apply cake decorating dusts: Dusting brush: Use a soft-bristled, food-safe brush, such as a small paintbrush or a dedicated dusting brush. Dip the brush into the dust and tap off any excess. Gently brush the dust onto the desired area, applying in a light, even layer. You can build up the intensity by adding more layers. Pouncing method: For larger areas or more solid coverage, you can use a pouncing motion with a clean sponge or a makeup sponge. Dip the sponge into the dust, tap off the excess, and lightly press or pounce it onto the surface until you achieve the desired coverage. Mixing with alcohol or extract: Some dusts can be mixed with a clear alcohol like vodka or with a flavor extract to create a paint-like consistency. Mix a small amount of dust with a few drops of alcohol or extract until you achieve the desired consistency, then use a brush to apply the mixture onto the decoration. Blend and highlight: If desired, you can blend different dust colors together or add highlights by applying a lighter or contrasting color to specific areas. Use a clean brush to gently blend or layer the dusts to create dimension and depth. Set and finish: Once the dust has been applied and you are satisfied with the effect, let it air-dry or use a food-safe setting spray to help seal and preserve the dusted decorations.
Cake decorating dusts are a versatile tool for adding a touch of elegance and visual interest to your cake designs. Experiment with different colors and application techniques to create beautiful and customized decorations. Remember to always check that the dusts you are using are labeled as edible and safe for consumption.
Frequently asked questions
Did you LIKE this recipe? Save it for later. You can find my recipes on Pinterest. Follow me on Facebook, Twitter, and Instagram.Subscribe, and I’ll send you new recipes right to your inbox. Thank you for sharing - Save for later