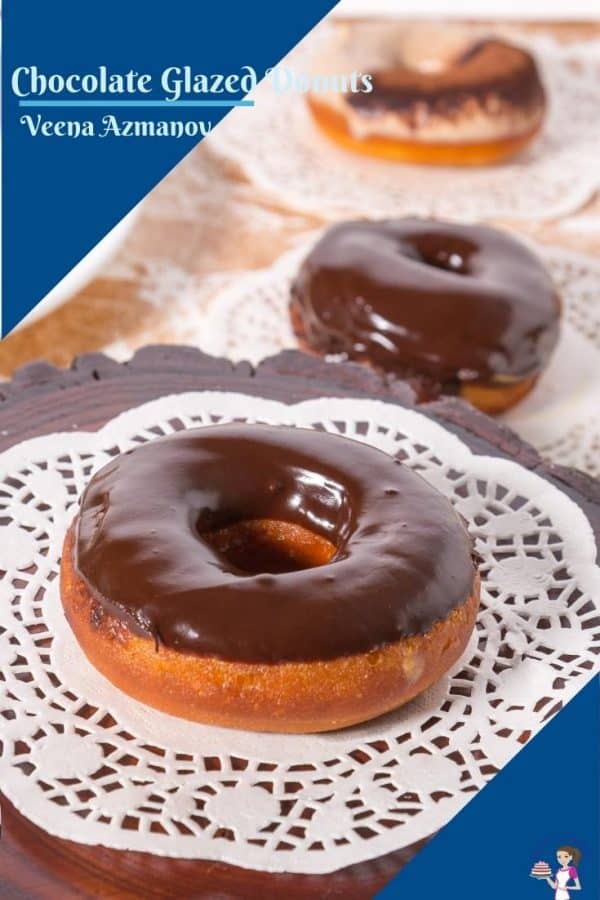
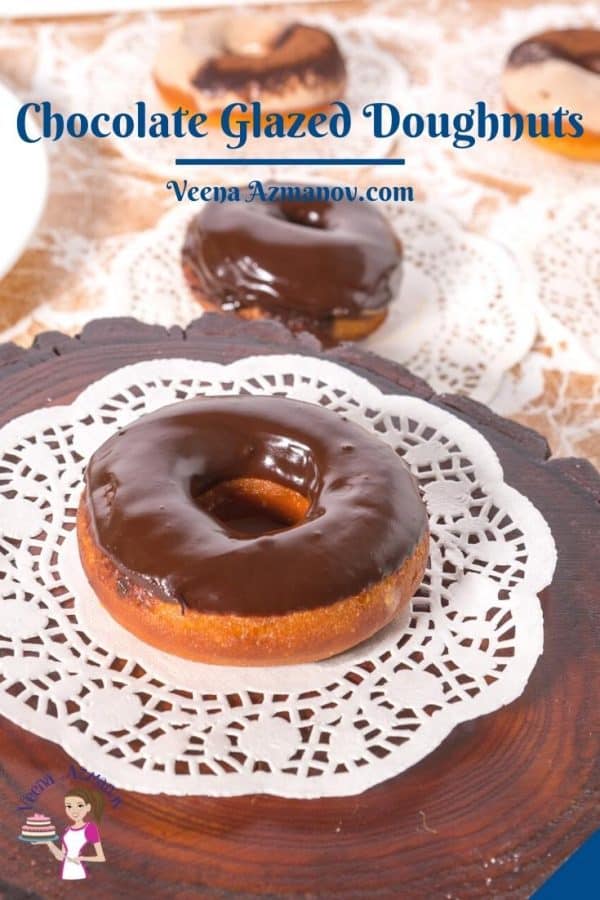
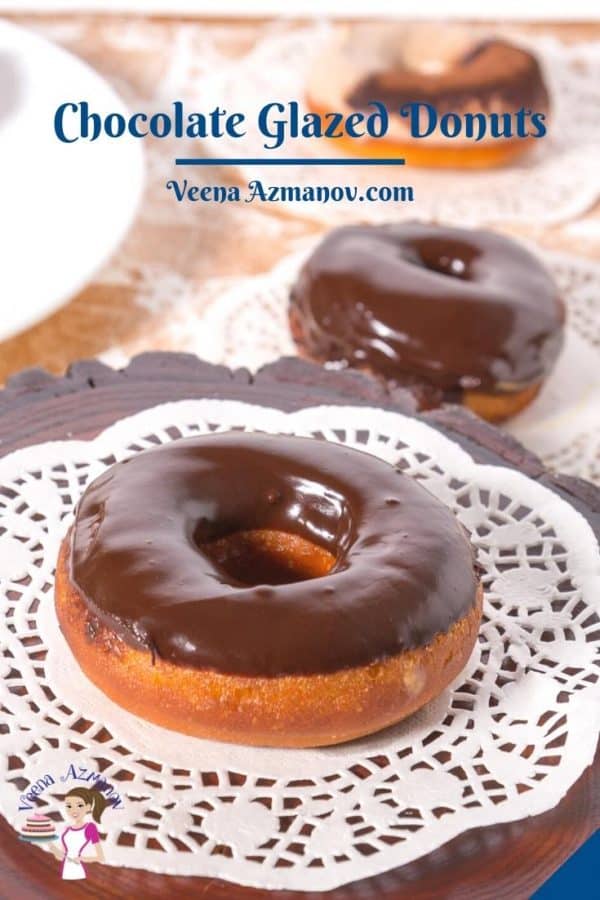
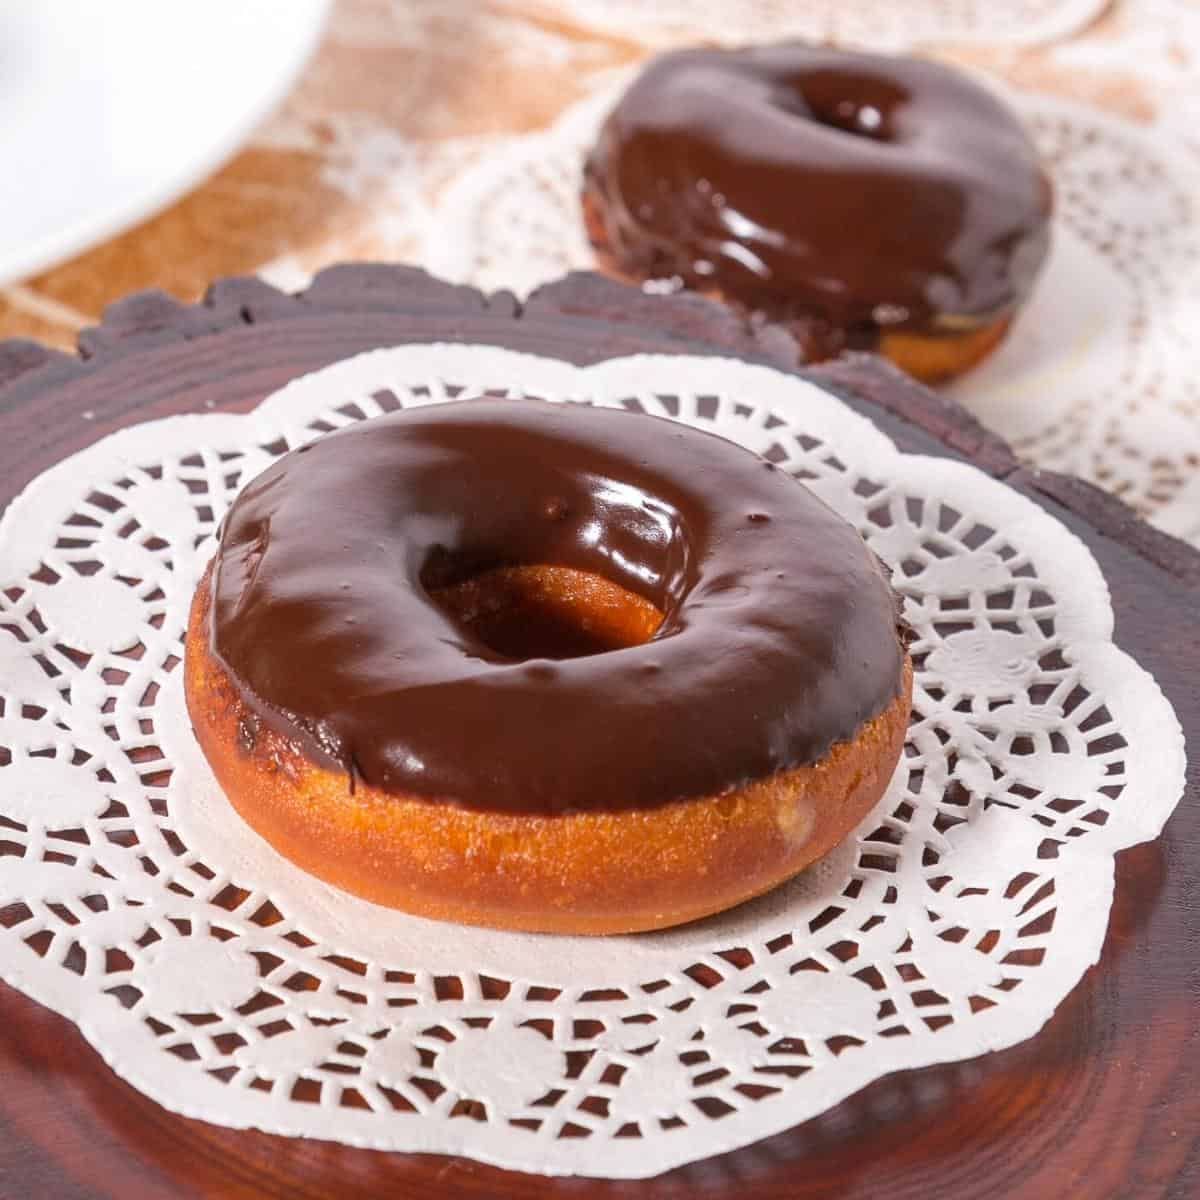
Indulge in the ultimate treat for chocolate lovers: chocolate glazed donuts! These heavenly delights marry the rich, decadent flavor of chocolate with the light, airy texture of a classic donut, creating a match made in dessert heaven. Imagine sinking your teeth into a perfectly fried donut, its golden exterior giving way to a soft, pillowy interior that practically melts in your mouth. But the magic doesn’t stop there. A glossy coat of luscious chocolate glaze envelops each donut, adding a luxurious touch that takes them to the next level of indulgence. Whether enjoyed as a morning pick-me-up, a sweet snack, or a dessert to satisfy your late-night cravings, chocolate glazed donuts never fail to hit the spot. Pair them with a steaming cup of coffee for the ultimate treat-yourself moment, or share them with friends and family for a joyous celebration of all things delicious. With their irresistible allure and timeless appeal, chocolate glazed donuts are sure to become a staple in your dessert repertoire. So go ahead, treat yourself to a little slice of chocolatey bliss—you deserve it!
Step-by-step: Chocolate glazed donuts
Dough
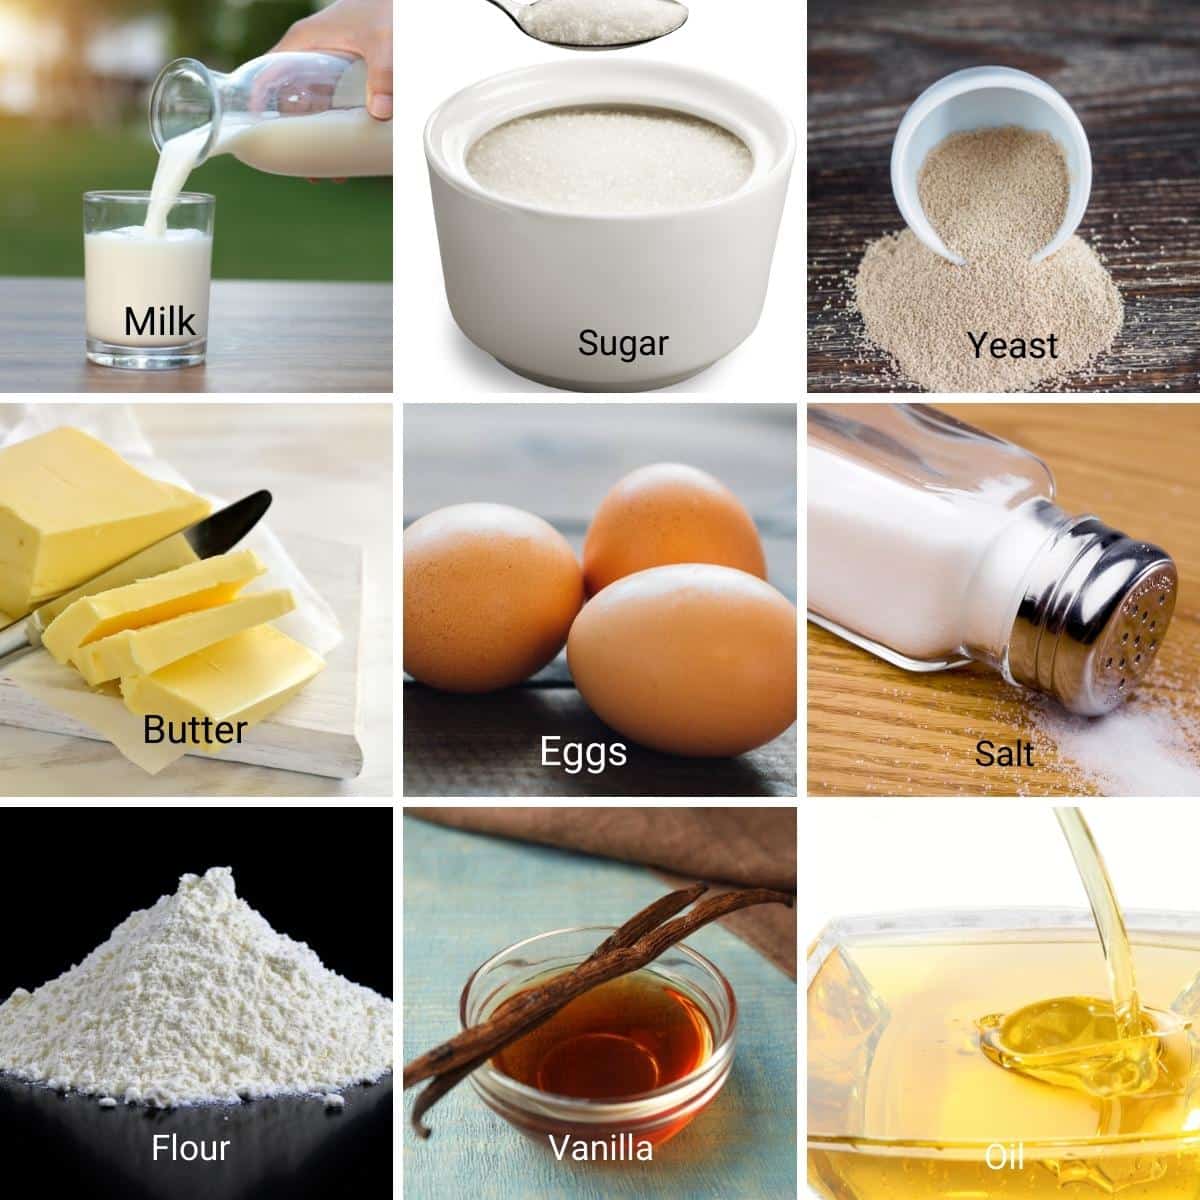
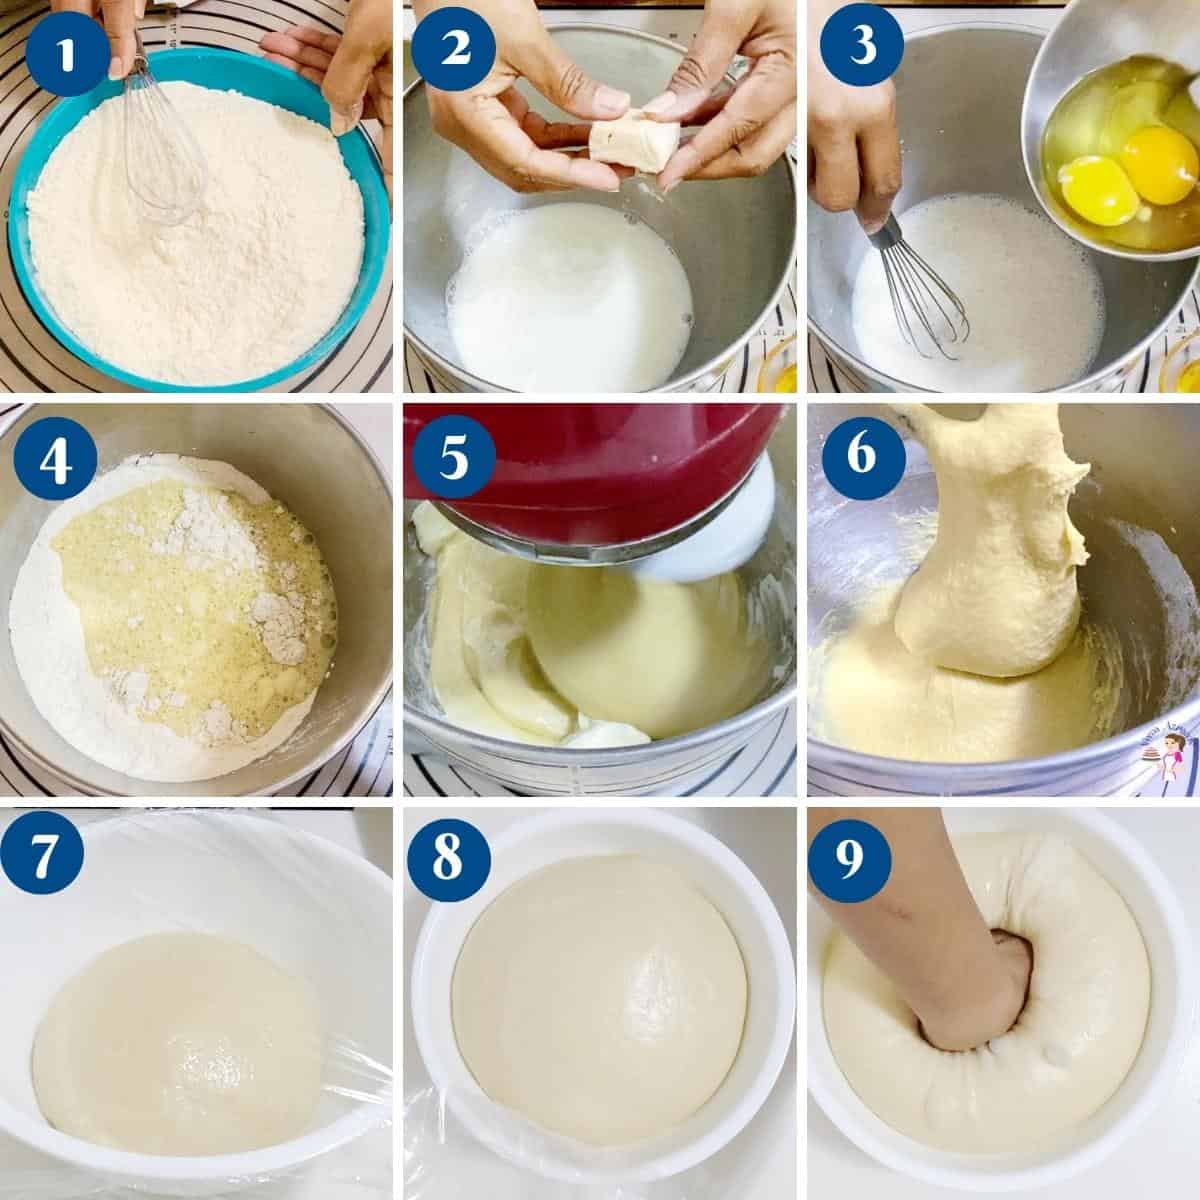
Dry ingredients – In a medium bowl, combine flour and salt.Pro tip – You can add spices like cinnamon, ground ginger, nutmeg, or pumpkin spice to add some fall flavor. Wet ingredients – In a large mixing bowl of a stand mixer, with the dough hook attachment, combine warm milk, sugar, yeast, egg, and vanilla extract. Stir to combine. Wet to dry – Add the flour mixture to the yeast egg mixture and combine on medium-high until all the flour is incorporated. Then, knead on medium speed for 8 to 10 minutes.Pro tip – Avoid adding too much extra flour when kneading. We want a soft, elastic, slightly sticky dough. Butter – Add the room temperature butter and continue to knead on medium-low speed for 8 to 10 minutes more until smooth, elastic, and slightly sticky. Bowl – Place the dough in a large greased bowl, cover it with plastic wrap and let rise on the counter for 60 to 90 minutes or until double in volume.Pro tip – You can also leave the dough in the fridge to slowly rise for up to 24 hours. Thaw on the counter for an hour to thaw.
Roll and cut
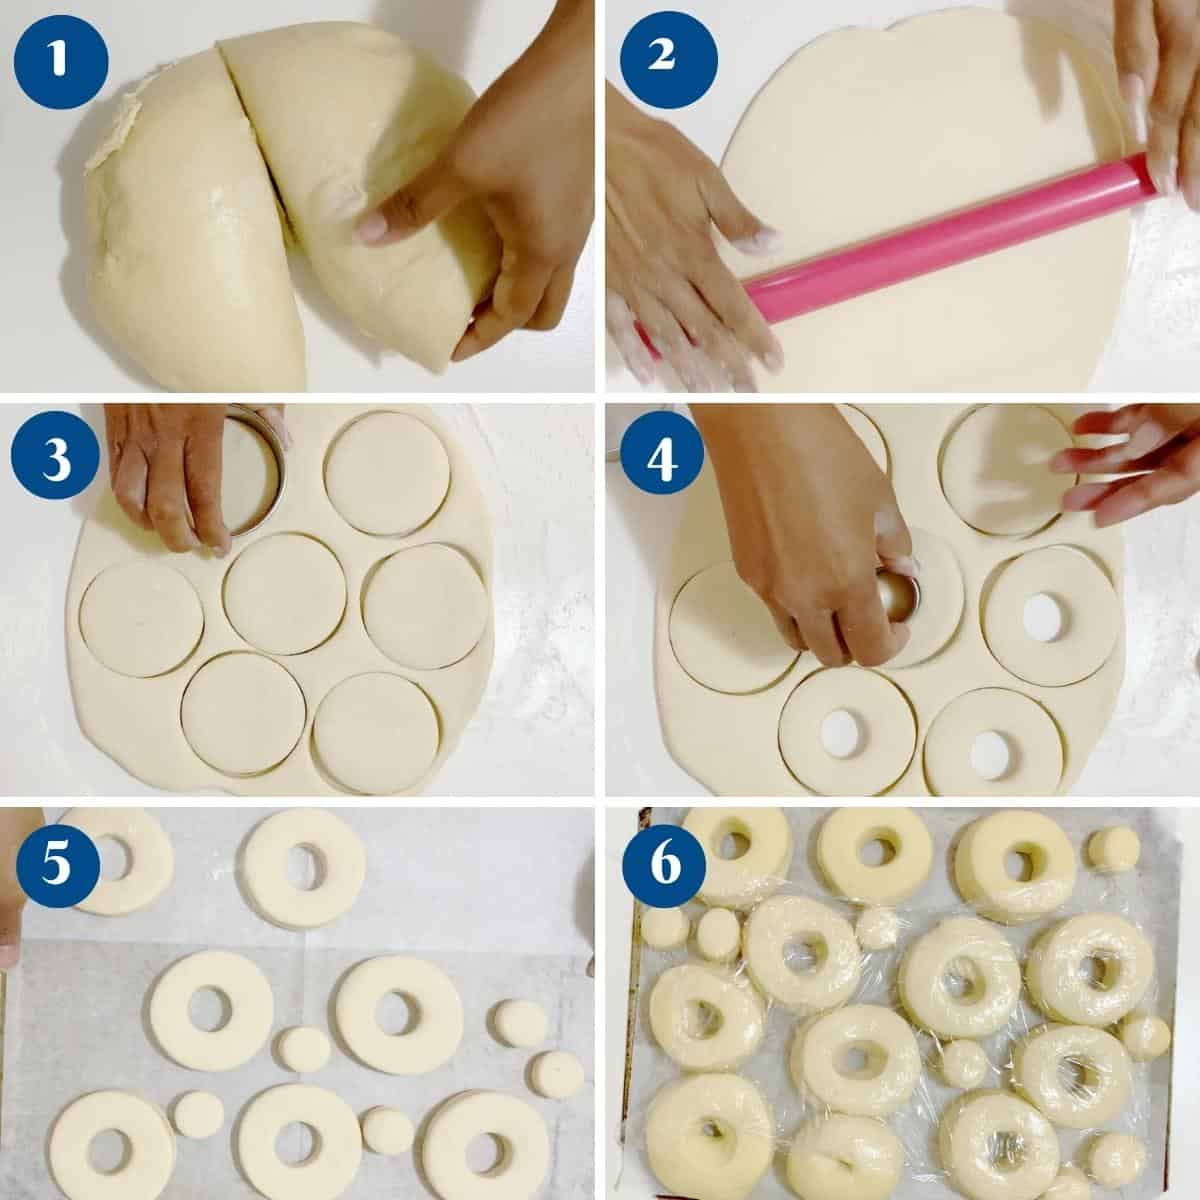
Cut – Transfer to a well-dusted work surface. Using a rolling pin, roll to about 1/4 inch thickness. Using a 3-inch cookie cutter cut out as many discs as you can. Then use a 1/2-inch cookie cutter to make the center hole. Alternatively, you can also use a donut cutter.Pro tip – If you roll the dough too thin the donuts will not be fluffy. It is best to make fewer yet, light and fluffy donuts than many flat hard donuts. Tray – Transfer the donuts to a baking tray that has been lined with parchment paper and dusted with flour.Pro tip – The flour will prevent the donuts from sticking to the parchment paper. Proof – Cover with plastic wrap or clean kitchen cloth and let them proof until double in size about 45 to 60 minutes.Pro tip – Spray the plastic wrap with oil to prevent it from sticking to the rolls.
Deep fry – Pour oil into a heavy pot or deep fryer and bring to about 350 °F. I like to use my dutch oven. Cook the donuts on each side for 2 to 3 minutes until golden. Use a slotted spoon to remove the donuts from the oil and drop them on paper towels to absorb excess oil. Tip 1– make sure you have enough oil so the donuts will be at least half immersed in oil when puffed. Tip 2– You want the oil hot, but not too hot. When you drop a donut hole it should come up in about 30 seconds, if it comes up too soon means the oil is too hot. Too slow means the oil is too cold. Adjust accordingly.
Gently add the cold donuts to the oil.Pro tip – Add two to three depending on the size of your skillet. If you add too many it will lower the temperature of the oil, which will lead to the donuts becoming too oily. Let the donut cook for 30 seconds, then flip, and cook on the other side for another 30 seconds. This way you will get an even color on both sides. Continue to cook gently turning as necessary until golden brown.Pro tip – If the oil is too hot the donuts will brown quickly but still be raw inside so find that optimum temperature that works. Remove and drain on a paper hand towel.
Chocolate glaze
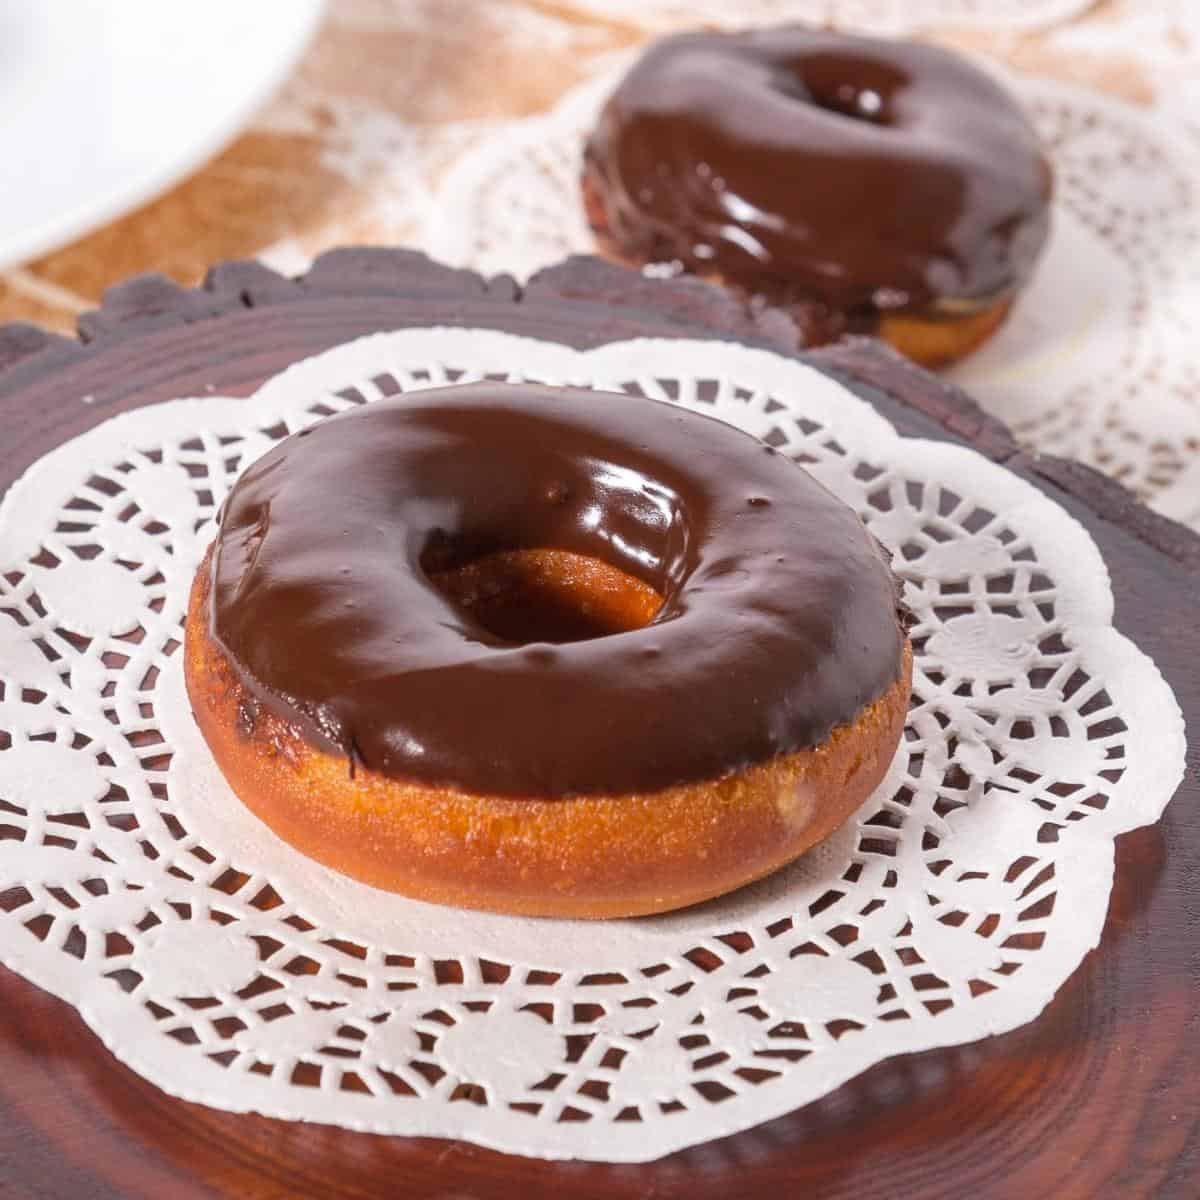
Chocolate – Melt chocolate and heavy cream in a microwave-safe bowl or double boiler. Add the light corn syrup and vanilla extract. Combine until it’s smooth and glossy.Pro tip – The glaze should be a thick pouring consistency. If necessary, add one or two tablespoons or more cream. Glaze – Once cooled, dip one side of each donut in the glaze. Let the excess drip well before you place it on the platter.Pro tip – Hold the donut upside down for a few seconds longer so the excess chocolate drips off completely. Otherwise, once you turn it over too much excess will drip down creating messy sides. Set – Let the chocolate set for a few minutes before you serve.Pro tip – If you want to add toppings such as sprinkles, nuts, chocolate shavings, or white chocolate drizzle. Now would be a good time when the chocolate is still melted. Enjoy!
Tips for Success
Temperature Control: Maintain the temperature of your frying oil at around 350°F (175°C) to ensure that the donuts cook evenly and develop a golden-brown exterior without becoming greasy. Proper Dough Handling: Handle the dough gently to prevent overworking, which can result in tough donuts. Use a lightly floured surface and rolling pin to roll out the dough to the desired thickness, then use a donut cutter or biscuit cutter to shape the donuts. Allow for Proper Proofing: Allow the shaped donuts to proof in a warm, draft-free environment until they have doubled in size. This step is crucial for achieving light and fluffy donuts with an airy texture. Monitor Frying Time: Fry the donuts in batches, being careful not to overcrowd the frying vessel, which can lower the oil temperature and result in soggy donuts. Fry each batch for about 1-2 minutes per side, or until they are golden brown and cooked through. Drain Excess Oil: After frying, transfer the donuts to a wire rack set over a baking sheet to drain any excess oil. This helps to prevent them from becoming greasy and ensures a crisp exterior. Glaze with Care: Allow the fried donuts to cool slightly before dipping them in the chocolate glaze. This prevents the glaze from melting too quickly and ensures a smooth, even coating. You can also double-dip for a thicker layer of glaze, if desired. Enjoy Fresh: Homemade donuts are best enjoyed fresh on the day they are made. Serve them warm for the ultimate indulgence, and watch as they disappear in moments of pure delight!
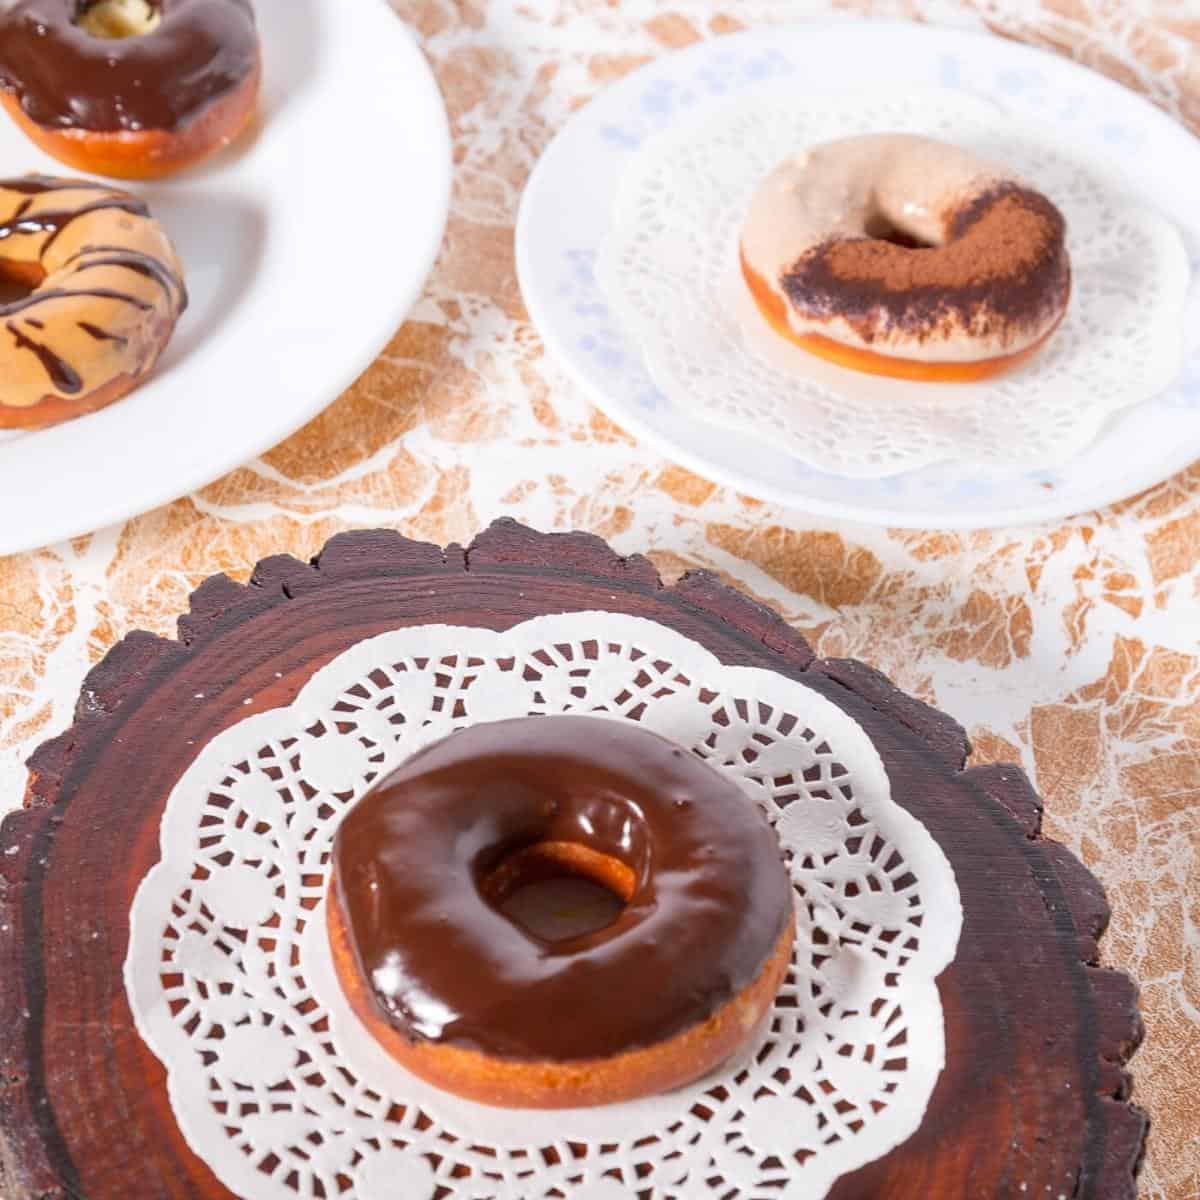
Creme filled donuts Glazed ring donuts – Tiramisu, dulce de leche Cinnamon sugar donuts or Cinnamon Sugar Pumpkin Donuts Jewish Sufganiyot – Classic Jelly Donuts or Jam Doughnuts Filled donuts – Chocolate, Dulce De Leche, Fruit cream-filled doughnuts – Raspberry, Blackberry, Strawberry Mini Pumpkin cake doughnuts
Frequently asked questions
Thank you for sharing - Save for later