As a cake decorator, I often had chocolate ganache left over in the fridge. So, these tarts were always a quick and easy dessert when I had to entertain with very little time to spare after my cake orders. Also, I think most people love ganache, and the fact that it needs only two ingredients makes it super easy, of course.
Why make these tartlets?
These tartlets don’t take long to make. The filling takes just 5 to 7 minutes and can be made up to 2 days ahead of time. It’s easy. You can bake the tart shells from scratch, as I have shared below, but buying ready-made shells is a great way to make these quick, easy, and semi-homemade. And it’s simple. There are just two main ingredients: chocolate and cream, which are both easy to find or pantry staples. The rest are added flavors. I am using dark chocolate, but any chocolate you like works fine. In addition, you can flavor ganache in many different ways. For example, in summer, add a fruit puree to the ganache, or in winter, add pumpkin puree, pumpkin spice, or a layer of apple pie filling.
Ingredients and substitutes
Chocolate – The quality of chocolate you use will really make a huge difference in these tartlets. Always use good quality chocolate that you like to eat. Today, I am using Godiva 85%, which is why my tarts have a deep chocolate color. Whipping cream – It is important to use about 32 to 38% full-fat cream. Any less and the ganache will not set firm. Butter – I like adding butter to my ganache because it adds a lovely richness and helps the filling set. But it is optional. Corn syrup—This is optional as well and does keep the filling soft, which, to me, just has a melt-in-your-mouth feel.
Step-by-step: How to make chocolate tartlets
Homemade tart shells
Dough – In a food processor, add the flour, sugar, salt, and chilled cubed butter. Pulse for 30 seconds until it resembles coarse bread crumb consistency. Combine the egg yolk with cold water and add it to the mixture. Pulse or combine for 30 seconds more. Chill—Pour the mixture onto a work surface. Combine all the crumbs and shape them into a ball. Divide the ball into two discs. Wrap the pastry in plastic wrap and chill for 20 to 30 minutes or until firm enough to roll. Tart pans – Roll the dough between two sheets of parchment paper to about 1/8 inch thickness. Use the tart rings to cut out the base of the rings. Then, use a ruler to cut strips and line the sides of the rings, making sure the dough sticks to the ring properly. Place the shells on a baking sheet and chill in the refrigerator for 15 minutes.Pro tip – This dough is easy to work with when chilled, so make sure to keep it chilled at all times. I am using tart rings, but you can also use tart pans with removable bottoms or mini tart pans—see how to make mini tart shells. Bake—Preheat the oven to 375F/ 190C/ Gas Mark 5 for at least 10 minutes. Then, dock the base of the tart pans with the tines of a fork. Bake in the hot oven for 15 to 18 minutes until lightly golden. Cool completely on a wire rack.Pro tip – For a deep golden color to the crust, brush the tart shells with beaten egg white after 15 minutes of baking and then bake for 5 minutes more.
Chocolate ganache filling
Microwave—In a microwave-safe medium bowl, heat the chopped chocolate, heavy cream, butter, and corn syrup until the chocolate is melted and smooth. Add salt, coffee, and vanilla extract. Double boiler—To make a double boiler at home, place a saucepan with 2 inches of water on medium heat. Place a heat-proof bowl over the saucepan and add all the ganache ingredients to the top bowl. Heat gently with a whisk until everything is melted and smooth. Saucepan—Heat the heavy cream in a small saucepan over medium heat until it comes to an almost boiling point. Pour the hot cream over the chopped chocolate and stir until smooth. Add the rest of the ingredients and stir until smooth.
Assemble
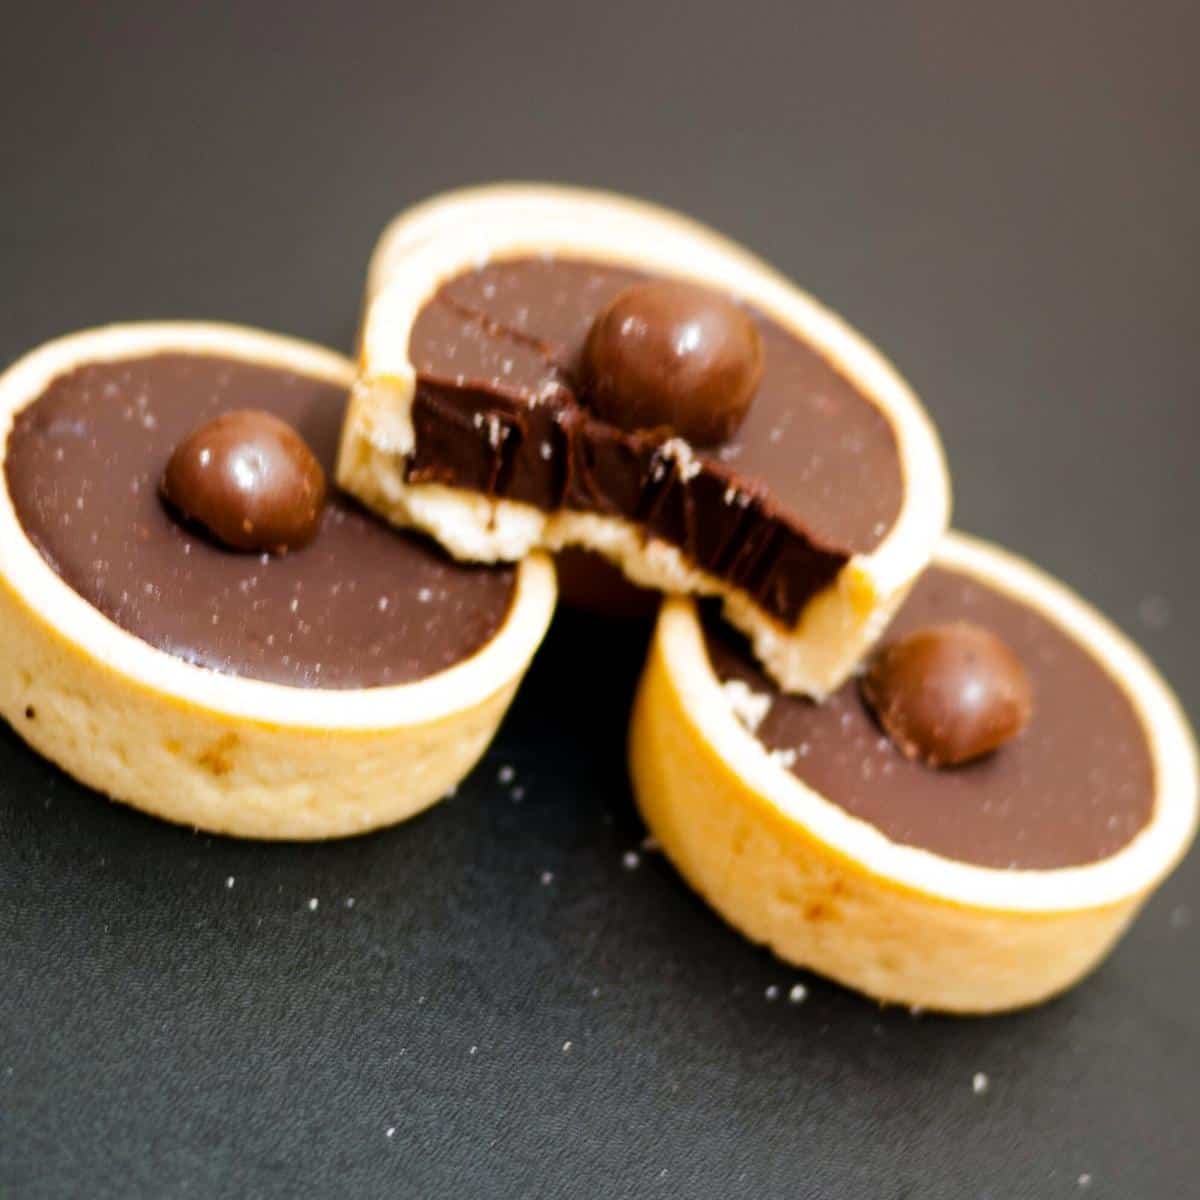
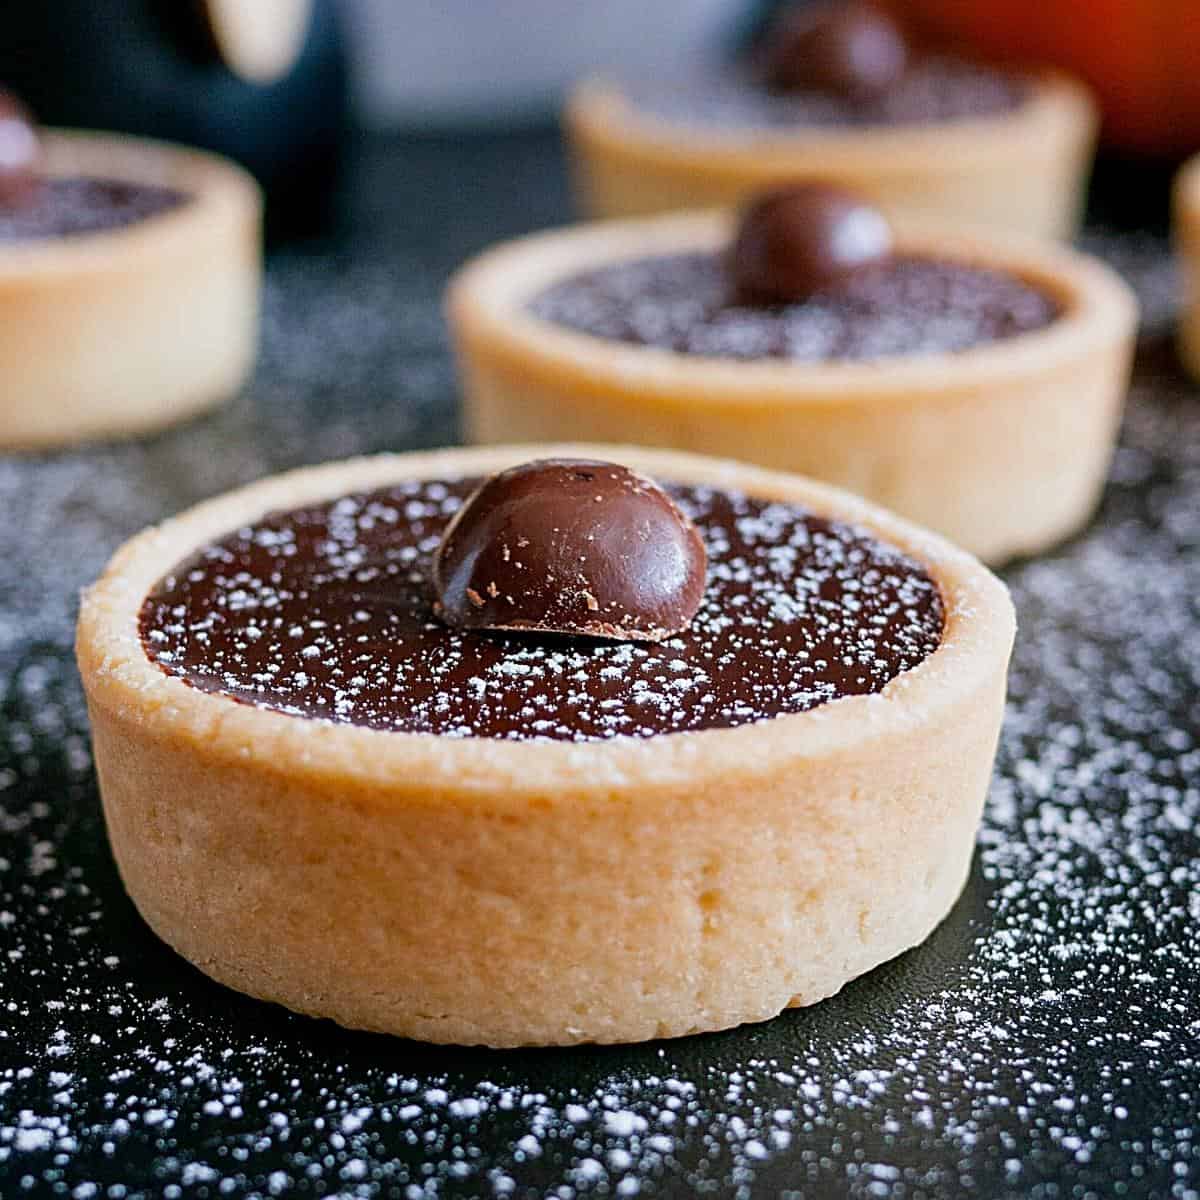
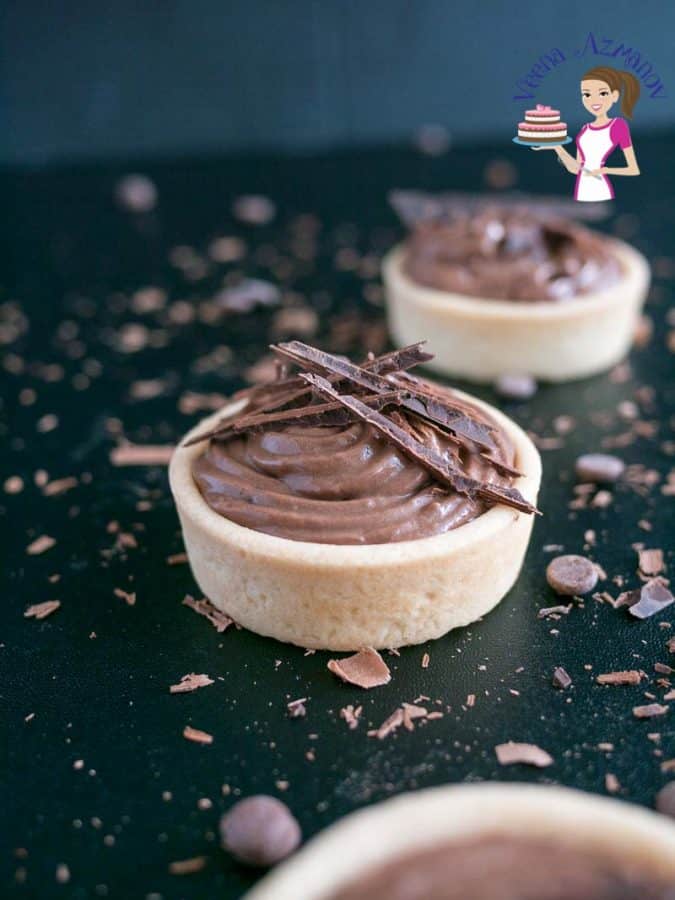
Fill tarts – Pour the room-temperature chocolate ganache into a piping bag and fill each tart shell. Chill & Garnish – Chill in the fridge for at least 2 to 4 hours or until set. Add a chocolate-coated nut to each tart and sprinkle with powdered sugar. Serve at room temperature.
Tips for Success
Pastry
Chill the mixing bowl and pastry ingredients, including cubed butter, an hour before making the pastry. This will give you a beautiful, tender crust. Before you start making any pastry, have all your pastry equipment on hand so you can work quickly and efficiently. Rest the dough in the fridge before you roll the pastry, no matter how soon you need it. This will help the gluten in the dough relax, chill the butter, and keep the pastry crumbly. If the pastry dough cracks too much, it means it’s too cold. Let it rest for a few minutes outside the fridge, then roll again. Chill the dough before you bake the pastry again to prevent shrinkage. Always use a hot oven; this will prevent shrinkage again. A cold oven will melt the butter rather than cook it. The pastry is baked when the bottom is cooked, not when the edges are brown. Always make sure the bottom of the crust is cooked, or any filling will soak into the crust and make the tart soggy. If the edges are browning too quickly – tent the edges with foil or pie crust shield.
Filling
Chopping the chocolate finely will ensure it melts easily and without any lumps in the ganache Whether you use the microwave, double-boiler, or saucepan method – do not overheat the heavy cream. Doing so can cause the chocolate to break down. Pour the chocolate mixture into the tart shells while they are still slightly warm, so it smooths out easily and gives a nice smooth surface. Chill the chocolate for at least a few hours, even after it is set. But make sure to serve it almost at room temperature. Bringing it to room temperature will ensure the chocolate is soft to eat.
Variations
Chocolate tart shells – replace 2 tbsp of flour with cocoa powder in the pastry dough to make chocolate shortcrust pastry Chocolate mixture—You can make chocolate ganache with bittersweet or semisweet chocolate, or you can make a custard-based chocolate filling with large eggs and egg yolks, which needs to be baked for longer. Tart shapes – I have used tart rings for these tartlets, but you can also use mini tart pans, tartlet molds with removable bottoms, or muffin tin to make the shells
Frequently asked questions
Did you LIKE this recipe? Save it for later. You can find my recipes on Pinterest. Follow me on Facebook, Twitter, and Instagram.Subscribe, and I’ll send you new recipes right to your inbox. Thank you for sharing - Save for later