Danish pastry is a variety of buttery pastries, primarily from Denmark and Norway but also in other Nordic countries. They are not necessarily difficult, but a bit time-consuming to make. Actually, any laminated dough like a croissant or puff pastry takes time because we need to chill the dough in between steps.
Once you learn to make the basic Danish dough you can shape them and fill them with anything you like. Cream cheese makes a delicious filling with jam so that’s what we going to use in these cylinders.
Why make this Danish pastry
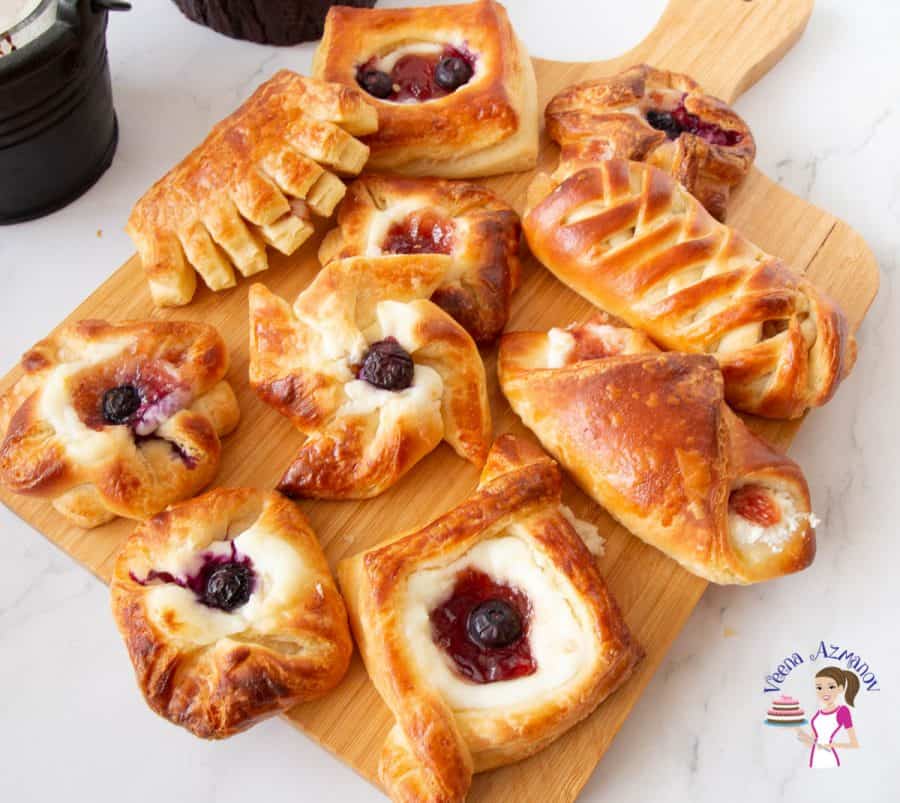
These beautiful Danish pastry cream cheese cylinders are surprisingly easy to make. You can use any type of cream cheese for the filling. It’s a very forgiving dough that’s easy to knead with a stand mixer but can also easily be done by hand. There are four main components to this danish pastry: The dough – This is simple yeast-based dough with eggs, butter, and sugar. It can be soft and sticky to work with, so don’t skip the chilling times. Butter block – Yes, it is lots of butter, which we cream with a little flour and then laminate between the dough. The purpose of the flour in the butter is to help stabilize it. Most professionals often skip the flour, but I recommend you use it. Cream cheese – Made with cream cheese, egg yolk, sugar, and vanilla. Jam – You can use whatever jam you want. Today, I used my berry jam. Of course, this is a classic danish dough and I am shaping them into cylinders filled with cream cheese and jam but you could use the same dough to make other shapes and filings too such as the Danish raisin spirals, Danish pinwheels, and Danish braided pastry, etc.
Danish pastry – Cream cheese cylinders
Apricot glaze
In a saucepan, heat the apricot jam and water on low heat, Stir until dissolved. Strain through a sieve – set aside until ready to use.Pro tip – If necessary, warm in the microwave for 10 seconds before using it.
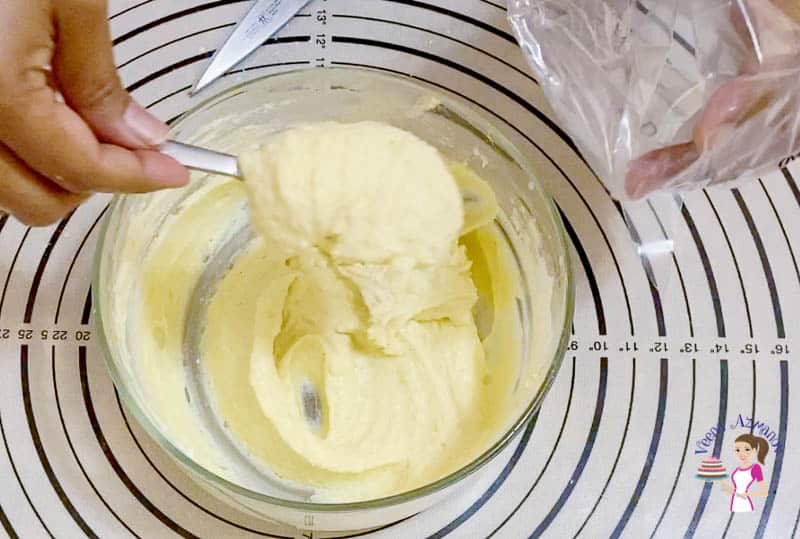
Cream cheese spread
Combine all ingredients in a bowl. Keep in the fridge until ready to use.
Danish dough
Dry ingredients – In the bowl of a stand mixer with the dough hook attachment combine flour and salt. Set aside. You can also use a food processor to make this dough.Pro tip – Salt slows fermentation so we add it to the flour rather than directly into the wet mixture. Yeast mixture – In a measuring cup or bowl, combine milk, sugar, yeast, egg, and vanilla.Pro tip – you don‘t need to activate the instant variety but, I like to ensure my yeast is good. So, I leave the mixture aside for 3 to 5 minutes, if it foams it’s good to go. Wet to dry – Then, add the yeast mixture to the flour mixture. Combine on medium-high until all flour is incorporated. Knead a minute more.Pro tip – the dough will be soft and sticky but do not add any more flour just yet. Knead – Then, gradually add the room temperature butter, one tablespoon at a time. Then, knead for 3 minutes on medium Alternatively, you can knead by hand for 5 to 7 minutes. Rest – The dough will be soft and slightly sticky. Remove from the mixer, and shape into a ball. Place in an oiled bowl, cover with plastic wrap and chill for 15 minutes.Pro tip – Unless the dough is too soft and sticky you do not need to add any more flour. Also, if necessary add a few tablespoons only.
Butter blocks
Template – Use a parchment paper to create a template 12 x 6-inches (see video) – set aside. Cream – In the same bowl of the electric mixer bowl (no need to wash), cream the butter and flour just until combined. Transfer to the prepared parchment paper template. Spread evenly with a spatula. Use a rolling pin to guide it inside of the template towards the corners (see video). Divide – Use a ruler to mark them at 6 inches. So, now this will give you two 6 x 6-inch blocks (see video).Pro tip – we need 2 sheets of butter 6 x 6 inches each. You can use a 6-inches square baking pan to make two such blocks. This 12 x 6 method ensures the blocks are even.Pro tip – be gentle with the rolling pin using a spreading motion so the butter doesn’t come out of the corners. Chill in the fridge for 15 minutes.Pro tip – We want the fat to be cold but still be flexible so that when we roll it will spread between the folds. If you chill too long it will break rather than spread.Use a parchment paper to create a template 12 x 6-inches (see video) – set aside.
Laminate the dough
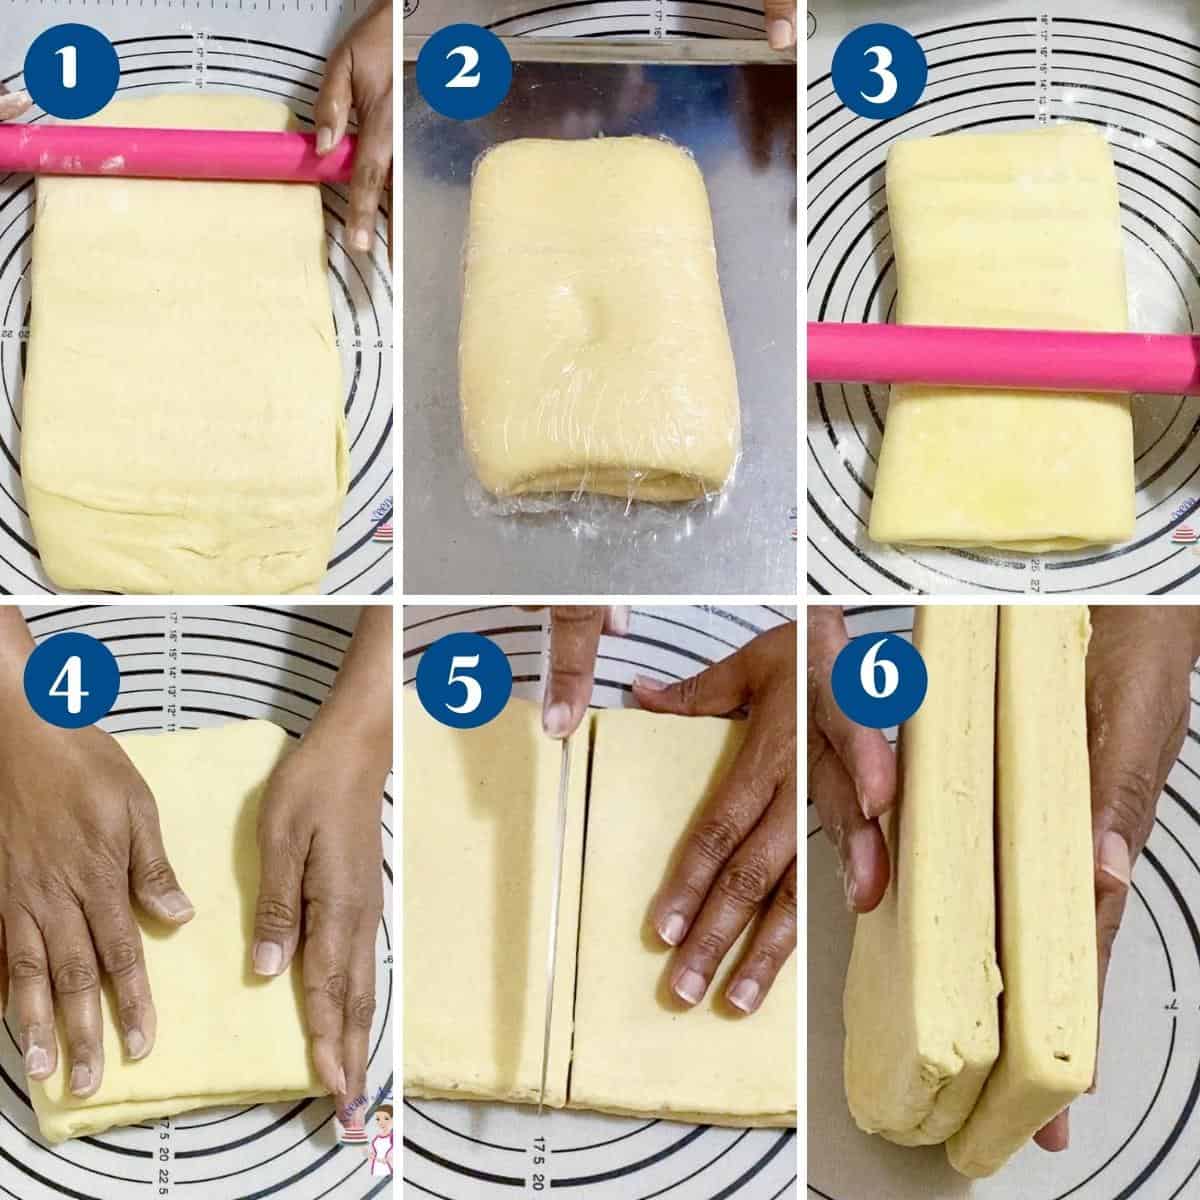
Roll – Transfer the dough to a lightly floured surface. Roll to a long rectangle of 7 x 18-inches. Fold – Open the butter block and divide it into 2 at the mark you created. Now you should have two – 6 x 6-inch blocks. Place one block over the center. Fold one side over. Then, place the second block on top and fold the other side over.Pro tip – Now you should have layers of dough, butter, dough, butter, dough – makes sense? Chill – Wrap the dough, place it on a baking sheet, and into the refrigerator – chill for 15 minutes.Pro tip – if the dough and butter are still cold when you wrap you can continue with the first fold. Also, in warm places, you may need more cooling time.
Folds / turns
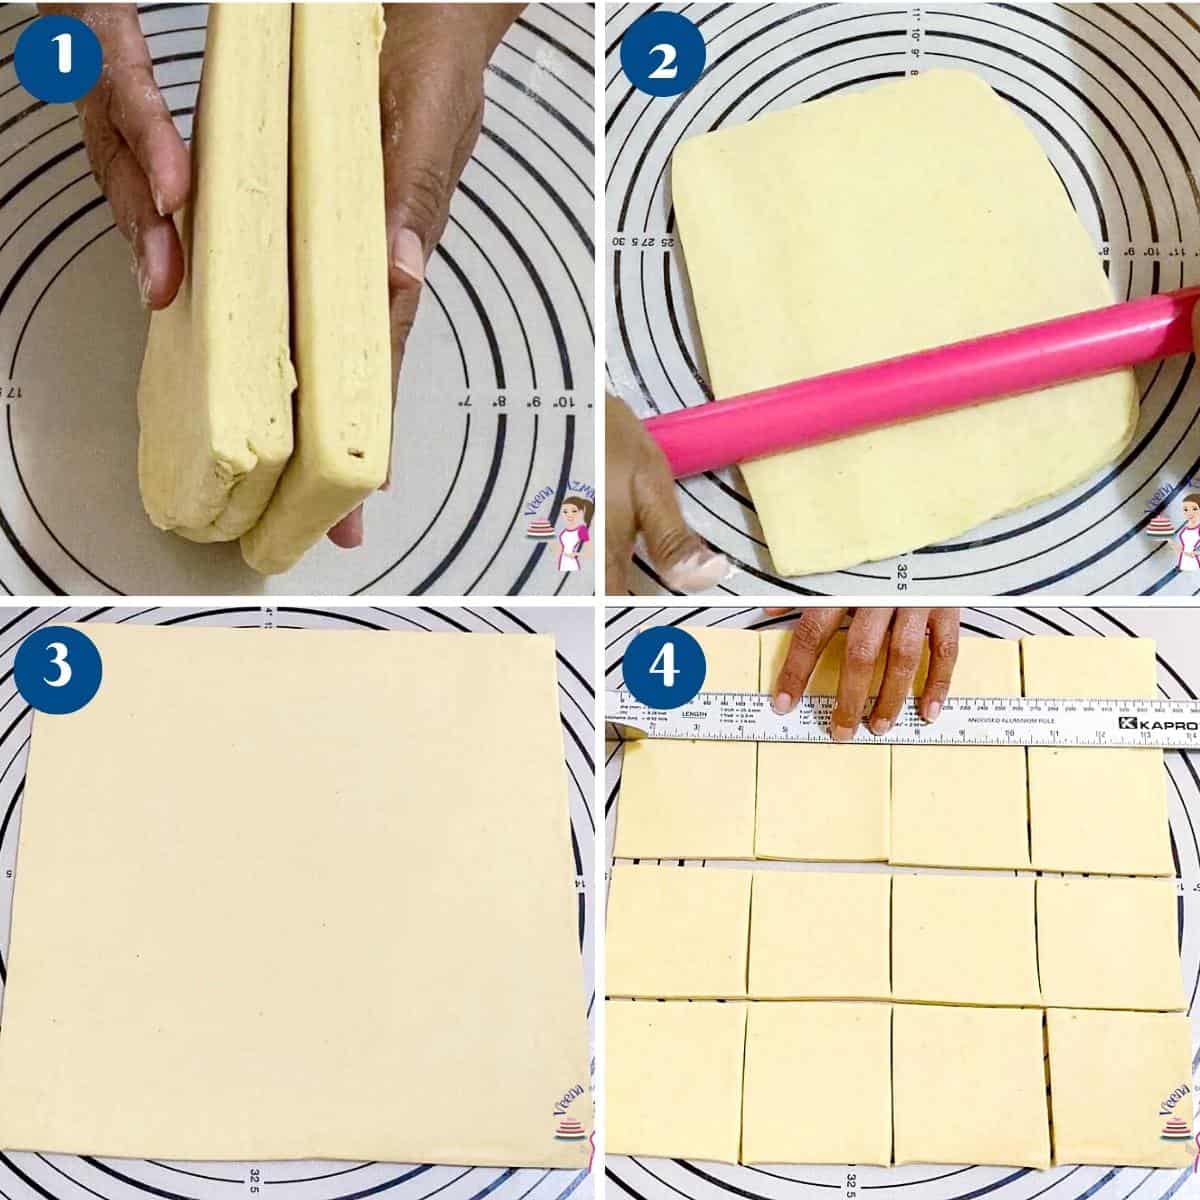
Turn the dough – Roll the chilled pastry dough into a rectangle – with the short side facing you. Roll to a rectangle approximately 6 x 12-inches. First fold – Fold the dough lengthways into thirds like a business letter (see video). Wrap in plastic on a baking sheet and place into the fridge to chill for 30 minutes. Second fold – Roll the dough lengthways again with the short side facing you – (see video) to about 6 x 12-inch long again. Fold the dough into thirds again like a business letter (see video). Place in the fridge for 30 minutes if necessary. Third fold – Roll the dough lengthways again with the short side facing you – (see video) to about 6 x 12-inch long again. Fold the dough into thirds again like a business letter (see video). After the third fold, chill in the fridge for at least two hours or until well chilled. This can be chilled for up to 48 hours.Pro tip– it is very important that the dough be well cold before using; otherwise, the folds will blend ruining all your effort. Divide – Roll the dough into a 6 x 12-inches rectangle. Divide into 2. Place one in the fridge while you work on the second one.Pro tip – you want to work in batches so the dough stays cold at all times. Also, it means you won’t roll too thick.
Shape the Danish Cylinder
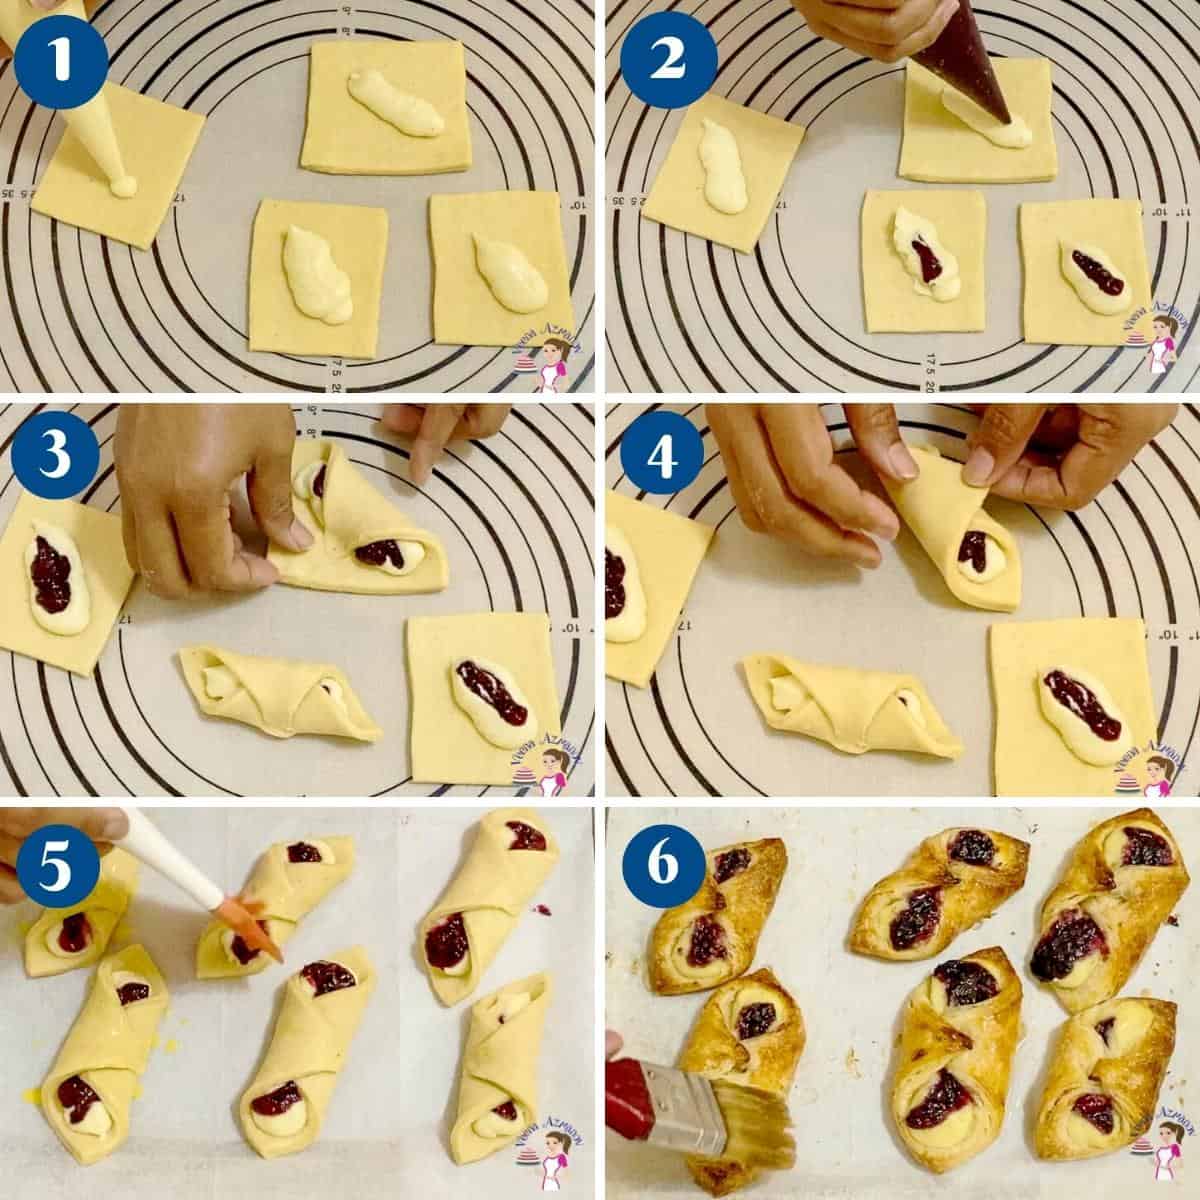
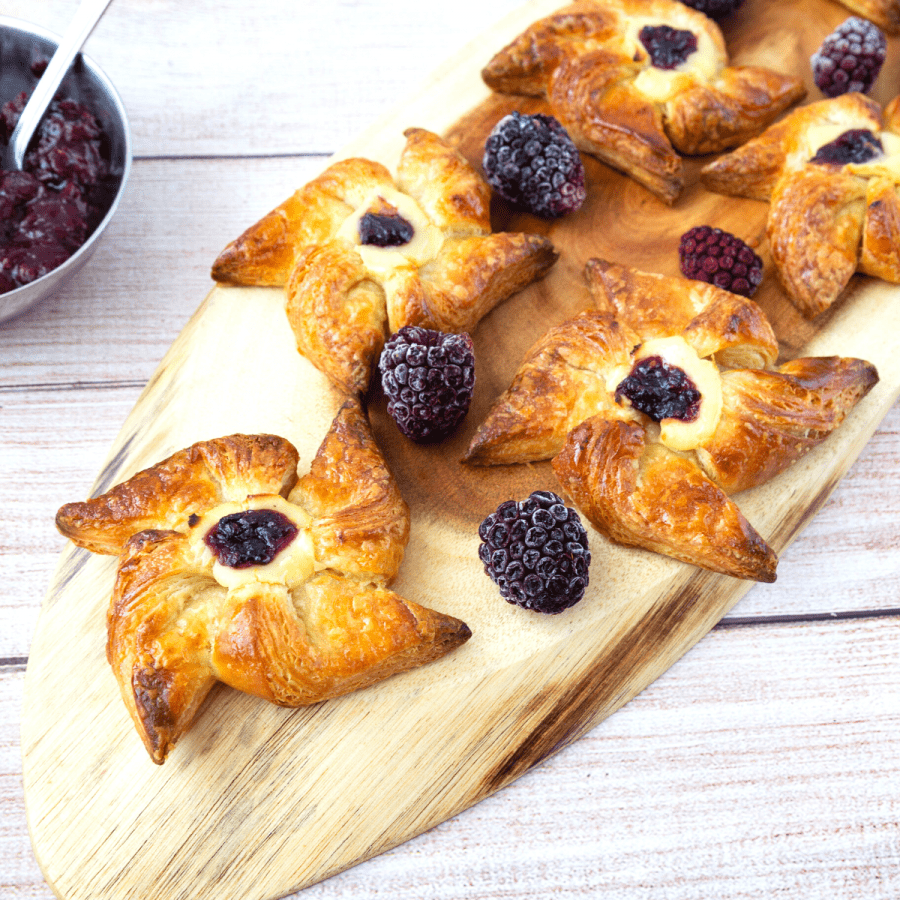
Roll – Roll the dough to about 12 x 12-inch square. Trim edges so you have straight sharp edges.Pro tip – I roll to about 13 x 13 so I can trim the edges on all sides and get a 12 x 12-inches square. Trimming will open the layers and give a better rise. Squares – You can use the sheet as a whole to make a large braid or cut it into 3 x 3-inch squares to make cylinders, (about 16). Mark at 3-inch from either side as shown in the video.Pro tip – Place the squares in the fridge to keep cold. Work with a few at a time especially if you like in hot and humid conditions. Fill – Pipe a tablespoon of cream cheese on the square diagonally. Then, pipe some jam in the center of the cream cheese – (see video). Fold – Fold two sides over each other diagonally (see video). Make sure to press firmly to prevent opening. Proof – Place on a baking tray and cover the pinwheels with a clean kitchen cloth – let poof for 45 minutes.
Bake the Danish cylinders
Oven – Preheat the oven at 375°F/ 190°C / Gas Mark 5. Brush the pastry with a beaten egg. Bake – Bake in the hot oven for 15 to 20 minutes until rich golden brown.Pro tip – if the pastries become too dark while baking, tent them with an aluminum foil. Glaze- Remove from the oven and let cool on the tray for 10 minutes. Then, using a pastry brush glaze them with the prepared apricot glaze. (below)Pro tip – if you brush while the pastry is very hot it will absorb all the glaze and become too sweet and you won’t have that shiny appearance. Cool – Transfer to a cooling rack and cool them completely before storing. These pastries are best enjoyed on the day they are baked. But, they also freeze well for months.
Creative ways to serve Danish Pastry
Danish pastries are delicious and versatile treats that can be served in a variety of creative ways. Here are some ideas to inspire you:
Make and chill the dough – 10 + 15 mins Make and chill the butter block – 10 + 15 minutes Laminate the dough – 10 minutes First fold, then chill the dough – 10 + 20 minutes Second fold, then chill the dough – 10 + 20 minutes Third fold, then chill the dough – 10 + 2 hours (up to 48 hours) Prepare cream cheese – 10 minutes Prepare apricot glaze – 5 minutes Shape the danish – 20 minutes Proof the danish – 45 minutes Bake – 15 to 20 minutes Active time – 1 hr 40 mins, Inactive time – 4hrs 30 mins
Danish Pastry Tower: Create a stunning tower of different flavored danishes stacked on a cake stand. Drizzle them with glaze and garnish with fresh berries and edible flowers for an elegant presentation. Danish Parfait: Layer bite-sized pieces of danish pastry with yogurt and fresh fruit to make a delightful breakfast or dessert parfait. You can also use whipped cream or custard as a layering element. Danish Bread Pudding: Cube or tear danish pastries into bite-sized pieces and use them as a base for a bread pudding. Mix them with a rich custard mixture, bake until set, and serve warm with a drizzle of caramel sauce or a scoop of vanilla ice cream. Danish Ice Cream Sandwiches: Cut danish pastries in half and sandwich your favorite ice cream flavor between them. Roll the edges in chopped nuts, sprinkles, or mini chocolate chips for added texture. Danish French Toast: Slice danish pastries and use them to make French toast. Dip the slices in an egg and milk mixture, then cook them on a griddle until golden brown. Top with syrup, powdered sugar, or fruit compote. Danish Bread Pudding Trifle: Layer danish pastry cubes with vanilla custard, whipped cream, and fresh berries in a trifle dish. Repeat the layers and finish with a dusting of powdered sugar and a few mint leaves. Danish Pastry Croissants: Cut danish pastries into triangles, roll them up like croissants, and bake until golden brown. Serve with coffee or tea for a delightful breakfast or snack. Danish Pastry Tarts: Press danish pastry dough into tart pans and fill them with pastry cream, fresh fruit, or chocolate ganache. Bake until the pastry is golden, and the filling is set for elegant individual tarts. Danish Pastry Skewers: Thread small pieces of danish pastry onto skewers along with fresh fruit, marshmallows, or other sweet treats. Drizzle with chocolate or caramel sauce for a fun and interactive dessert. Danish Pastry Ice Cream Sundae: Crumble danish pastries over a scoop of ice cream and top with whipped cream, chopped nuts, and a cherry to create a unique sundae.
Remember that the key to creative presentation is combining flavors and textures in unique ways to surprise and delight your taste buds.
Frequently asked questions
Thank you for sharing - Save for later