When I started decorating cake, one of my first failures as a cake decorator was my ganache. I made a delicious ganache, it looked so delicious. But, when I covered it with fondant it was a big mess. The ganache was soft. So, covering the cake with fondant was an absolute nightmare And, I wondered, how do they do it? How do these successful cake decorators have ganache cakes that don’t look like it’s melting? When they cover the cake, they are not struggling like me. Well, it took me a few times to realize that I was using the regular classic chocolate ganache recipe. So, today, I want to share with you the ganache recipe used by cake decorators. This is the ganache you use under fondant, or when working with a novelty or sculpted cake. And, this is also the ganache you use when you want to get sharp edges on your cakes.
Step-by-step: Ganache for fondant cakes
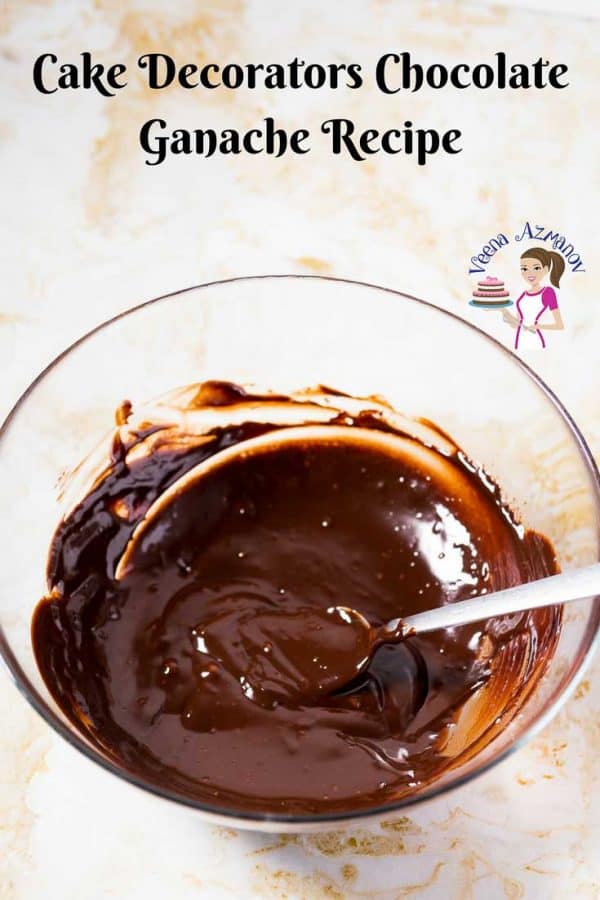
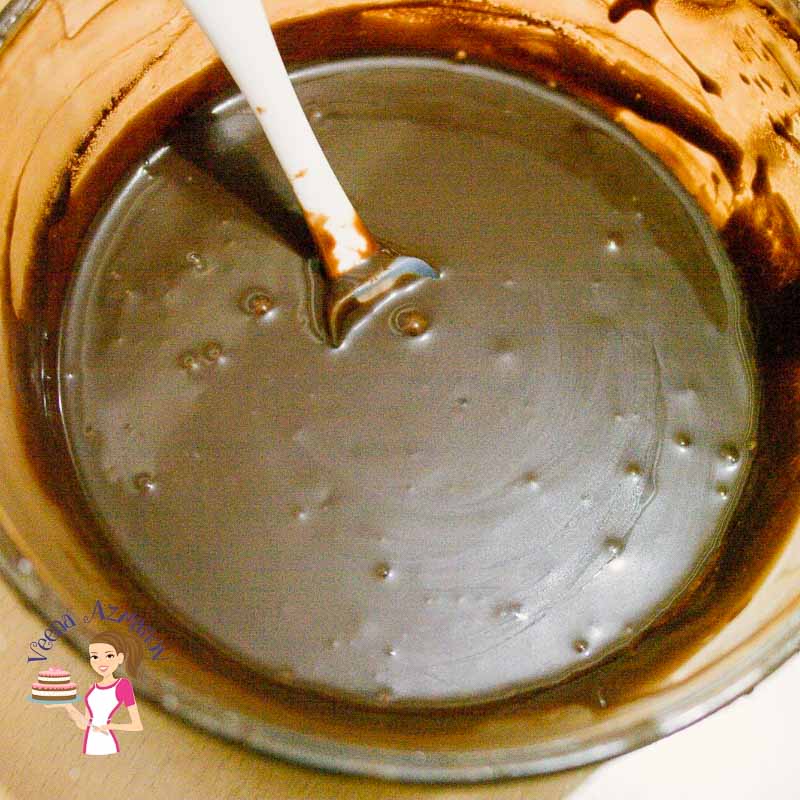
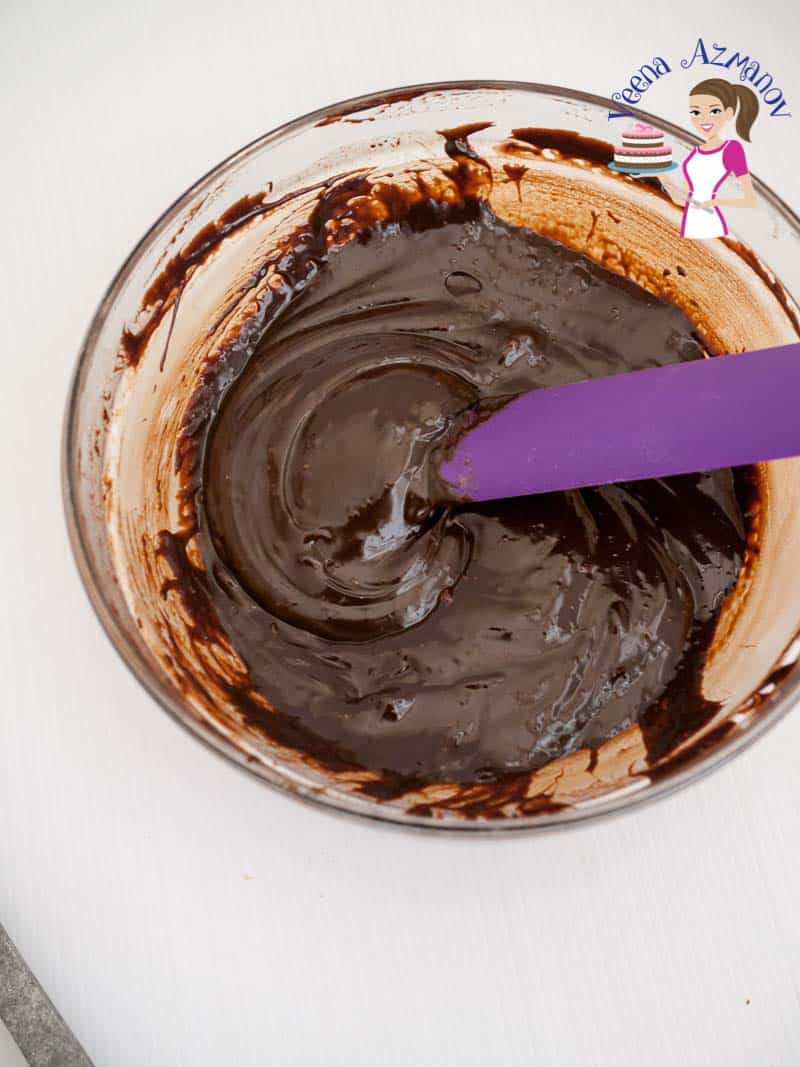
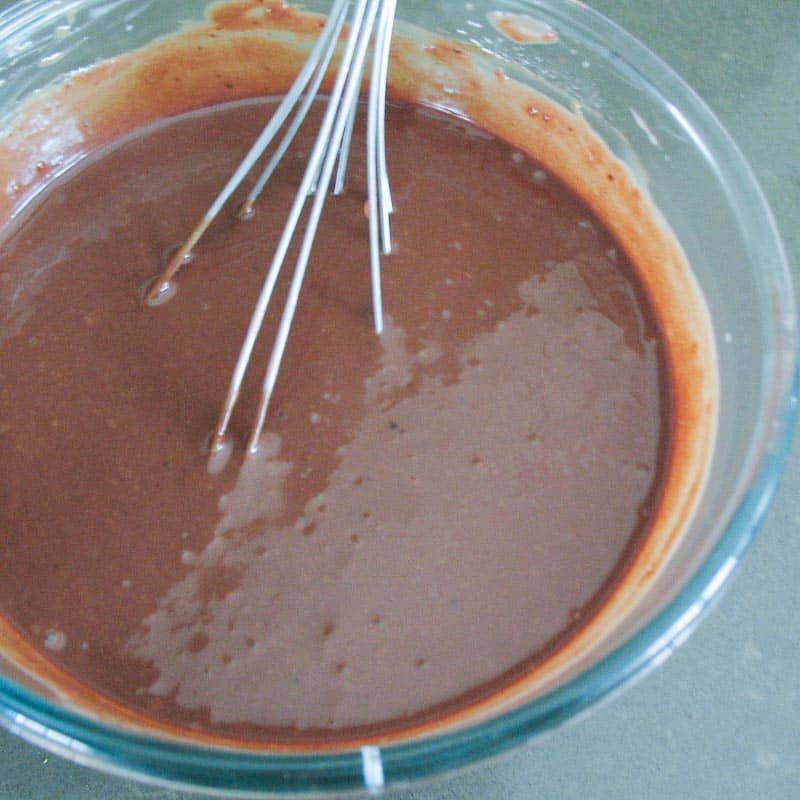
Stovetop method – Place chocolate in a heatproof bowl and set aside. Heat the heavy cream in a saucepan over medium heat until it begins to simmer. Pour the cream over the chocolate and let it sit for 5 minutes. Then, stir with a spatula until smooth.Pro tip – DO NOT let the cream come to a rapid boil as it can burn the chocolate). If the chocolate is chopped fine there should be no more chocolate pieces. If necessary, melt in the microwave for 20 to 30 seconds. Microwave Method – Place the chopped chocolate into a microwave-safe bowl. Pour the cream all over the chocolate. Heat it in the microwave on high for a minute. Stir and continue to heat at 30-second intervals until you have a smooth ganache.
Cover -Once the ganache is ready, cover it with plastic making sure the plastic touches the top surface of the ganache to prevent skin from forming on the top. Rest – Leave the ganache to set in the bowl at room temperature for a few hours or in the fridge for 2 hours. Once it reaches a spreading consistency it can be used for frosting.
Storage – Ganache will keep at room temperature for 2 days. It can be kept in the refrigerator for up to 5 days. It can also be frozen for up to a month in the freezer. Thaw in the fridge overnight for best results.Pro tip – To warm the ganache simply place it in the microwave for no more than 10 to 20 seconds intervals.
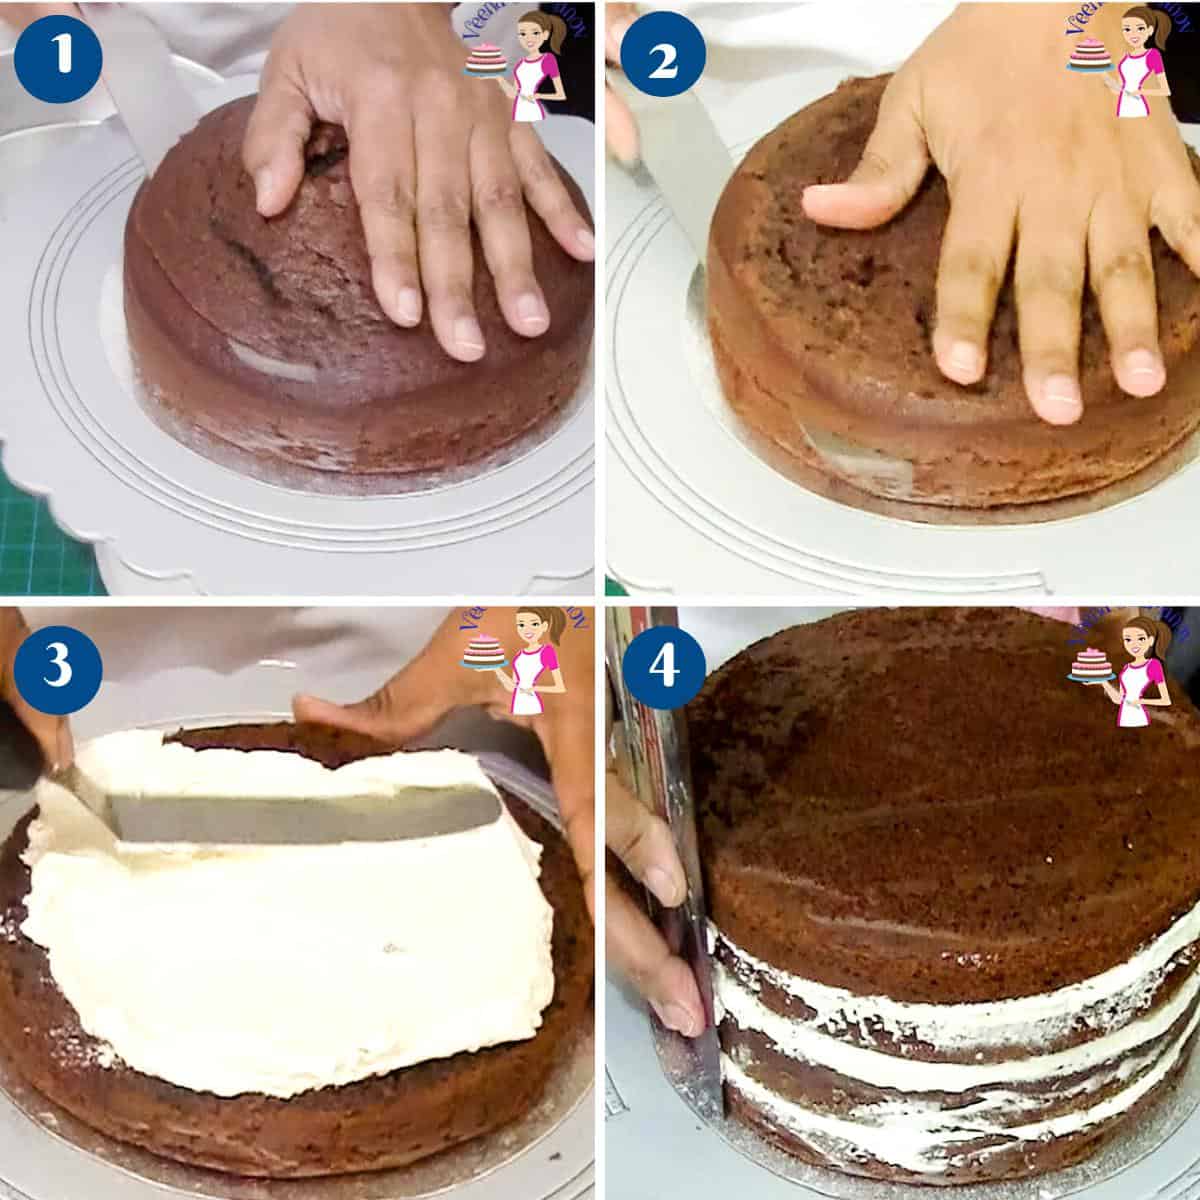
Stack – Place the next layer on top followed by more frosting until you have stacked all four layersPro tip – Trim the outside edge if necessary – you can see me do this in my video – This ensures the sides are straight. Level – Use a cake leveler to ensure the cake is leveled. You may need to press down on the side that is higher to help shimmy the frosting around.Pro tip – Then use two bench scrapers on either side of the cake to ensure the sides are straight. (just so the layers are not peaking out)
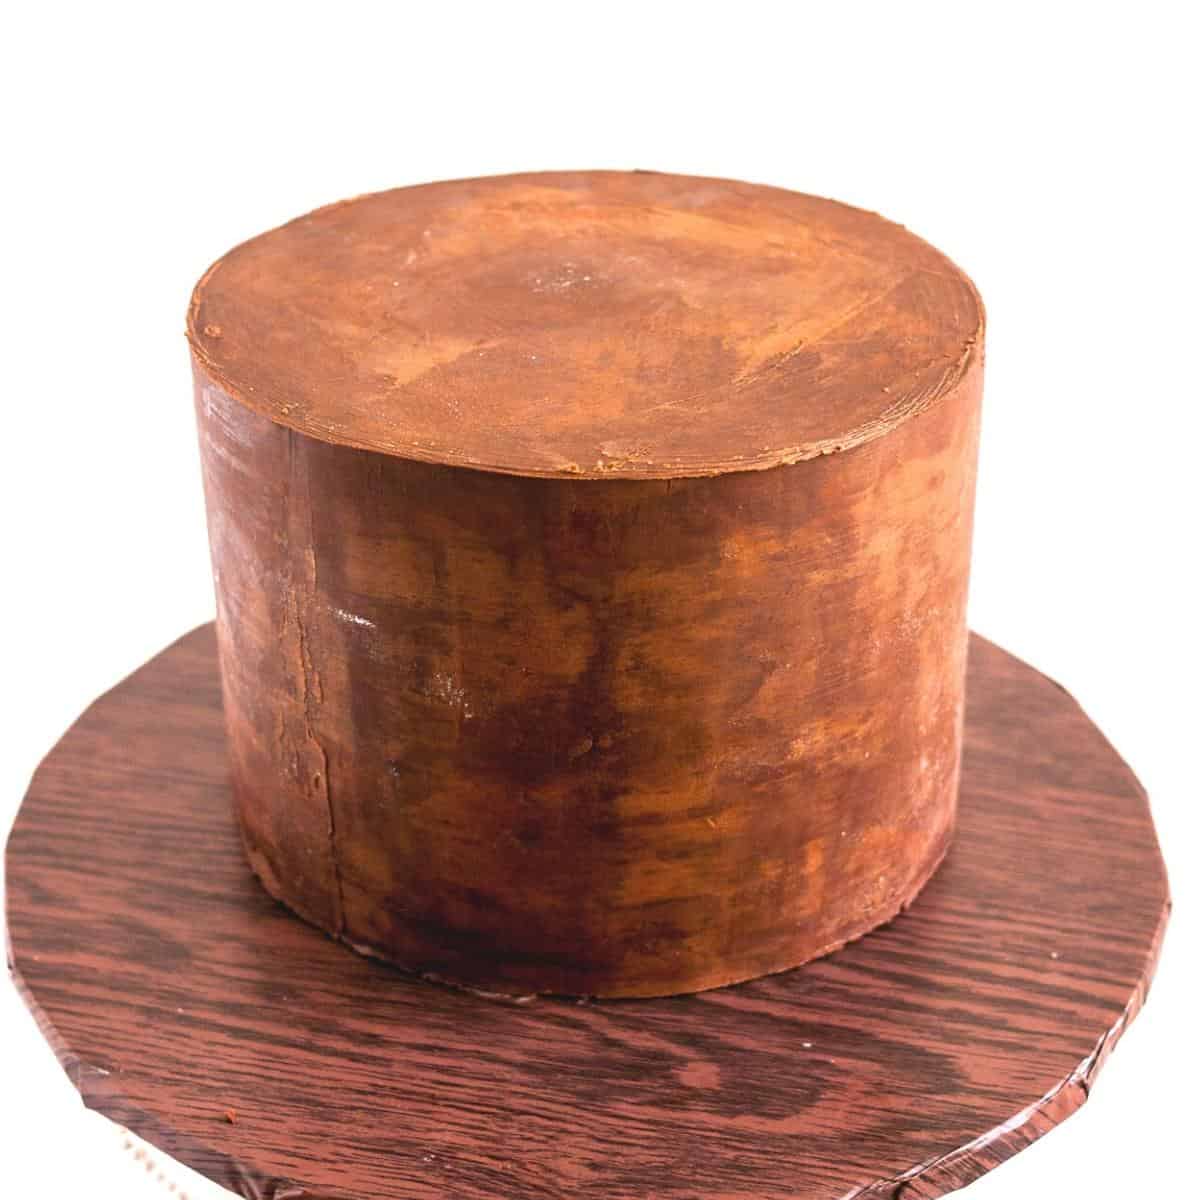
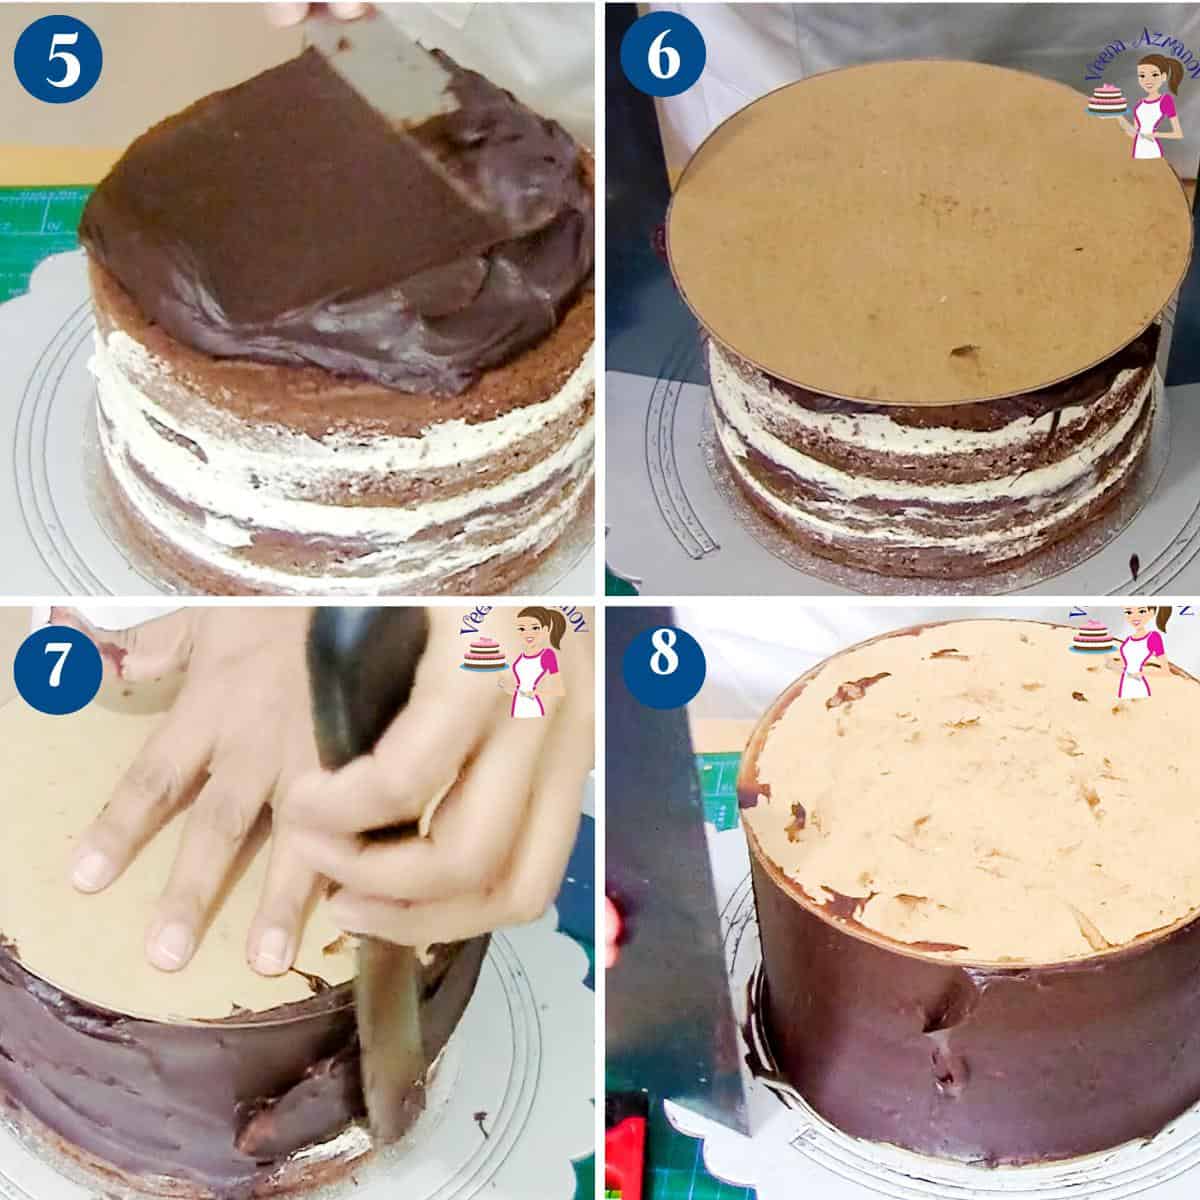
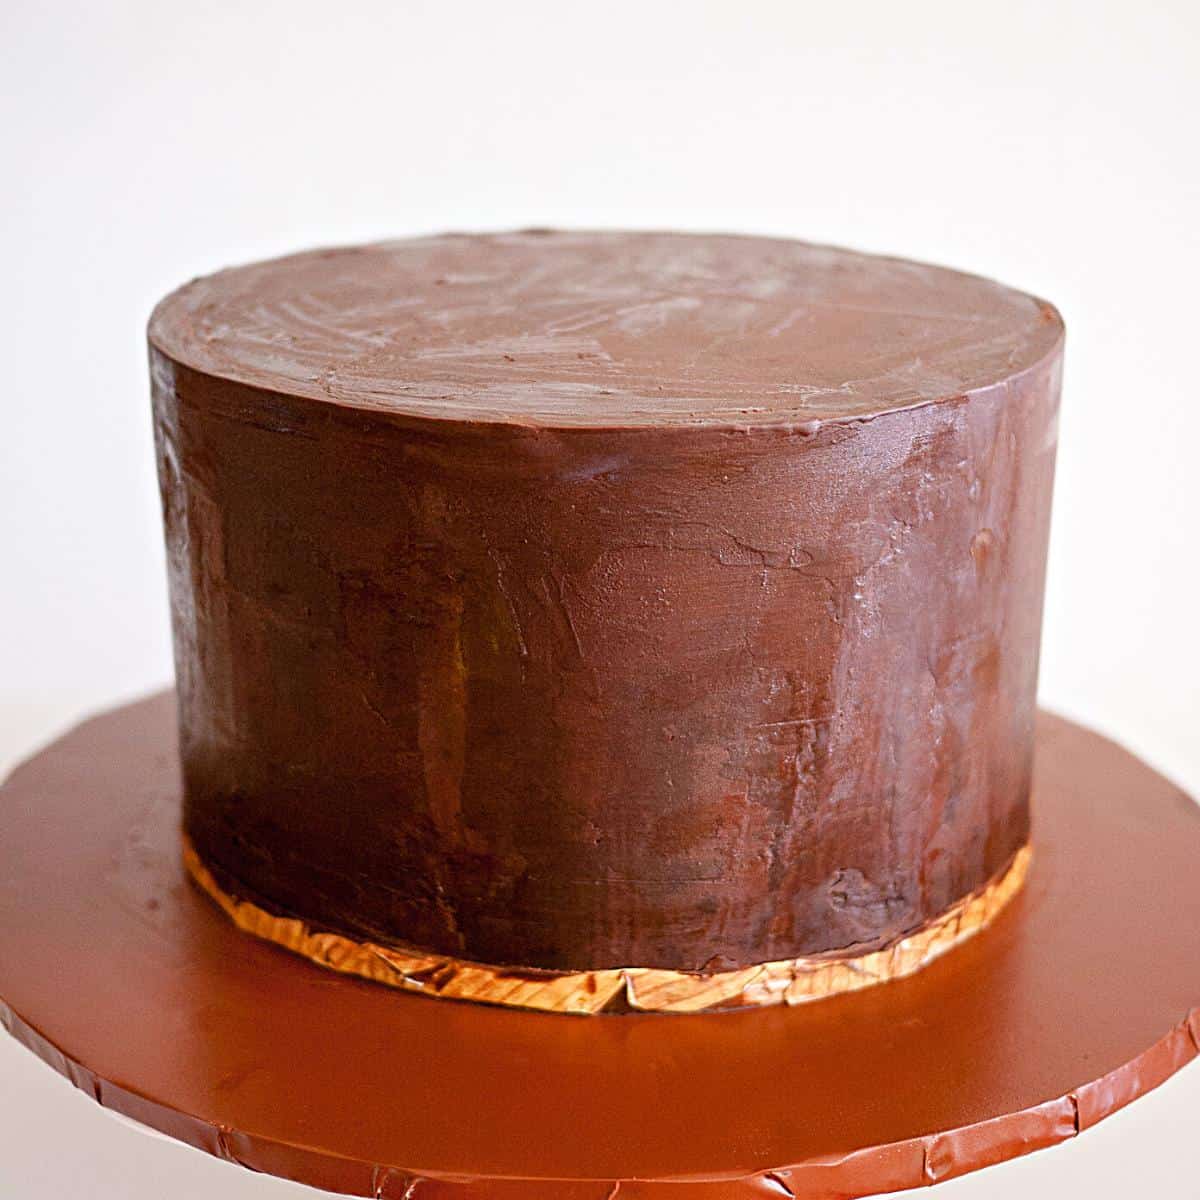
Chill – Place the cake in the fridge for 10 minutes – the frosting will set and the layers won’t move when you are frosting the outside. Cake top – Place a big dollop of ganache on the top layer. Spread it evenly making sure you have ganache over the edges. Cake board – Place a cake board the same size as the bottom board. Use two cake scrapers to make sure the top and bottom boards are aligned together. Chill the cake for 20 minutes. Cake sides – Using a spatula frost the sides of the cake with ganache. Make sure to use a paddle motion with the ganache – this prevents air pockets. Use a bench scraper to smooth the sides of the cake.
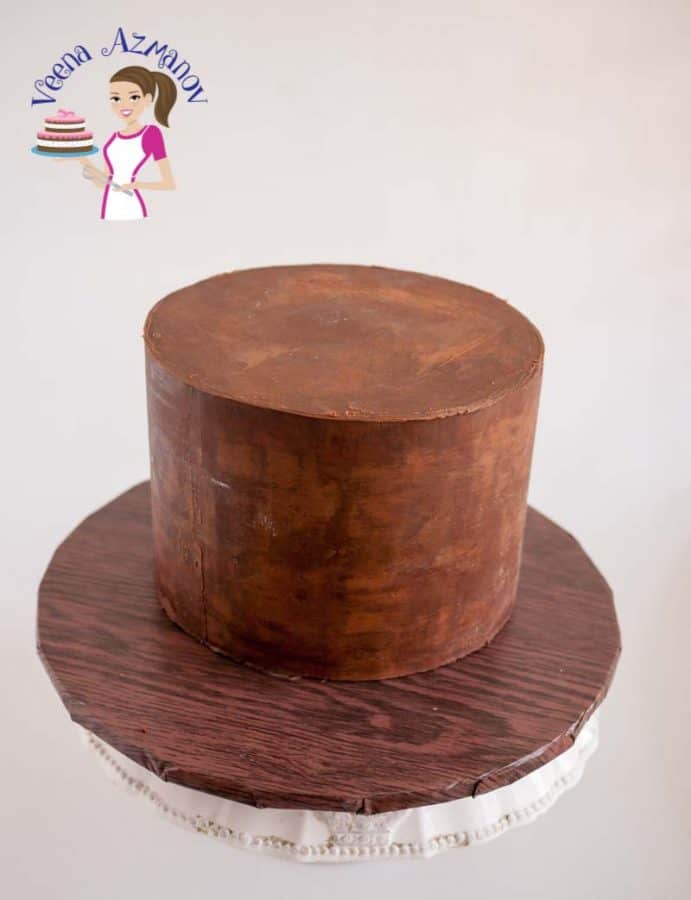
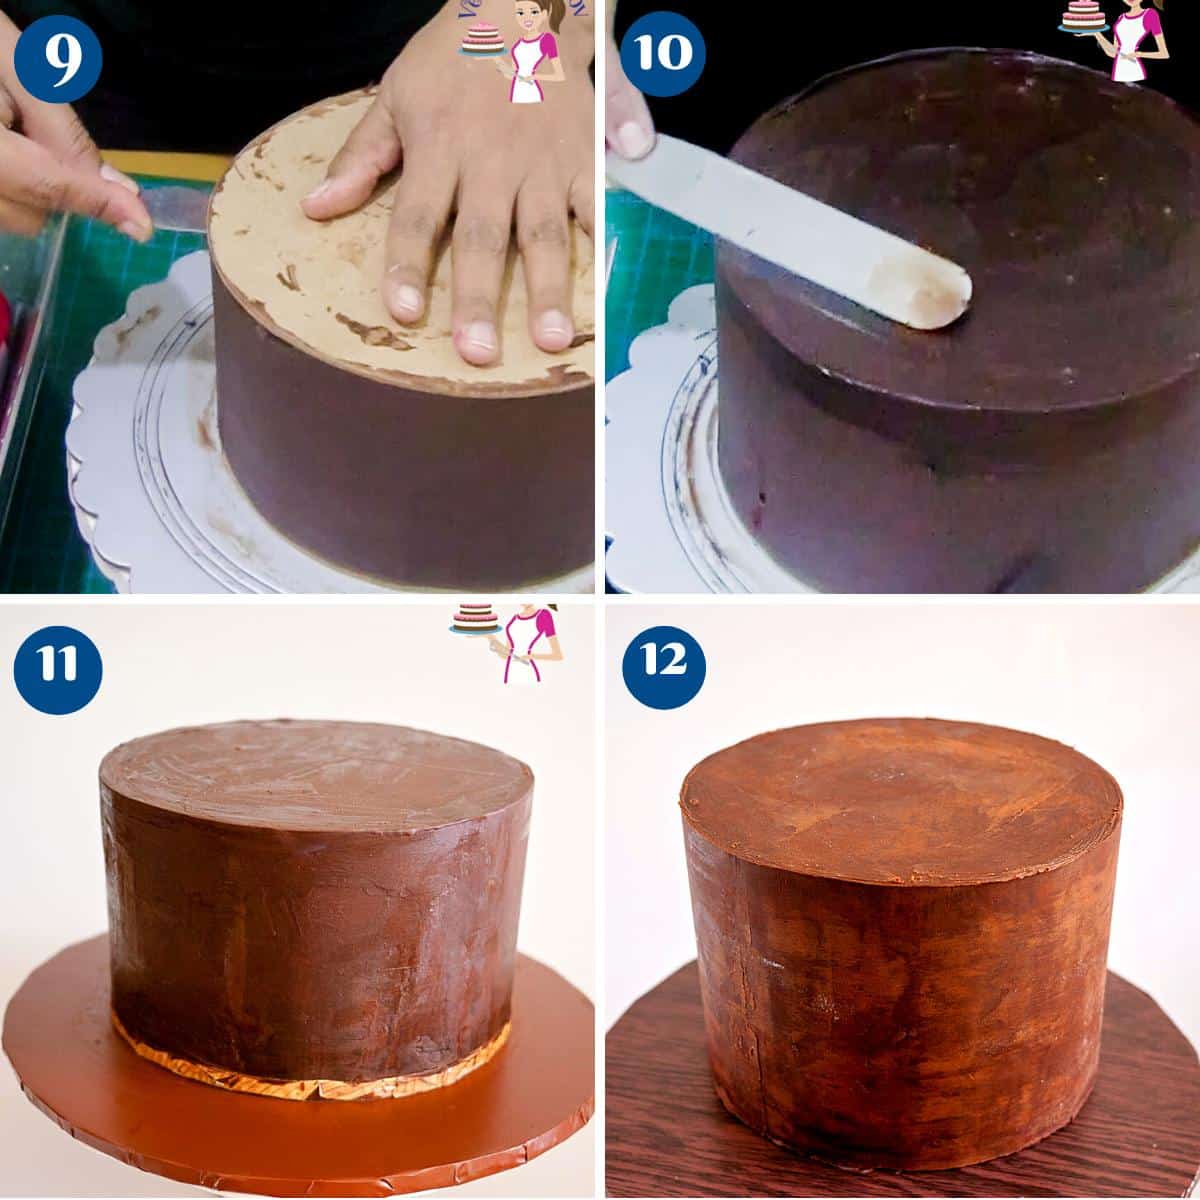
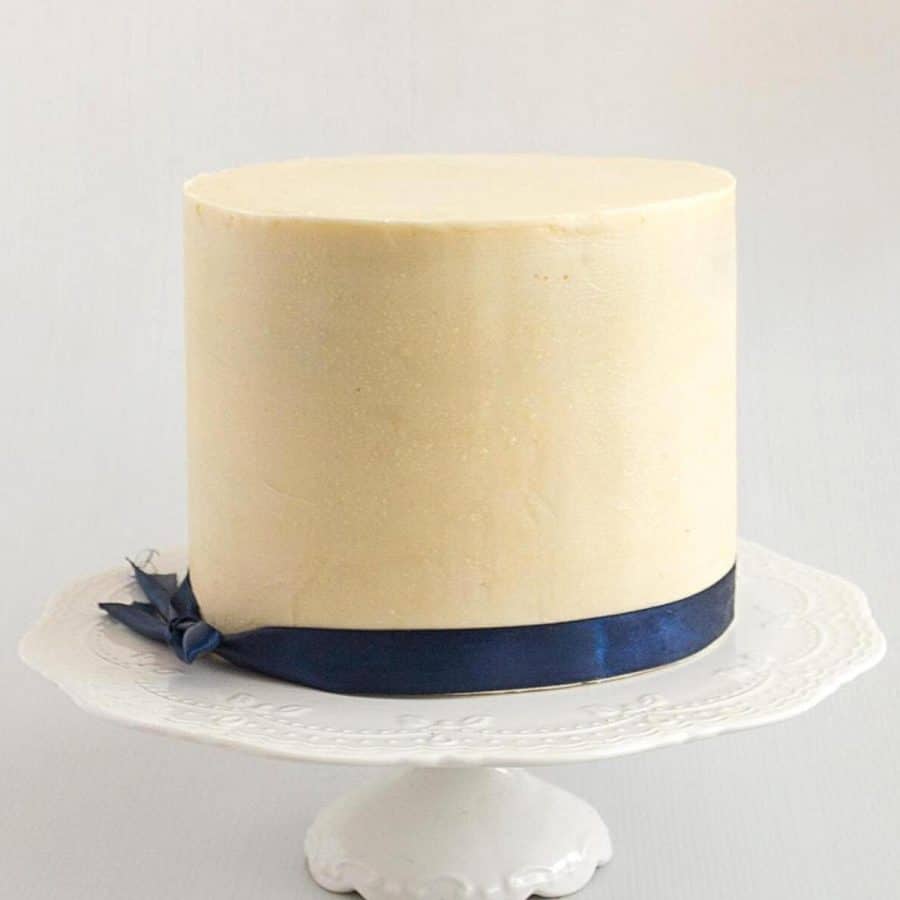
Chill – Continue to spread and smooth the ganache until you have smooth sides. Chill the cake for at least 2 hours Top board – Use a hot spatula or knife. Place the spatula between the top cake board and the ganache (see video) Pass the spatula under the board until you have loosened the board from the cake.Pro tip – dip the spatula in hot water. Gentle move the spatula – letting the heat from the spatula guide you along. Do not push too hard as the ganache will crack Smooth top – The top will be uneven and rough – this is normal. Add just enough ganache to fill and cover the top. Use an offset spatula to smooth the top and use a bench scraper to smooth the sides.Pro tip – Since the cake is chilled well the sides will remain smooth. Edge – Once smooth the little ganache that’s left over the edges can be taken off with a spatula or knife (see video)
Frequently asked questions
How to cover a cake with ganache How to get sharp edges on ganache cakes. Sharp edges on buttercream cakes
Thank you for sharing - Save for later