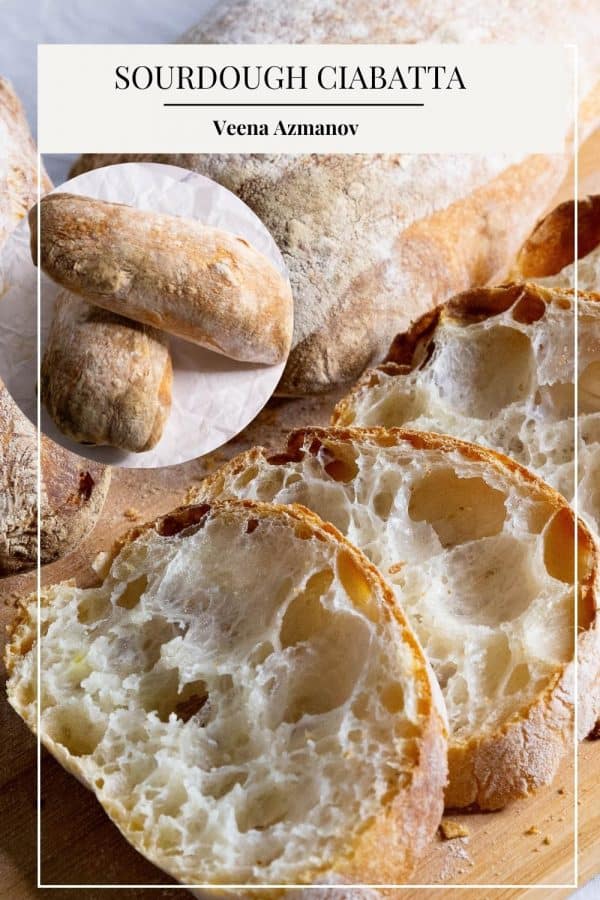
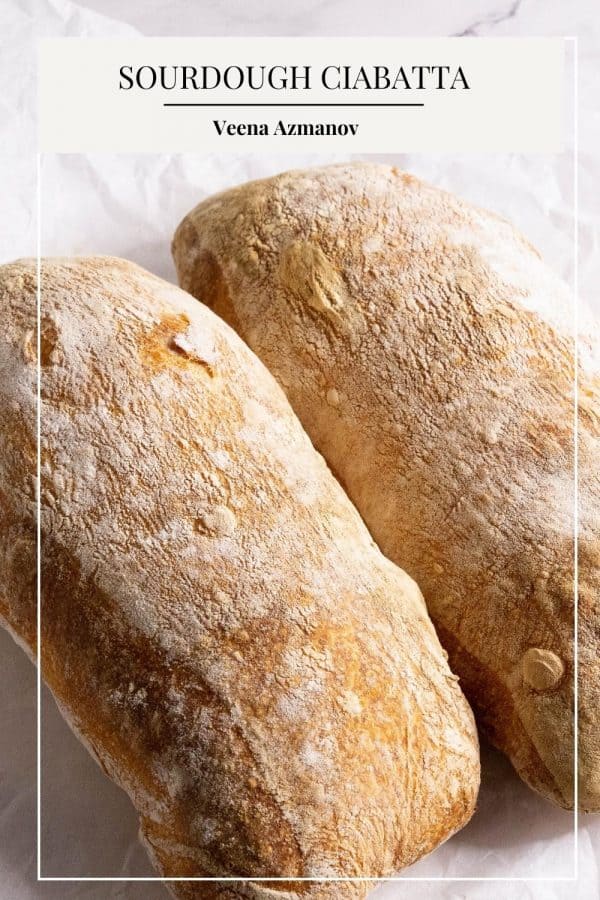
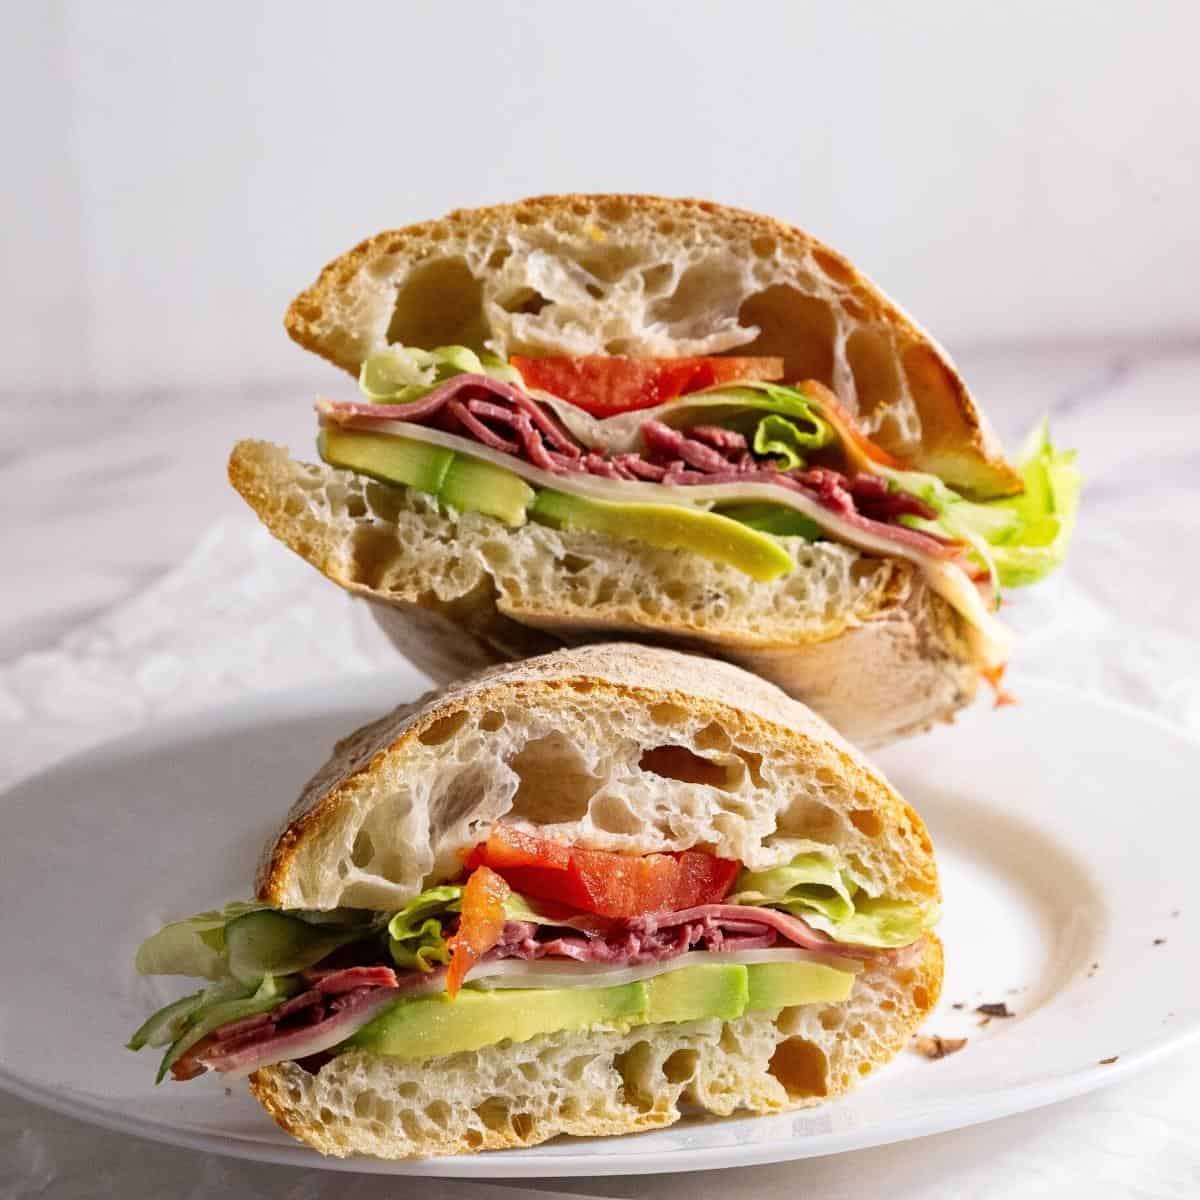
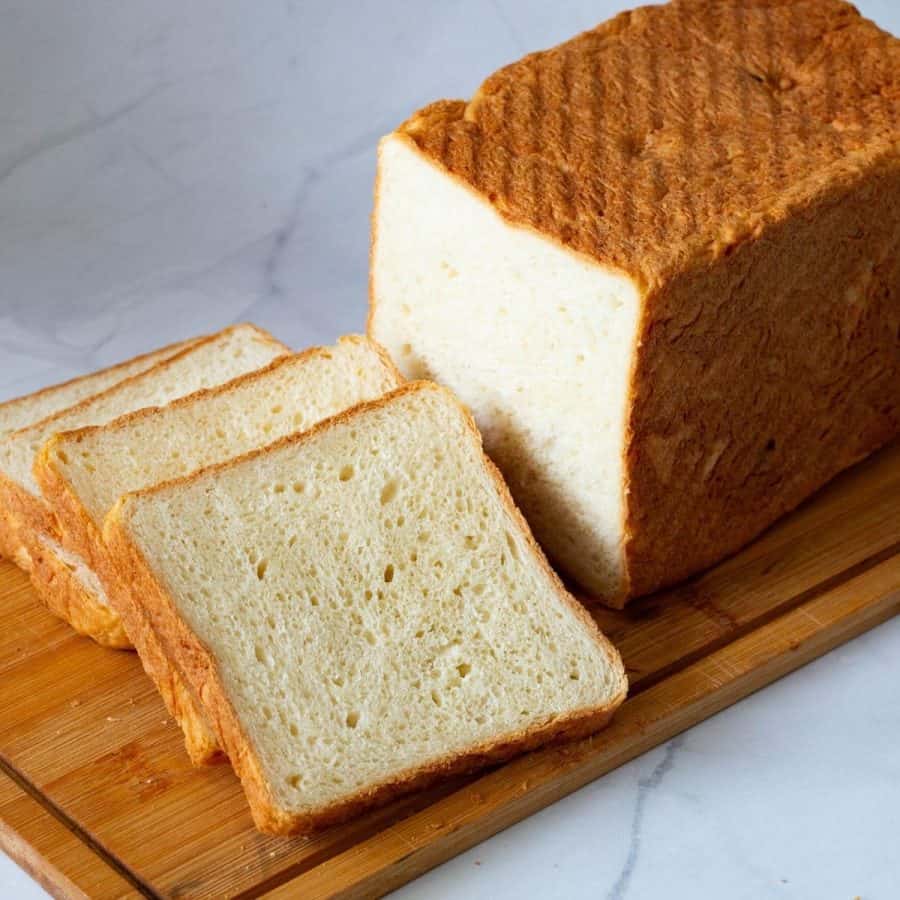
Ciabatta bread, originating from Italy, is renowned for its distinctive chewy texture, open crumb structure, and crispy crust. This rustic bread, characterized by its elongated shape, is made with a high hydration dough, which contributes to its airy interior and irregular, holey crumb. Ciabatta’s delightful flavor is enhanced by a long fermentation process, allowing the dough to develop complex flavors. Perfect for sandwiches or simply dipped in olive oil, ciabatta’s versatility and unique texture make it a favorite among bread enthusiasts. Whether you’re crafting a panini or savoring it on its own, ciabatta’s blend of crispy crust and soft, holey interior promises a truly satisfying bite. Using sourdough starter to make ciabatta bread can elevate its flavor, texture, and nutritional profile. The natural fermentation process of sourdough adds depth and complexity to the flavor of the bread, giving it a slightly tangy taste that complements the chewy texture of ciabatta. Sourdough also helps improve the texture of ciabatta, contributing to its characteristic large, irregular holes and chewy crumb. The long fermentation process of sourdough dough helps break down gluten and phytic acid, making the bread easier to digest and potentially increasing its nutritional value. Overall, using sourdough starter in ciabatta bread can enhance its flavor, texture, and nutritional profile, making it a popular choice for home bakers looking to create a more flavorful and wholesome loaf.
Feeding the sourdough starter
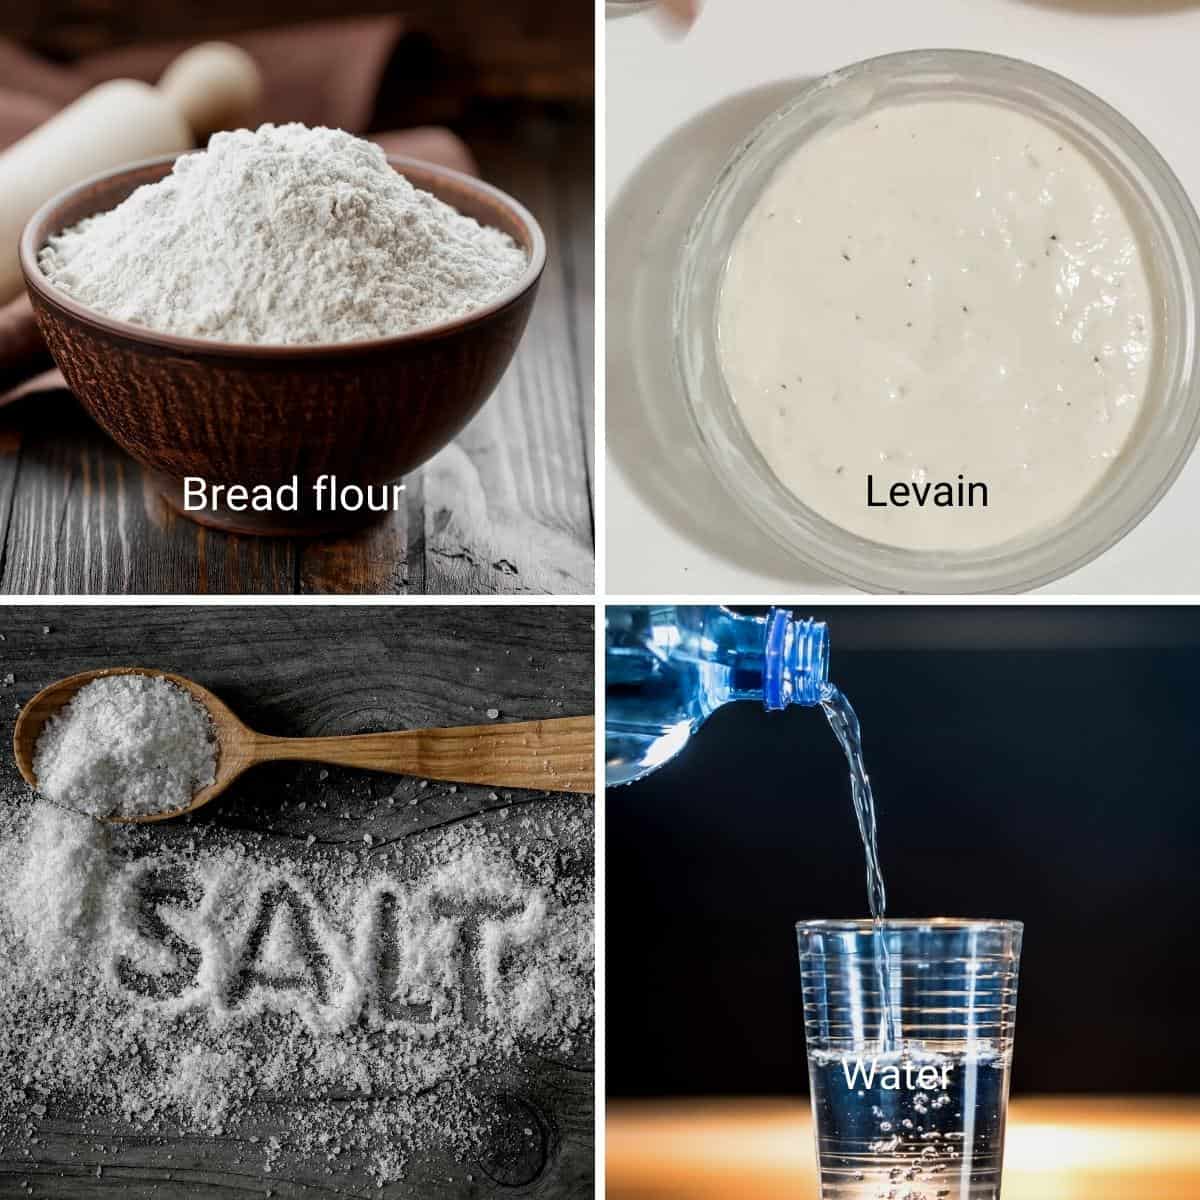
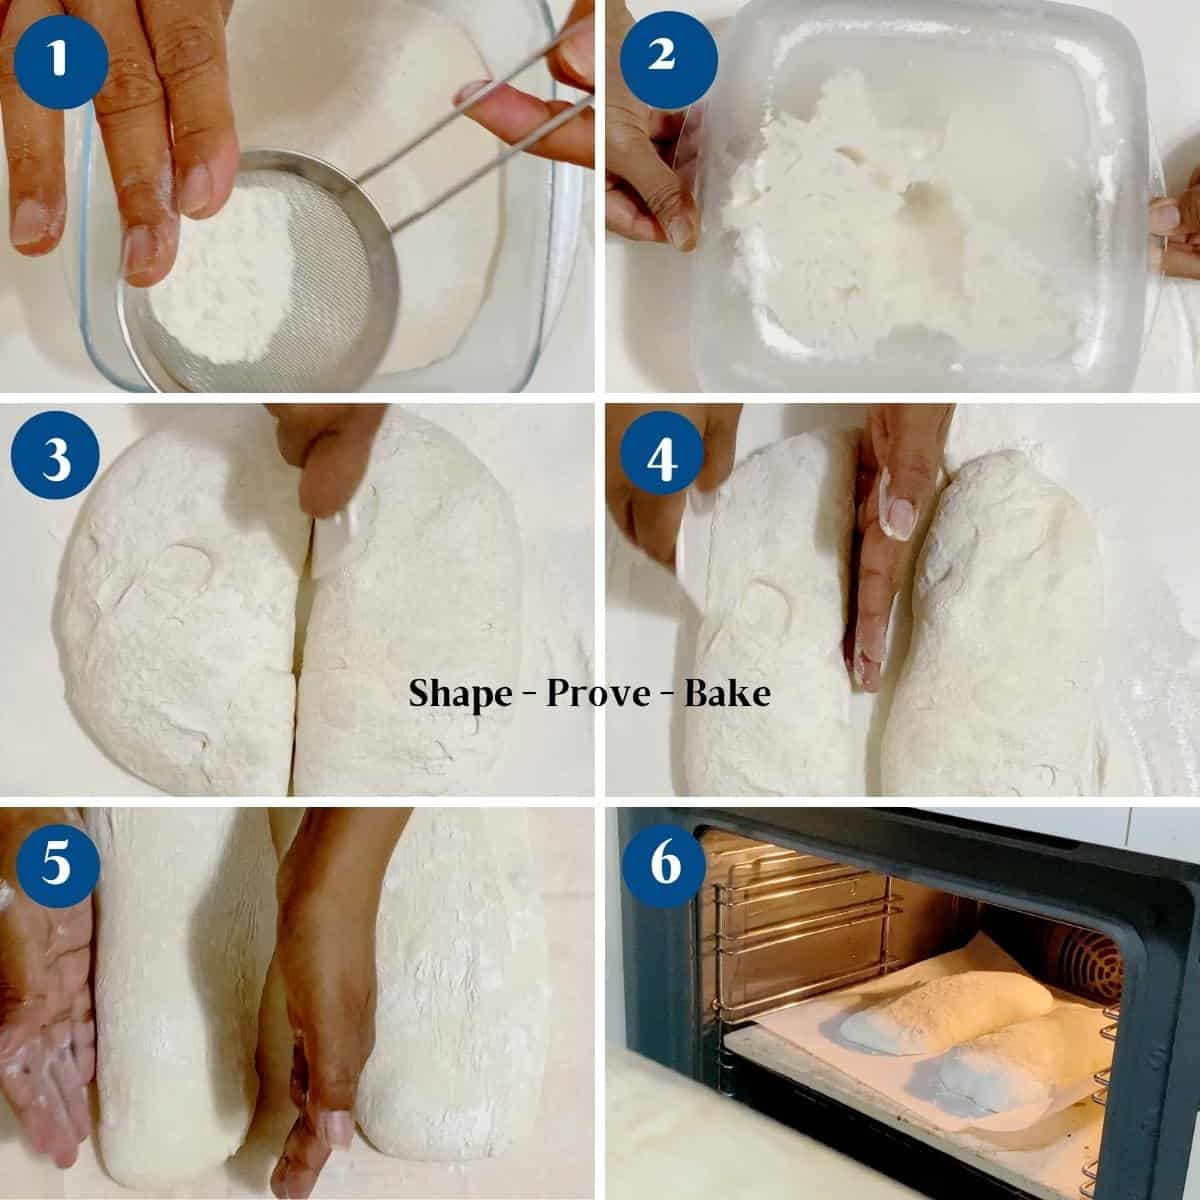
Active starter/Levain – In a medium bowl, combine 35 grams of sourdough starter, 35 grams of water, and 35 grams of flour. Stir well to combine. Then, cover and leave to rise for 3 hours at room temperature.Pro tip – You can make the levain up to 5 days in advance and leave it in the fridge.
Step-by-step: Sourdough Ciabatta
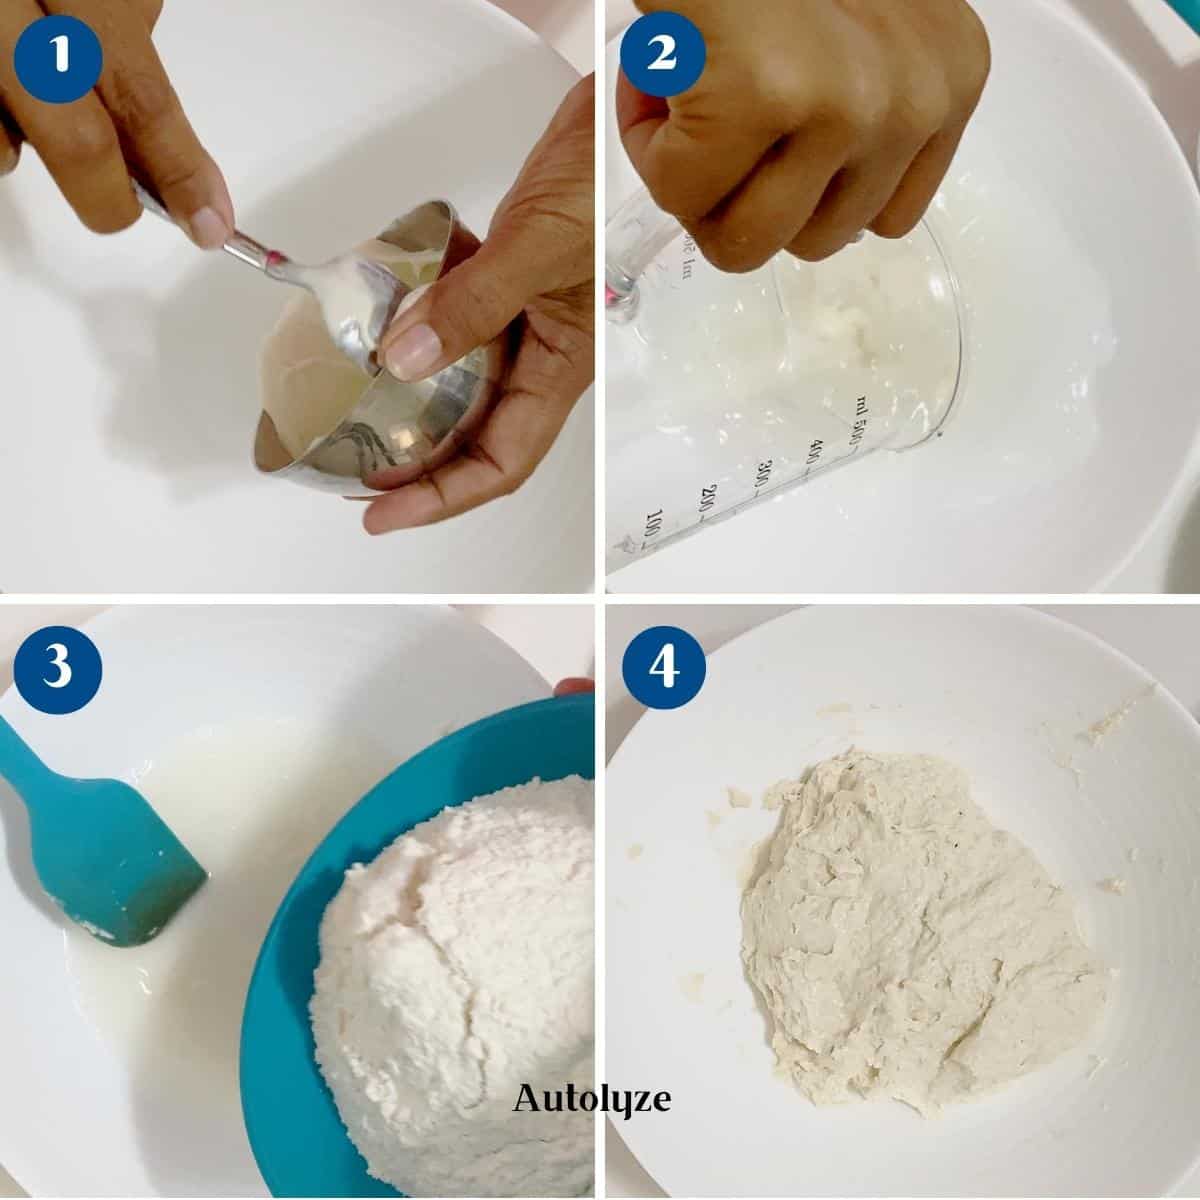
Autolyze – In a large mixing bowl, add the sourdough starter, water, and flour. Stir well with a wooden spoon or spatula. Then, cover the bowl and leave to rest for 60 mins up to 2 hours.Pro tip – Autolyze will help strengthen the gluten formation on the dough.
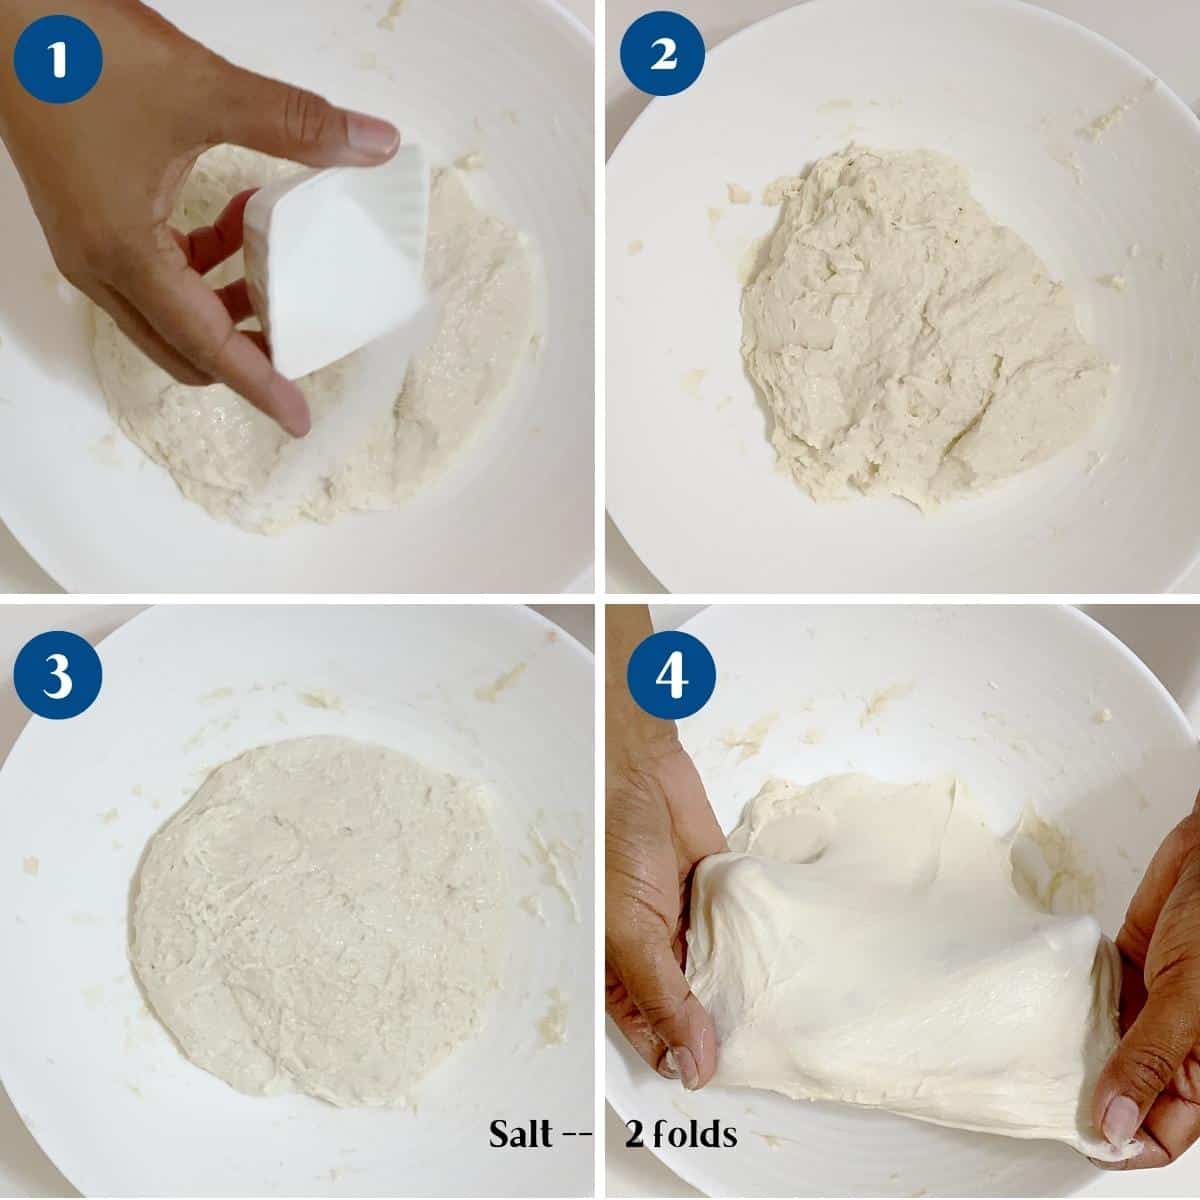
Salt – Next, add the salt to the starter and combine well for at least 2 minutes. Cover the bowl and let the dough rest for another 30 minutes.Pro tip – Resting will help rest the gluten and elasticity in the dough. I combine this twice to ensure the salt is well mixed.
Fold
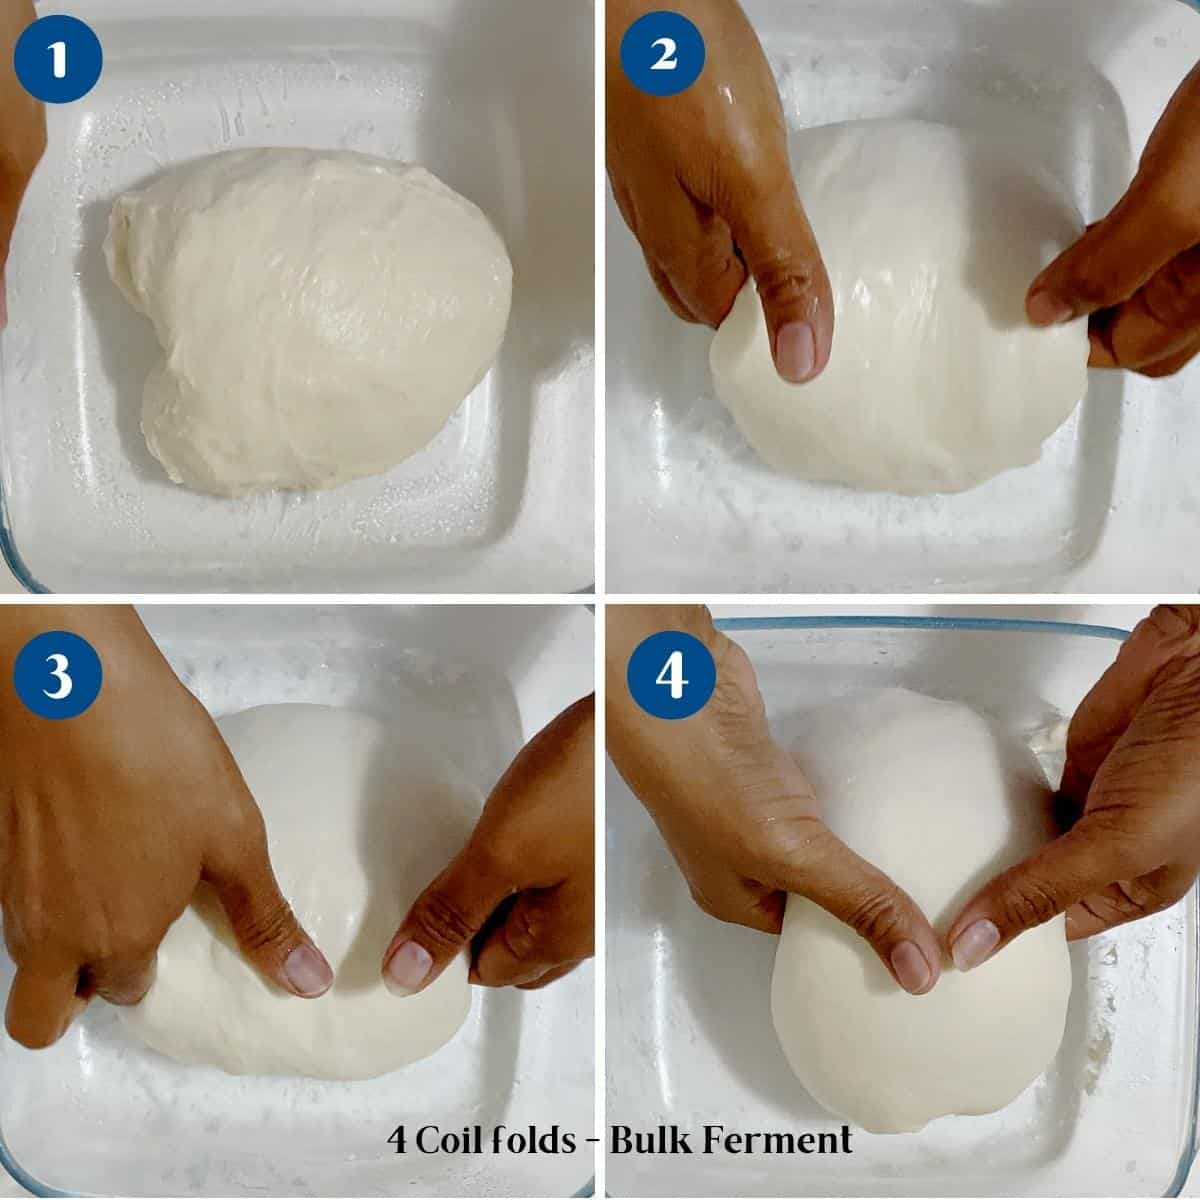
Folds – Pick the dough from one side and fold it over the other side. Turn the bowl/pan and do the same on the other side. Then, cover and rest for 30 minutes. Fold the dough using this method four times resting every 30 minutes (watch video).Pro tip – Folding strengthens the gluten and gives the bread a chewy texture. I usually transfer my dough to a clean rectangular pan for the folds.
Bulk ferment – Transfer the dough to an oiled rectangular baking dish. Cover the pan with plastic wrap and leave it to rise in the refrigerator (38°F / 3°C) for 8 hours or up to 16 hours.Pro tip – Proofing the dough in a rectangular pan will make it easier to shape the dough later.
Bake
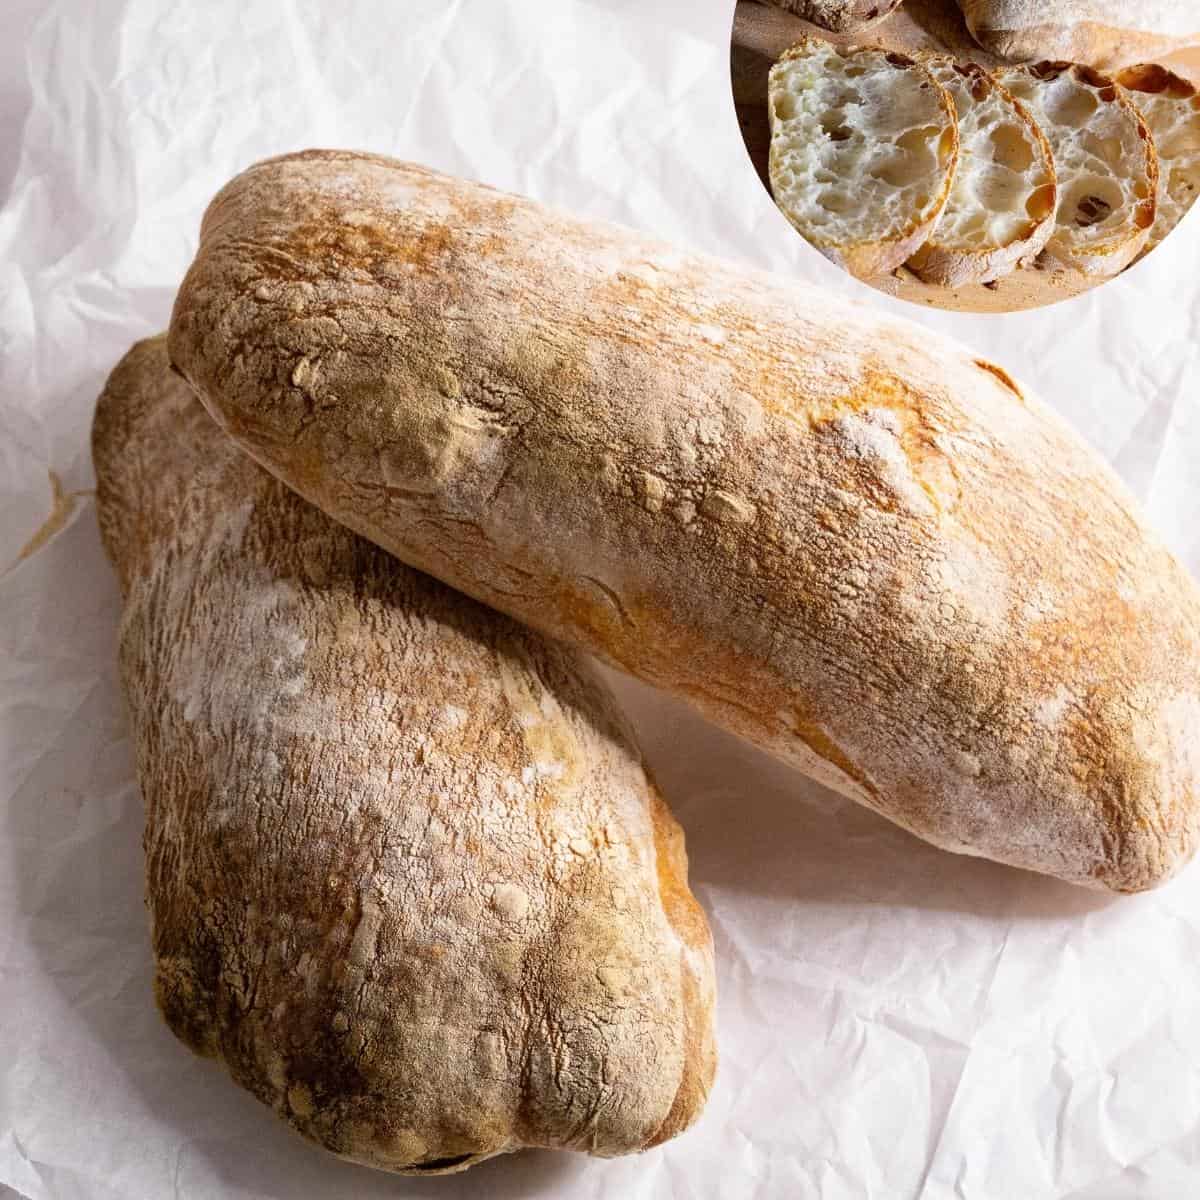
Preheat oven – Preheat the oven at 450°F / 230°C / Gas mark 8 with a pizza stone for at least 45 minutes.Pro tip – A pizza stone will ensure a lovely crust on the outside with an airy loaf on the inside. Shape – Dust your work surface generously with flour. Make sure you have good coverage to prevent sticking. Dust the top of the dough with flour as well. Then, release the edges of the dough from the bowl/pan then turn the dough out onto a heavily floured work surface.Pro tip – High hydration dough will tend to stick easily. So do less with it and make sure you are generous with the dry flour. Divide – Using a bench scraper, divide the dough in half, then half again making 4 loves. Then, shape each half into a rectangle trying not to deflate the dough. Transfer to a well-dusted parchment paper or bread cloche. Then, fold the paper or cloche around the loaves to help keep its shape.Pro tip – Please note in the video I made 2 loves using half the recipe. Prove – Gently, using a cardboard or baking tray (see video), transfer the individual loaves to a well-dusted parchment paper or bread cloche dusted with flour. Fold the paper or cloche around the loaves to help keep its shape. Leave to proof for 30 to 45 minutes.
Bake – Bake for 20 to 25 minutes until golden brown on the top and a hollow sound on the bottom of the bread.Pro tip – For a hard crust on the loaves, bake them on a heated cloche covered for the first half of baking. Then, uncovered for the next few minutes. Cool – When baked, remove from the oven and cool on a wire rack for at least an hour before cutting.Pro tip – When baked, the internal temperature of the sourdough bread should be read about 205 to 210°F (or 96-98°C) on an instant-read thermometer.
Frequently asked questions
Thank you for sharing - Save for later