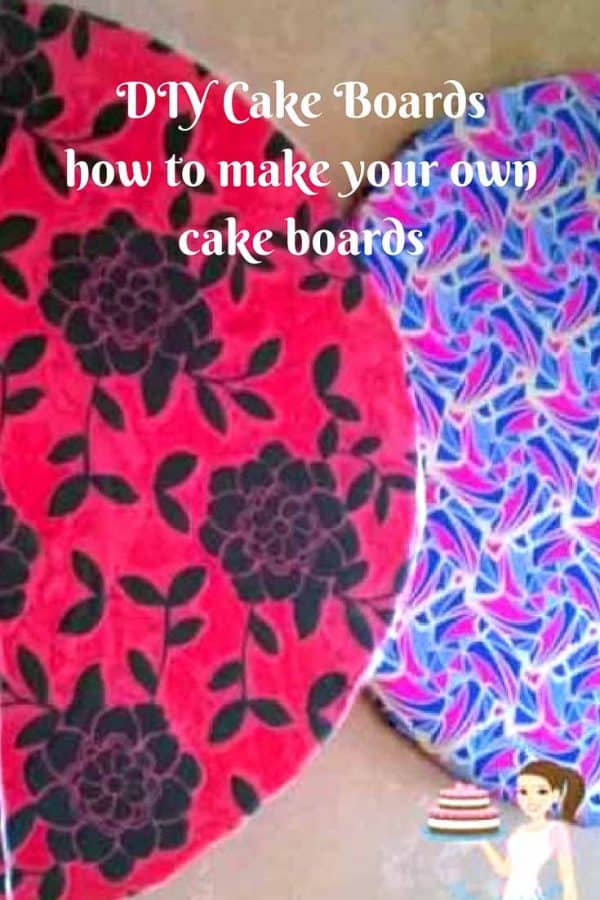
Have you ever wanted to take on the challenge of a custom cake board? If you have, you’ll be delighted to know that you don’t have to be an experienced baker to create and decorate a durable platform for your cakes. In this article, we’ll guide you through all the steps you need to know to craft your own cake board with just a few essential supplies, as well as share some tips and tricks on decorating them to bring out the unique beauty of your creations. “Baking is a way of making dreams come true,” and by learning how to make and decorate your own cake boards, you’ll be one step closer to turning those dreams into reality. Did you LIKE this recipe? Save it for later. You can find my recipes on Pinterest. Follow me on Facebook, Twitter, and Instagram.Subscribe, and I’ll send you new recipes right to your inbox. In summary, covering the cake board when decorating custom cakes enhances the overall appearance, ensures hygiene, aids in transportation, and allows for personalization. It’s a simple step that can significantly elevate the presentation of your cakes and make them stand out.
Materials you’ll need:
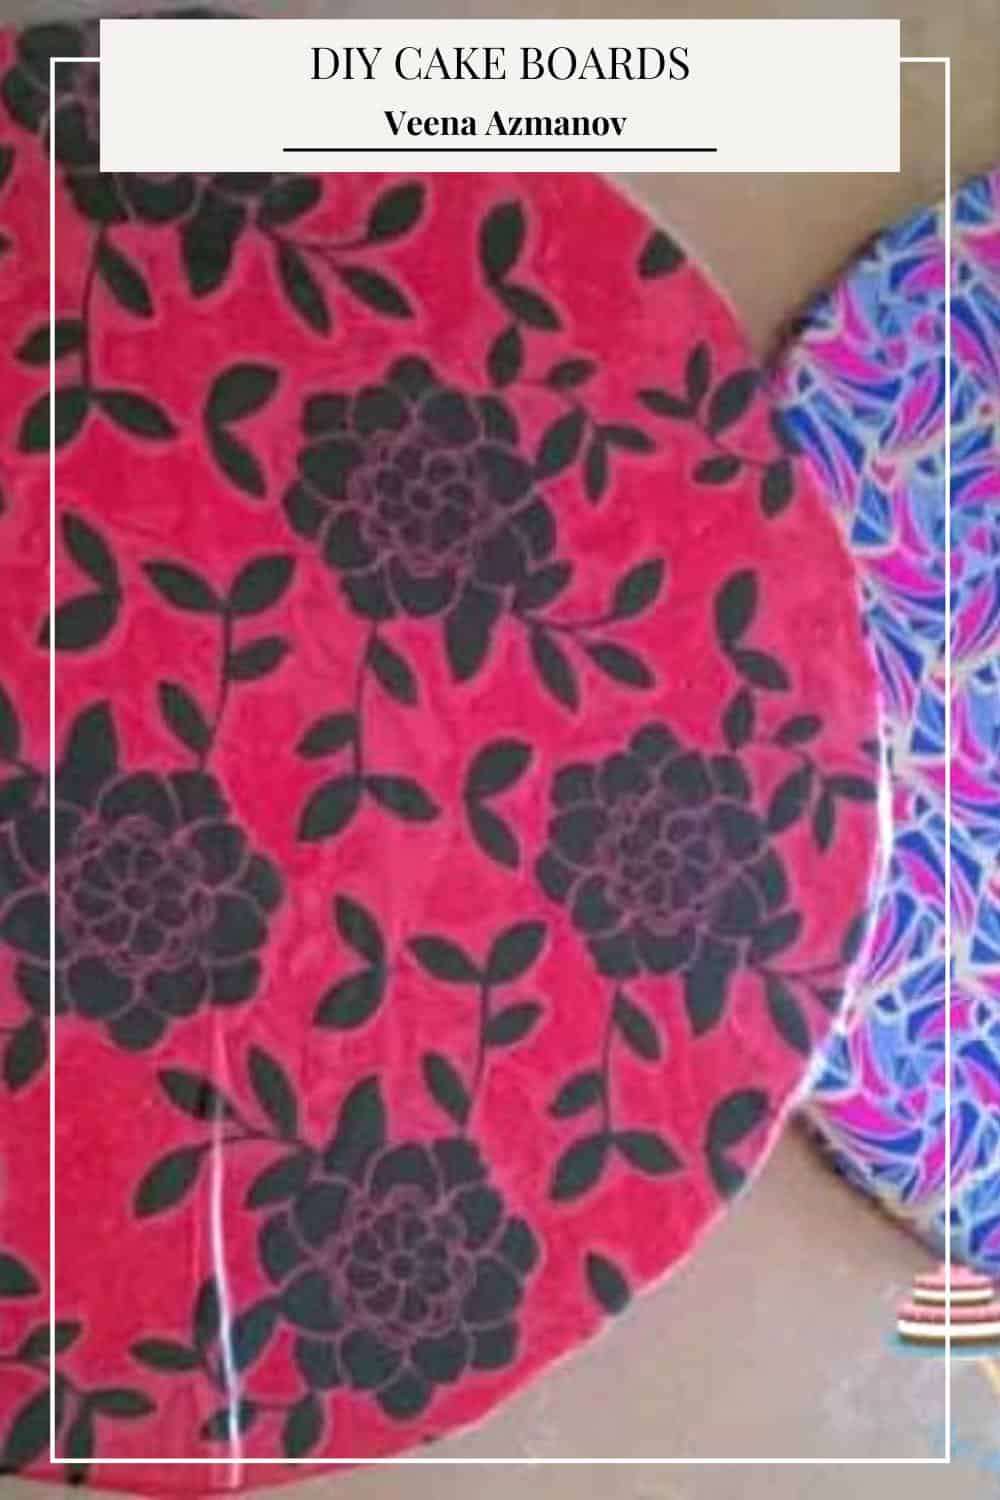
Measure and cut the board Start by measuring the size of the cake you’ll be placing on the board. Use a ruler or measuring tape to determine the diameter or dimensions of the cake. Add a couple of inches to the measurements to ensure the board will be large enough to support the cake Mark the measurements on the cardboard or foam board and use scissors to cut it to the desired size and shape. You can cut a circle, square, rectangle, or any other shape that suits your needs. Prepare the decorative paper Choose a wrapping paper or decorative paper that complements the theme or design of your cake. Ensure it’s large enough to cover the entire surface of the board with some excess for wrapping around the edges. Place the board on the paper, and trace its outline with a pencil or pen. Then, cut out the traced shape from the paper. Attach the decorative paper to the board Apply a line of transparent adhesive or double-sided tape along one edge of the board. Make sure it’s close to the edge but doesn’t overlap with the front surface. Align the cut-out paper with the edge of the board and carefully press it down onto the tape. Slowly wrap the paper around the board, ensuring it sticks firmly to the tape. Smooth out any wrinkles or bubbles as you go. Secure the paper and trim excess Once the paper is wrapped around the board, apply more adhesive tape along the remaining edges. Again, make sure the tape doesn’t overlap with the front surface. Press down the edges of the paper onto the tape to secure it firmly. Trim any excess paper using scissors, leaving a clean and neat finish. Optional: Add a border or ribbon (optional) If you’d like to add an extra touch to your cake board, you can attach a decorative border or ribbon around the edges. Use adhesive tape or a hot glue gun to attach it securely. Allow the board to dry completely before placing your cake on it.
That’s it! You’ve successfully made your own cake board at home. It’s now ready to be used to display your homemade or store-bought cakes in a stylish and personalized way. Once the wrapped cake board is dry, it’s ready to be used for displaying your cake. The wrapped paper adds a professional and finished look to your cake presentation, making it more visually appealing. When choosing the paper for covering cake boards, ensure it is clean, free from any printing ink or dyes that might transfer onto the cake, and appropriate for food contact if the cake will come into direct contact with the board. Additionally, consider the sturdiness, aesthetics, and theme of your cake to select the best paper that suits your needs. Remember to work slowly and carefully when covering a cake with fondant, as it can tear or stretch if handled too roughly. It’s also important to have a well-prepared cake with a smooth surface before applying the fondant. Practice and patience will help you achieve the desired results.
Materials you’ll need:
Prepare the cake board – Start with a clean and dry cake board. Ensure it is the desired size and shape for your cake. Color the fondant – Take a portion of white fondant and knead it until it becomes soft and pliable. Add brown gel food coloring a little at a time, kneading until you achieve the desired shade of brown. You can also add a touch of black gel food coloring to create a deeper, more realistic wood tone. Remember to wear gloves to prevent staining your hands. Roll out the fondant – Lightly dust your work surface with cornstarch or powdered sugar to prevent sticking. Roll out the brown fondant into a thin, even sheet using a rolling pin. Ensure the size of the fondant sheet is larger than your cake board to cover it completely. Create woodgrain texture – Make random woodgrain patterns on the rolled-out fondant using a veining tool or a toothpick. Create long, curved lines, knots, and variations in thickness to mimic the natural look of wood. Apply light pressure to create shallow impressions. Avoid making the patterns too uniform or repetitive. Add highlights – Roll a small amount of white fondant into thin ropes or snakes. Place these white fondant ropes over some of the woodgrain patterns to create highlights and add dimension. Blend them gently into the brown fondant using a veining tool or your fingers. Cover the cake board – Carefully lift the textured fondant sheet and drape it over the cake board. Smooth it gently with your hands, starting from the center and working outward to remove any air bubbles or wrinkles. Trim any excess fondant from the edges of the cake board using a sharp knife or fondant trimmer.
Optional: If desired, you can brush a small amount of clear alcohol (such as vodka) onto the fondant to add a subtle sheen and help set the colors. Alternatively, you can use a food-safe clear extract or water. Allow the fondant to dry and set on the cake board completely before placing your cake on top. The fondant woodgrain effect will provide an attractive and realistic background for your cake, adding a unique touch to your presentation. Thank you for sharing - Save for later