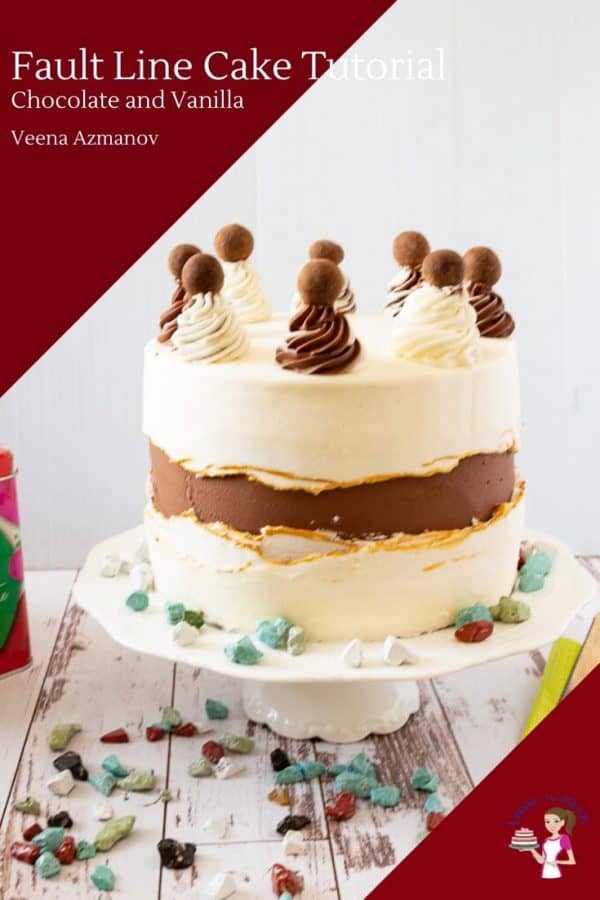
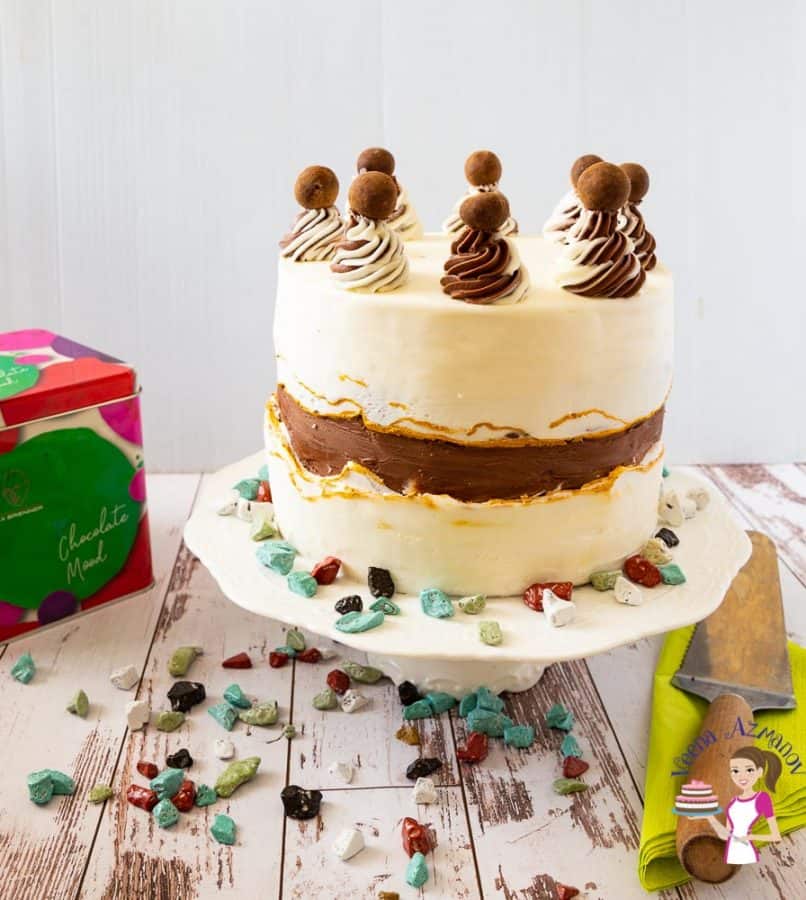
If you look on Instagram these days, it’s all about fault line cakes and stripped buttercream cakes. Sounds like we are bringing buttercream cakes back to life with a whole new look. I’m loving this trend. Although, I wish everybody didn’t load cakes with sprinkles. I mean, I do love sprinkles but customers don’t fancy their cakes with sprinkles everywhere – at least my customers. I made this for a friend’s birthday and I wanted to make something a little different than one loaded with sprinkles or crystal sugar. That’s why I made this chocolate and vanilla cake.
Why make this cake?
This is a very simple and easy cake to make. Below I have given you the recipe as well as the full tutorial. I also used this recipe to make our Vanilla Birthday Cake.For the cake, I have used two layers of vanilla cake and one layer of chocolate cake. You can, of course, use all three layers of vanilla or all three layers of chocolate cake. You can use any cake recipe you want for this – see my post over 30 plus layer cakes.Filling – I am using vanilla pastry cream. But, you can use buttercream frosting for the filling as well. Or try, caramel, butterscotch, fruit fillings such as strawberry, blueberry. Fruit curds such as orange or lemon curd. For the frosting, I have used my American buttercream frosting but the options for these are plent too. See my 30 plus buttercream recipes.The timeline for decorating this cakeBake the cakes – 40 mins (10 + 30)Prepare the filling – vanilla pastry cream – 20 minsPrepare the frosting – American buttercream – 20 minsFrost the cake – 60 mins
Ingredients and Substitutes
All-purpose flour – Yes, regular all-purpose flour works great. No need to look for anything else. And if you have only self-raising flour on hand use it but reduce the baking powder by half.Unsalted butter – I always use unsalted so I can control the amount of salt. And yet, if salted butter is all you have, use it and omit salt in the recipe.Sugar – I’m using white sugar so I can have a white cake. It’s always best to use fine-grain white sugar so it dissolves easily in the butter.Buttermilk – If you don’t have buttermilk don’t worry. It takes just 5 minutes to make homemade buttermilk for baking. Vanilla – A good quality vanilla is very important especially in a vanilla cake. I’m using vanilla bean paste but you can use vanilla extract too. Cocoa powder – I’m using Dutch-processed cocoa powder. It will give our cake a rich dark color.
Step by step instructions
Cake batter
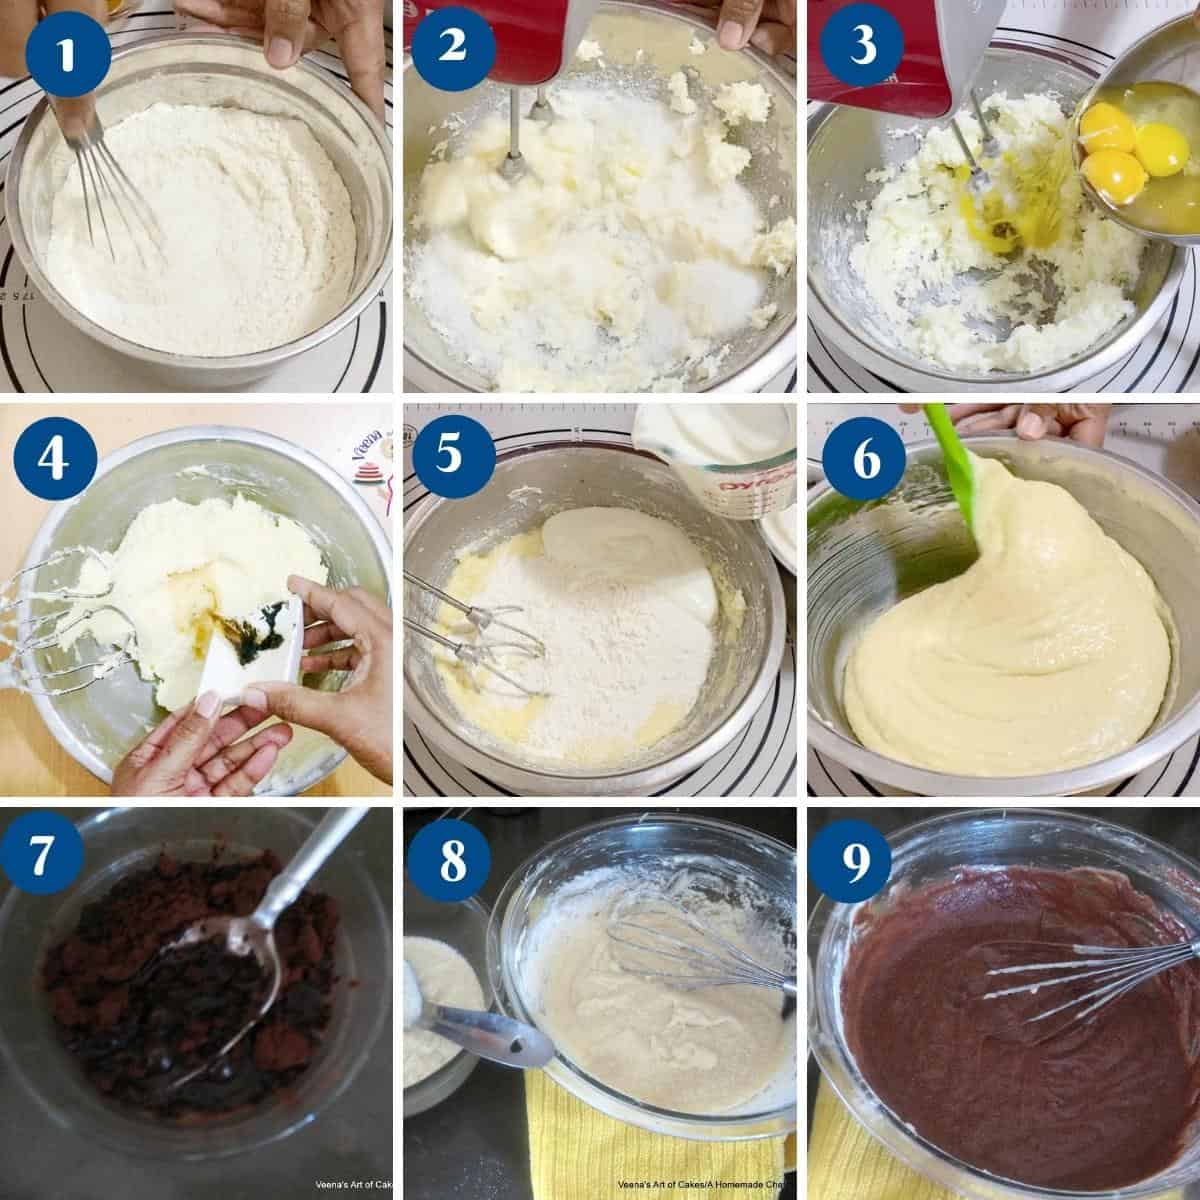
Preheat the oven at 325 °F/ 165 °C/ Gas Mark 3.Grease and line 3×7 inch round cake pans or use 3 x 6-inch round cake pan for a tall cake..Cocoa paste – combine the cocoa powder with hot water – set it aside to cool.Dry ingredients – Combine the flour, baking powder, baking soda, and salt.In the bowl of a stand mixer, with the paddle attachment, cream butter and sugar until light and fluffy. Next, add the eggs one at a time followed by the vanilla bean paste.Next, add the flour and buttermilk in three batches. Scrape the sides and bottom to ensure you have a smooth batter.Pro tip – Scrape the sides and bottom to ensure you have a smooth batter.Divide the batter equally into three bowls. Pour two parts into two prepared baking pans – these are our two vanilla layers.Pro tip – I like to use cake strips to ensure my layer cakes bake flat.Add the cocoa powder mixture into the third bowl and combine well. Pour the batter into the third baking pan – this is our chocolate layer.Bake in the preheated oven for 35 to 40 minutes.Cool in the baking pan for 5 minutes. Invert and cool on a cooling rack completely before you decorate.
Simple syrup
Prepare simple syrup – cool completely before using.Pro tip – Simple syrup is just sugar and water boiled for 3 minutes. It keeps the cake layers moist.
Buttercream frosting
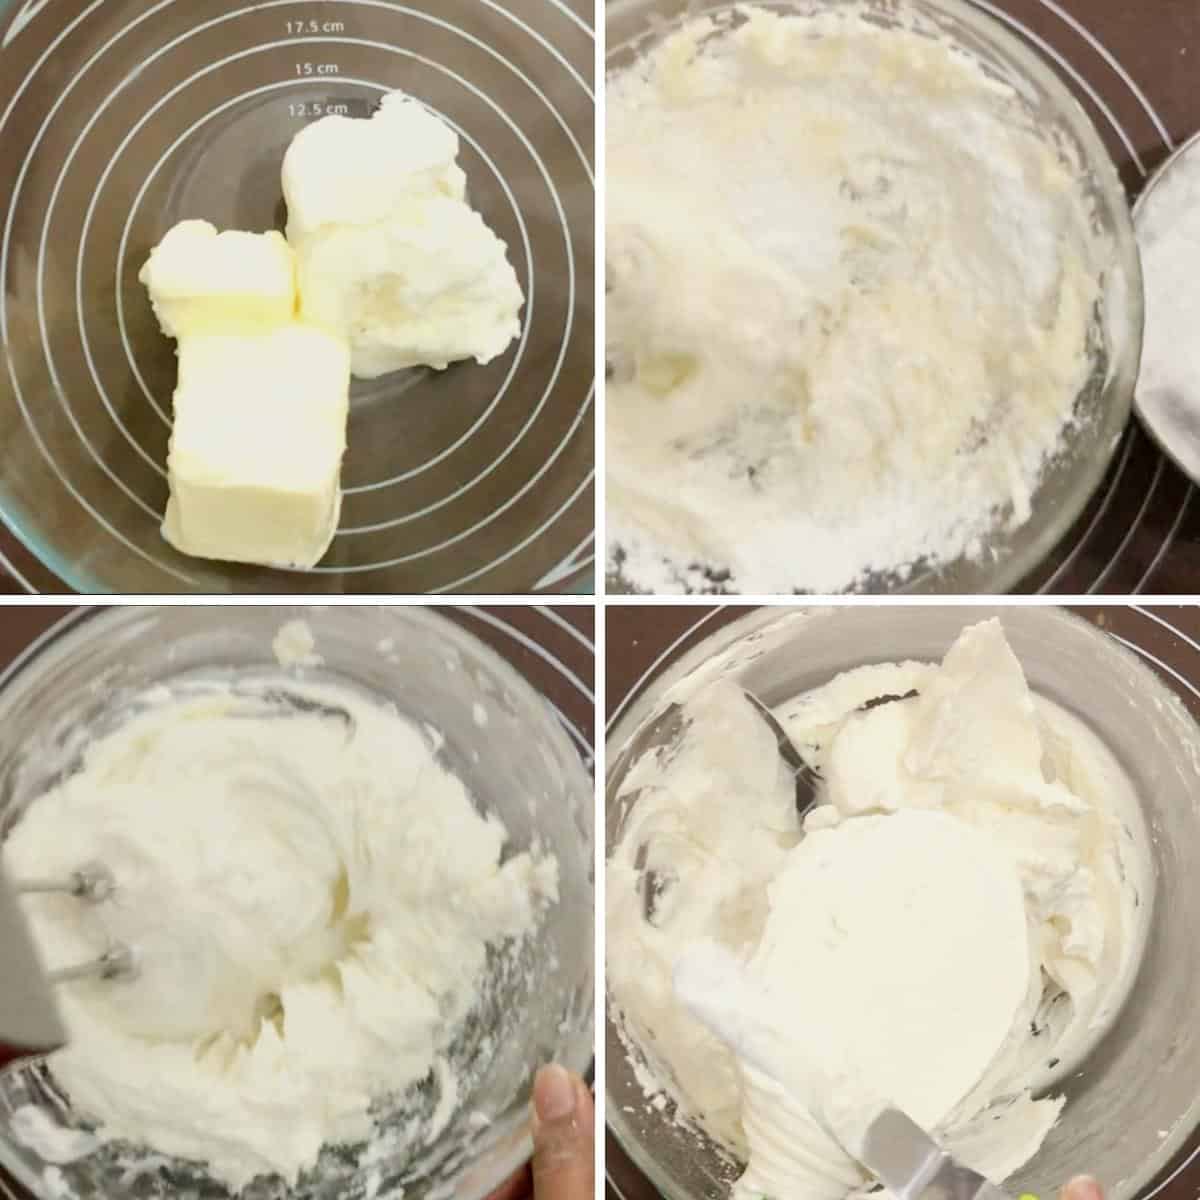
In the bowl of a stand mixer, with the paddle attachment, cream the butter and powdered sugar until well combined.Then, add the cream and vanilla extract. Continue to whip until light and airy – at least 2 to 3 minutes.Pro tip – It is important to whip so you have a whipped-cream like consistency. Otherwise, the buttercream will be too soft to spread.Chocolate buttercream – Transfer about 1 ½ cup of buttercream to a separate bowl and add the melted cooled chocolate. This is our chocolate buttercream for the fault line.
Pastry cream filling
Today, we are using the simple one-pot pastry cream method but you can also use the classic pastry cream method. Click to videos on how to make theseIn a heavy-bottom saucepan combine sugar, cornstarch, egg yolks, vanilla bean paste, and salt. Gradually add the milk while whisking to prevent lumps.Place the saucepan on medium heat stirring continuously until the pastry cream thickens.Pro tip – You want the pastry cream to come to a low simmer (boil) so the cornstarch will thicken the mixture and cook out.Add the butter and continue to stir on low making sure to prevent the pastry from sticking or burning at the bottom.Once the pastry cream is thick, remove it from heat and pass it through a sieve or mesh. This will remove any lump and give you a smooth velvet-like pastry cream.Cover with the plastic wrap touching the surface of the cream. Set aside to cool completely.Pro tip – the plastic touching the pastry cream will prevent skin from forming on the pastry cream which can later cause lumps and cause blockage in the piping bag
Assemble
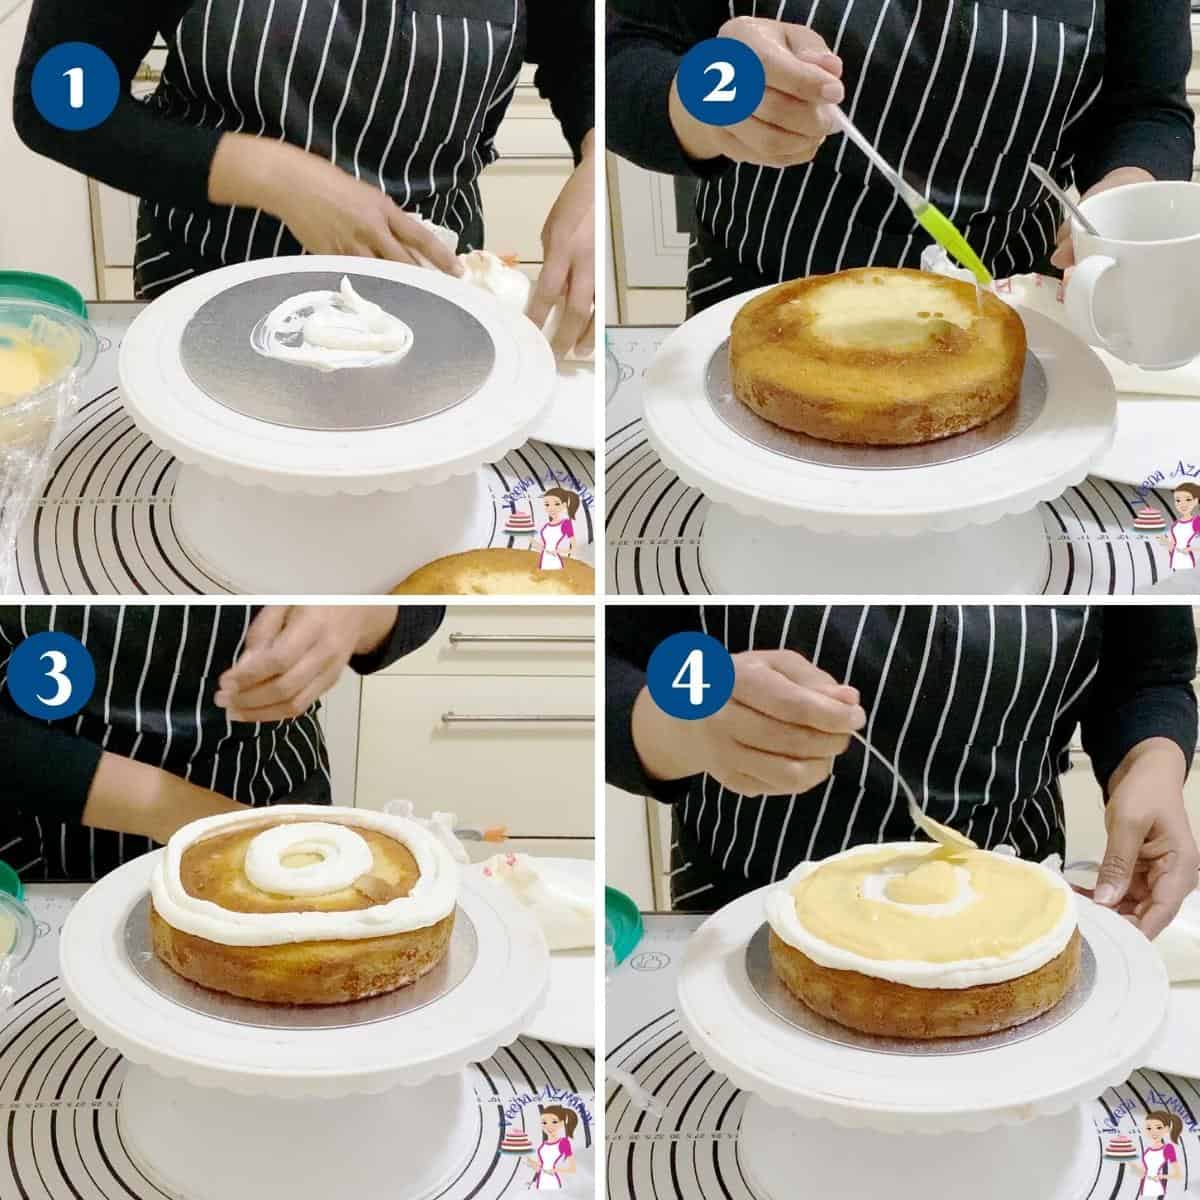
Using a bread knife or cake leveler cut the domes off the cake layers. Brush each layer with the cooled simple syrupPlace a cake layer on the cake board or cake stand.Pro tip -if you plan to move the cake again, it is best to use a cake circle under the cake, so you can pick the cake with its base and without any accidents.Place a cake layer on the cake board or cake stand. Place buttercream in a piping bag with a small opening. Pipe a border and a circle in the center of each layer (see video).Fill the center with pastry cream. Then, top the second (chocolate) cake layer on top followed by filling and frosting and the last cake. Place the cake in the fridge to chill for 15 minutes.Pro Tip Chilling the cake at this point will ensure the layers don’t move when you frost the outside. Though, if you leave the cake uncovered in the fridge for too long it can dry out. So, 10 minutes is all you need.
Frost
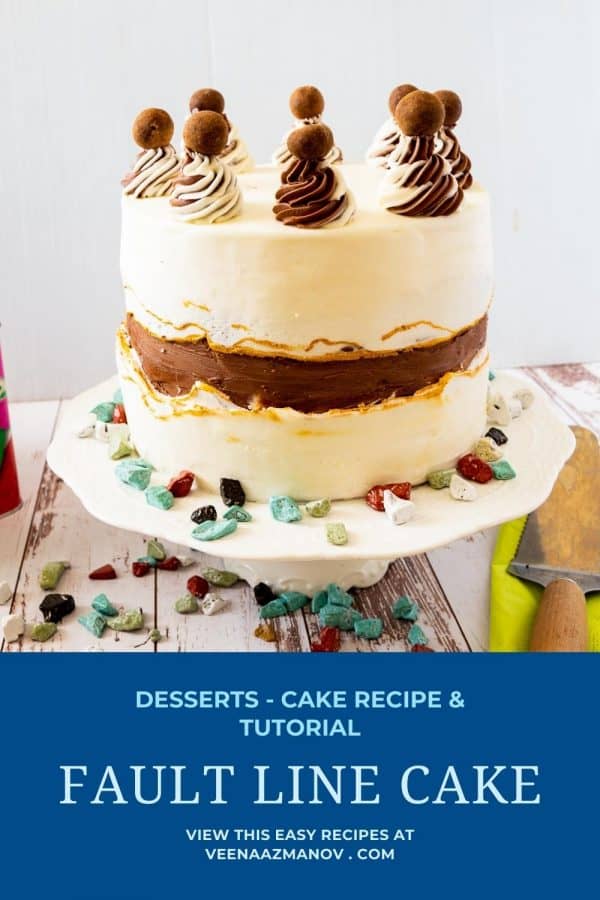
Frosting – Next, spread more frosting on top and around the cake.Pro tip – A straight-edge spatula for the top, an off-set spatula, and a bench scraper for the sides work betterSpread the chocolate buttercream on the sides of the cake in the middle section. Smooth with a bench scraper – Chill for 10 minutesPro tip – Chilling will prevent the chocolate buttercream from mixing into the vanilla buttercream.
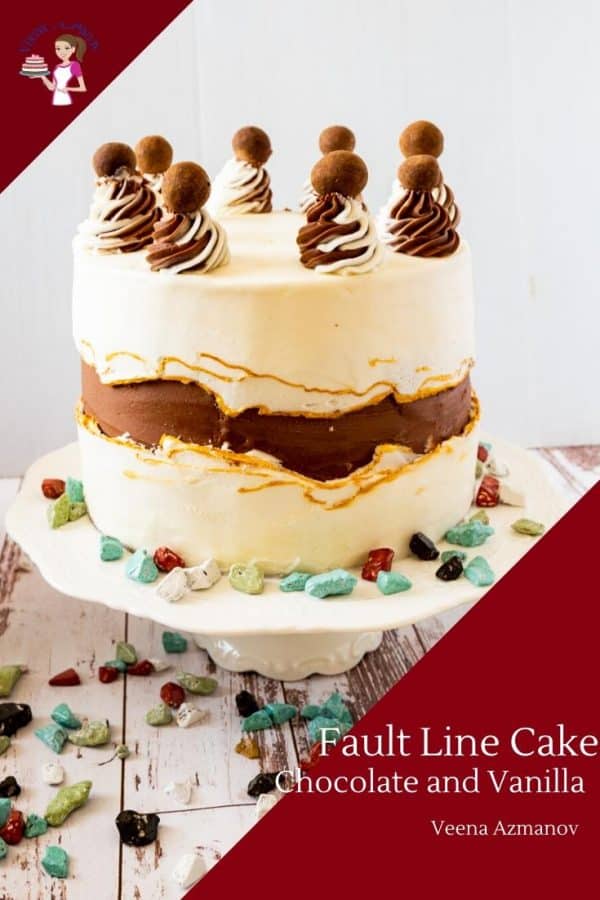
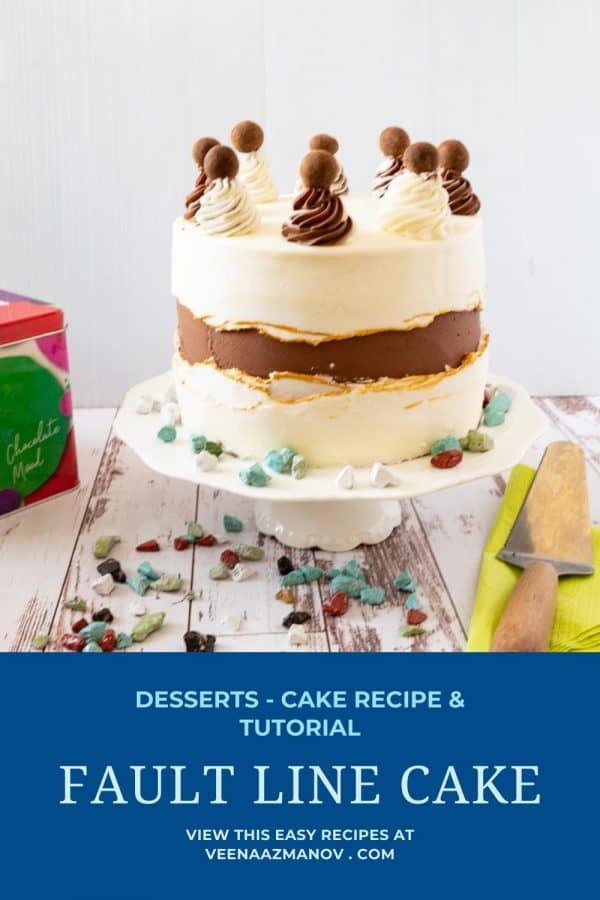
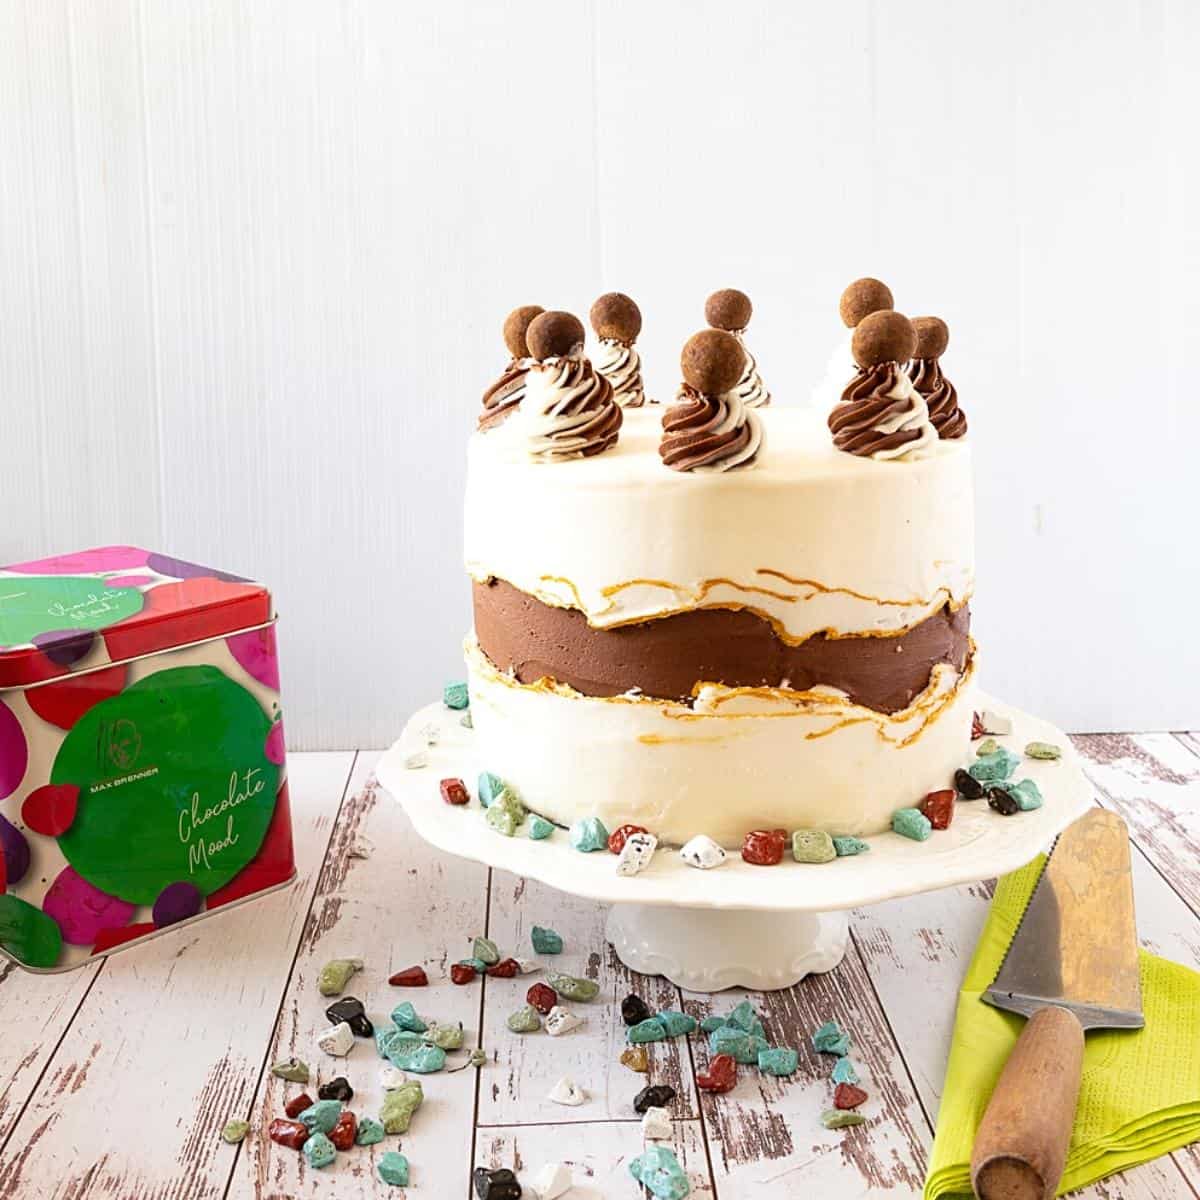
Then spread more vanilla buttercream over the top and bottom sections of on the cake. Making sure to keep the chocolate buttercream exposed (see video).Pro tip – Smooth with a spatula and bench scraper as needed. Chill the cake for 15 minutes or until firm.Mix edible gold luster dust with lemon extract or alcohol. Paint the vanilla buttercream edges around the exposed chocolate buttercream with gold.Transfer the remaining frostings – chocolate, and vanilla in a piping bag with a star tip. Pipe swirls on top of the cake.Top each swirl with a chocolate ball or other decorations.
Frequently asked questions
You may also like
Did you LIKE this recipe? Save it for later. You can find my recipes on Pinterest. Follow me on Facebook, Twitter, and Instagram.Subscribe, and I’ll send you new recipes right to your inbox. See more fault line cake tutorials and inspiration Thank you for sharing - Save for later