A few weeks ago I received an invitation from Marvelous Molds to try their new product. Something that really really gets me excited. New cake TOYS!! Yeey!As soon as I got them of course I made a bunch of alphabets. Lots of them.
Wouldn’t you go crazy receiving this bundle of joy?
Now I have had a love hate relationship with alphabet cutters. No matter how easy they claim to be – with me…!! Duh…..!! But I love molds – if only I could show you my collection of silicon molds. Ah wait.. I always pin the molds I use on this Pinterest Board – Tool I use and recommend for cake decorating. Many I still have not used!! And some I have used over an over again.These were as easy as using any other silicon molds. And because they are Marvelous Molds – you can be sure they will work just as all their other molds do. Trust me.
One video every week on YouTube
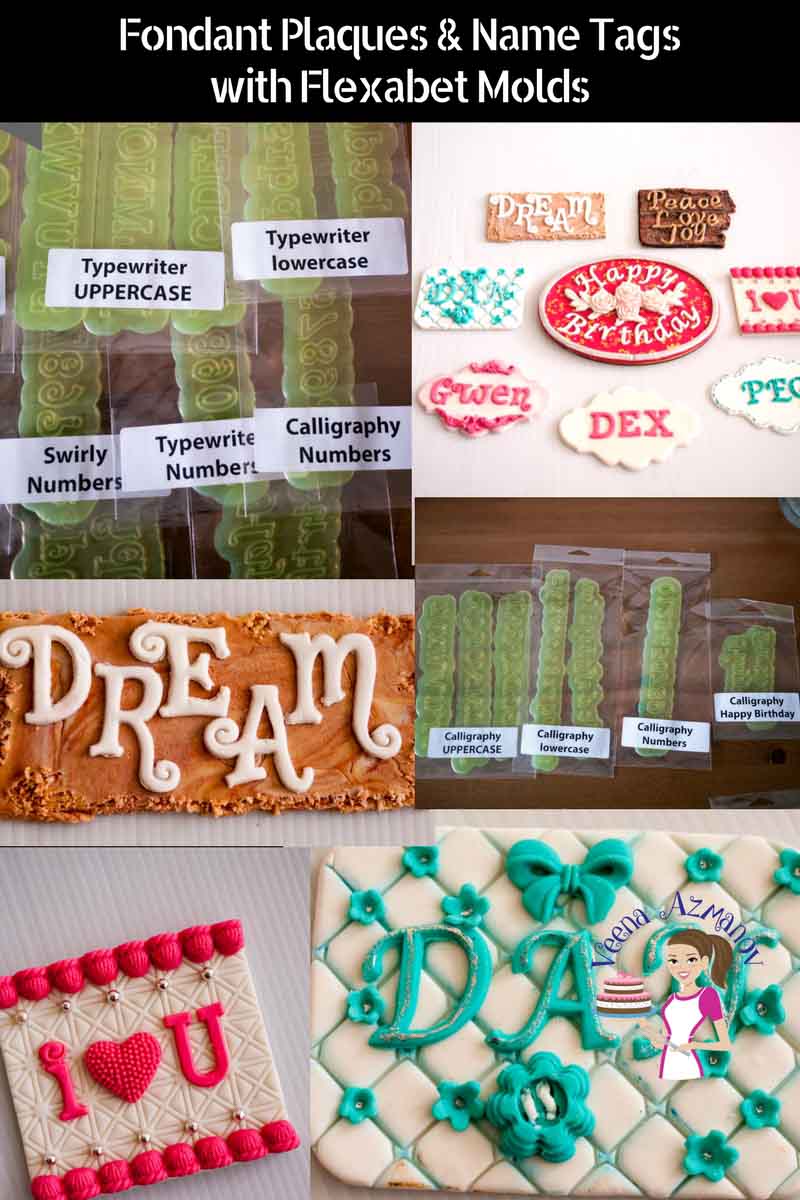
What was I suppose to do with all those alphabets I made? Not to mention I had all these ideas for plaques and name tags flowing through my head. You guessed it. I made a video so I can show you creative ways to use these Flexabet molds. This year I promised to make a new video every week on my YouTube Channel – though recently, I been posting more than one. Three this week!! I hear you. No one’s complaining. And yet, this one is a long one (you know I don’t skip details). So, grab a cuppa…. In the video, and in all my posts, I always share with you details of all the products and tools that I’m using. So, first off let’s do the Flexabet Alphabet Molds because they are used in all these fondant plaques and name tags. These are from Marvelous Molds and you can find them all here on Marvelous Molds website.
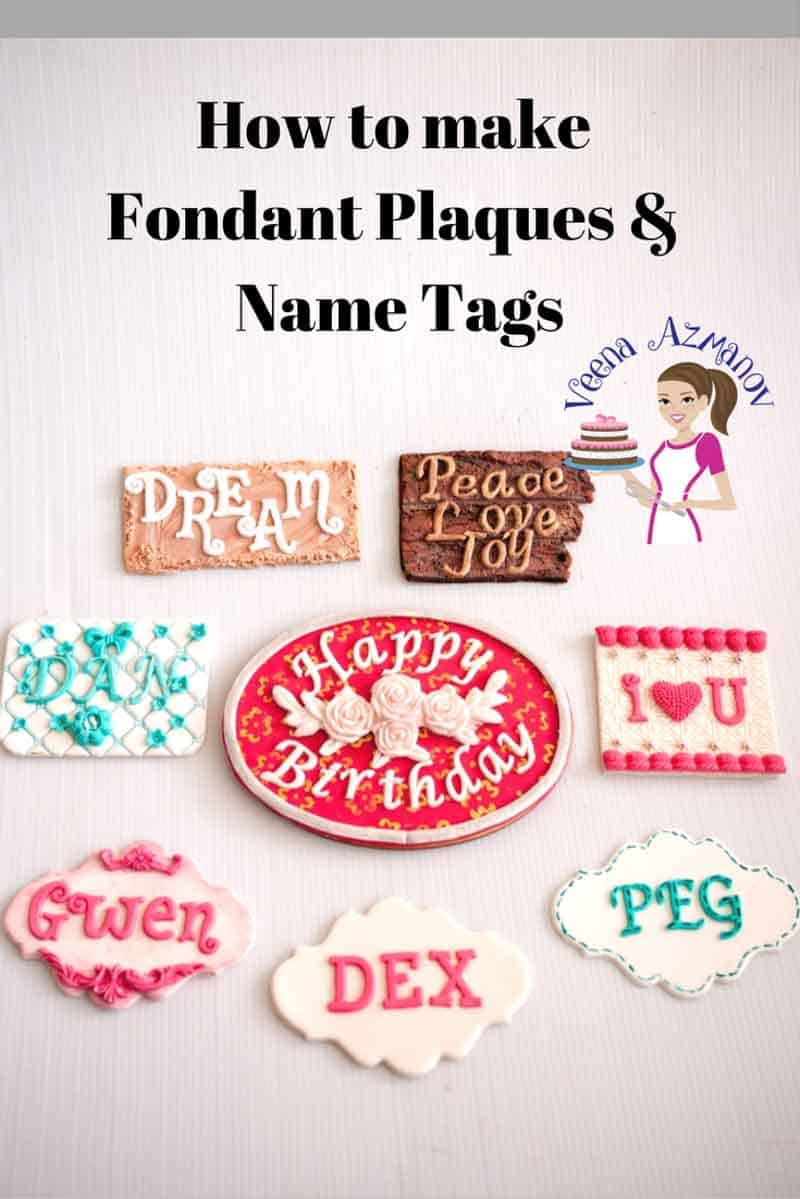
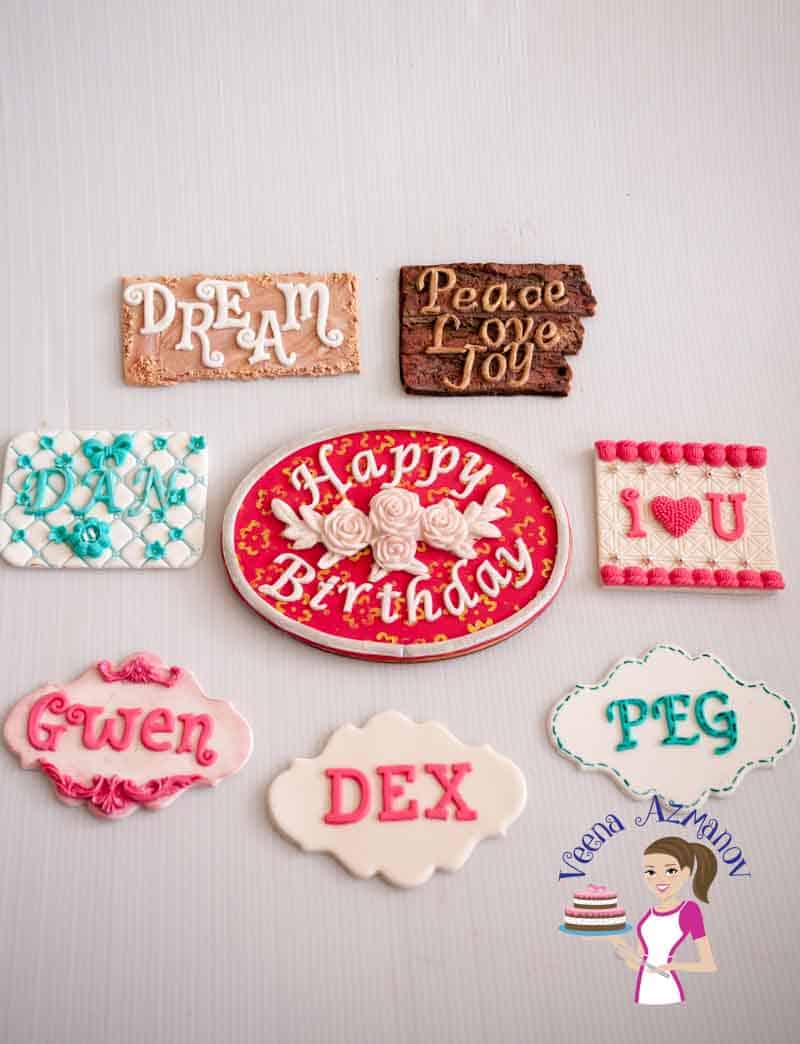
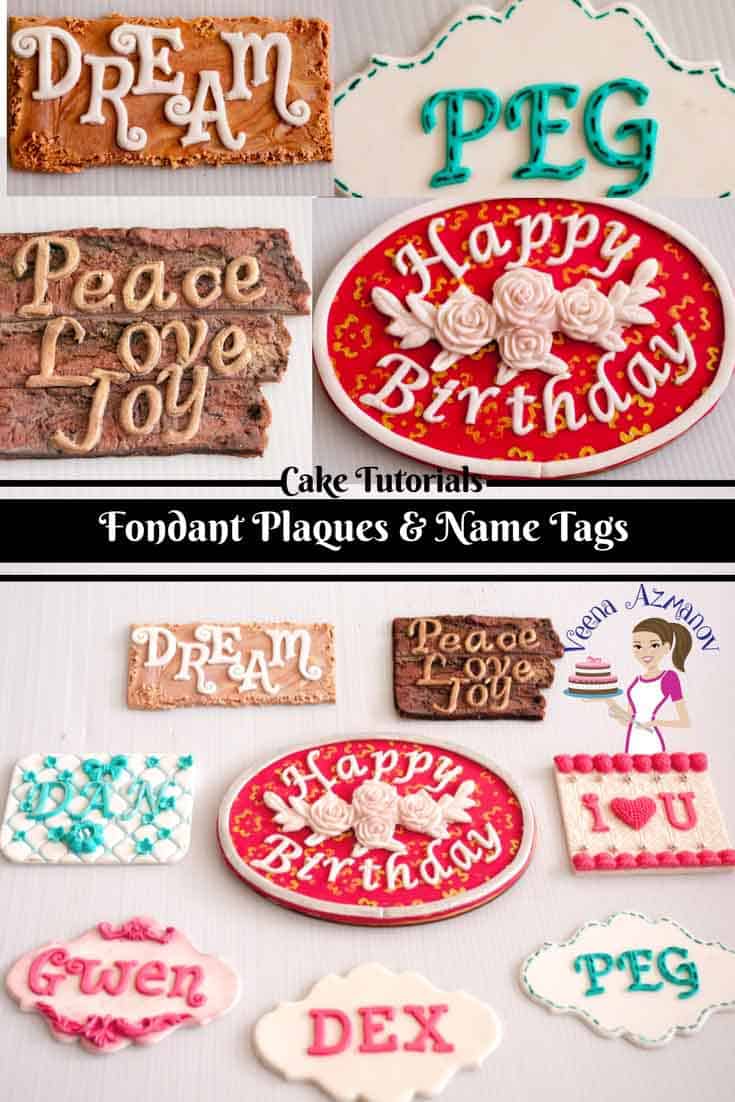
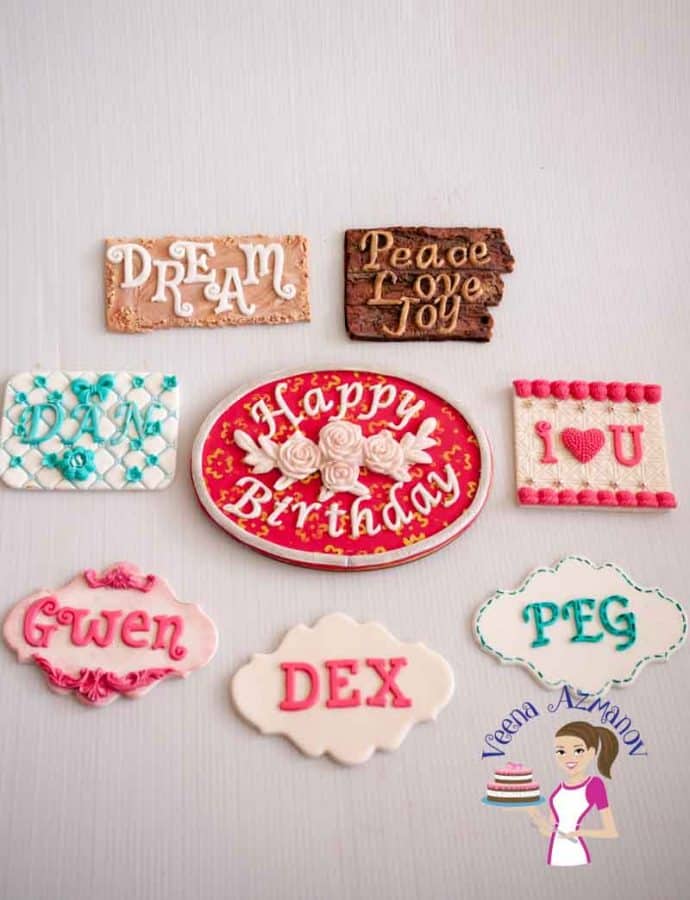
So here are the individual fondant plaques and name tags I made
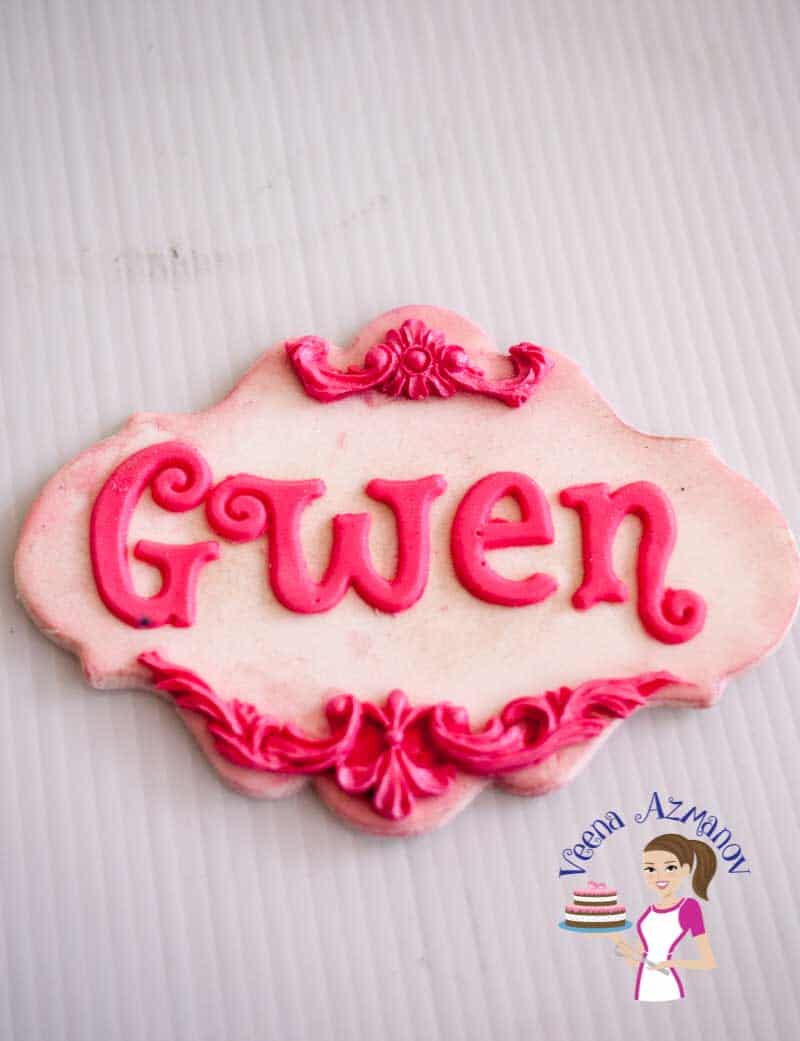
1. Vintage pink name tag
fondant Plaque cutter.Blush Pink Petal Dust from Magic Colours.And, calligraphy Uppercase and lowercase for the alphabets.
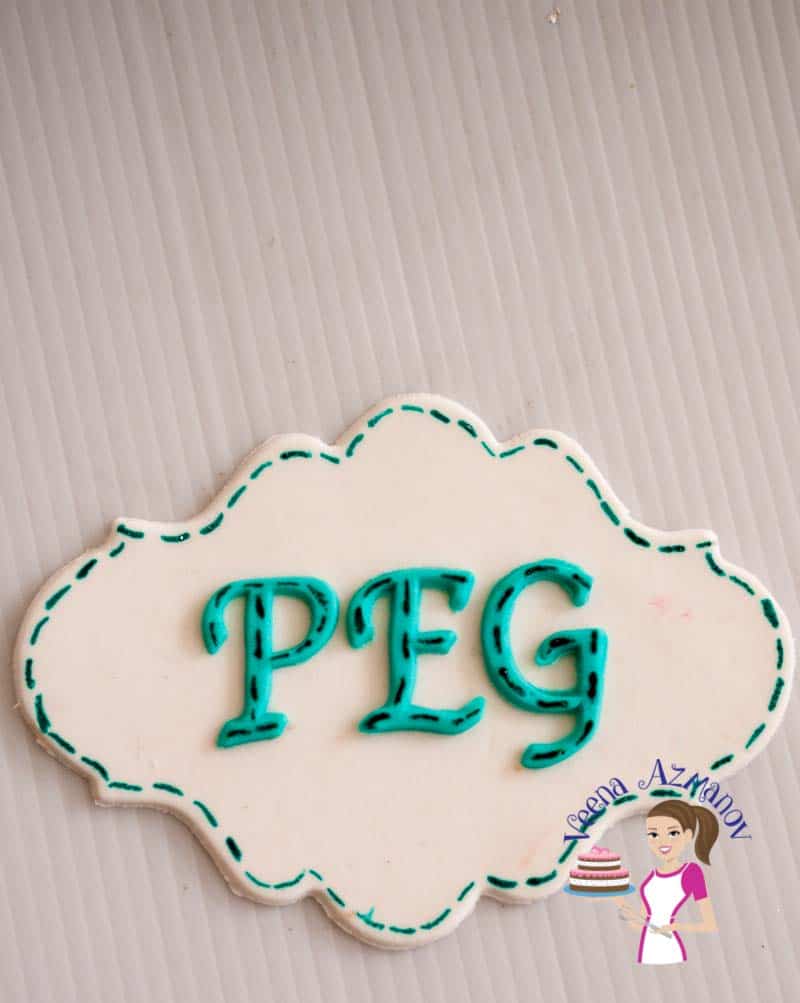
2. Stitch effect name tag
Fondant plaque cutter.Magic Colors Turquoise Gel Color.Thin paint brush.Calligraphy Uppercase Flexabet molds.
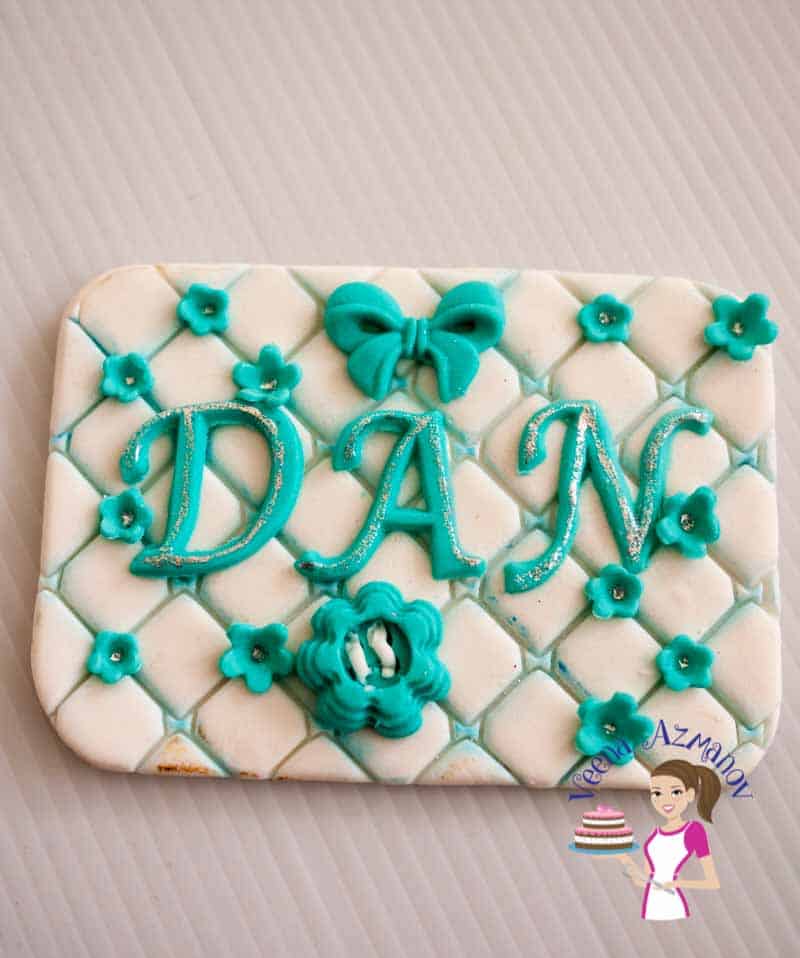
3. Baby pillow turquoise fondant name tag
Fondant double diamond cutter. JEM plaque cutter set.Typewrite Uppercase Flexabet Molds.
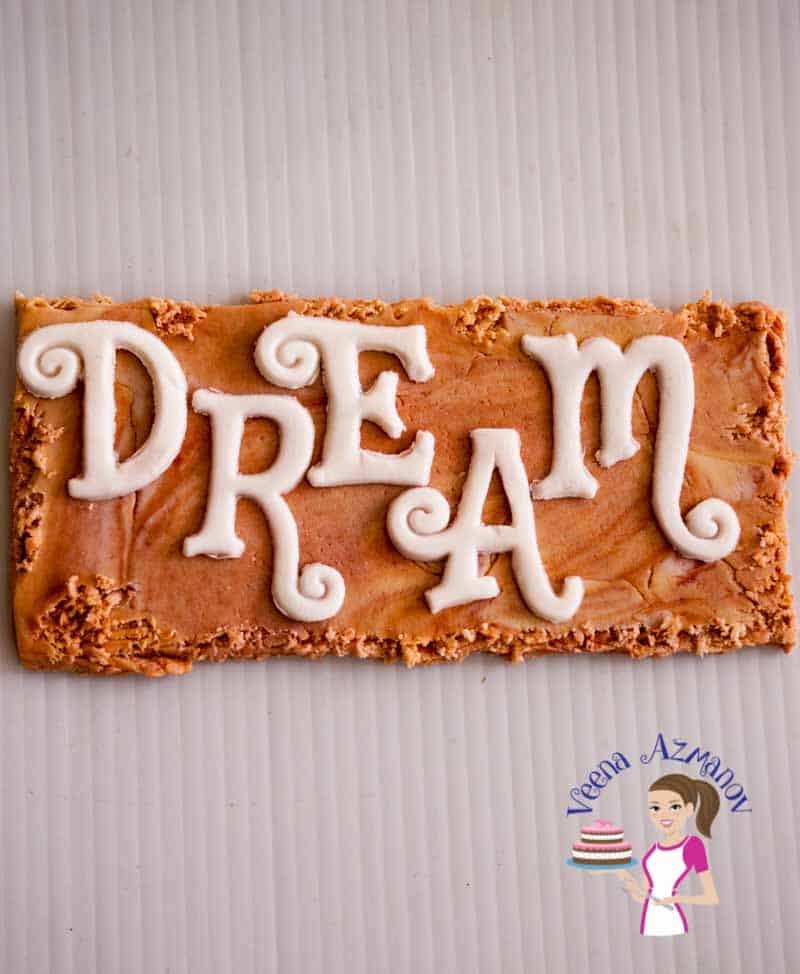
4. Shabby Sheek wood finish – The most important toll I used here is
The fondant needle tool to rough out the fondant and the alphabets. Be careful when picking on the alphabets – I found just scraping worked better than picking as I did on the fondant.As you can see in the video – I didn’t use any cutter for the plaque but you could use any of the ones I used above.The alphabets are Swirly Uppercase Flexabet molds.
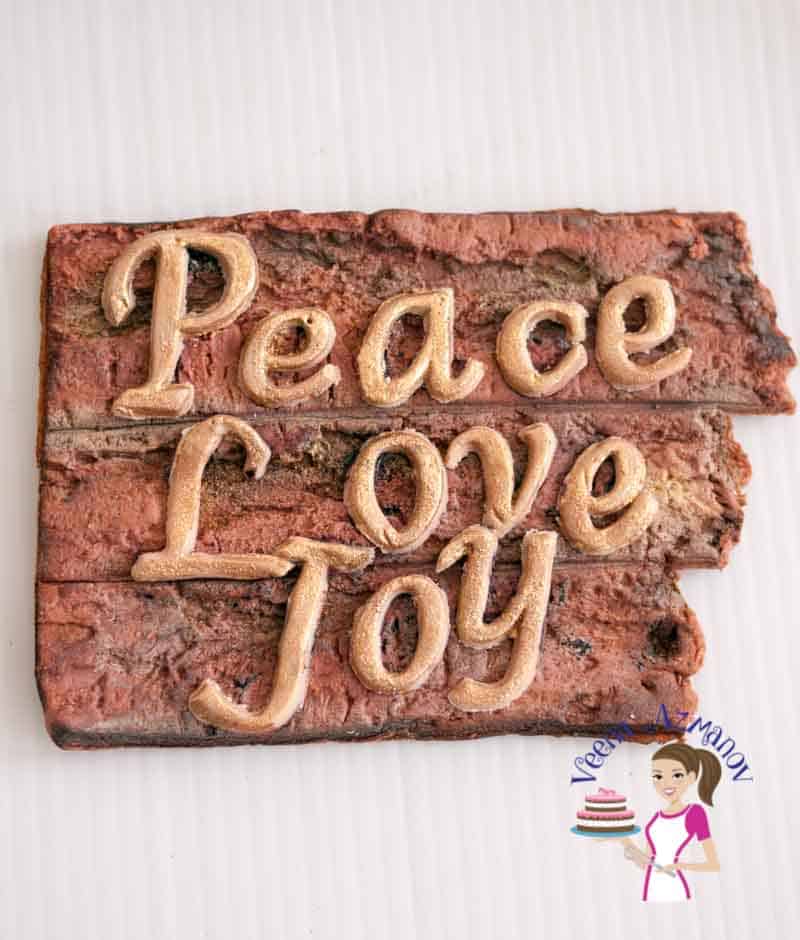
5. Tree trunk plaque
Tree bark / Tree trunk silicon mold.Magic Colors – Petal Dust Brown, Ivory and Gold.The metallic is a mix of Magic Colors copper and gold luster dust.The Alphabets are – Typewriter Uppercase and lowercase Flexabet Cutters.
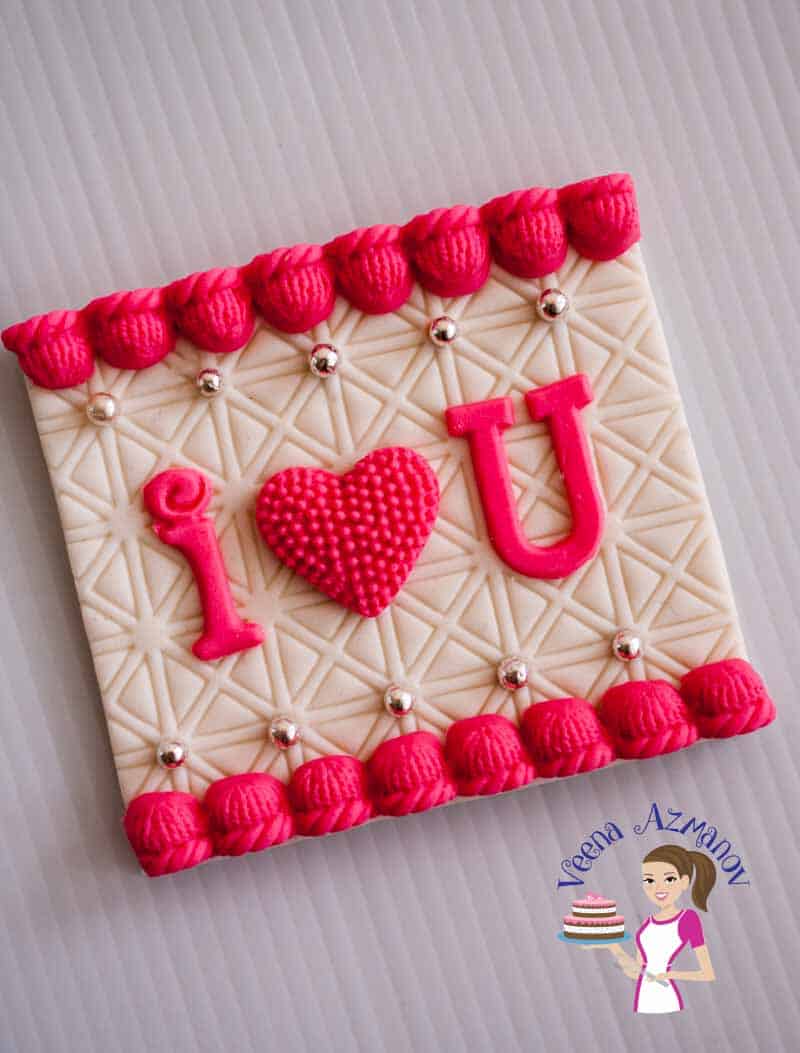
6. ‘I Heart You’ plaque
Fondant Diamond Embossed cutter.Square cookie cutter.Silver Dragees.Marvelous Molds Grand Tassel Border Mold from the swag collection .Swirly Lowercase Flexabet Molds.
7. Lastly – Happy birthday plaque (stenciled)
For this you will need
A large oval cookie cutter or template.Edible flower stencils (couldn’t find the exact one).Gold luster dust (I used Magic Colours).Fondant rose spray Silicon molds (similar).Flexabet Typewrite Happy Birthday Plaque.Fondant extruder.
Don’t forget to pin this tutorial for later
And finally here is my video on YouTube
Well I do hope you find this tutorial useful. I know it’s a bit long but hopefully worth watching for you.
Thank you for sharing - Save for later