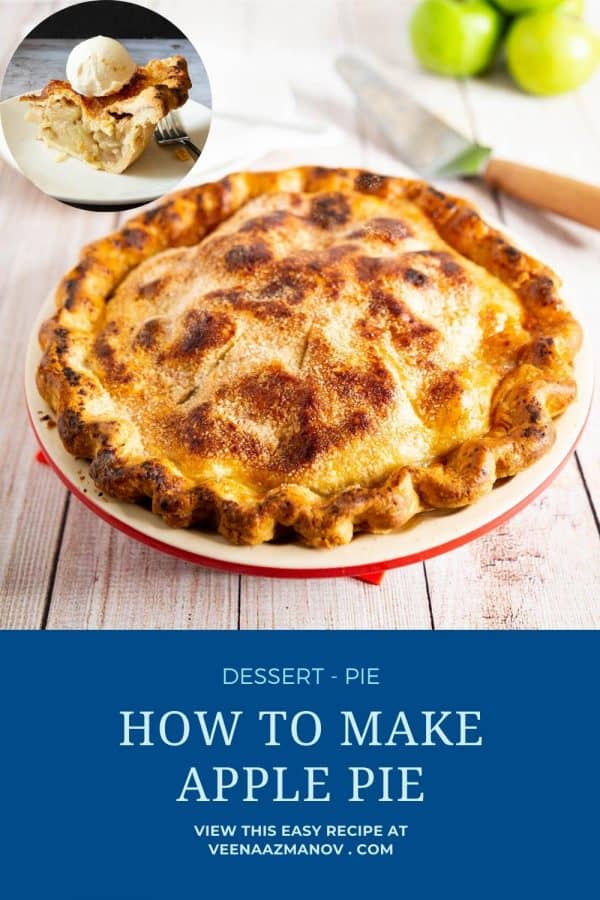
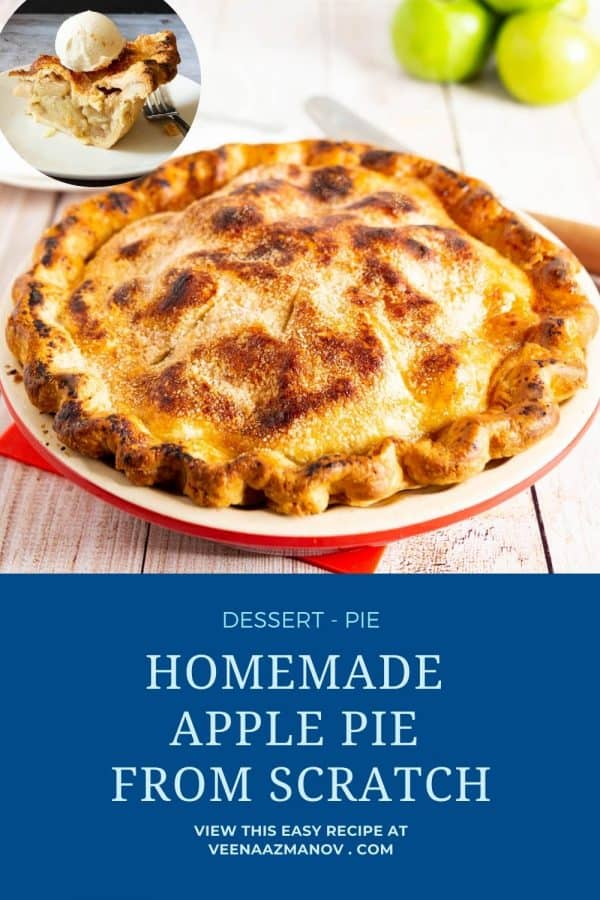
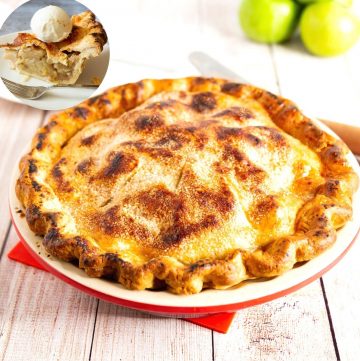
Apples, with their crisp texture and sweet aroma, are the essence of fall. As the leaves change color and the air becomes crisp, it’s impossible to resist the comforting allure of a warm apple pie. But, have you experienced that every time your slice of apple pie is different? Perhaps it way too sweet, sometimes a little sour, and other times, you have more crust than apple filling. Worst yet, when you buy one where the crust is too hard to crack with a fork? Or one where you have a pool of apple juices at the bottom of the pie! That’s usually the problem with store-bought pies. You really don’t know until you’ve already cut and served it. The answer: make your own homemade apple pie from scratch! In fact, try this best apple pie in just 5 easy steps!
Step-by-step: Homemade Apple Pie
Step 1 – Make the double pie crust
In the bowl of a food processor – add the flour, salt, and butter. Pulse for 30 seconds until bread crumb consistency. You can also use a bowl and pastry blender.Pro tip – A flaky pie crust must have a good combination of small and big pieces of butter. So, don’t pulse too long. Add the chilled water through the feeder. Pulse another 30 to 40 seconds until almost combined.Pro tip – The dough should still look crumbly but when you squish a little with your fingers it should shape into a ball. Next, invert the crumbly mixture on a clean work surface. Gather it all into a ball without kneading.Pro tip – We do not want to activate the gluten in our dough so we avoid kneading. Divide into two – more for the bottom crust, and less for the top crust (see video). Wrap each portion in plastic wrap and chill for at least an hour.Pro tip – You can also keep these in the fridge for up to 3 days or freeze them for up to 3 months.
Step 2 – Line the pie pan with crust
Dust the work surface with flour. Open the larger disc for the bottom and roll carefully. Use your 9-inch pie pan as a guide to see how big you need it.Pro tip – If you find the crust is breaking around the edges too much, it means that it is too hard to roll. Leave it to rest on the counter for just 7 to 10 minutes. Then, roll again, and press the broken edges together with your fingertips. To transfer the dough to the pan without breaking, fold the pastry in half, then into quarters. Place it on the pie pan and unfold.Pro tip – Alternatively, you can roll the dough onto your rolling pin and unroll it over the pie pan (the folding in quarters is easier for newbies). Gently fit it to the pie pan. Especially in the bottom edges with light hands. Place the lined pie in the fridge while you prepare the filling.Pro tip – You need about an inch more than the edge of your pie pan so you can trim the excess dough.
Step 3 – Make the apple pie filling
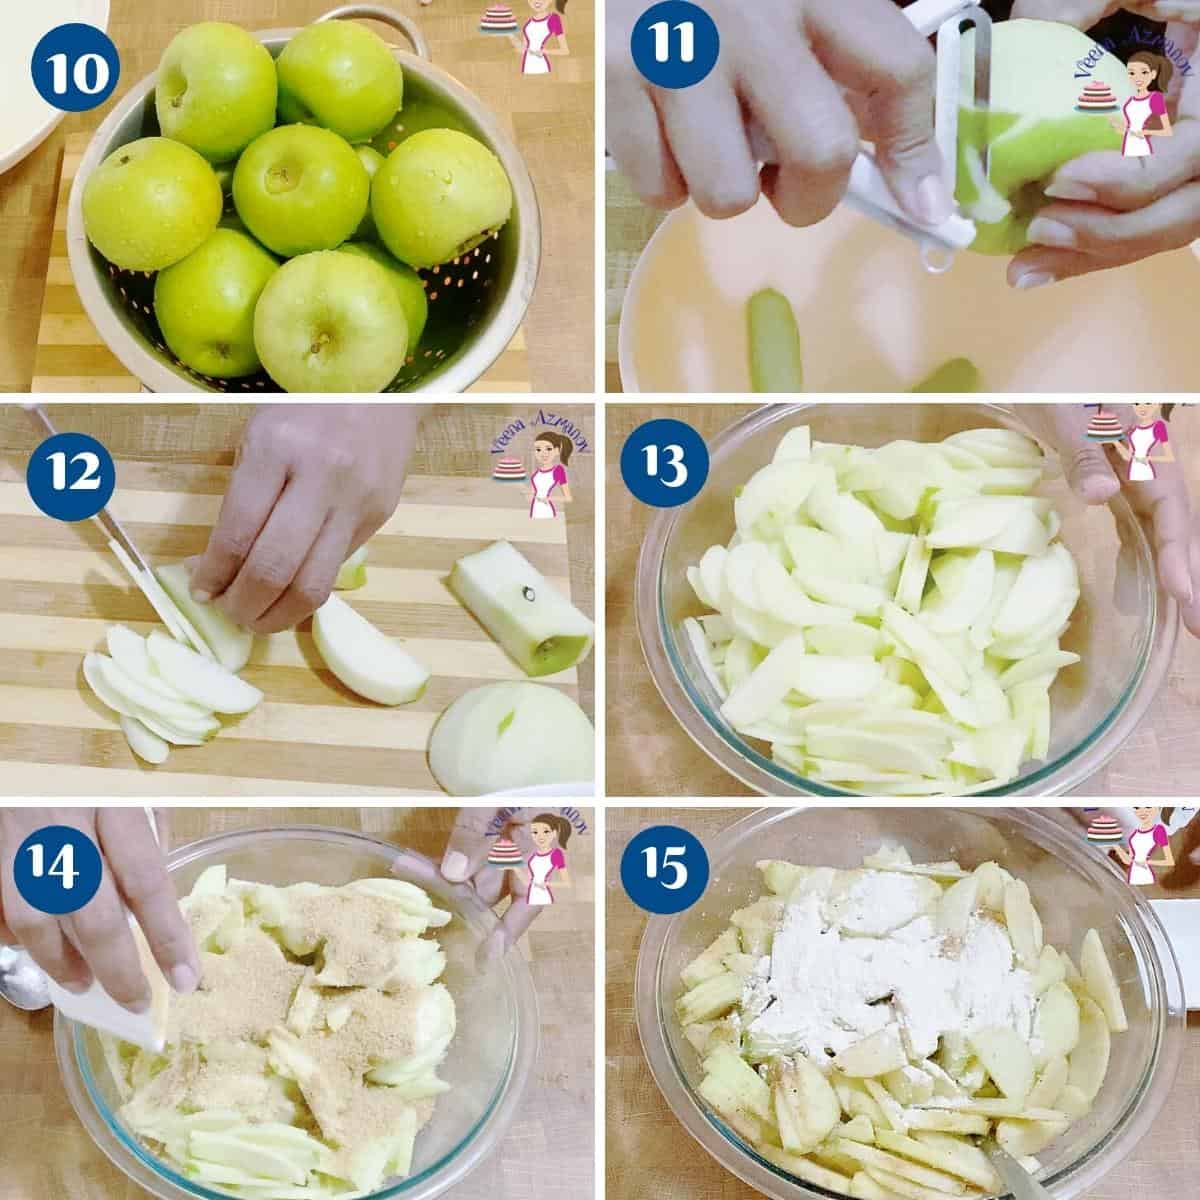
Preheat oven to 400°F / 200°C / Gas Mark 6. Peel, core, and chop apples into thin slices about 1/8 inch. Large chunks will not fit in the pie and make a very chunky apple pie filling.Pro tip – Use a bowl of water with lemon juice and drop each peeled apple into it. This will prevent them from oxidizing and give you enough working time. Add all the sliced apples to a bowl with lemon juice and toss to combine well. Then, add the spices, salt, and sugars followed by the flour, and combine well.Pro tip – The pie filling must be made just before baking to prevent the apples from releasing too many juices while sitting on the counter.
Step 4 – Assemble the pie
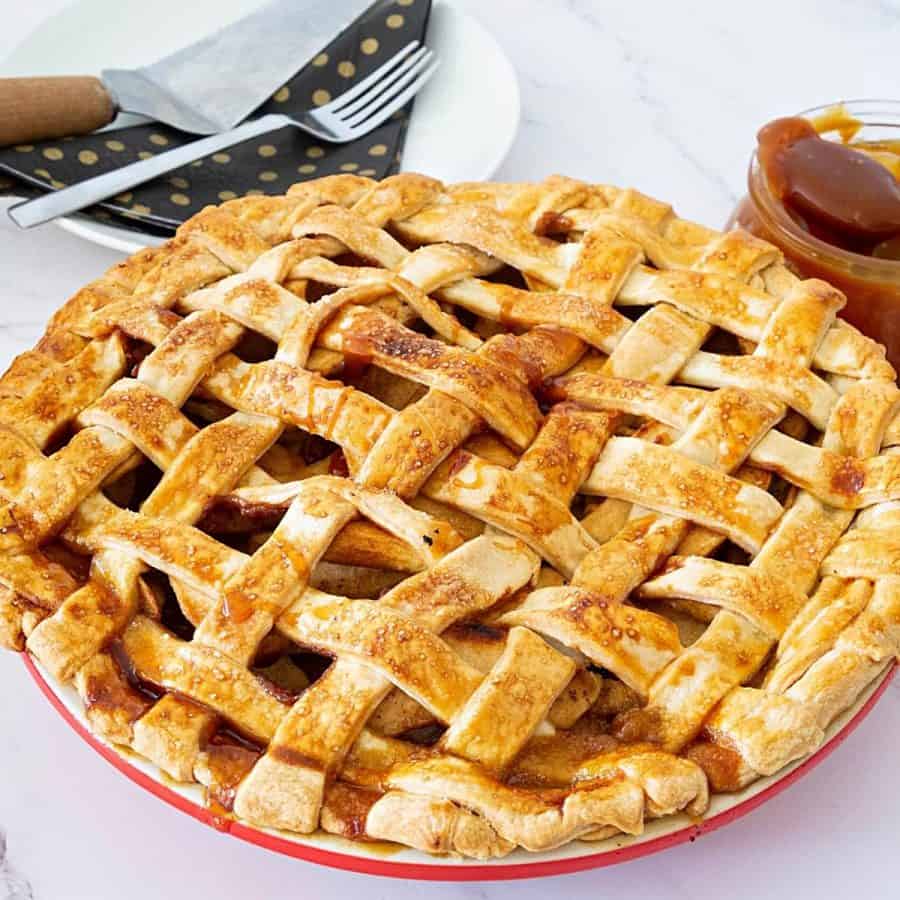
Fill the pie – Pour the apple pie filling in the pie pan with the chilled bottom pie crust. Shake the pan a bit or rearrange the apple slices to help the filling settle. The apples should be slightly mounded in the center.Pro tip – The filling will look like a lot but it will cook down. So, make sure to pile it up high. No one wants a flat slice of apple pie. Roll the top crust – Dust the work surface with flour. Open the larger disc of shortcrust pastry for the top of the pie and roll it larger than the pie pan (about 12 inches).Pro tip – Use your pie pan as a guide to know how big you need it plus extra for crimping. Cut excess – Place the second disc on top. Cut off excess at the edges leaving an inch of overhang. Crimp the edges – Fold the top pastry under the bottom pastry (see video). Crimp the edge by forming a V shape with your thumb and index finger (see video).Pro tip – Alternatively, you can make impressions around the pie using the tings of a fork. Brush with egg wash and sprinkle with granulated sugar. Sugar adds a nice crunch but can be omitted.Pro tip – For the eggwash, combine the egg and water. Then, use a pastry brush to brush it on the pie. Place the pie on a baking tray to catch any juices. Cut a few slits on the top crust with a knife. I like to do about 6 to 8 cuts.Pro tip – The slits or cuts on the top crust are for steam to escape so the pastry won’t puff up and break.
Step 5 – Bake the pie
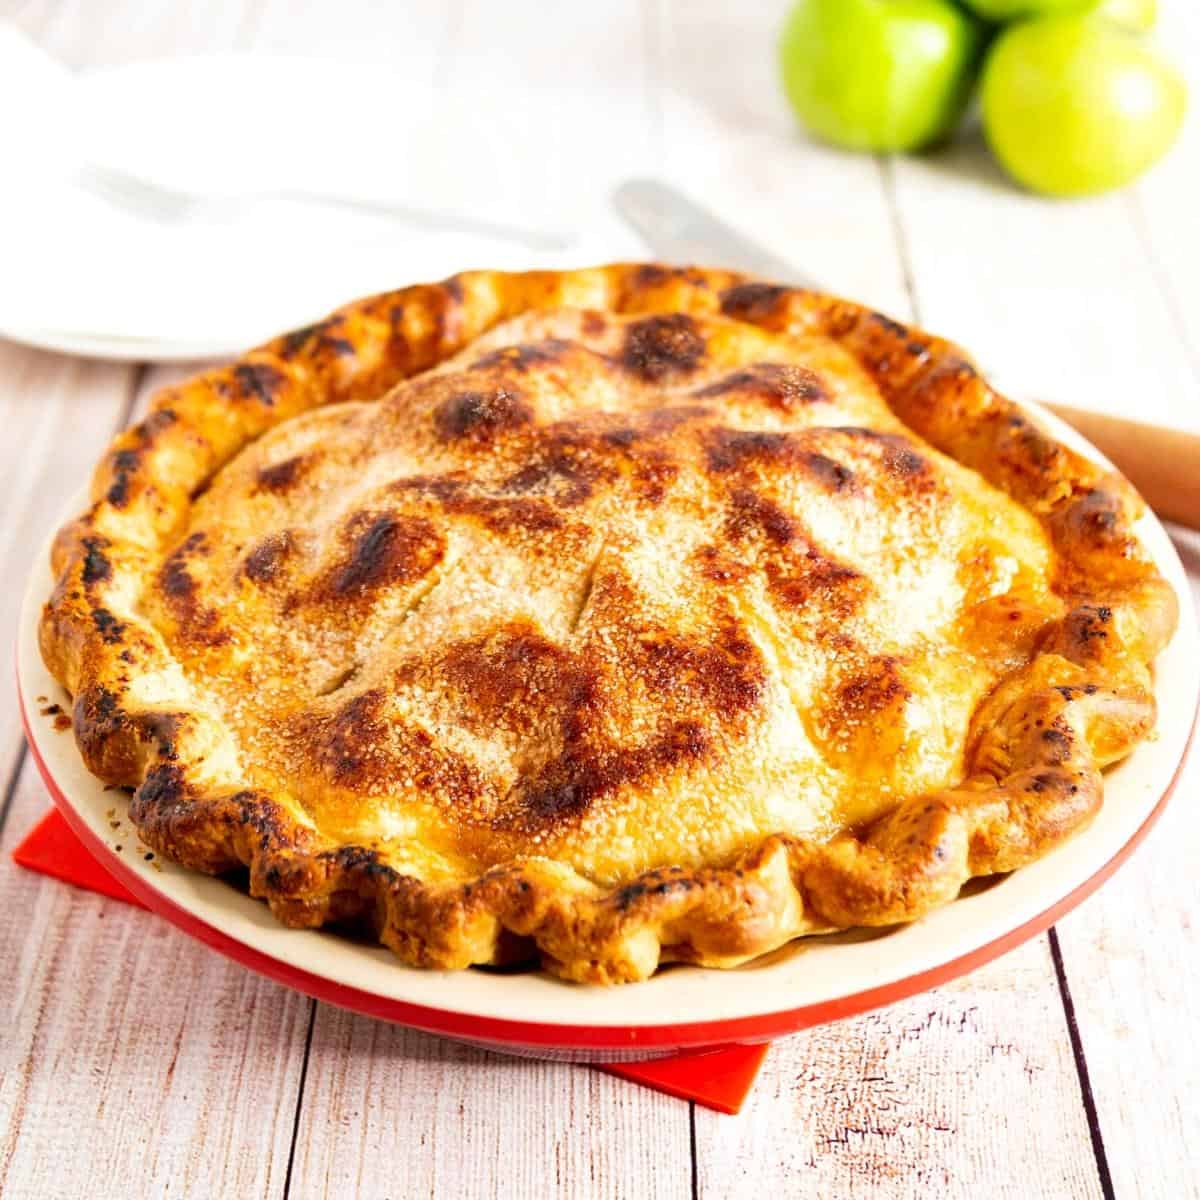
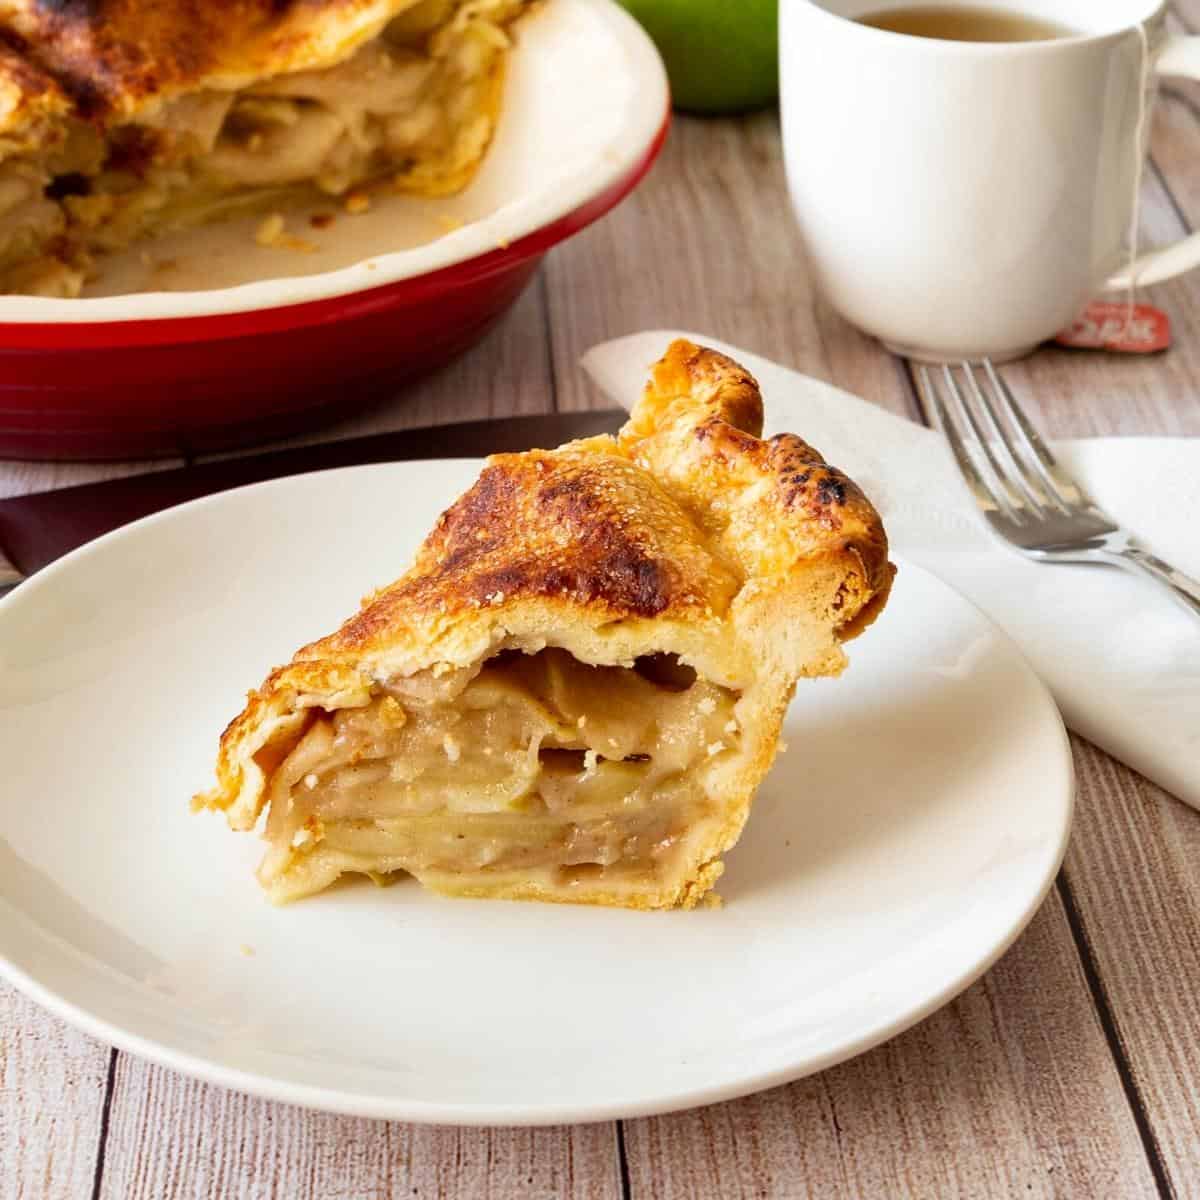
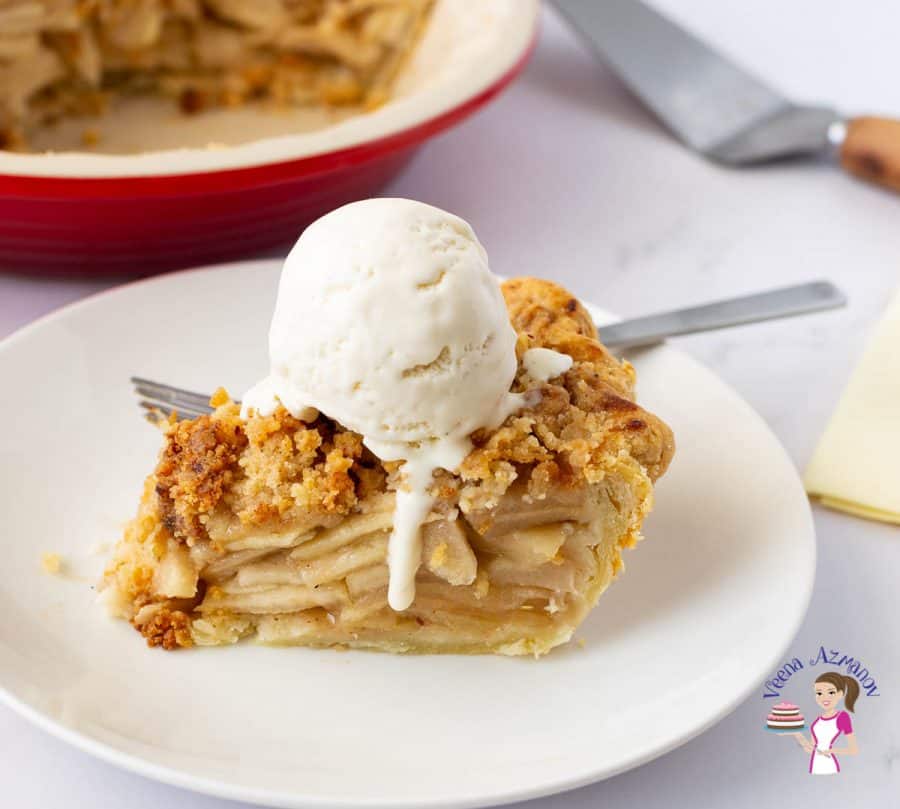
Bake at 400°F / 200°C / Gas Mark 6 for 15 minutes. Then, reduce the temperature to 350°F / 177°C / Gas Mark 4 and cook another 35 to 40 minutes.Pro tip – After 20 to 25 minutes, cover edges loosely with foil or pie shield to prevent the top crust from becoming too dark. Serve warm or at room temperature on its own or with a dollop of ice cream, whipped cream, or pastry cream.
Frequently asked questions
Creative variations to apple pie
Spice it up: While cinnamon is the go-to spice for apple pie, don’t be afraid to explore other aromatic spices as well. Nutmeg, cloves, and allspice can add depth and complexity to the flavor profile of your pie. Consider combining different spices or even adding a pinch of ginger or cardamom for a delightful twist. Go nuts: If you’re a fan of adding some crunch to your desserts, consider incorporating nuts into your apple pie. Chopped pecans, walnuts, or almonds can add an extra layer of texture and flavor. Toast them lightly beforehand to bring out their natural nuttiness and sprinkle them over the top before baking. Think beyond apples: While traditional apple pie is a timeless classic, you can create exciting variations by incorporating other fruits into the mix. Try adding some pears or cranberries for a tart and sweet combination. Or why not experiment with different apple varieties, such as Granny Smith, Honeycrisp, or Fuji, to discover new flavor profiles? Get boozy: For an adult twist on your apple pie, consider adding a splash of your favorite spirit. Whether it’s a hint of rum, bourbon, or even a splash of brandy, the alcohol can enhance the flavors and add a warm, rich undertone to your pie. Just remember not to overdo it, as you want the alcohol to complement and not overpower the other ingredient
Creative ways to serve classic apple pie
Pie with Ice Cream: Serve the slices of apple pie with a scoop of vanilla or cinnamon ice cream. Pie Lollipops: Cut out small circles from a baked pie using a cookie cutter. Insert a lollipop stick into each one, creating mini pie pops. Apple Pie Parfait: In a clear glass, alternate layers of apple pie filling and whipped cream or custard. Top with a sprinkle of cinnamon. Pie Milkshake: In a blender, combine vanilla ice cream, apple pie filling, and a dash of milk. Blend until smooth and serve topped with whipped cream and a drizzle of caramel sauce. Apple Pie Tacos: Use or make small cinnamon sugar tortillas. Fill with a slice of apple pie, then top with whipped cream or ice cream. Drizzle with caramel sauce. Pie Turnovers: Use the pie filling to create mini turnovers with puff pastry. Brush with egg wash, sprinkle with sugar, and bake until golden. Serve with a side of vanilla custard. Mason Jar Pies: Layer pie filling and whipped cream in mason jars. Top with crumbled pie crust. Seal and give as gifts or serve as individual desserts.
Did you LIKE this recipe? Save it for later. You can find my recipes on Pinterest. Follow me on Facebook, Twitter, and Instagram.Subscribe, and I’ll send you new recipes right to your inbox. Thank you for sharing - Save for later