Red velvet cake has a long and fascinating history that has captured the hearts of cake lovers around the world. The cake’s origins can be traced back to the Victorian era, when bakers used natural ingredients such as cocoa and beetroot to create a red-colored cake. The cake’s popularity continued to grow over the years, with variations popping up in different regions of the United States. One story about the origins of red velvet cake is that it was first served at the Waldorf-Astoria Hotel in New York City in the 1920s. Legend has it that a guest at the hotel was so taken with the cake that he requested the recipe, which was then sold to the hotel for a hefty sum. Another theory is that the cake’s popularity can be traced back to the Great Depression, when bakers used beets to add sweetness and color to their cakes. Regardless of its origins, red velvet cake has cemented its place in American culinary history as a beloved dessert that is enjoyed by people of all ages. Whether you are looking to create a show-stopping dessert for a special occasion or simply want to indulge in a sweet treat, this red velvet cake recipe is the perfect choice
Step-by-step: Red velvet cake with IMBC
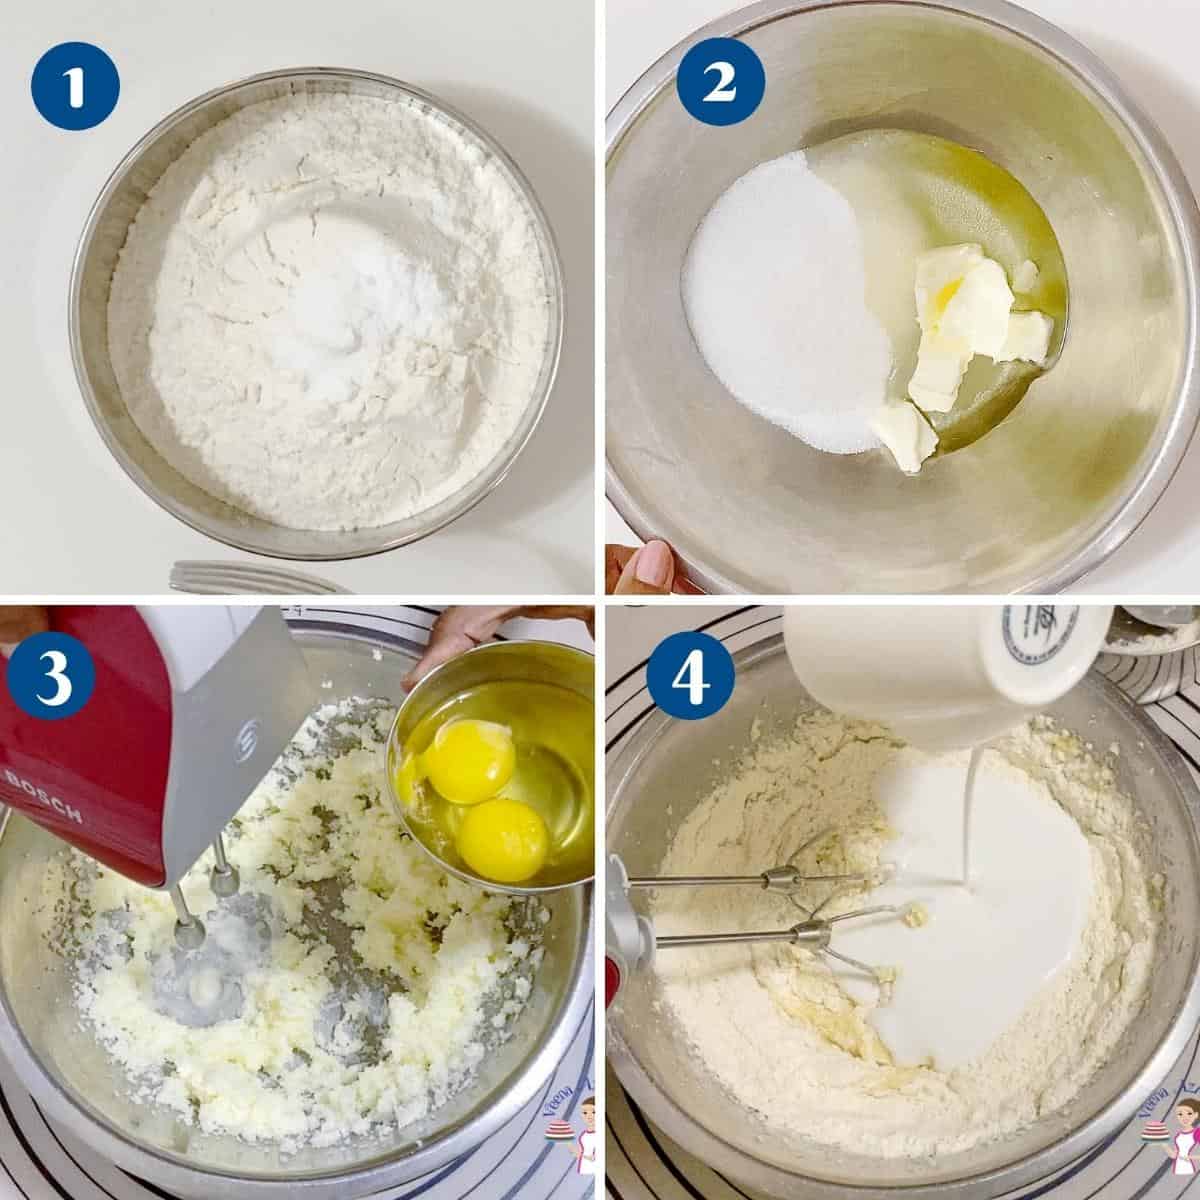
Cake batter
Preheat the oven to 325°F/ 165°C / Gas Mark 3 Grease and line 2× 6-inch baking pans with parchment paper. You can double this recipe to make 2 x 8-inch round cakesPro tip – I am baking in 2 pans, so I can torte in half to make four but you can also use 3 x 6-inch round pans to make 3 layers that way you don’t have to torte.
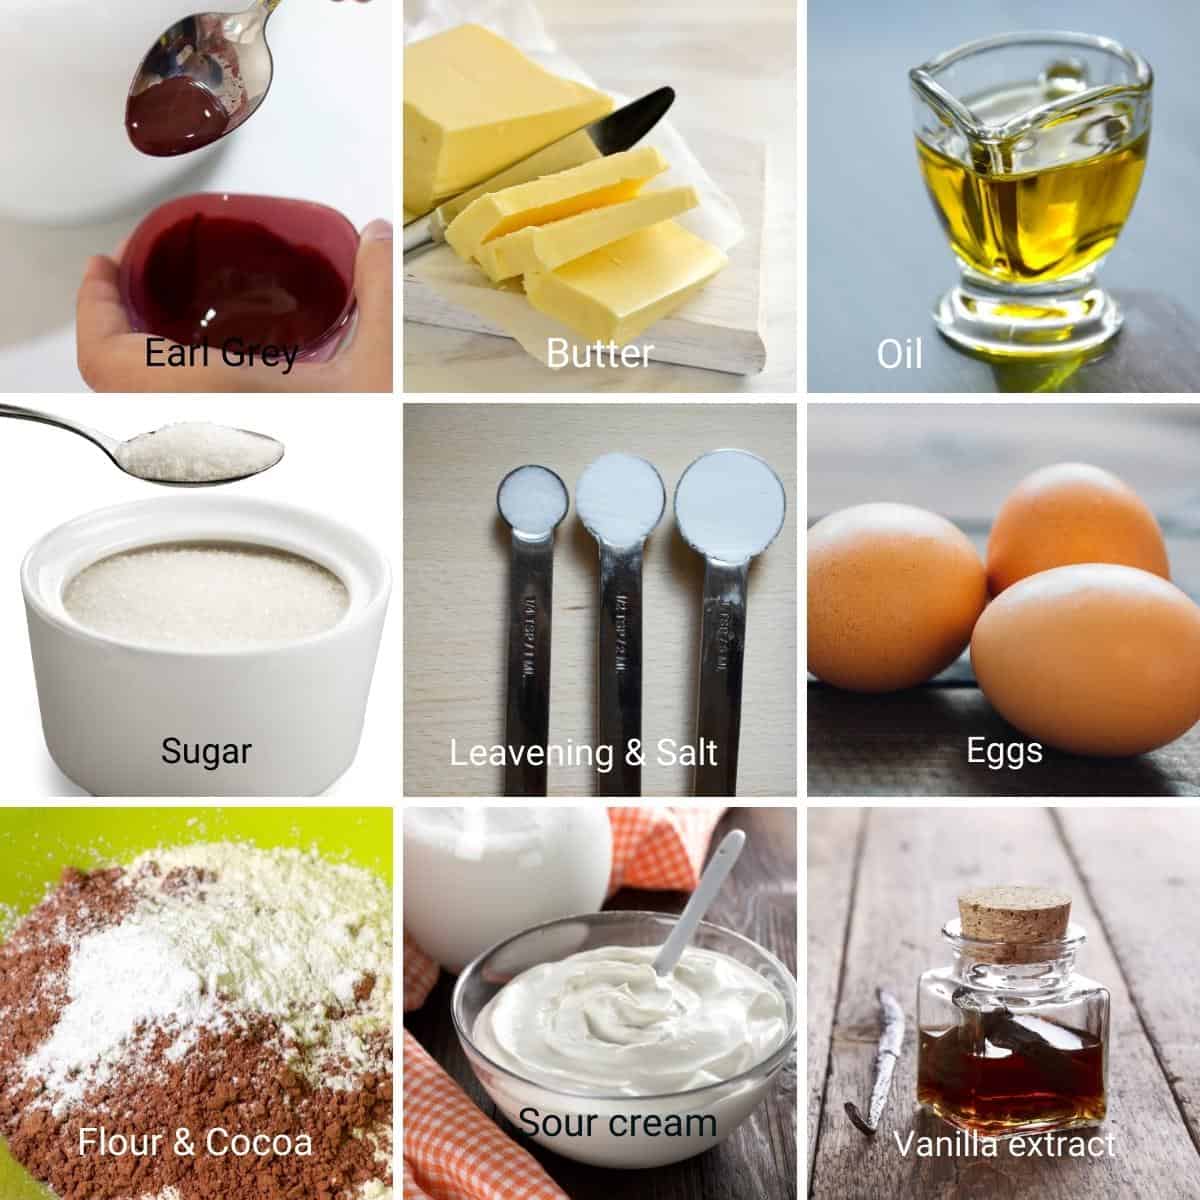
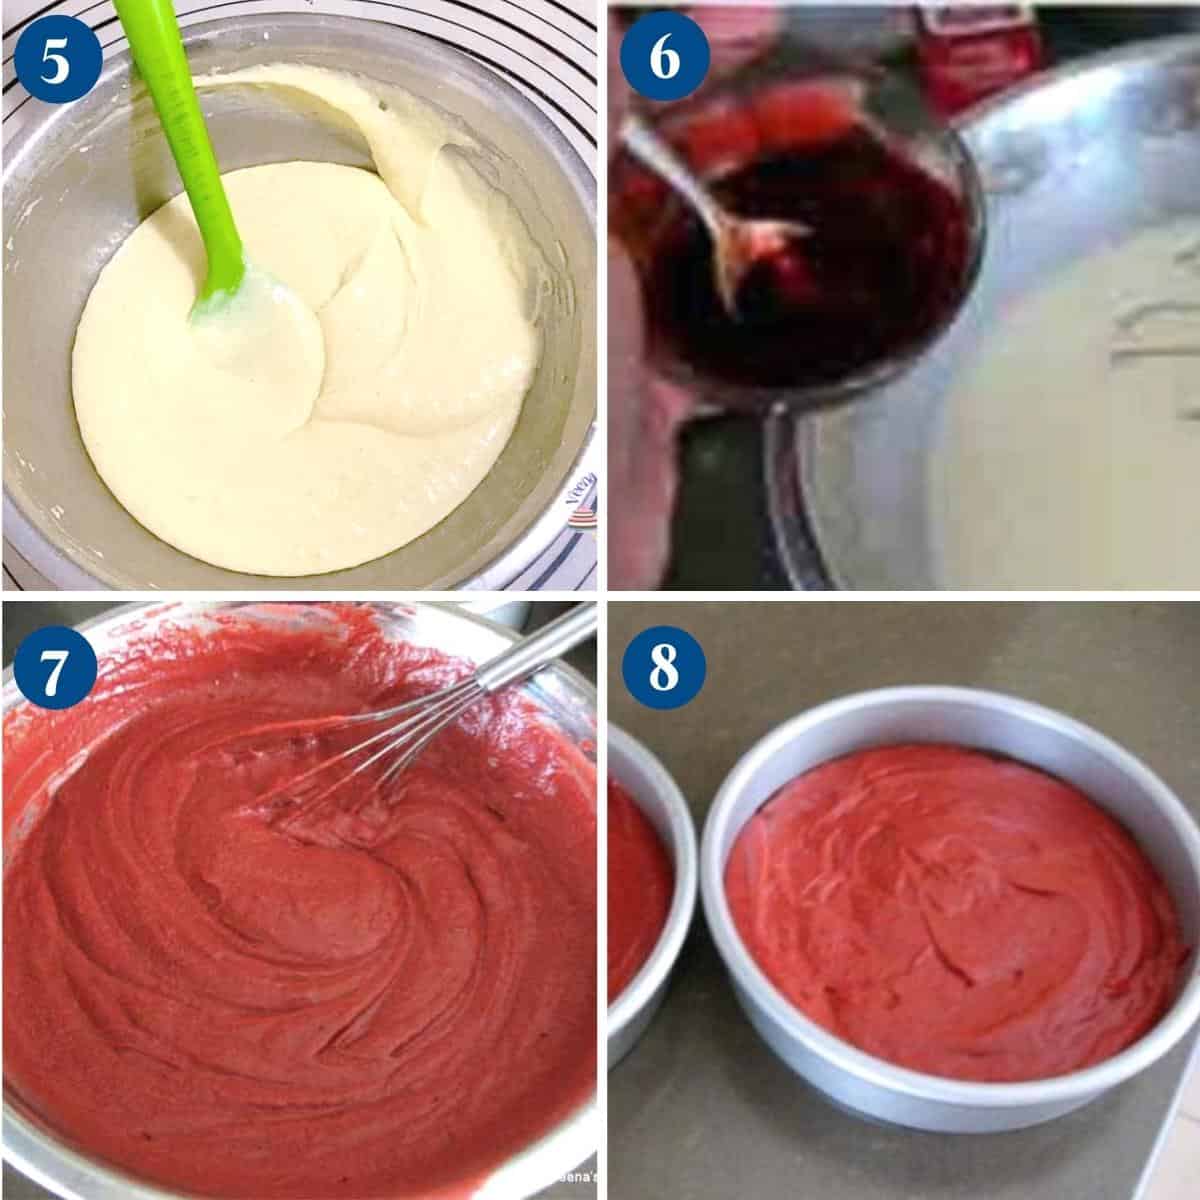
Dry ingredients – Combine flour, cocoa powder, baking powder, baking soda, and salt – set aside Red food color – combine the gel color with the water – set aside In the bowl of a stand mixer with the paddle attachment cream the butter, oil, and sugar until light and fluffy. Add the eggs one at a time making sure each is well incorporated.Pro tip – adding eggs one at a time will prevent the batter from curdling. Next, add the flour and buttermilk in three batches followed by the red food color, vanilla extract, and vinegar. Pro tip – Make sure the oven is hot and the baking pans are ready because once you add the vinegar the mixture will start to bubble.
Bake
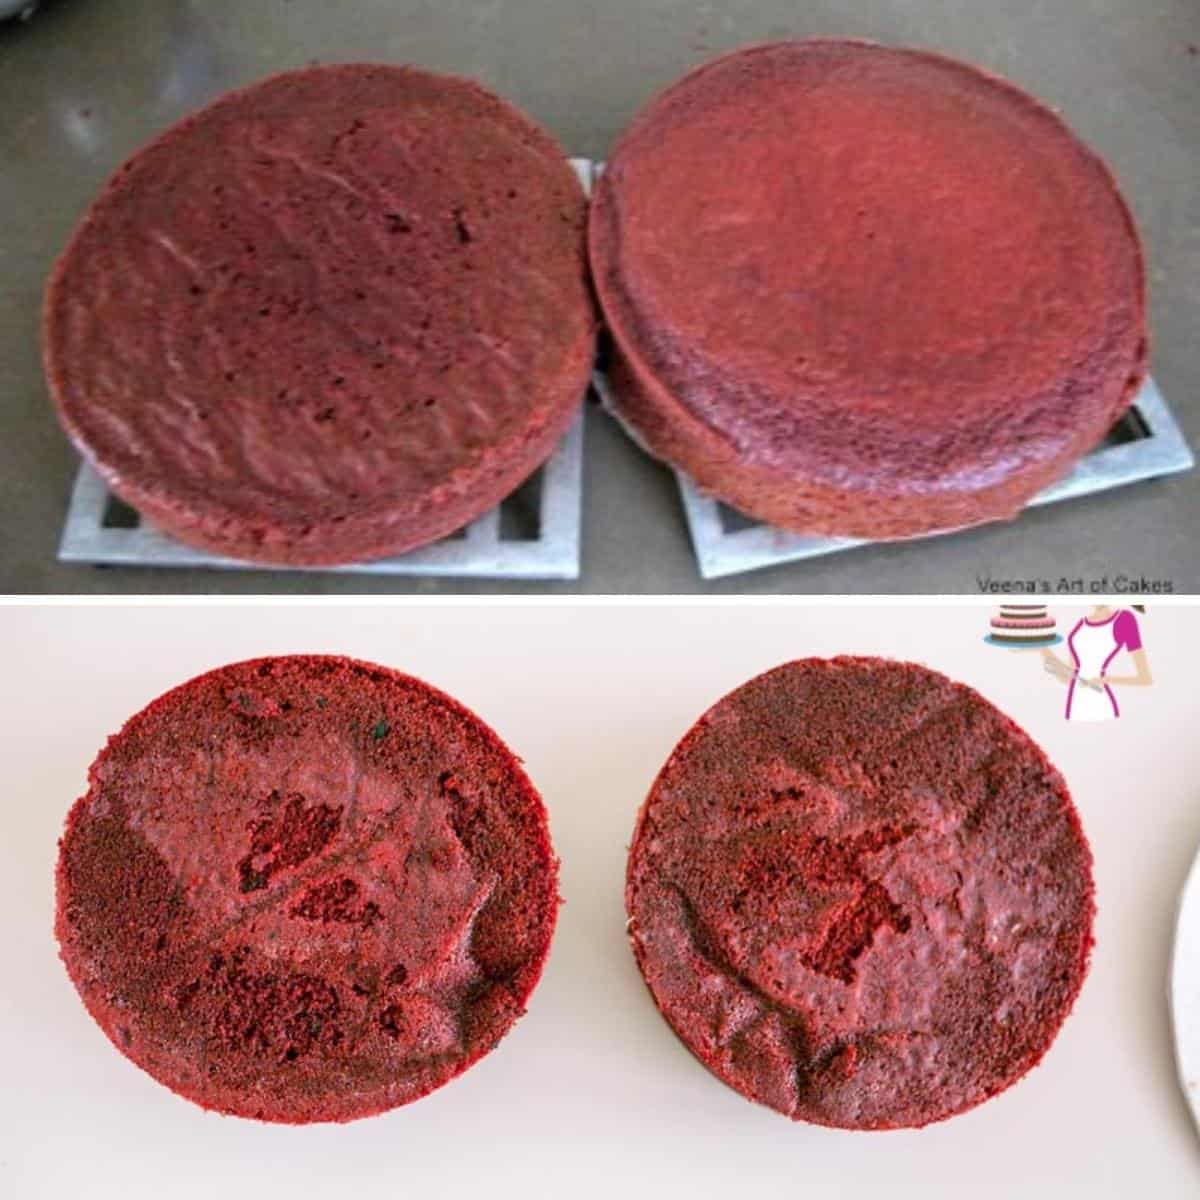
Pour the batter between the prepared baking pans and bake for 20 to 25 minutes on the middle rack or until a center inserted in the center comes out clean.Pro tip – It is a great idea to use cake strips around my baking pans to prevent a dome. That way you don’t lose much height on your layer cakes. Once baked leave in the pan for no. more than 10 minutes. Invert onto a cooling rack to cool completely.Pro tip – always frost cakes only when they are completely cooled otherwise the frosting will melt.
Italian meringue buttercream
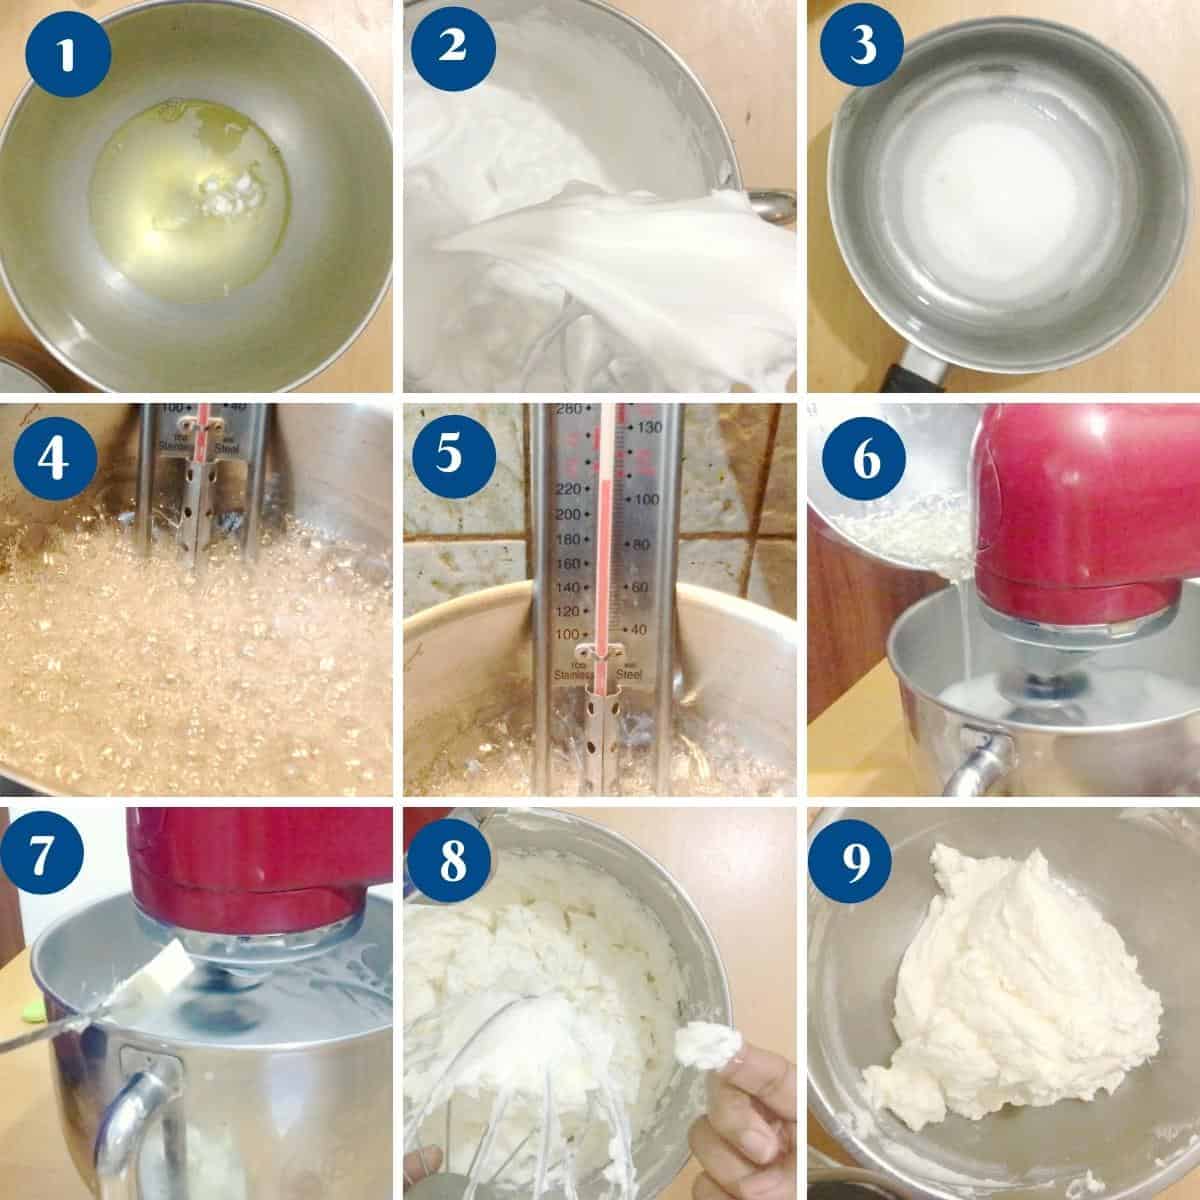
Watch a video – how I make my Italian Meringue Buttercream (IMBC) Place egg whites, salt, and cream of tartar in the bowl of a stand mixer with the whisk attachment on medium speed. Once the meringue is at the soft peak stage – turn the mixer on low to avoid over mix and wait for the sugar to reach temperature Meanwhile, heat sugar and water in a heavy bottom light colors saucepan over medium heat. Once all the sugar is melted place a candy thermometer inside. Continue to boil until the sugar syrup reaches about 238 F on the candy thermometer (softball stage)Pro tip – using a heavy bottom will distribute heat evenly and prevent the sugar from caramelizing and a light-colored pan means you can see the color of the sugar and as you work. Turn the mixer on medium speed and start pouring the hot sugar syrup into the mixer bowl. Once all the syrup is in. Turn the mixer on high and whisk for about 3 minutes. When the meringue is cold and the bowl is not warm at all. Start adding the butter – one cube at a time. Once all the butter is in whip for another minute or two until you have a smooth and satin-like buttercream that light and fluffy. Add the vanilla extract.Pro tip – This is where 90% of meringue buttercreams fail DO NOT add butter if the meringue is still not cold.
Assemble
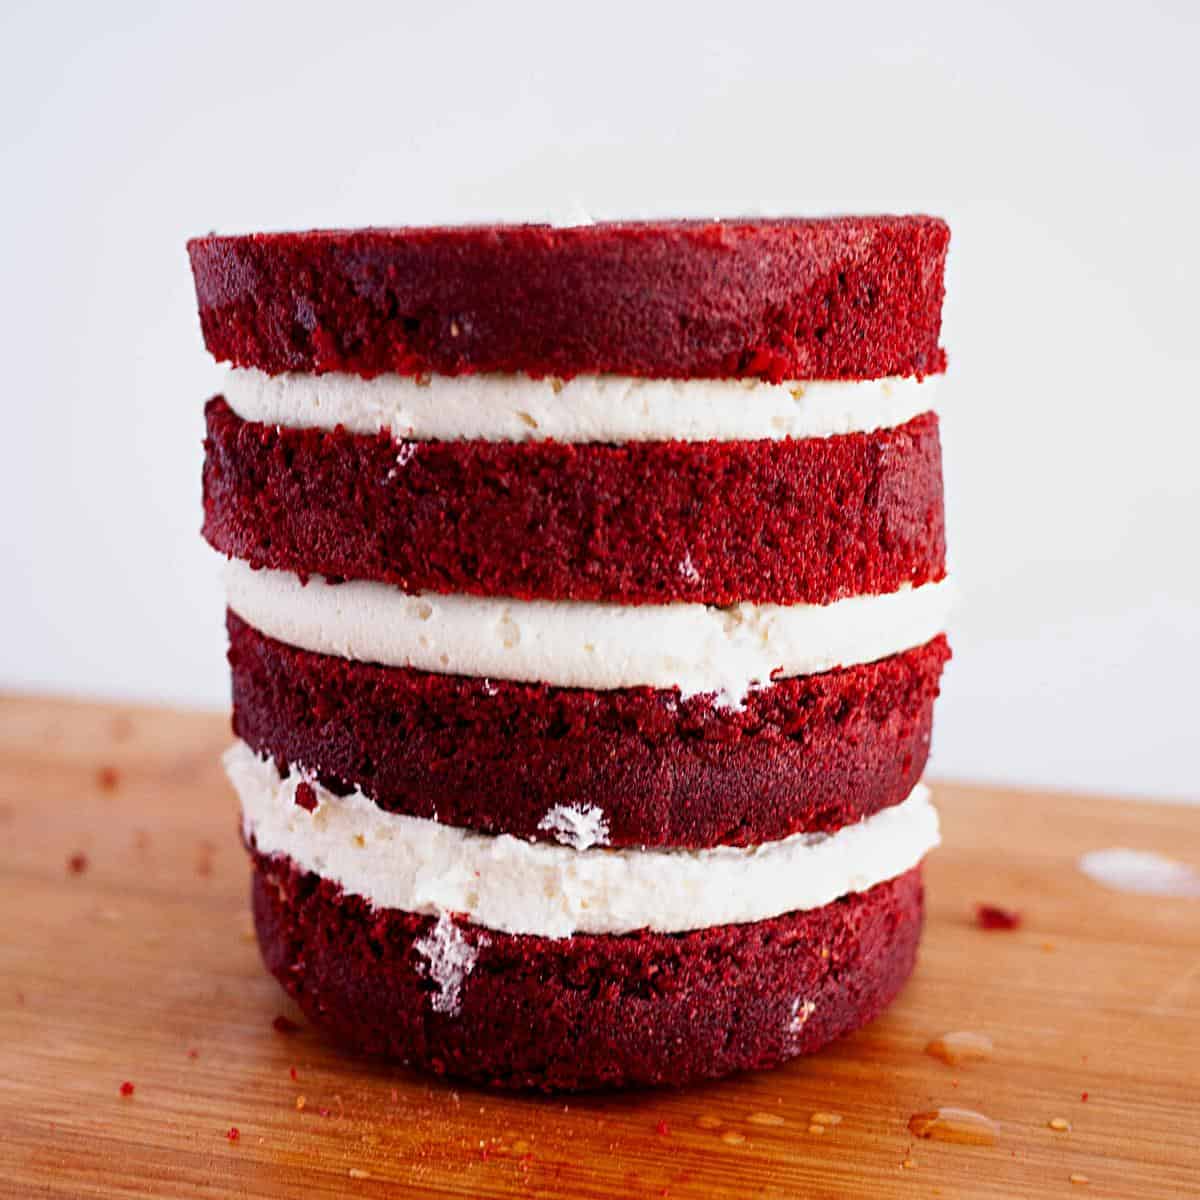
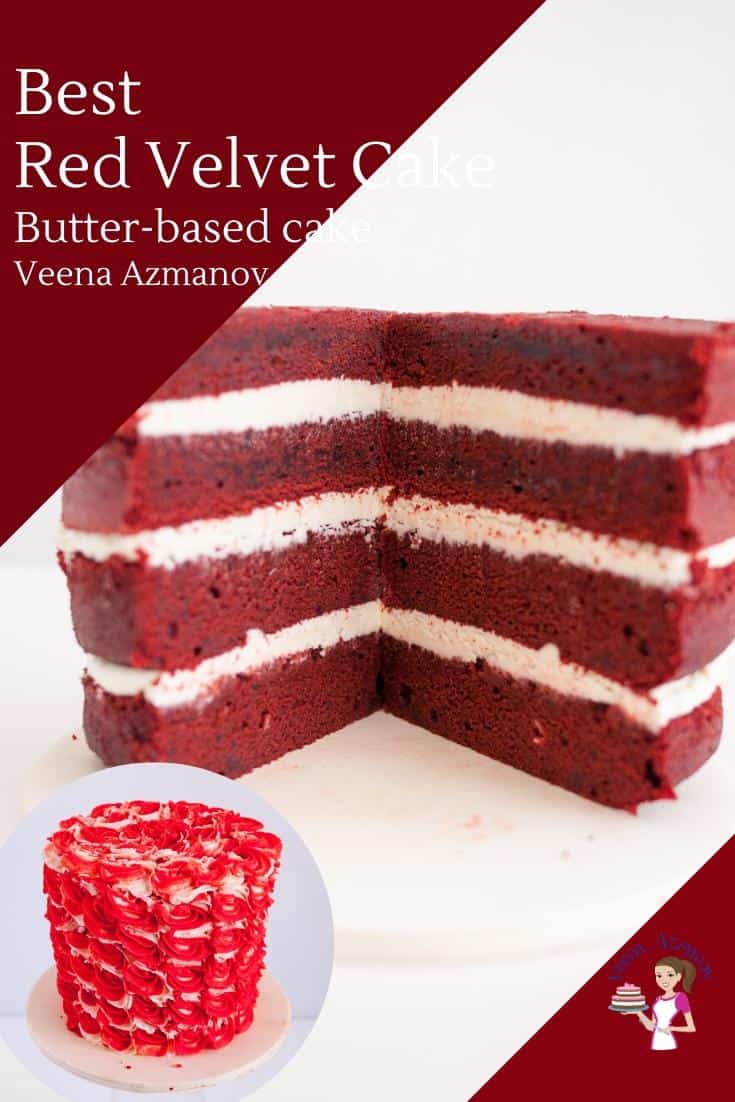
Prepare simple syrup – cool completely before using.Pro tip- Simple syrup is just sugar water that has been boiled and cooled. Used to keep cake layers moist. Watch a video showing how I level, torte, and fill the cakes.Pro tip – Make sure the cakes are completely cold, otherwise, the frosting will melt. Plus, the cakes are more delicate to handle. Chilling the cakes makes them easier to work with. Using a bread knife or cake leveler cut the domes off the cake layers. Then divide each layer in half horizontally so you have four layers (2 x 2 = 4 layers) Brush each layer with the cooled simple syrup. Place a cake layer on the cake board or cake stand. Top with a big dollop of buttercream – spread evenly using a straight-edge spatula.
Stack
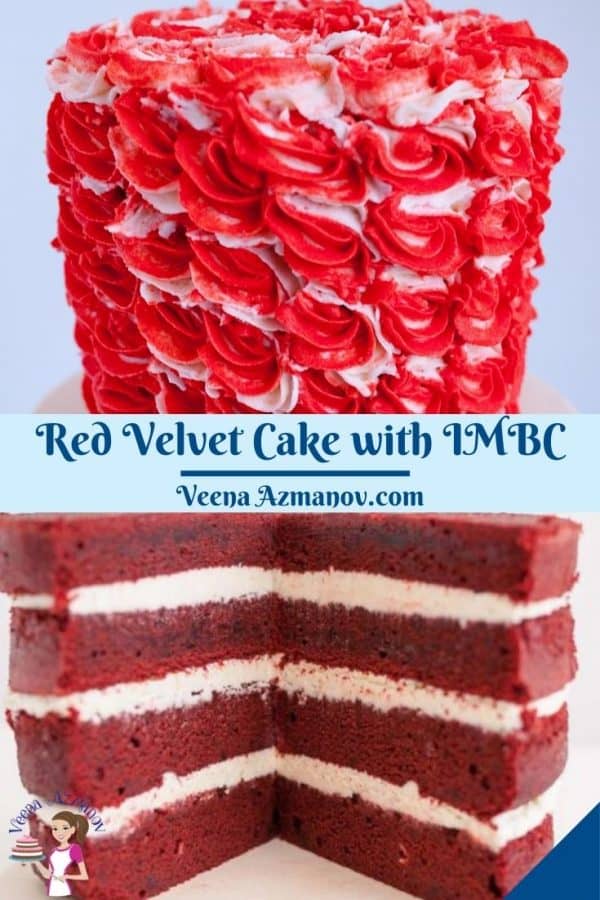
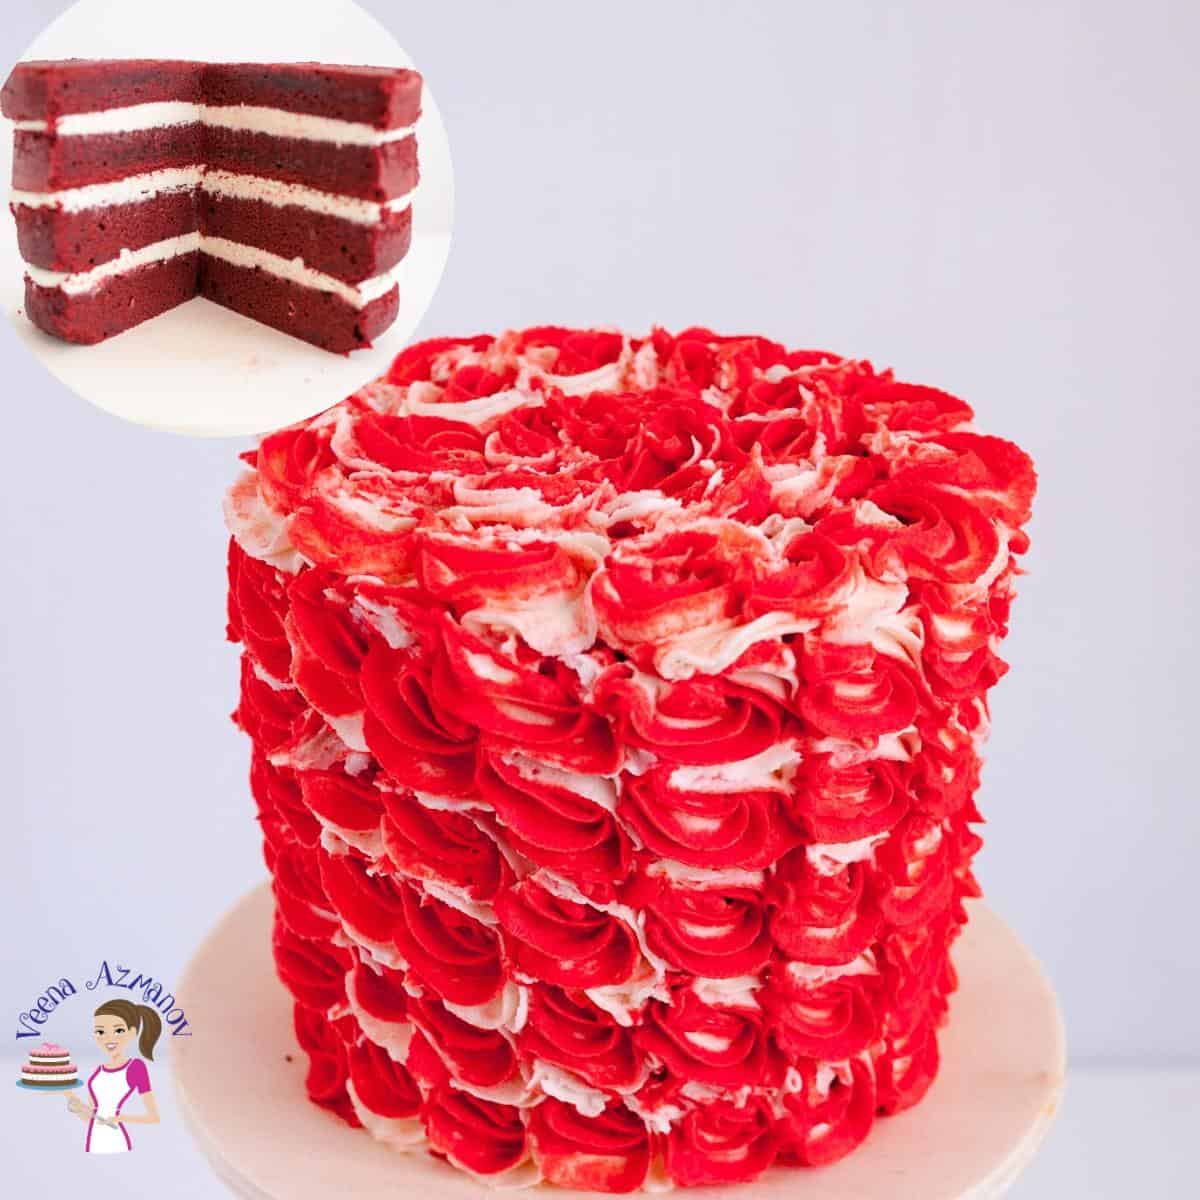
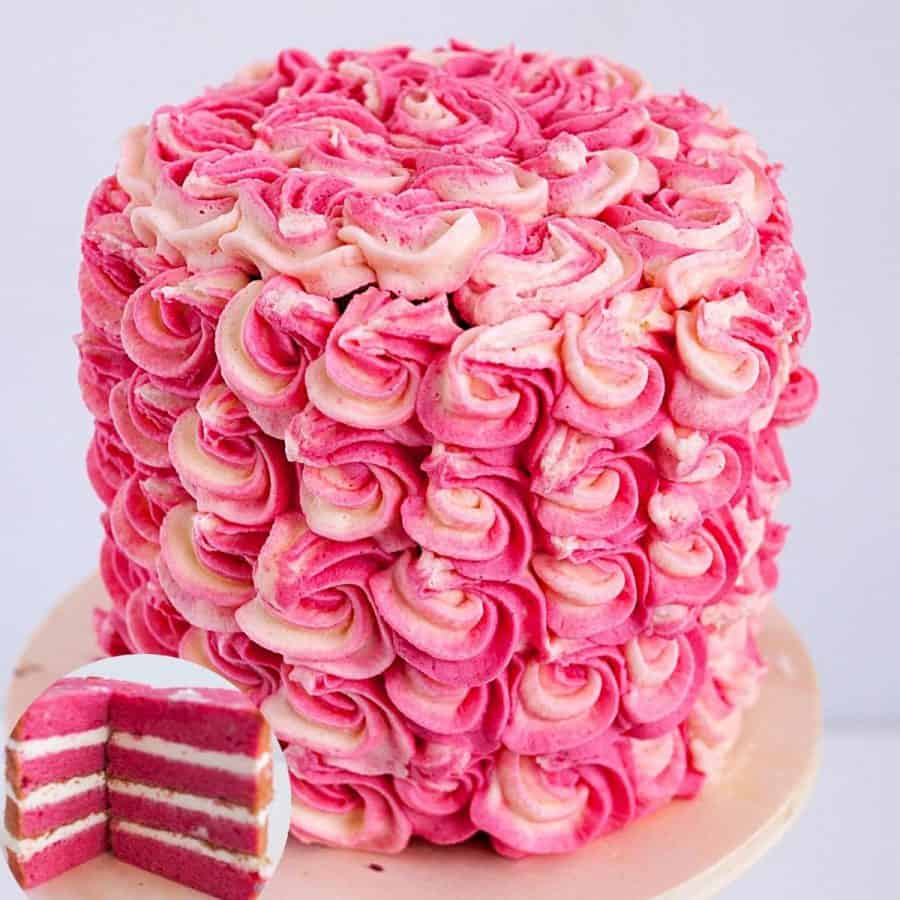
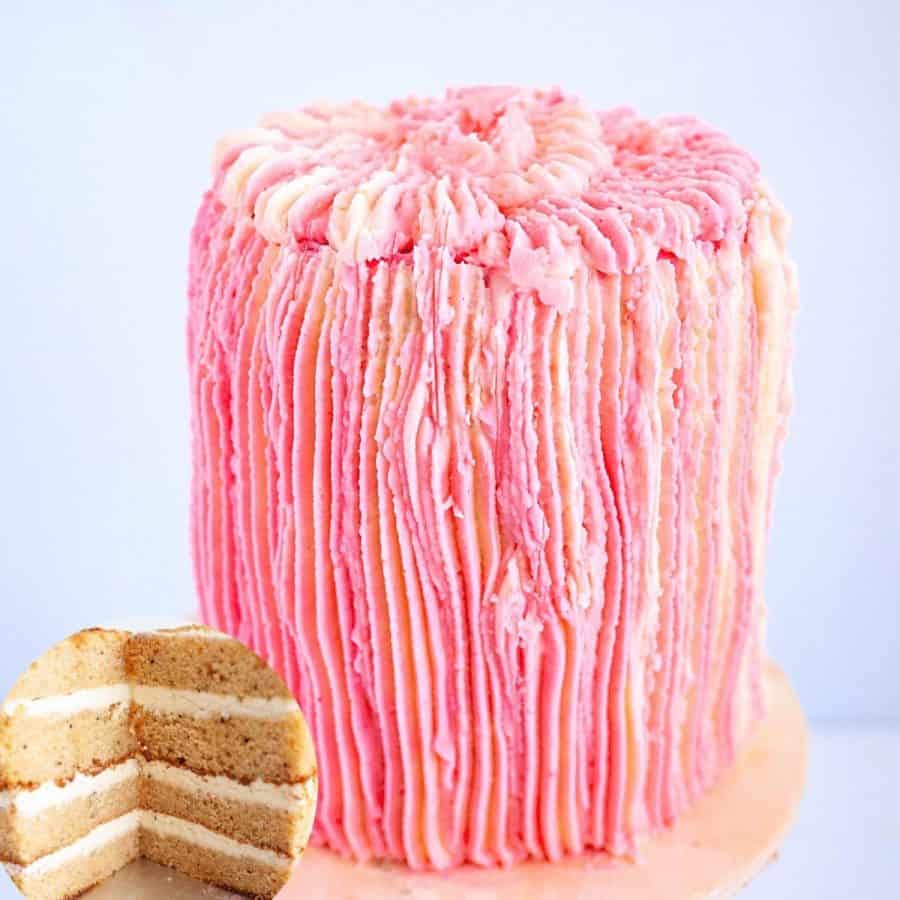
Place the cake in the fridge to chill for 10 to 15 minutes.Pro tip – Chilling the cake at this point will ensure the layers don’t move when you frost the outside. Though, if you leave the cake uncovered in the fridge for too long it can dry out. So, 10 minutes is all you need. Spread the remaining buttercream around and the top of the cake.Pro tip – A straight-edge spatula for the top, an off-set spatula, and a bench scraper for the sides work better. Add a few drops of pink gel food color to half of the remaining white buttercream. Put both colors of buttercream in a piping bag with a star piping tip nozzle Pipe swirls around the cake. These swirls are exactly what you would do on a cupcake just smaller and on the side and top of the cake. Decorate as desired.
Frequently asked questions
Did you LIKE this recipe? Save it for later. You can find my recipes on Pinterest. Follow me on Facebook, Twitter, and Instagram.Subscribe, and I’ll send you new recipes right to your inbox.
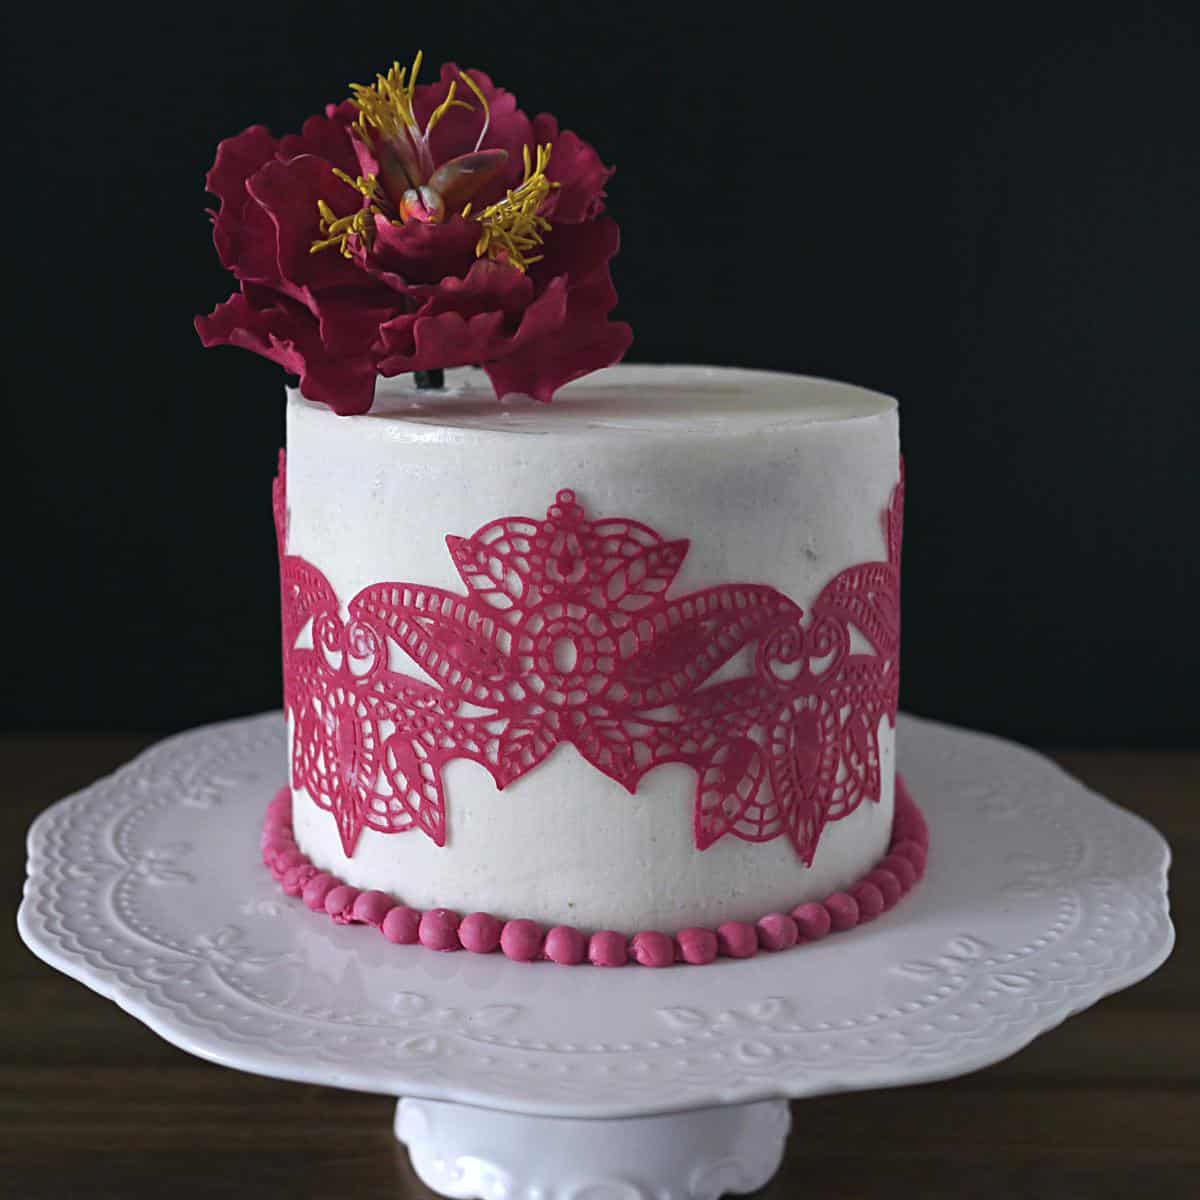
Keep it simple: You don’t need to be a professional baker to create a stunning cake. Sometimes, less is more. A simple dusting of powdered sugar or a few fresh berries can be all you need to make your cake look beautiful. Use frosting sparingly: While frosting is a must-have for any red velvet cake, it’s important not to go overboard. Too much frosting can overpower the flavor of the cake and make it look messy. Stick to a thin layer, and add a few decorative swirls if you wish. Get creative with toppings: The best part of any cake is the toppings! Consider adding some crushed nuts, chocolate shavings, or even edible flowers to your red velvet cake for a pop of color and texture. Use piping bags: If you’re feeling extra ambitious, try using a piping bag to create fun and intricate designs on your cake. Practice on a piece of parchment paper first to perfect your technique.
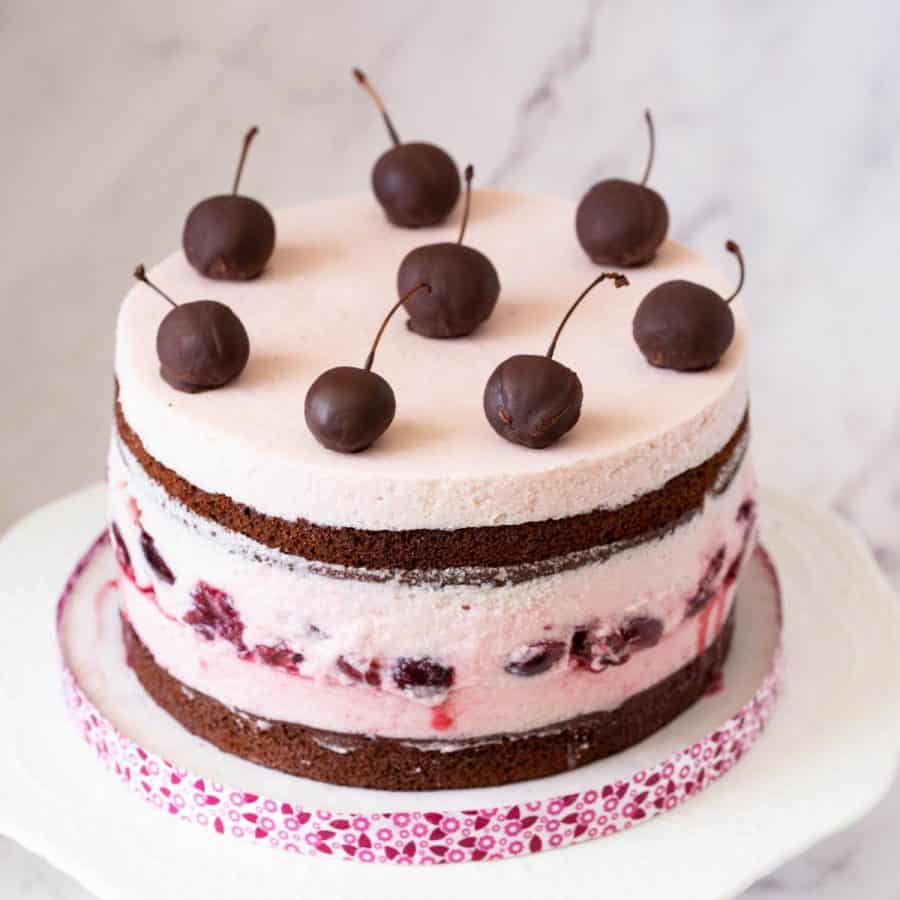
Add Some Fresh Fruits: Red velvet cake pairs well with fresh fruits like strawberries, raspberries, or cherries. Arrange sliced fruit on top or around the cake for a colorful and refreshing touch. Whip Up Some Cream Cheese Frosting: A classic pairing with red velvet cake is cream cheese frosting. You can serve it on the side or spread a generous layer on top of the cake. Dust with Powdered Sugar: For a simple but elegant touch, use a sifter or fine-mesh strainer to dust powdered sugar evenly over the cake. Add Some Edible Flowers: If you want to take your presentation to the next level, try adding some edible flowers to your cake. Choose flowers that are food-safe like roses, pansies, or violets to add a pop of color. For a more formal occasion, consider using a piping bag and frosting to decorate the cake with intricate designs or personalized messages.
Thank you for sharing - Save for later