It’s berry season and there is nothing better than fresh berries with fresh whipped cream or berry smoothies but have you tried making jam?
You can make just raspberry, blueberry, or strawberry jam or you can make a combination such as mixed berry jam. Jam is not just to enjoy over toast for breakfast, try it over muffins, pancakes, waffles, and of course cheese.
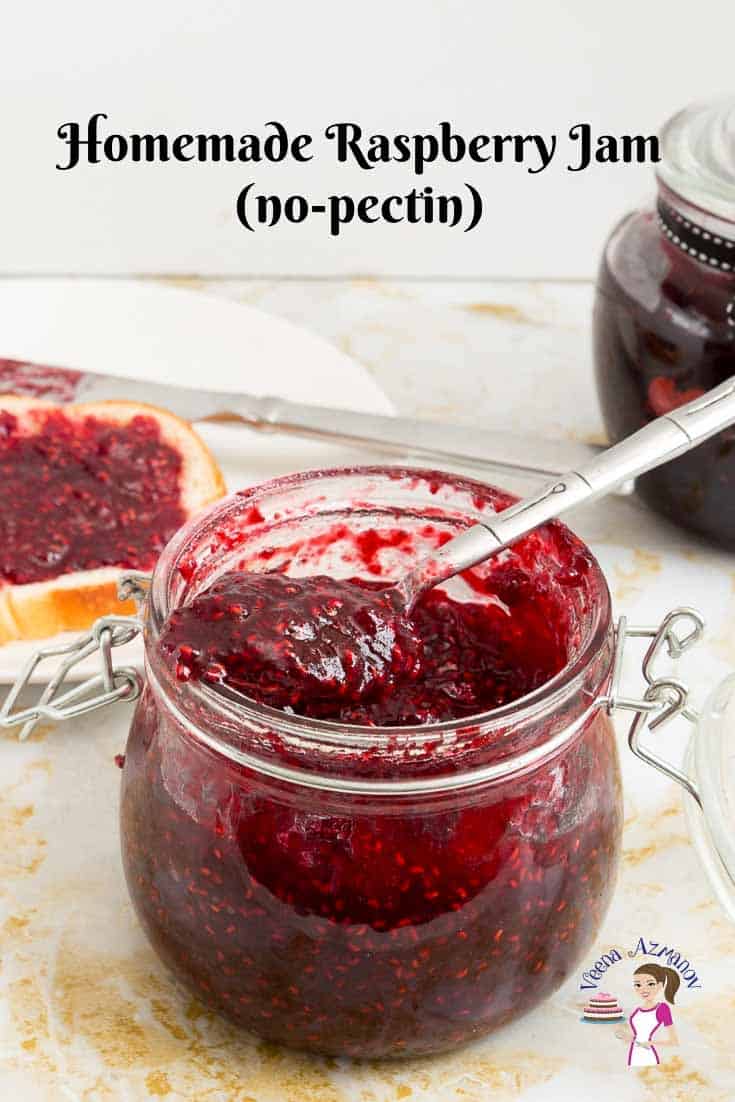
Step-by-step: Homemade raspberry jam recipe
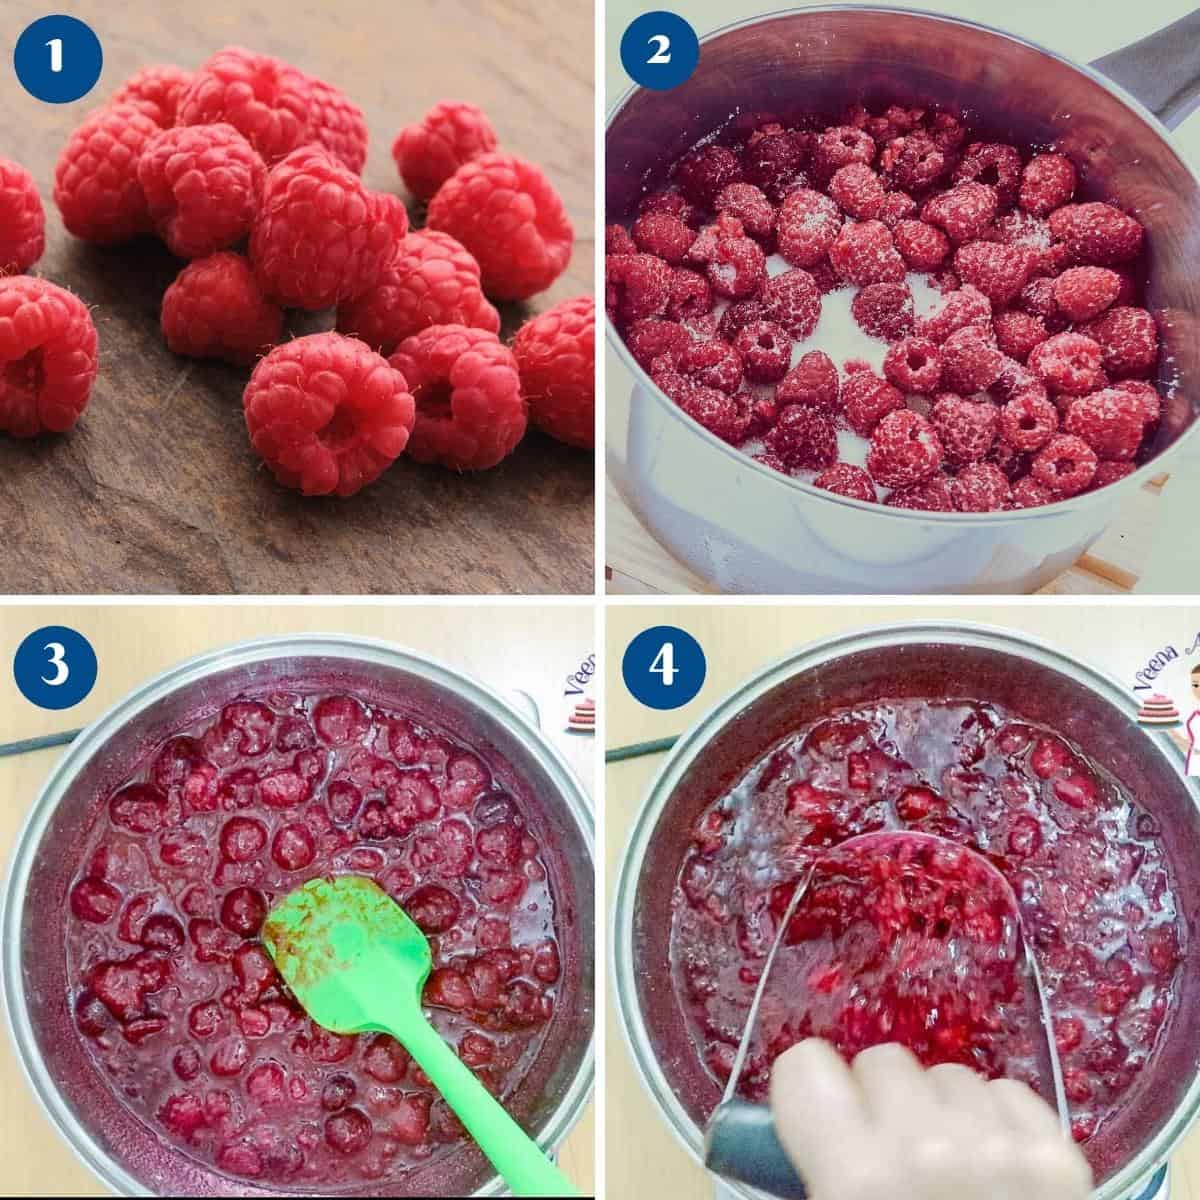
Place two small ceramic plates in the freezer so we can use these to test the jam later. Alternatively, you can use a candy thermometer to check the doneness of the jam. Check the raspberries and remove any bad, discolored, or bruised ones. Give them a quick wash and drain them in a colander.Pro tip – Soft raspberries can be used but discolored and bruised ones will ruin the jam. Also, don’t soak berries in water for too long as they do soak up moisture. Stove – In a heavy-bottom large pot or medium saucepan and a wooden spoon combine raspberries, sugar, salt, and lemon juice. Cook on medium-high heat until the sugar is dissolved. Then, turn the heat up and let the mixture come to a rolling boil. Let it boil for two minutes stirring constantly on medium-high.Pro tip – Boiling the jam is important as it releases pectin from the skin and seeds in fruits.
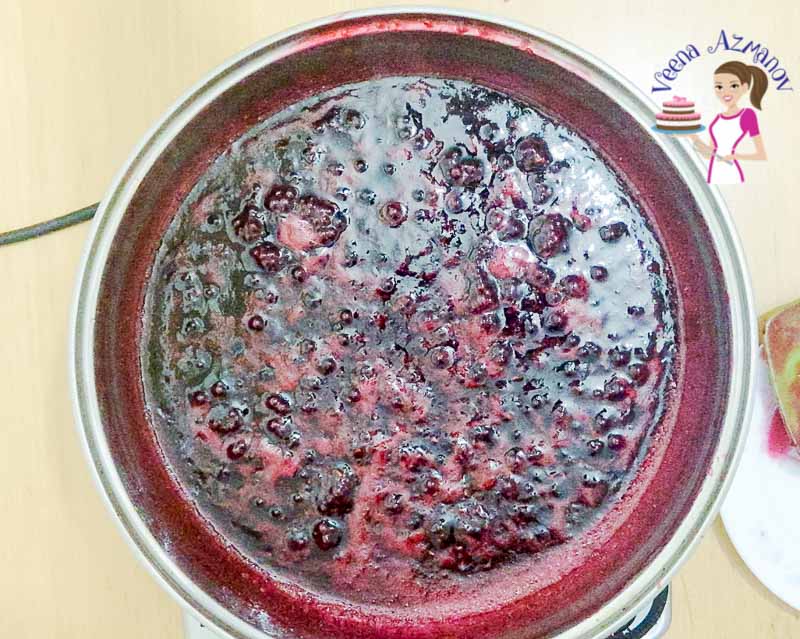
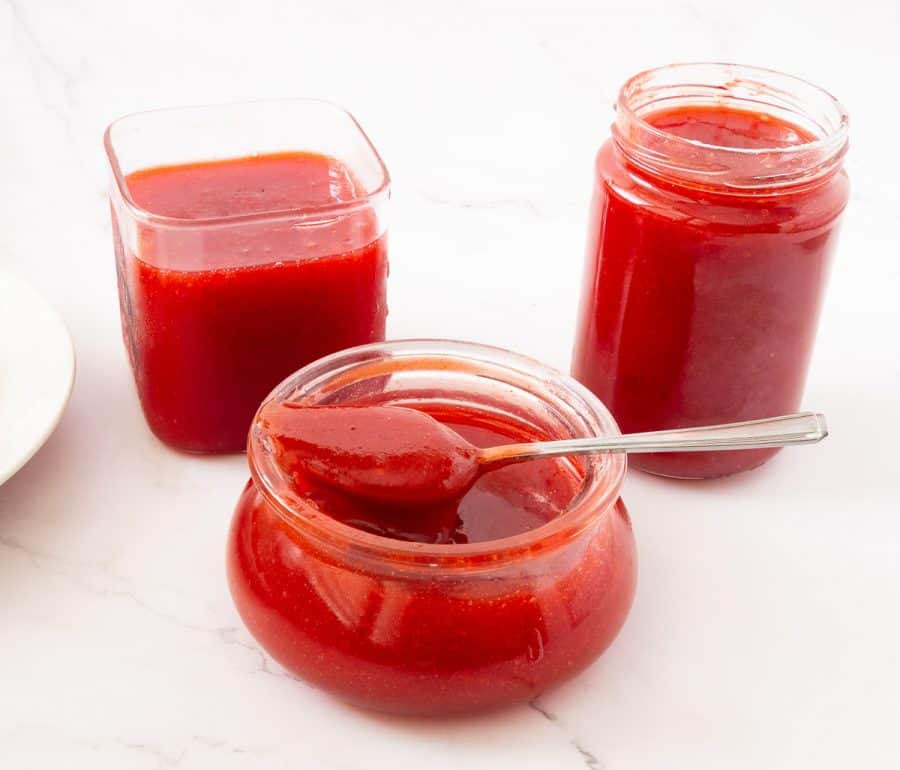
Then, turn the heat to medium-low. The jam should still be simmering but at a low simmer, not bubbling. Use a potato masher to mash the fruit – so you have a smoother jam-like consistency.Pro tip – Mashing the fruit is optional, as the fruit will break down into smaller chunks similar to preserving as it cooks. However, mashing will give smoother consistency like jam. Continue to simmer for about 20 to 30 minutes more stirring often so it does not stick to the bottom of the pan. The jam will continue to thicken as well as deepen in color as it cools.Pro tip – The cooking time will depend on the quantity of the jam as well as the heat applied to it. It’s ok to cook a little longer but there must be a simmer for the fruit to release pectin.
Testing the jam
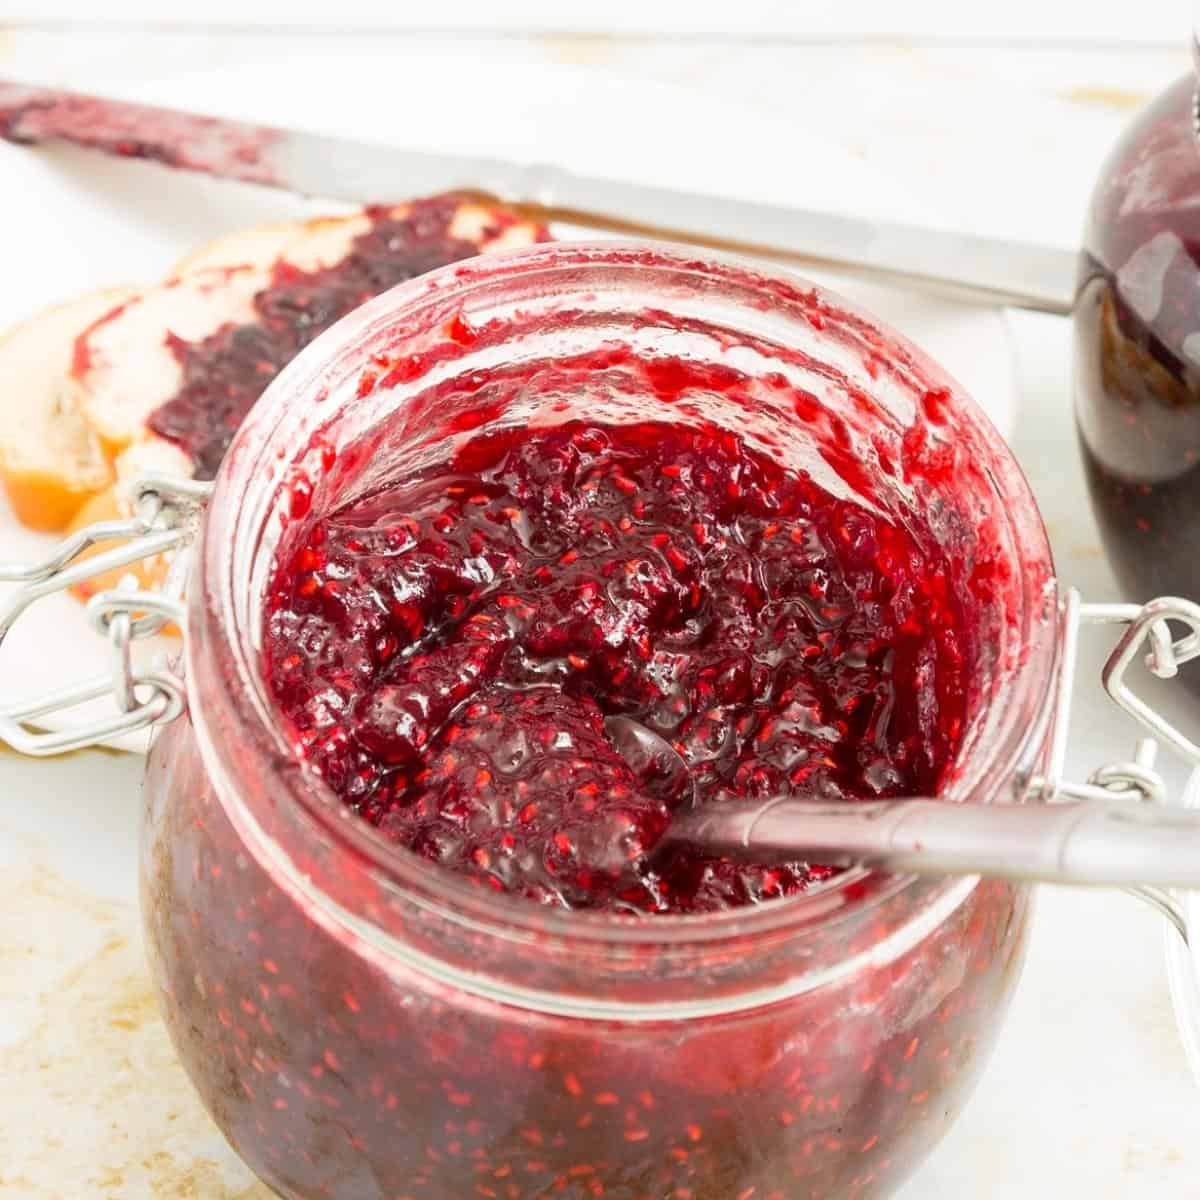
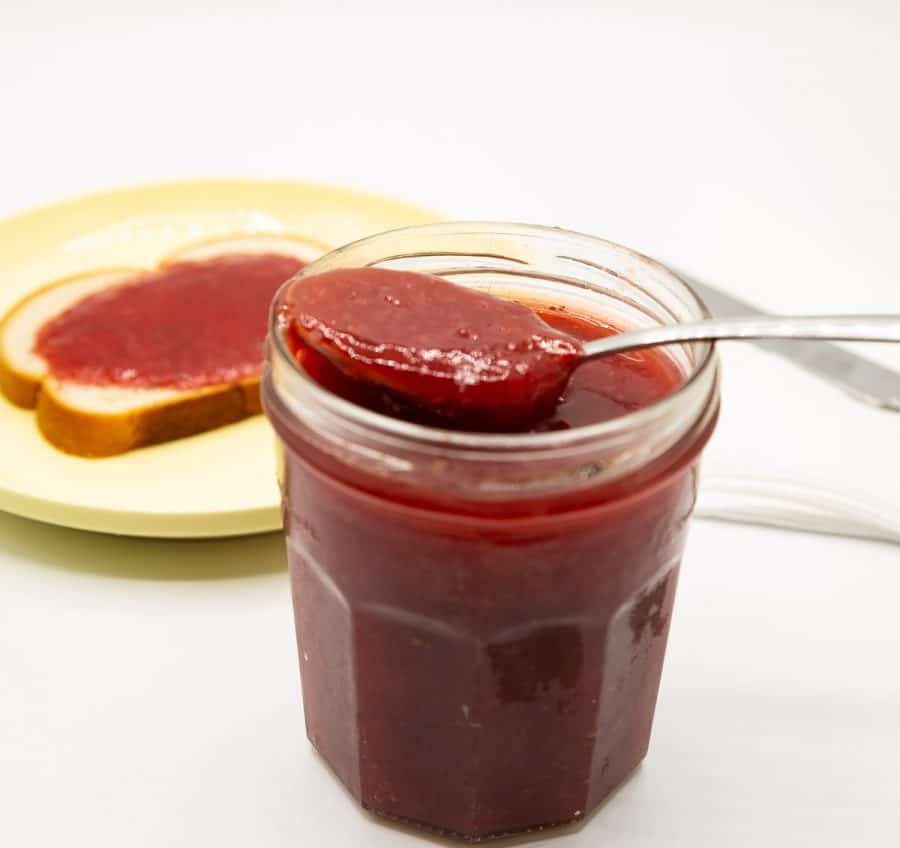
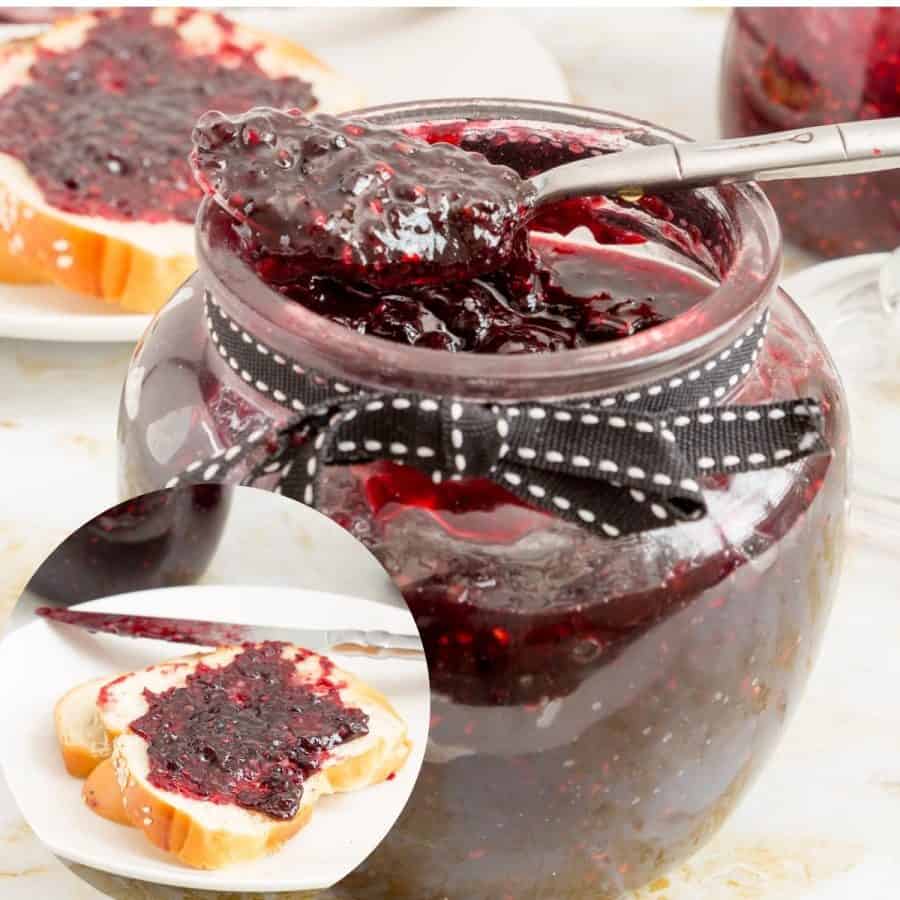
Remove the small plate from the freezer. Place a teaspoon of jam on the cold plate.Pro tip – The cold plate will help cool the jam almost instantly and give you a good indication if the jam is ready. Set aside for 2 to 3 minutes. Then, test with your finger. Simply move/push the jam with your finger. If it wrinkles/crinkles it means the jam is ready. And if not, let the jam cook a couple of minutes more and test again.Pro tip – You may need to test the jam on a ceramic plate more than once or a couple of times depending on how early you start checking. Alternatively, you can use a candy thermometer – the jam should reach 105 C / 221 F.Pro tip – I find the thermometer to be the easiest and fool-proof method to check for doneness. Optional – Just when you are ready to take the jam off the heat add a teaspoon of butter and stir well. Butter helps dissolve foam that accumulates on top of the jam.Pro tip – You don’t need more than 1 teaspoon of butter to help with the foam. It will also give you that glossy shine. Ladle the almost hot jam into warm sterilized jars leaving 1/4 inch space from the top. Use a clean sterilized knife or spatula to move the jam a bit – this will remove any air pockets or bubbles. Place a piece of wax paper on the top before you place the lid on tightly. Clean the rim of the jar with a clean paper towel. Top the lid.Alternatively, use the lid with screw-on rings that come with the canning jars.
Canning the jam (if you plan to can the jam)
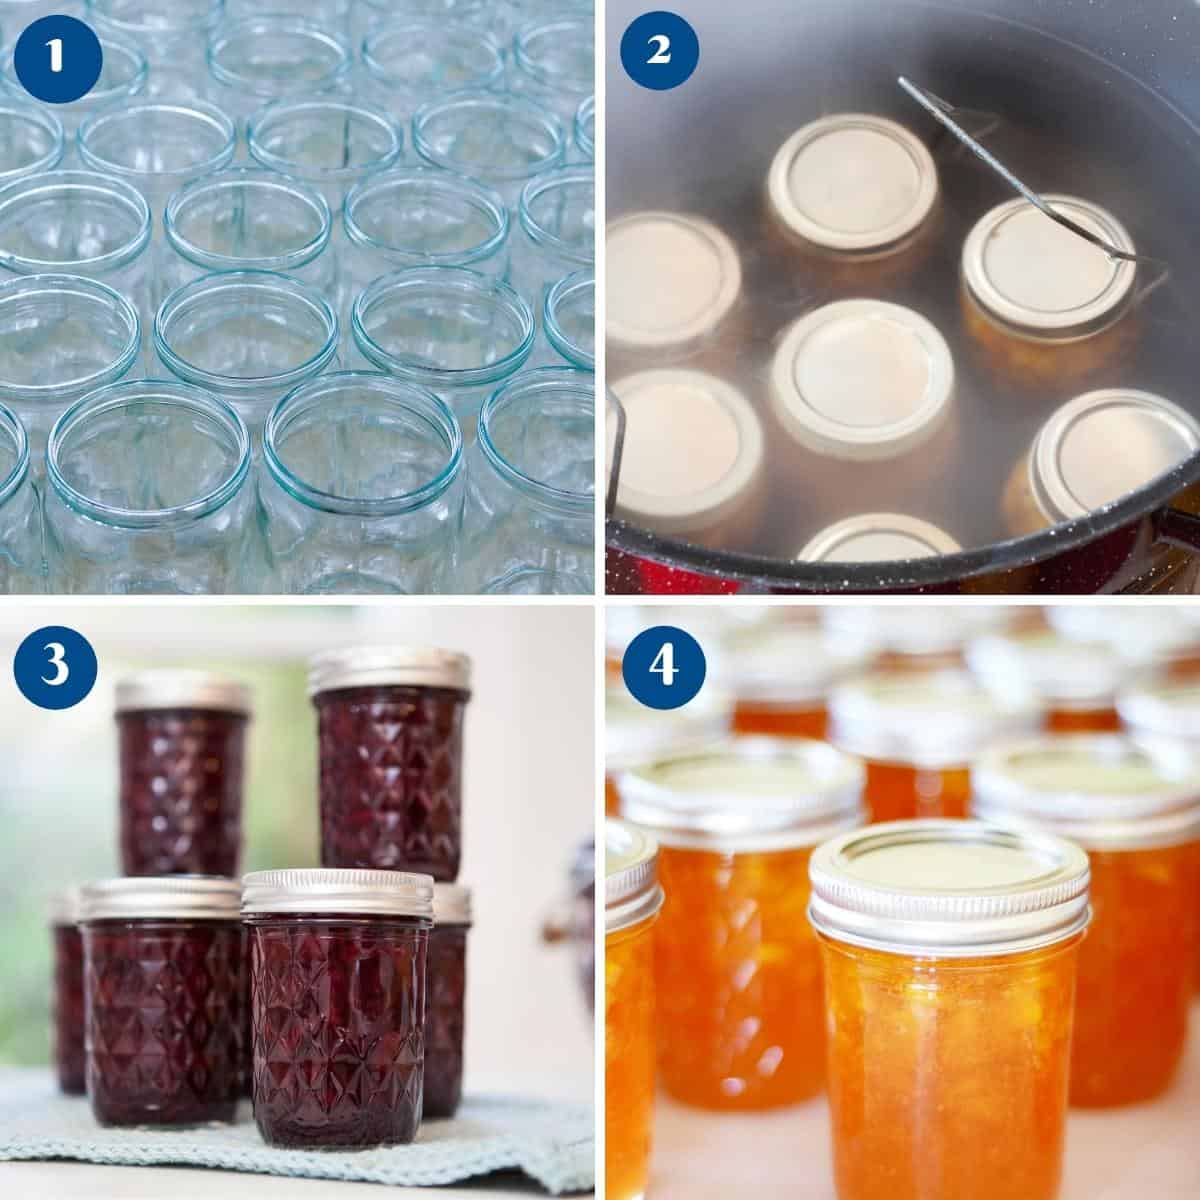
Sterilizing the jars
Sterilize 4 x 8 oz (250 g) jars by washing them in hot soapy water or cleaning them in the dishwasher with a gentle cycle. Then, place them in the oven for 20 minutes at a low 284 F / 140 C.Pro tip – I find the dishwasher does a good job of cleaning and the oven dries any excess moisture in the bottles. Note – Leave them in the oven until you are ready to use them (you can turn the oven off). Don’t forget to wash and sterilize the bottle lids as well.
Canning process
Place a rack in the bottom of a large stockpot. Fill half the pot with water. Bring the water in the pot to a boil on high heat. Lower the jars over the rack leaving enough space between the jars.Pro tip – The level of water should be at least an inch above the top of the jars. So if necessary pour more boiling water. Bring the water to a boil again. Cover the pot and process/simmer for 15 minutes. Then, carefully remove the jars from the stockpot and place them on a kitchen towel to absorb any excess moisture. Cool completely.Pro tip – the hot jars are very delicate so make sure to use tongs when taking them out and place them on soft towels to prevent them from breaking. Press the top of the lid to ensure the seal is tight – the lid should not move at all. Store in a cool dry place.
Frequently asked questions
Creative ways to use raspberry jam
Cookies: Make classic thumbprint cookies by forming cookie dough into balls, pressing your thumb in the center, and filling the indentation with raspberry jam. And you can also make raspberry Linzer or sandwich cookies with raspberry jam centers. Bake as usual and enjoy the sweet and tangy jam-filled treats. Jam-filled muffins: Add a surprise burst of flavor to your muffins by spooning raspberry jam into the center of each muffin batter before baking. As the muffins rise, the jam will spread and create a delightful fruity filling. Raspberry jam bars: simple to our cherry bars, create a delicious dessert by making raspberry jam bars. Layer a buttery crust on the bottom of a baking dish, spread raspberry jam on top, and then add a crumbly oat topping. Bake until golden brown and let it cool before cutting into bars. Jam-stuffed French toast: Prepare your favorite French toast recipe, but instead of spreading butter or syrup between the slices, use raspberry jam. This will create a delightful fruity filling that pairs perfectly with the custardy bread. Raspberry jam cocktail: Mix things up by incorporating raspberry jam into a cocktail. Combine vodka, lemon juice, raspberry jam, and a splash of soda water in a shaker with ice. Shake well and strain into a glass. Garnish with fresh raspberries or a lemon twist. Raspberry jam vinaigrette: Create a unique and tasty salad dressing by whisking together raspberry jam, olive oil, balsamic vinegar, Dijon mustard, and a pinch of salt and pepper. Drizzle this flavorful vinaigrette over your favorite salads for a burst of sweetness. Jam-filled pancakes: Make your pancakes extra special by spooning raspberry jam onto the batter as it cooks on the griddle. Once bubbles form on the surface, flip the pancake and cook until done. The jam will melt into the pancake, creating a delicious fruity center. Raspberry jam ice cream topping: Heat raspberry jam in a saucepan until it becomes pourable. Drizzle the warm jam over a scoop of vanilla ice cream; the heat will create a lovely contrast with the cold ice cream. You can also add some crushed nuts or chocolate shavings for extra indulgence.
Apricot Peach Jam – No-Pectin (just 3 ingredients) Fresh Fig Jam – No Pectin (just 3 ingredients) Microwave Strawberry Jam – No Pectin Blueberry Jam – No Pectin (3 ingredients) See all jam recipes
Thank you for sharing - Save for later
First, pick the naturally sweetest raspberries you can find from the market. Forget everything you read about pectin and buy a box or packet of natural pectin. These are available in most supermarkets. If you don’t want to use pectin you can use chia seeds. The difference is that jam with pectin has a longer shelf life than with chia seeds. And also grab some fresh lemon juice and lemon zest because that has some natural pectin in it too. The formula is pretty simple and it belongs to my mom If you ever find you need to add more sweetness, add a little agave syrup or honey to the jam just before you take it off the heat. This will sweeten it a bit. I use to make no-sugar jams for a friend of my mom long ago because she was diabetic.