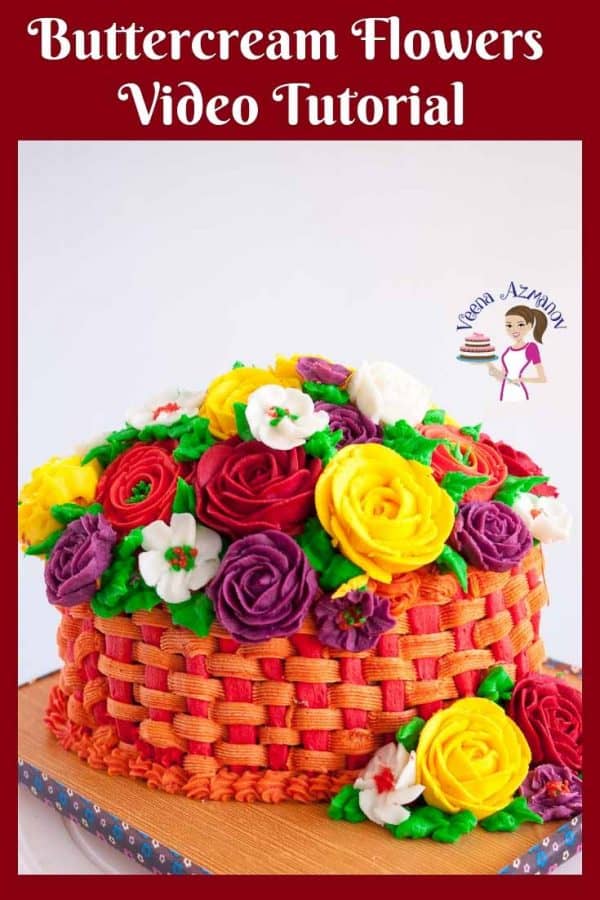
It’s all about the frosting
One of my first buttercream flowers cake was also the most stressful one. I have always been so fascinated with buttercream flowers. And yet, I didn’t dare to attempt them myself because it seems so intimidating. I was convinced I would not be able to do them. So, for a long time, I never took any buttercream cake orders. I had done piping before, but never flowers. And then, one day, I decided to overcome my fears and make a buttercream cake. In truth, the flowers were not as difficult as I believed them to be. The trick, of course, was the frosting. The buttercream frosting I was using gave me heartache. Instead of using my buttercream recipe, I used one from the Internet. It uses vegetable shortening, which has lots of air pockets. I ended up with my petals all bursting on me. Over time, I learned to make buttercream flowers. I also created my stiff buttercream frosting, which worked for me every time. And when I was confident with the results, I decided to share the recipe and this tutorial with you. I can honestly say that I learned buttercream flowers the hard way, through trial and error. And yet, if you follow my method and use my recipe, you will find it easy and fun.
Which buttercream frosting is best for piping flowers?
Technically, you can pipe flowers with any buttercream, depending on how experienced and skilled you are at buttercream piping. For novices like you and me, the right recipe can save a lot of heartache and stress. I love all my buttercream recipes, every one of them. And yet, not all of them are good candidates for buttercream flowers. Therefore, when I pipe buttercream flowers, I use my stiff buttercream frosting. The advantage of this buttercream is that it’s not whipped too long. So it does not have too many air pockets and has less liquid. This means it is stiff, and all the petals hold their shape beautifully. So, if you plan to make buttercream frosting flowers, I highly recommend making a fresh batch of buttercream using my stiff buttercream recipe for flowers.
Six tips for making perfect buttercream flowers
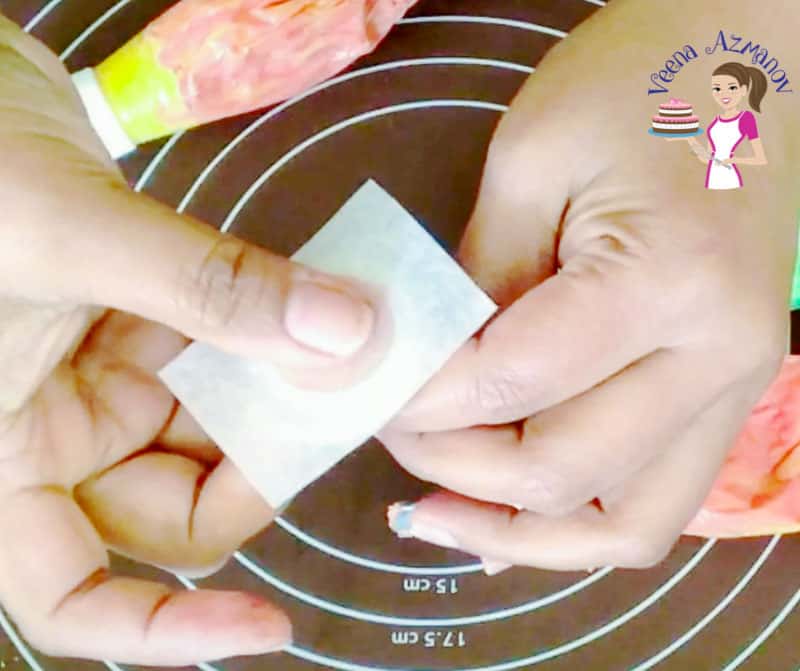
First of all, use the right buttercream to make flowers. Stiff buttercream is ideal. And if necessary, make a special batch just for piping buttercream flowers – it will save you a lot of stress and disappointment. Calculate the color gels as part of the liquid measure when making the buttercream for flowers. Sift the powdered sugar when making your buttercream frosting. Sifting gives you a smooth buttercream without any lumps that can clog the piping tip and prevent the smooth flow of buttercream from the bag. Also, use food color gels to color buttercream. Water-based colors tend to affect buttercream consistency. So, never use supermarket water-based colors. When it comes to colors, a little goes a long way. So, use a toothpick or dropper to add colors. I love deep, dark colors. And yet, I use dark gel food colors instead of adding too much color, which can affect the consistency of the buttercream. Make buttercream flowers on small parchment squares (2.5-inch squares) and chill or freeze them. You can also place icing flowers directly on the cake. And yet, freezing them gives you the luxury of moving them around and placing them strategically.
How long can you store buttercream flowers? Can you freeze buttercream flowers?
If you make extra buttercream flowers, don’t throw them away. Instead, leave them on the parchment squares and freeze them in a single layer. They will last for months. Wrap them well and keep them away from other foods.
How long can a cake with buttercream flowers sit out?
It really depends on the type of frosting you use and the weather where you keep the cake. My stiff buttercream frosting can be kept out for a few days (2 to 3 days at room temperature) as long as it’s not hot and humid. It’s because it’s made with butter. And yet, if you live in a hot and humid climate like Israel, India, or Texas summer, the buttercream flowers will stay well for a few hours at room temperature. They will be soft at room temperature but not melt unless you place them in a sunny place.
Step-by-step instructions
Tools
Round tip number 3 centers, I use Wilton or PME tips. Piping tip round tip number 2 for the centers. Basketweave tip 1 D. Rose petal tip 104 for the Ranunculus, Rose, and the petals. The larger the tip, the bigger the flowers. This one tip can make many different flowers and is worth having on hand if you like piping. An art and crafts spatula is always handy to work with small amounts of frosting. It also helps to knock out any air from the buttercream. I can never have enough mixing bowls when making buttercream flowers, as you need to keep them all separate. I love using disposable piping bags because they make cleanup a lot easier. And, of course, couplers are a must-have, so you can use more than one tip with the cake color frosting. One small tool can make such a big difference by just allowing you to change tips.
Materials
Two oval shape cake – Devil’s Food chocolate cake Coffee buttercream filling – optional Velvet American buttercream for basketweave (optional) Stiff buttercream frosting Simple syrup for the cake
Preparing the cake
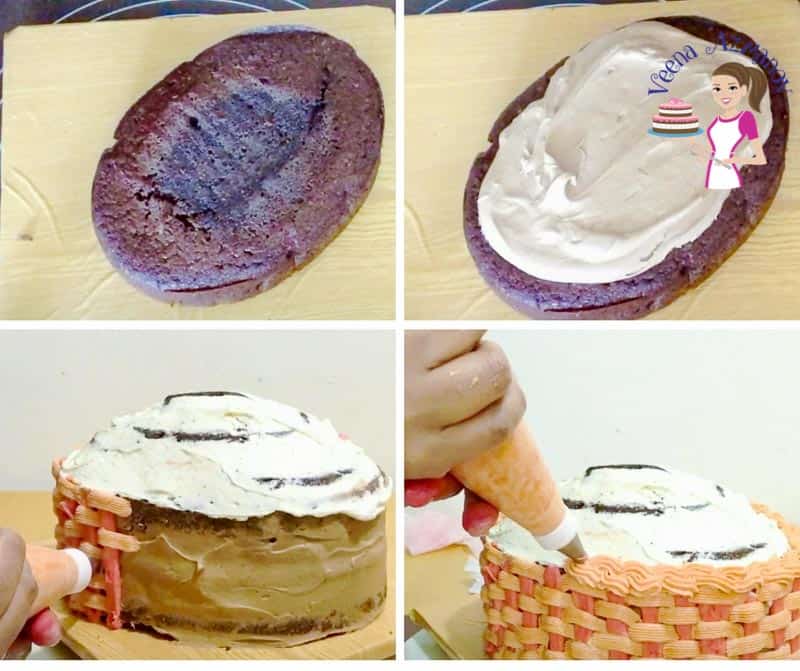
Today, I made two layers of cake in an oval-shaped baking pan. You can also use a round baking pan as well. This is my Devil’s Food Chocolate cake recipe with coffee buttercream between the layers. I have brushed the cake with simple syrup and left the domes of the cake layers to add extra height. Then, I frosted the outside of the cake with my velvet American buttercream. And yet, you can also use this same stiff buttercream.
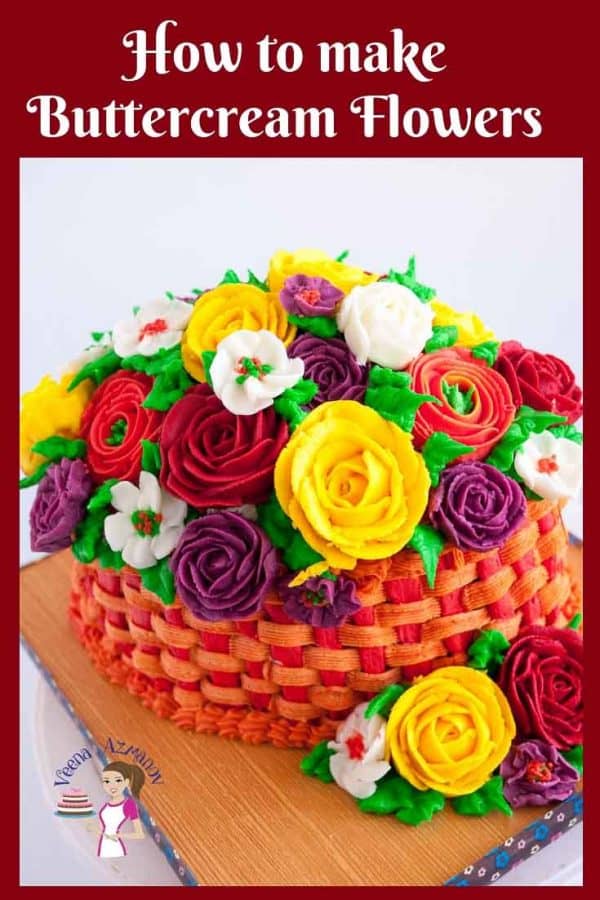
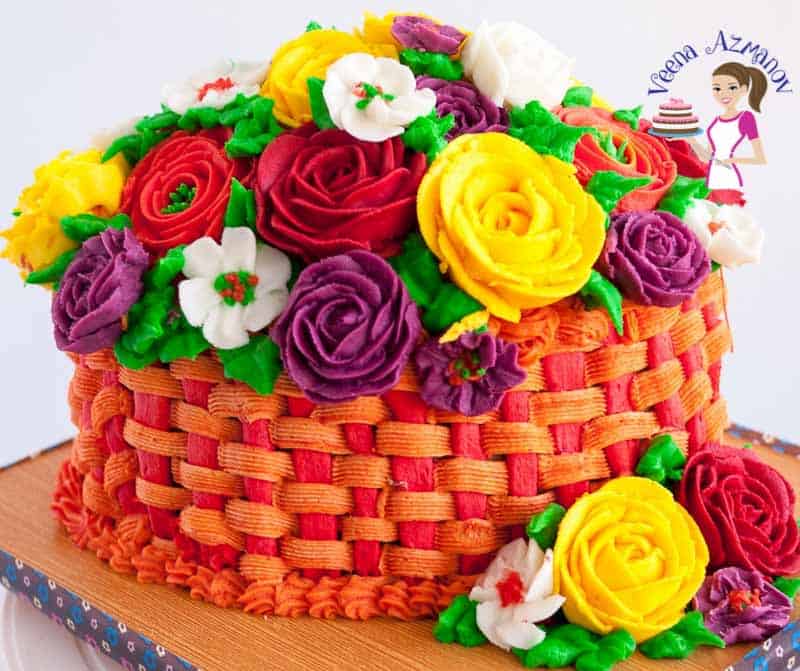
How to pipe a buttercream basketweave pattern
While the basketweave pattern looks complicated, it’s not. Prepare two buttercream piping bags. Use a basketweave piping nozzle and a round tip. You can use the same color frosting for both tips. I have used two colors. Pipe a long, straight line vertically using the round tip. Then pipe short horizontal lines across the vertical line (see video) Pipe all around the cake until you reach back to the first. Lastly, pipe a border on the top using the round tip or star tip.
Do I have to pipe the flowers on parchment paper?
No, you can pipe the flowers and place them directly on the cake. And yet, once you put them on the cake, moving them around is not an option. Piping them on parchment paper is a good idea, so you can freeze them for a while. The advantage of freezing the buttercream flowers is that you can move them around. Hence, you can place them on the cake and change your mind as many times as you want. Additionally, you can also make them in advance and freeze the flowers for up to a month or more. As a result, you are taking away the stress of last-minute piping.
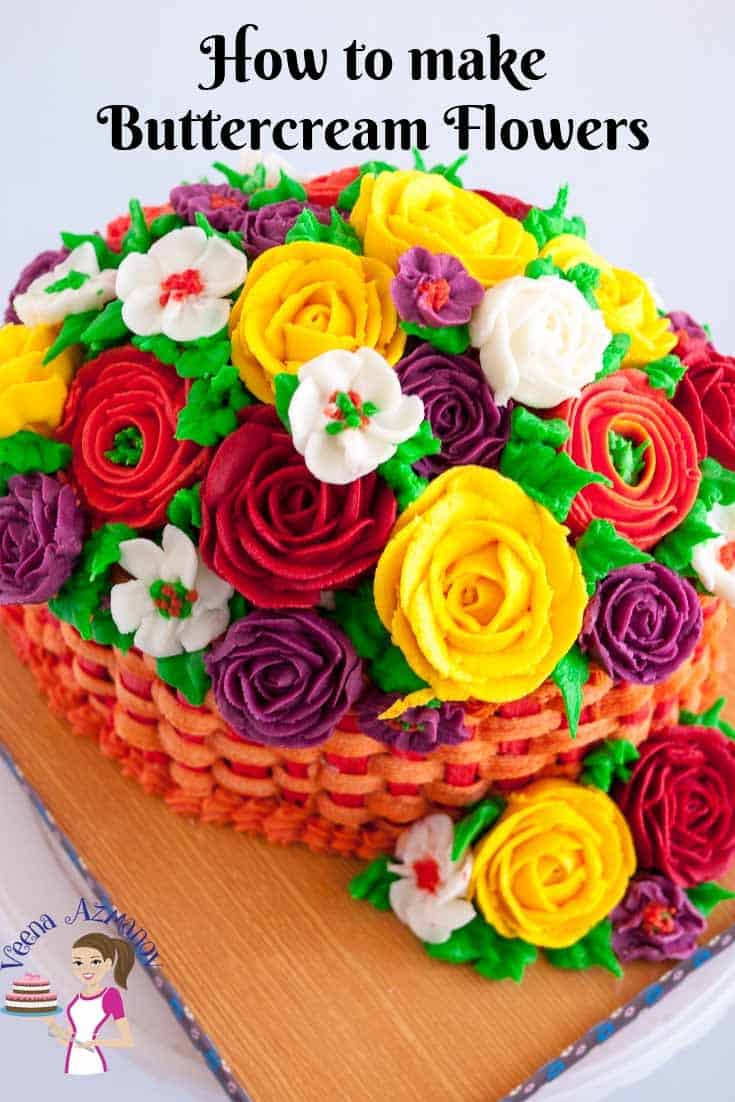
How to pipe buttercream blossoms – Icing flowers
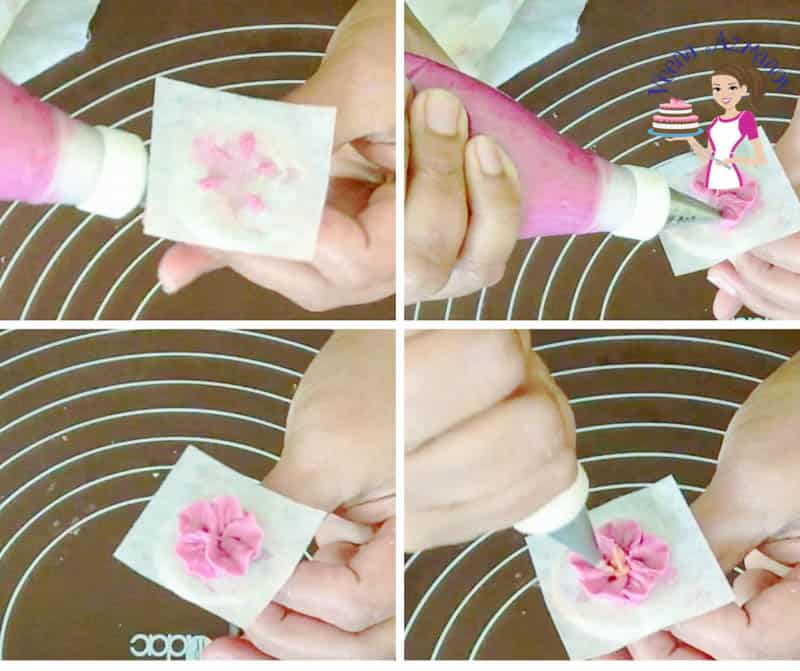
First of all, color the buttercream frosting to the colors you need. Use a Wilton tip 104 for the blossoms, also called a rose petal tip. Place a square of parchment paper on a flower nail. Using the piping tip, map out the five or four petals. Hold the piping bag at a 45-degree angle to create a petal, as shown in the video. Start with the first petal and turn a nail between your fingers as you pipe five petals, coming back to the first. Make small dots in the center with a different color using a number 3 round tip.
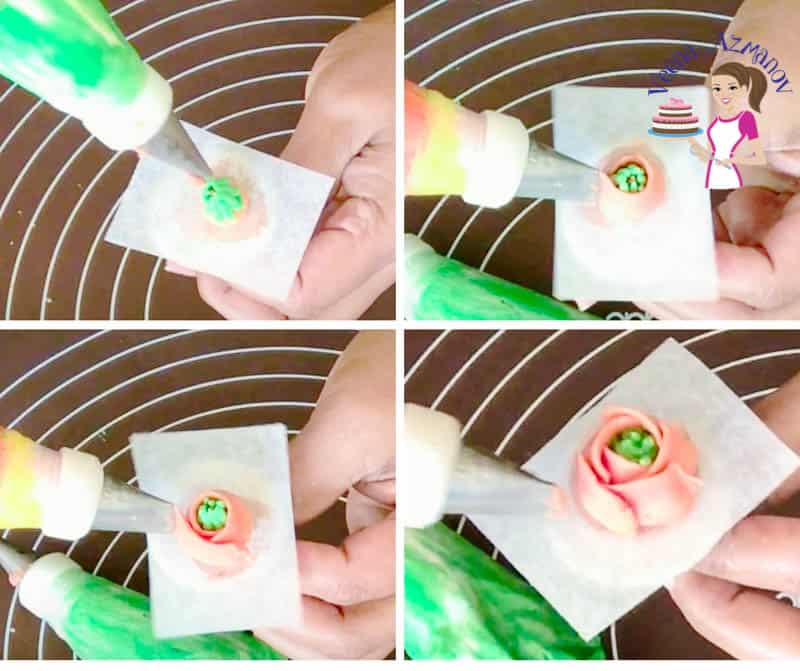
How to pipe buttercream ranunculus
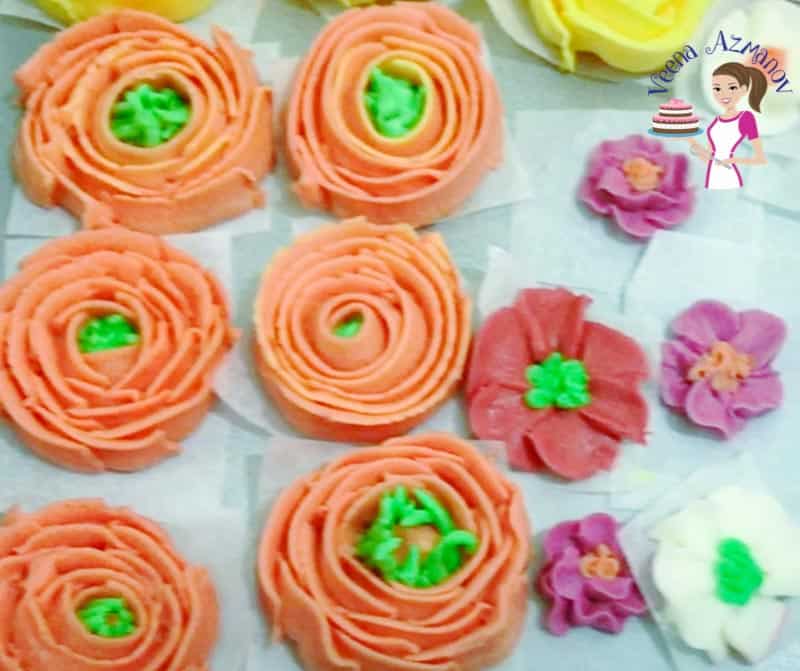
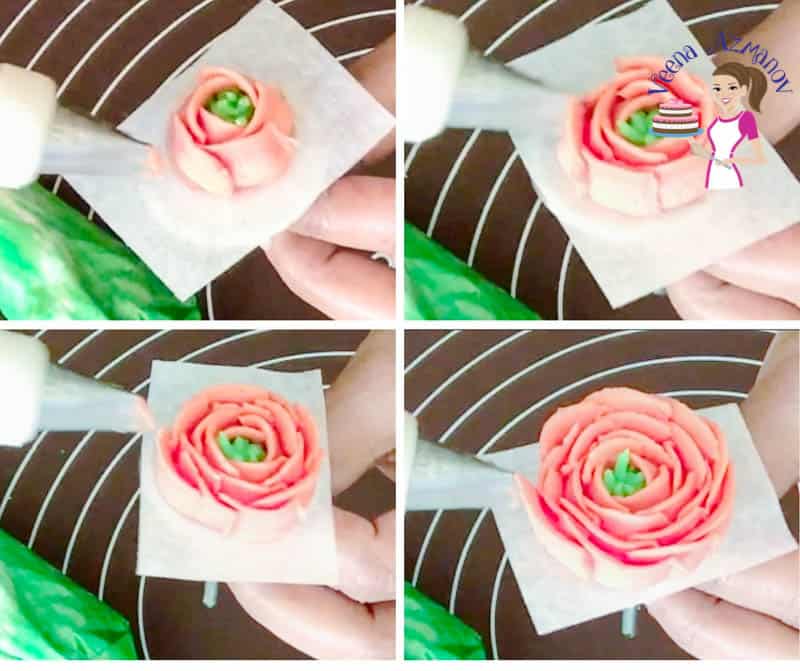
Choose the color you want for the Ranunculus, including the yellow or green for the center. Use a piping tip Wilton 104 for the petals of the flower. And a small round Wilton number 3 piping tip with green buttercream for the center. Place a square parchment disc on a flower nail using a dab of buttercream. Pipe a small blob of buttercream on the parchment paper and flatten it so you can pipe the center. For the center, pipe green peaks with green buttercream. Encase the center by piping around the petal (see video). Pipe small petals around the center until you reach the size of the flower you need.
Make different sizes – small, medium, and large- to create variations on the cake.
How to pipe buttercream roses
Use a Wilton top 104, also called a rose petal tip. Attach a square piece of parchment paper to the nail with a little dab of buttercream. Pipe a small buttercream cone with the rose petal tip or round tip, whichever is easier. Close that cone with another buttercream petal. Then, pipe smaller petals overlapping each other around that center. Continue piping petals until you create the size of the rose you want. Lastly, make different sizes – small, medium, and large- to create variations on the cake.
SAVE THIS RECIPE ON PINTEREST FOR LATER. TRIED MY RECIPE? SHARE IT WITH ME, PLEASE.Share a picture of your work with me by uploading an image here below my image on this board. You can also find a collection of my tutorials and recipes here on Pinterest. Thank you for sharing - Save for later