Are you tired of lackluster desserts that don’t quite look or taste the way you want them to? Maybe it’s time to add a little glaze to your baking game. Specifically, clear neutral glaze. While it may sound intimidating, mastering this technique can take your desserts to the next level. In this ultimate guide, we’ll break down all the steps you need to follow, from choosing the right gelatin to troubleshooting common problems. Plus, we’ll give you creative ideas on how to use your glaze. By the end of this article, you’ll be ready to make picture-perfect desserts that taste as good as they look. So let’s dive in!,
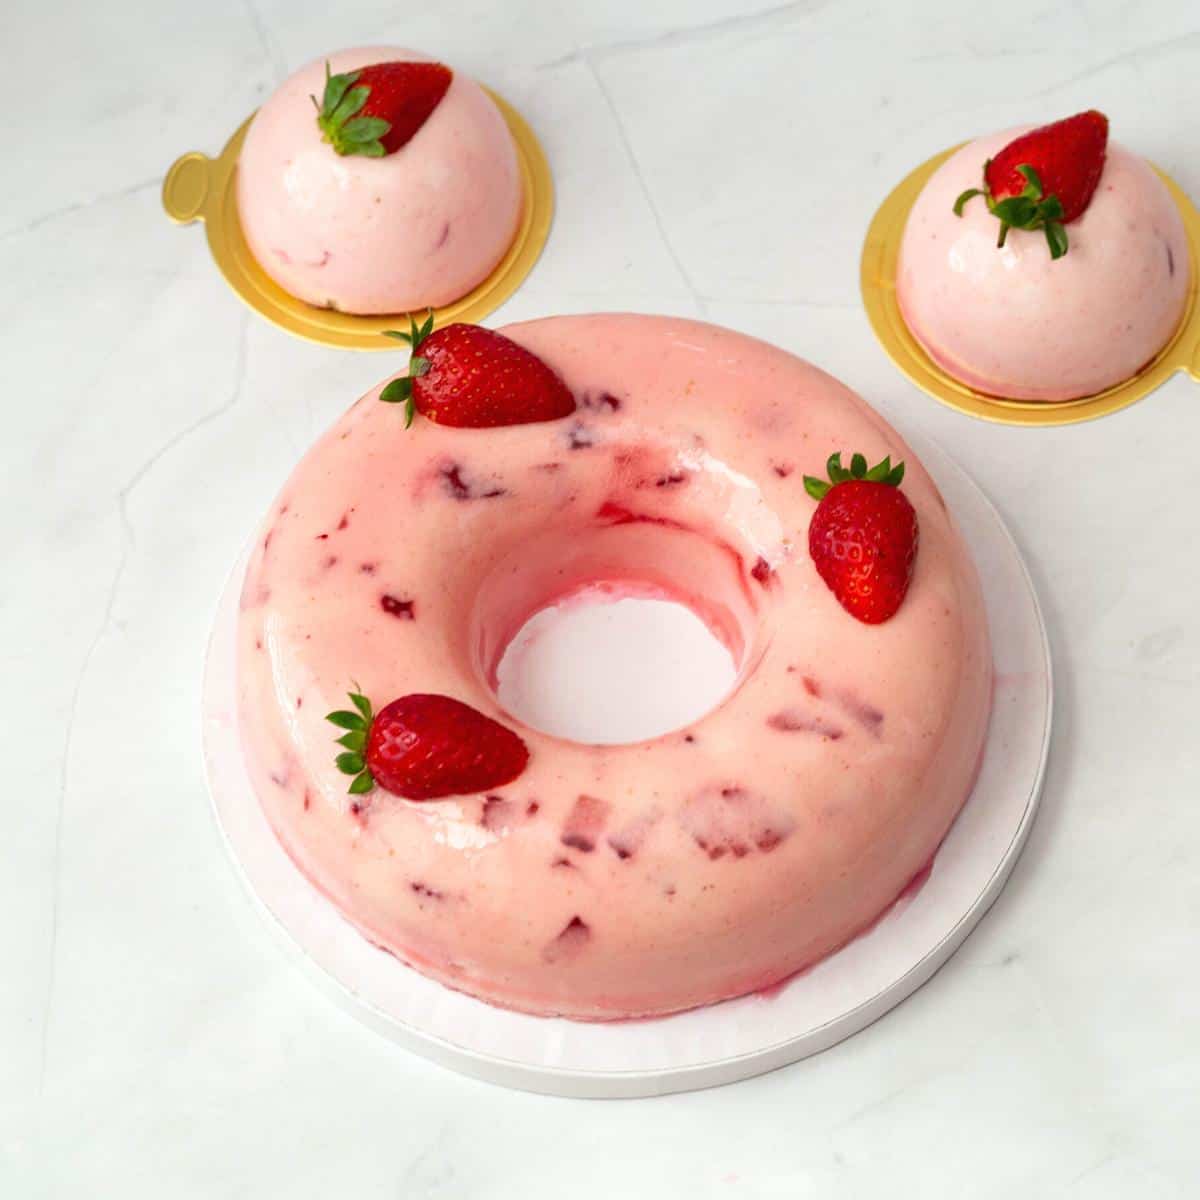
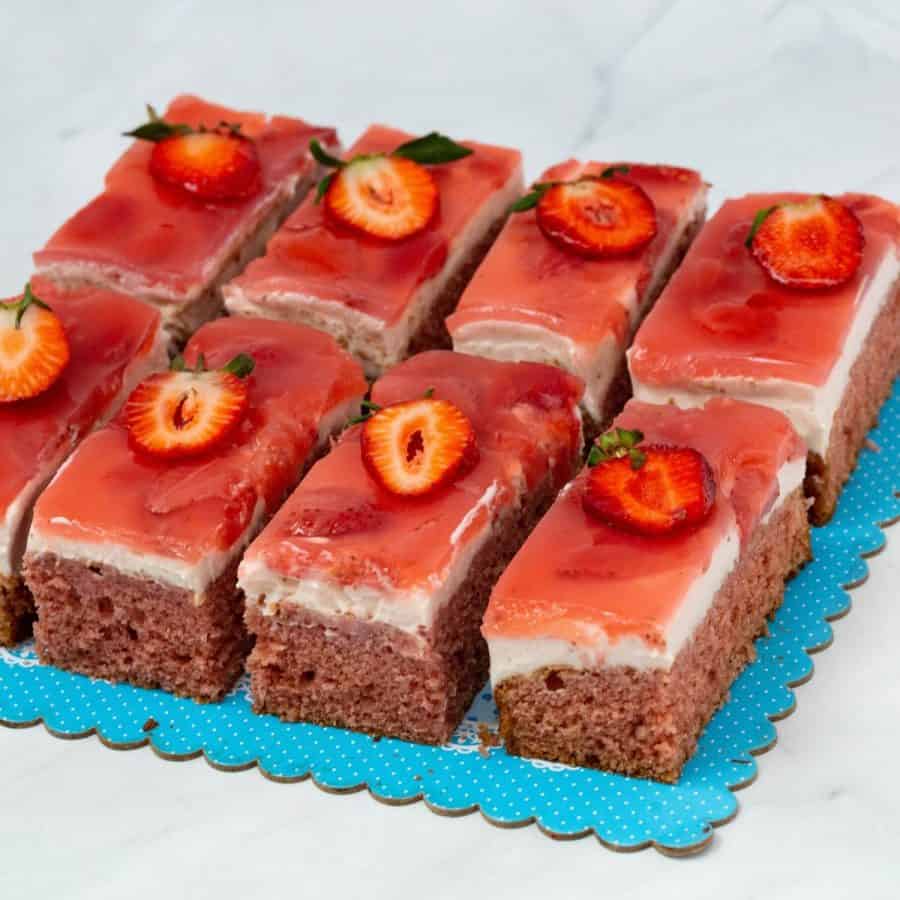
Cool – Let the glaze mixture cool slightly at room temperature. Once the glaze has cooled down, it should be slightly thick but still pourable. The best temperature to use is 28 – 40℃Pro tip – If it has become too thick, gently warm it over low heat, stirring continuously until it reaches the desired consistency. Glaze – Pour the neutral gelatin glaze over your dessert, ensuring even coverage. You can use a spoon or a brush to spread the glaze evenly.Pro tip – You can also add food gel to dye the neutral glaze or add fruit puree to make a fruit-flavored glaze. Set – Allow the glaze to set at room temperature or place the dessert in the refrigerator to speed up the process. The glaze will solidify and create a glossy finish on your dessert.
Frequently asked questions
Did you LIKE this recipe? Save it for later. You can find my recipes on Pinterest. Follow me on Facebook, Twitter, and Instagram.Subscribe, and I’ll send you new recipes right to your inbox.
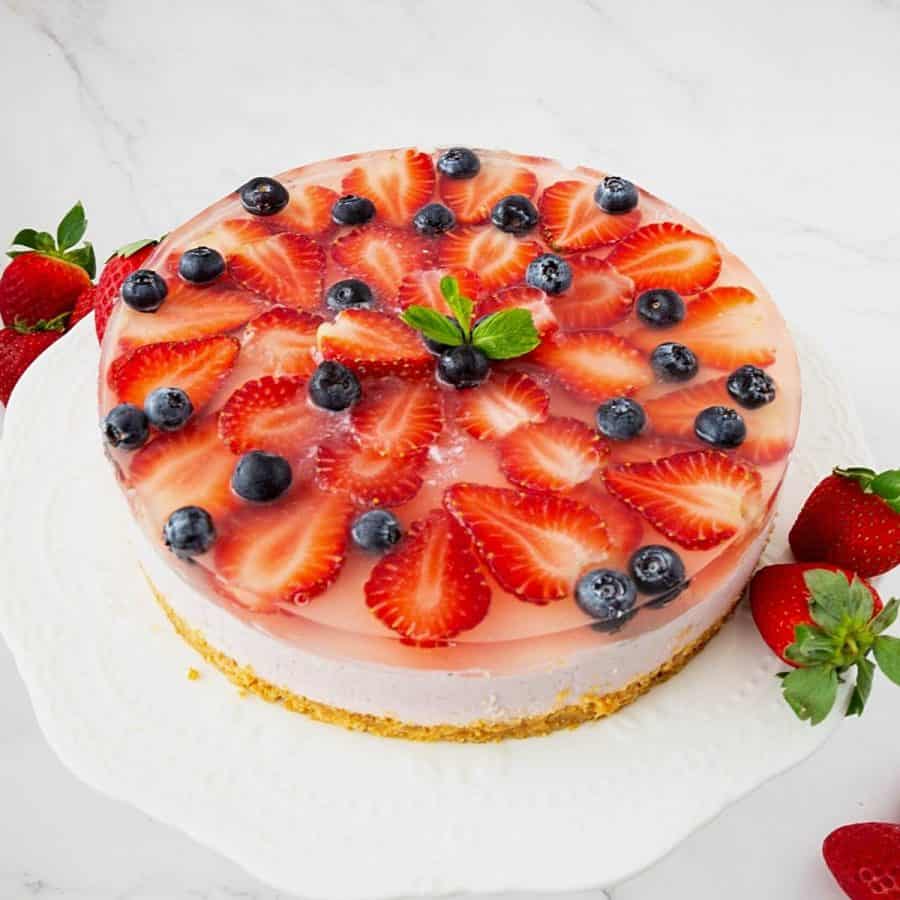
One popular type of glaze is the traditional sugar glaze. Made with powdered sugar and milk or water. This glaze is easy to make and adds a sweet, sugary finish to your cakes and cookies. It can also be flavored with extracts or citrus zest for an extra pop of flavor. Another option is the mirror glaze. As the name suggests, this glaze gives your desserts a reflective, mirror-like finish. It’s typically made with white chocolate, sweetened condensed milk, and gelatin. While it requires a bit more effort and skill, the result is stunning. For a healthier option, you can try using fruit glazes. Made with pureed fruit and either gelatin or cornstarch, these glazes add fruity flavor and a hint of sweetness to your desserts. No matter which type of glaze you choose, it’s important to choose the right one for your dessert. Consider the flavors and textures of your baked goods, and choose a glaze that complements them well. With a little bit of practice, you’ll be able to create beautiful, glossy finishes that will impress your guests.
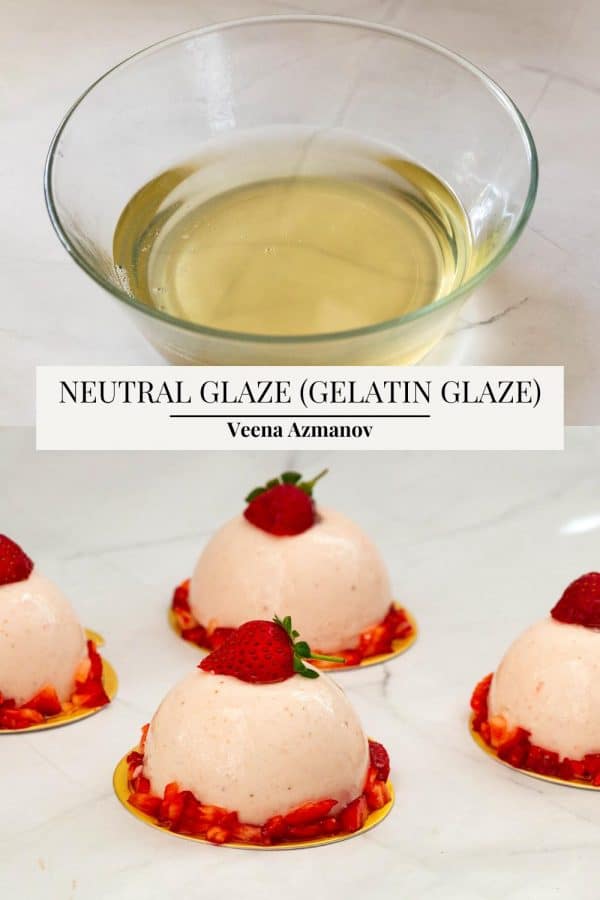
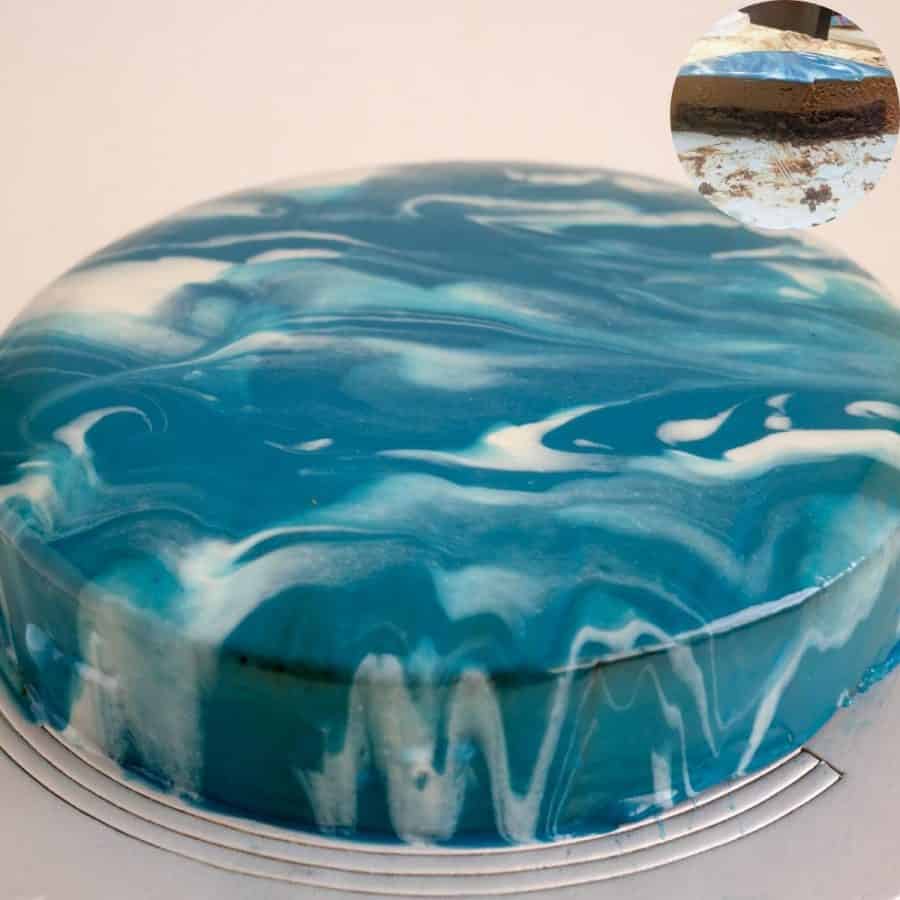
This type of glaze is also known as a mirror glaze because of its reflective qualities. We make it from a combination of gelatin, sugar, water, and a few other ingredients. Since it doesn’t have any added flavors, it is perfect for allowing the natural flavors of the dessert to shine through. Using a neutral glaze requires some expertise. That’s because it needs to be applied at the right temperature and consistency to achieve the desired effect. But, once you master the technique, you’ll be able to create a flawless mirror finish that will make your desserts look like they came straight out of a professional bakery.
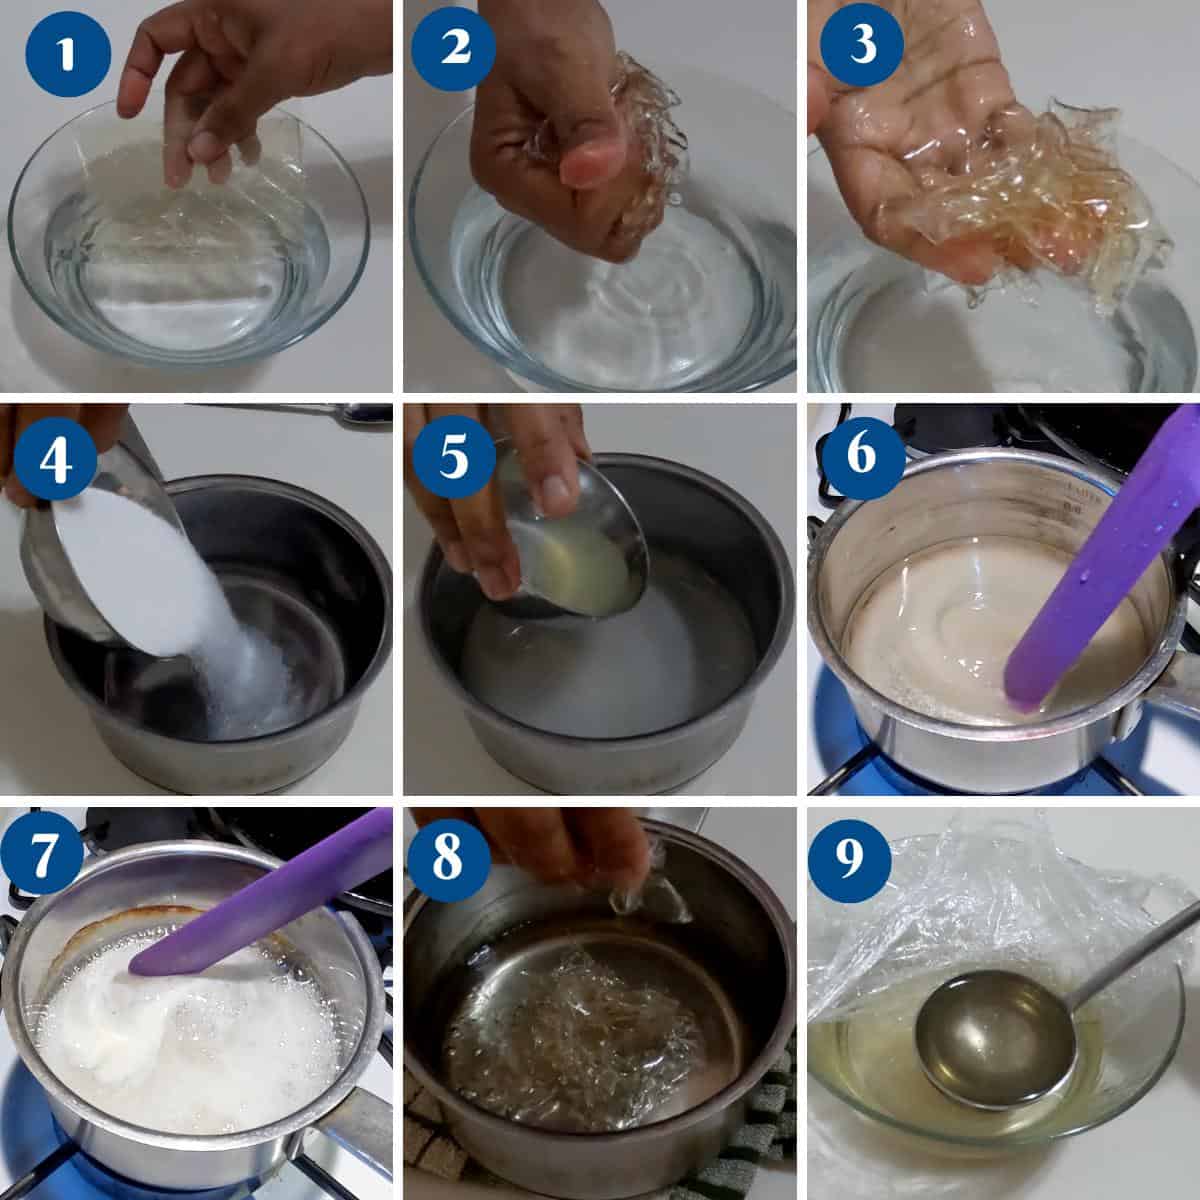
First, it’s important to thoroughly bloom the gelatin in cold water before adding it to hot liquid. This will give it a smoother texture and better consistency in the final glaze. Additionally, when adding the hot liquid to the bloomed gelatin, it’s best to do so gradually, whisking constantly to prevent clumps. And once the glaze is ready, be sure to strain it through a fine-mesh sieve to ensure a smooth, even finish on your desserts.
By following these tips, you’ll be well on your way to creating a picture-perfect neutral gelatin glaze.
One common problem is the gelatin not dissolving completely, resulting in a lumpy texture. To avoid this, make sure you bloom your gelatin in cold water first and then add hot liquid gradually while whisking constantly. Another issue could be air bubbles forming in the glaze, which can create an uneven finish on your desserts. To avoid this, tap the container on a flat surface a few times to release any trapped air before pouring the glaze onto your desserts. Lastly, if your glaze is too thick or too thin, you can adjust the consistency by adding more liquid or more gelatin accordingly. Keep in mind that the glaze will thicken as it cools, so it’s best to adjust the consistency while it’s still warm.
Thank you for sharing - Save for later