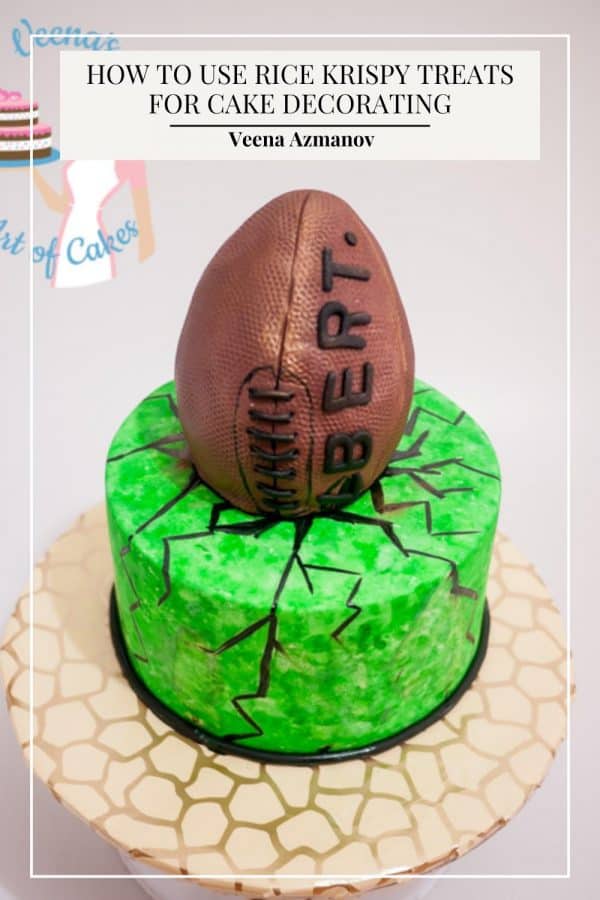
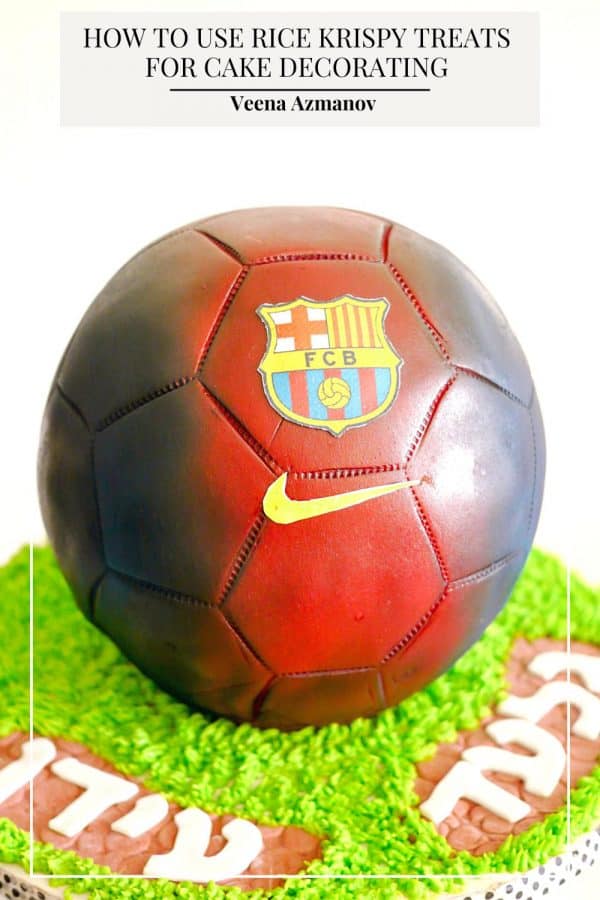
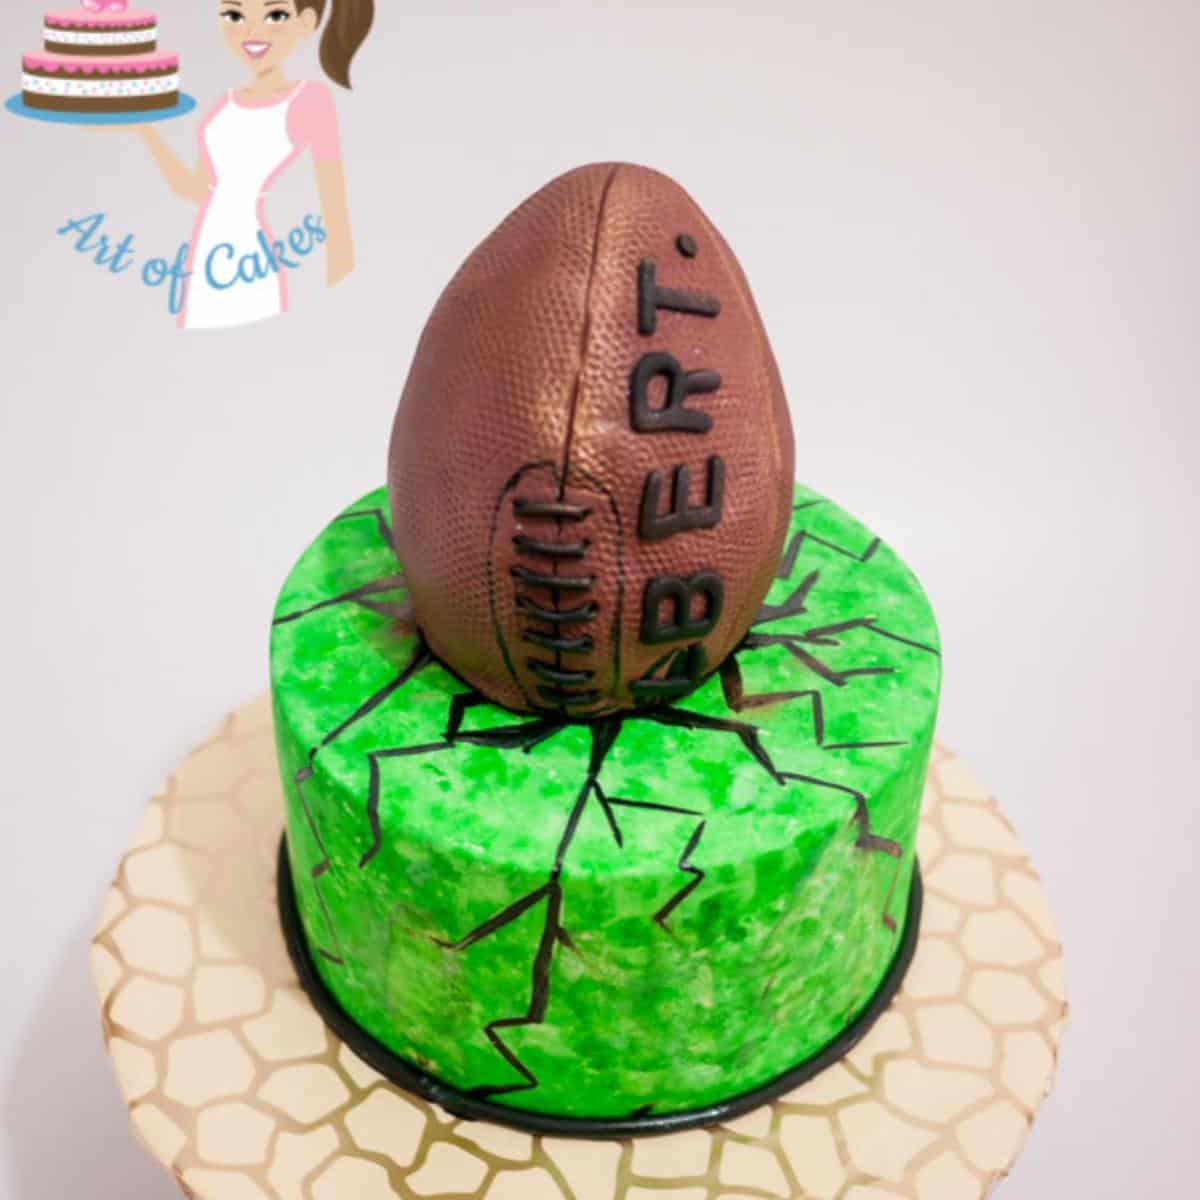
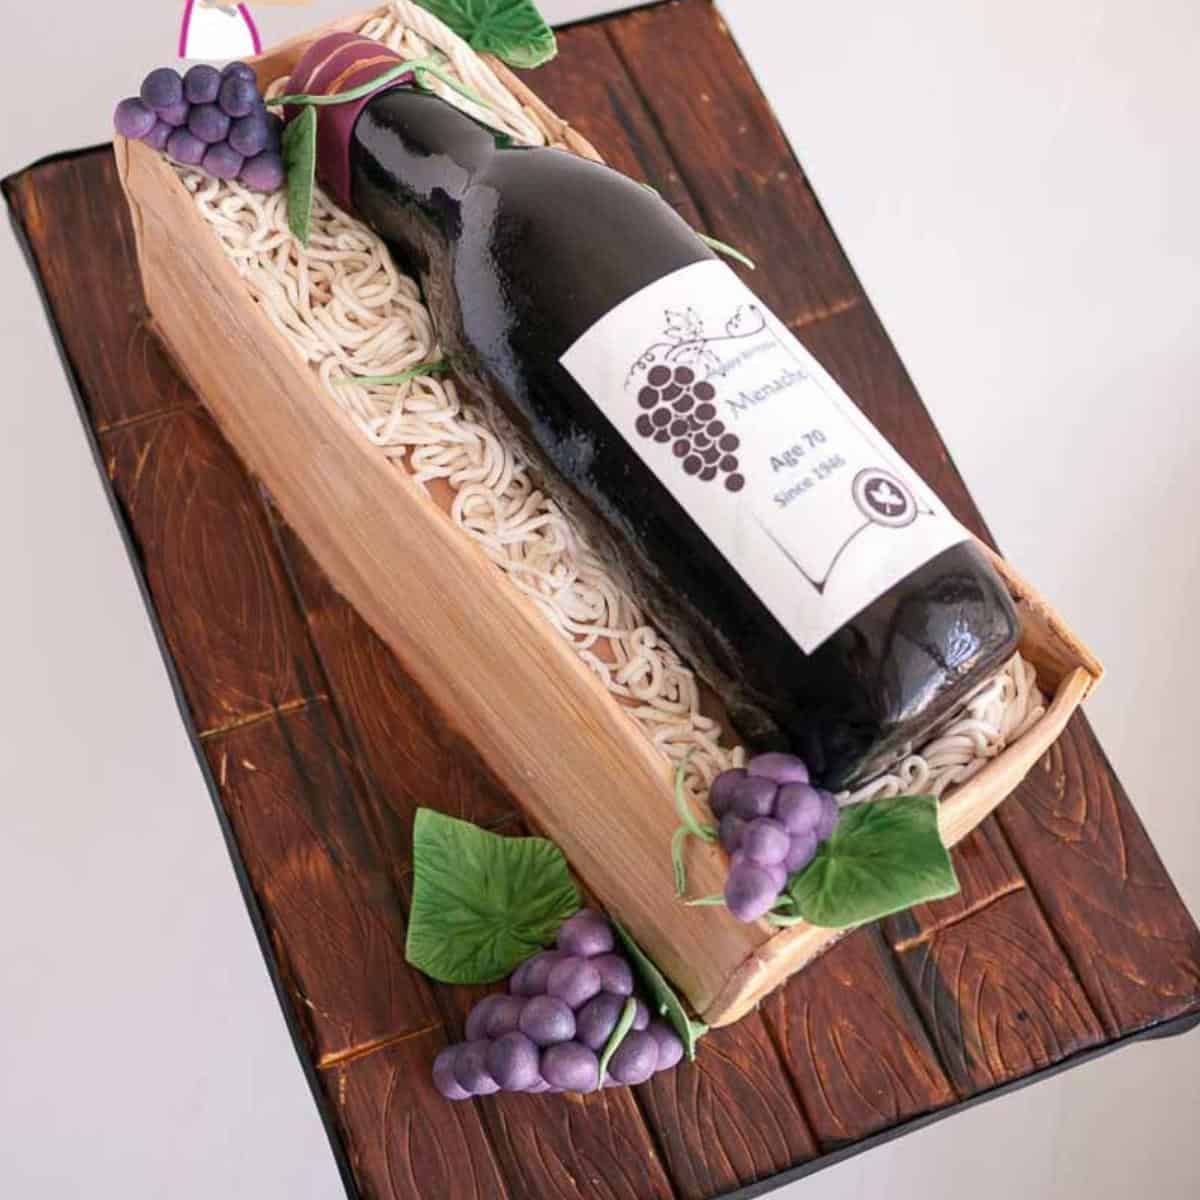
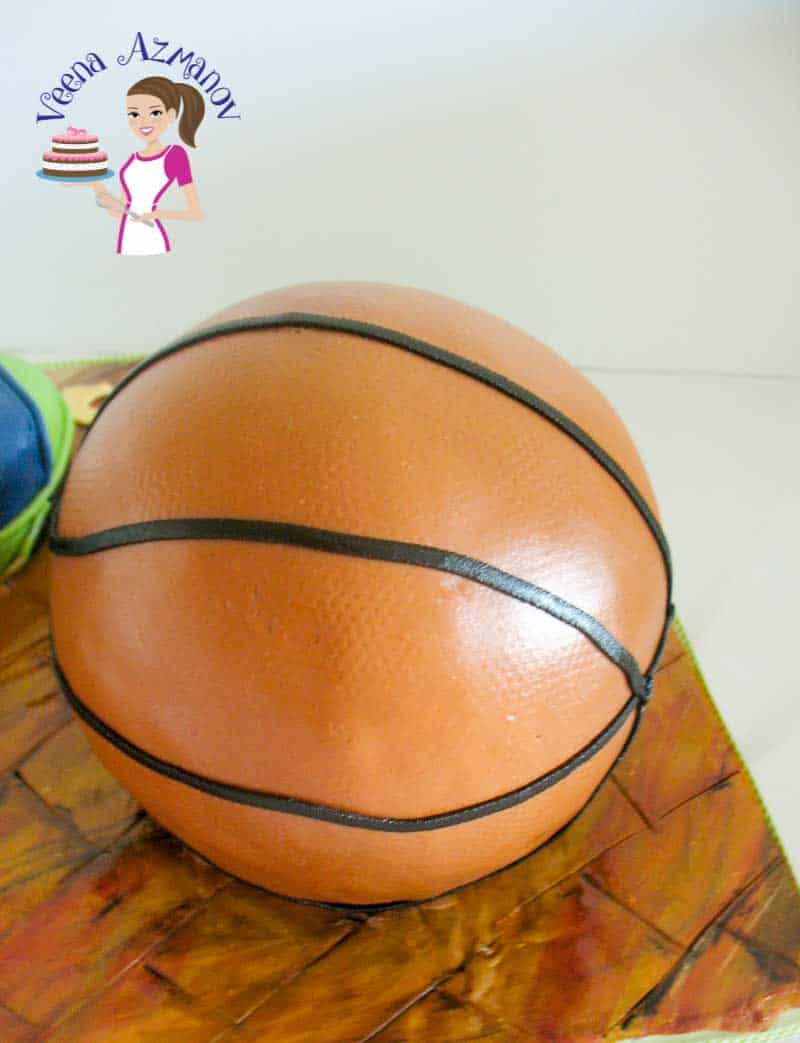
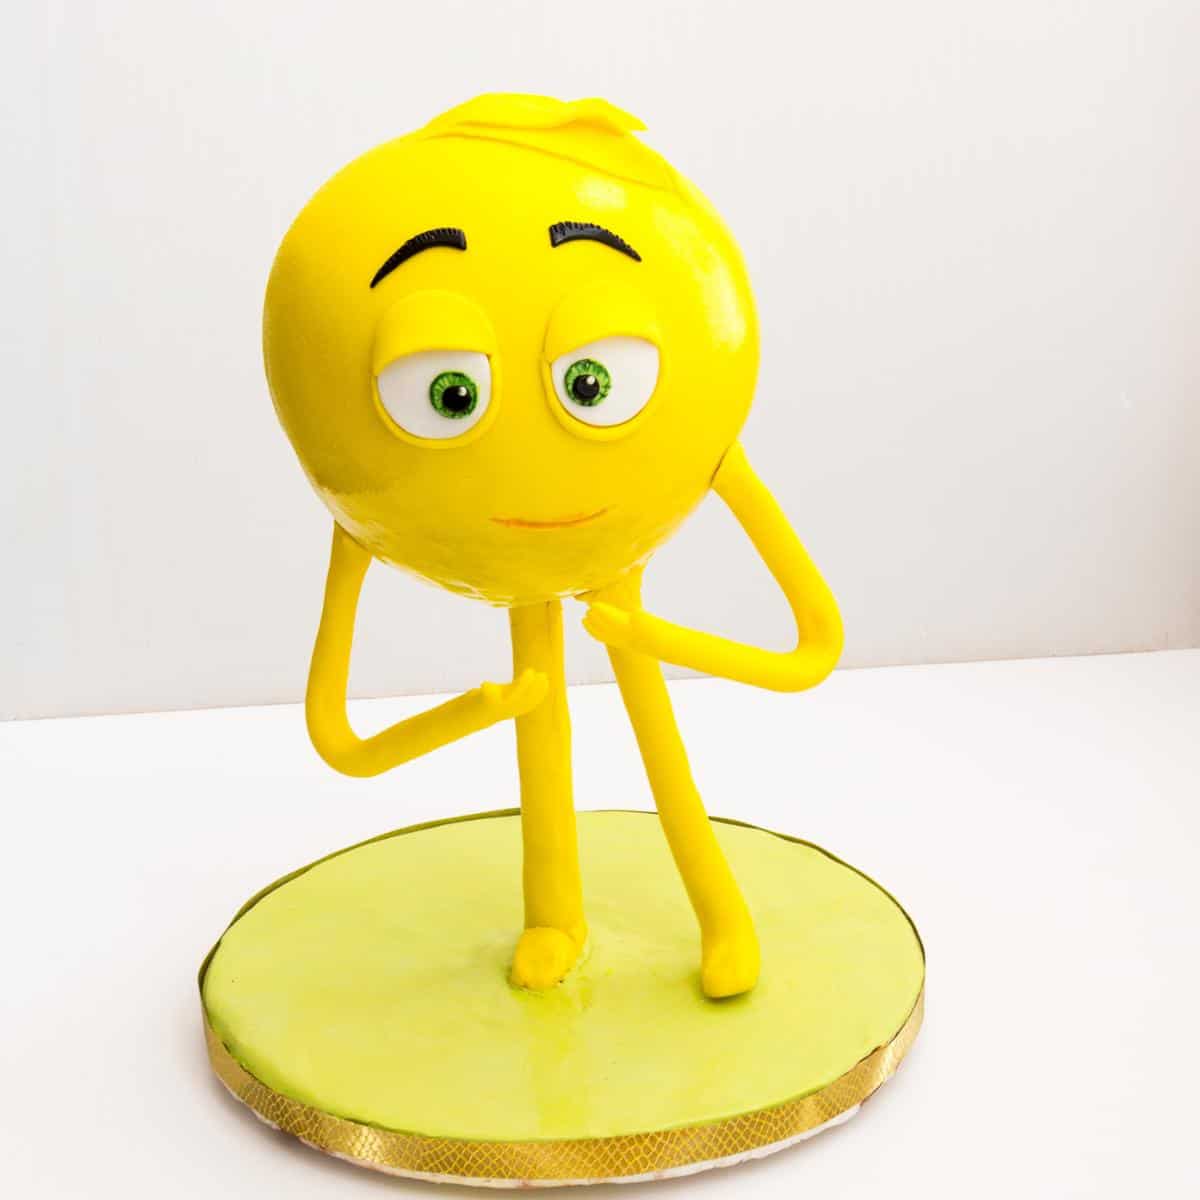
Ever wonder how they make a full sphere cake? Are you looking for a fun and creative way to spice up your cakes? Consider using one of the world’s favorite treats – Rice Krispy treats! With a little imagination and some artistic flair, you can transform these tasty treats into beautiful cake decorations that are sure to impress your friends and family. In this article, you’ll learn about the different techniques you can use to make your own Rice Krispy treats decorations and tips for creating professional-looking cake toppers. For some of us using Rice Krispy Treats on our cakes is not new. And yet, recently I’ve been getting a lot of questions regarding RKT. So I thought I’d share some more information with you about Rice Krispies treats in cake decorating. Why it’s used? When it’s used? And how to make it? The ice cream scoops on this ice cream sundae cake are made with RKT. Those scoops in a cake? Nah!! A big mess – but RKT – works like magic. You can see the tutorial in detail here – Ice-Cream Sundae Cake Tutorial. Overall, Rice Krispy treats offer creativity, stability, and taste when used in cake decorating. They can add a touch of fun and uniqueness to your cakes, making them an excellent choice for both professional bakers and hobbyists. The neck of a wine bottle cake is very thin to use cake (I used cake – see video) but it would be a lot easier and more durable to use RKT instead. The bottom 1/3 of this Barcelona ball can be made with rice crispy treats or foam ball. The bottom of this emoji cake below the cake board can be made with rice crispy treats or foam.
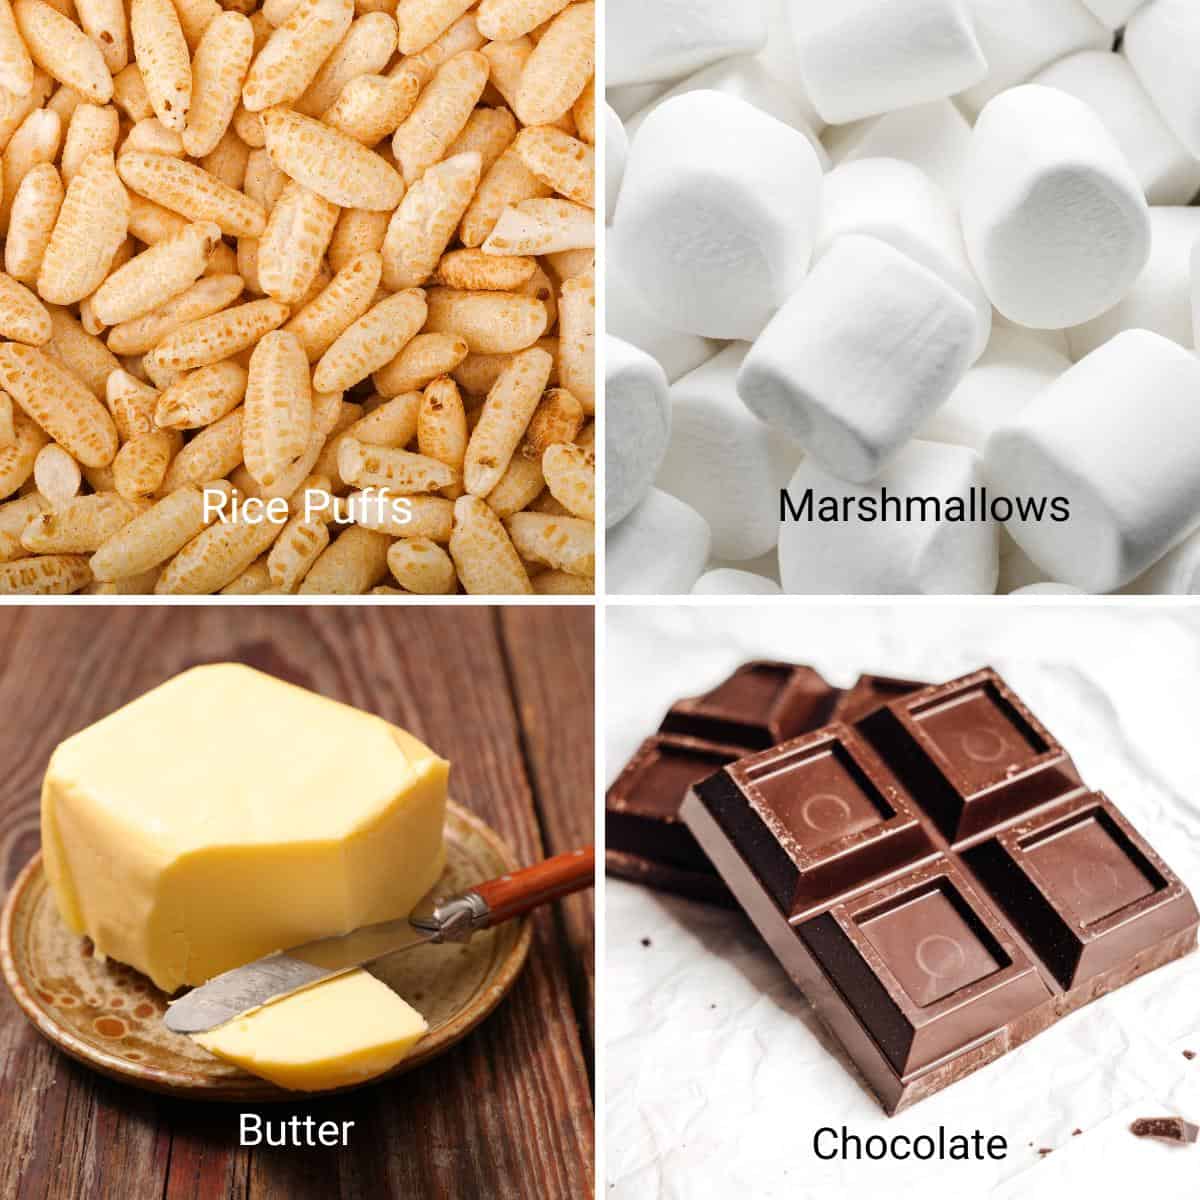
Use fresh marshmallows: Fresh marshmallows will melt more efficiently and provide a better texture to your treats. Make sure the marshmallows are soft and not stale for the best results. Melt the marshmallows slowly: When melting them, use low heat and stir constantly to prevent them from burning or sticking to the pan. A non-stick saucepan works well for this. Add the cereal gradually: Add the Rice Krispies cereal to the melted marshmallows, stirring gently. This ensures that all the cereal gets coated with the marshmallow mixture and avoids crushing the cereal too much. You can use a large enough mixing bowl: You can use a large mixing bowl to give yourself plenty of space to stir the marshmallow and cereal mixture. This makes it easier to combine everything evenly. Grease your hands or spatula: To prevent the sticky mixture from sticking to your hands or spatula, lightly grease them with butter, cooking spray, or oil. This will make pressing the mixture into the pan easier or shaping it for cake decorating. Press firmly: When transferring the mixture to the pan or shaping it, use a greased spatula or your hands to press it down firmly. Applying even pressure ensures that the treats stick together well and hold their shape. Let them cool: Allow the Rice Krispy treats to cool completely at room temperature before cutting them. This will give them time to set and firm up. You can speed up the process by placing them in the refrigerator for a shorter cooling time. Store properly: To maintain their freshness and texture, store the Rice Krispy treats in an airtight container or wrap them individually in plastic wrap. They can be stored at room temperature for 3-4 days. Get creative with additions: Rice Krispy treats can be customized by adding various mix-ins to the basic recipe. Mix in chocolate chips, sprinkles, chopped nuts, or dried fruits to add extra flavor and texture. Remember, Rice Krispy treats are pretty forgiving, so don’t be afraid to experiment and make them your own. Enjoy the process and have fun creating these delicious treats!
Remember to have fun and be creative with your Rice Krispy treat decorations. Feel free to experiment and try different techniques to achieve the desired shapes for your cake decorating projects. Did you LIKE this recipe? Save it for later. You can find my recipes on Pinterest. Follow me on Facebook, Twitter, and Instagram.Subscribe, and I’ll send you new recipes right to your inbox. Thank you for sharing - Save for later