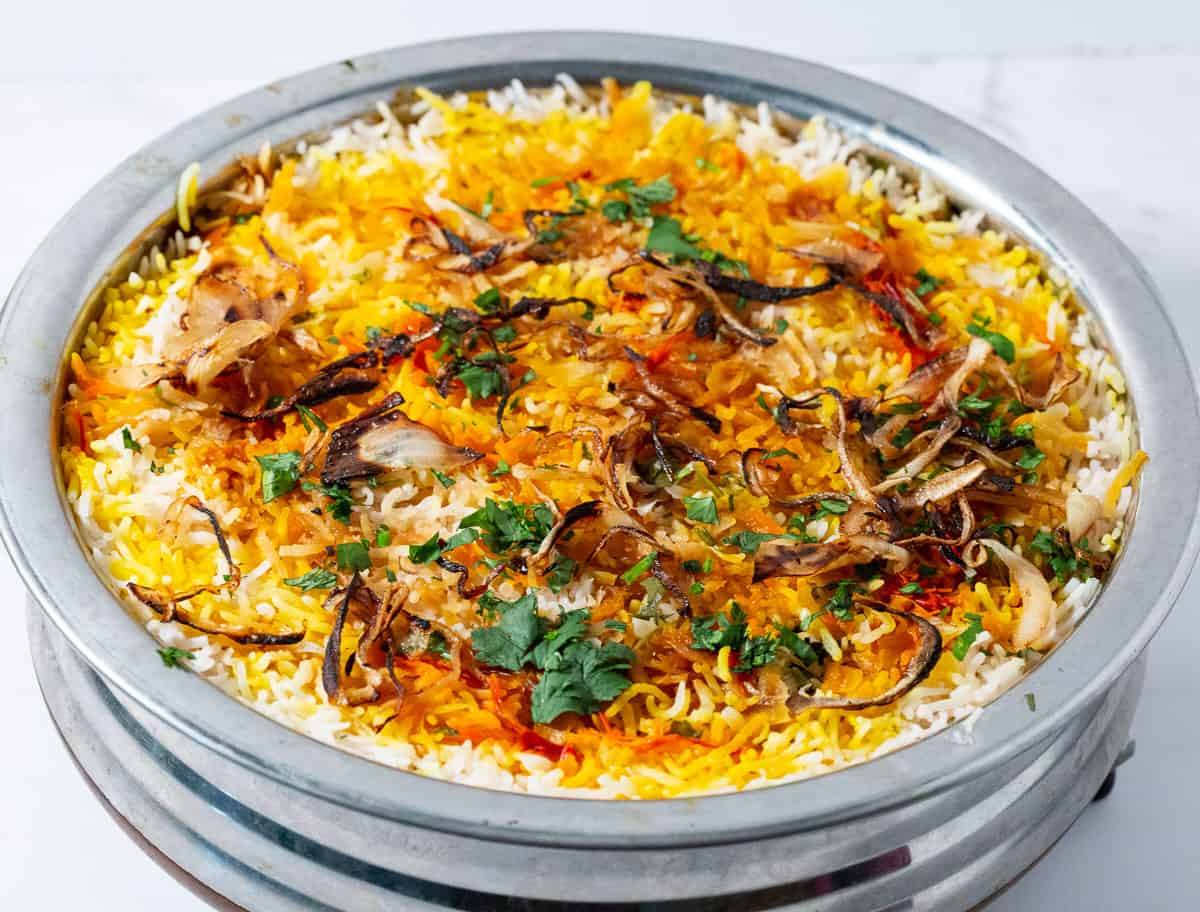
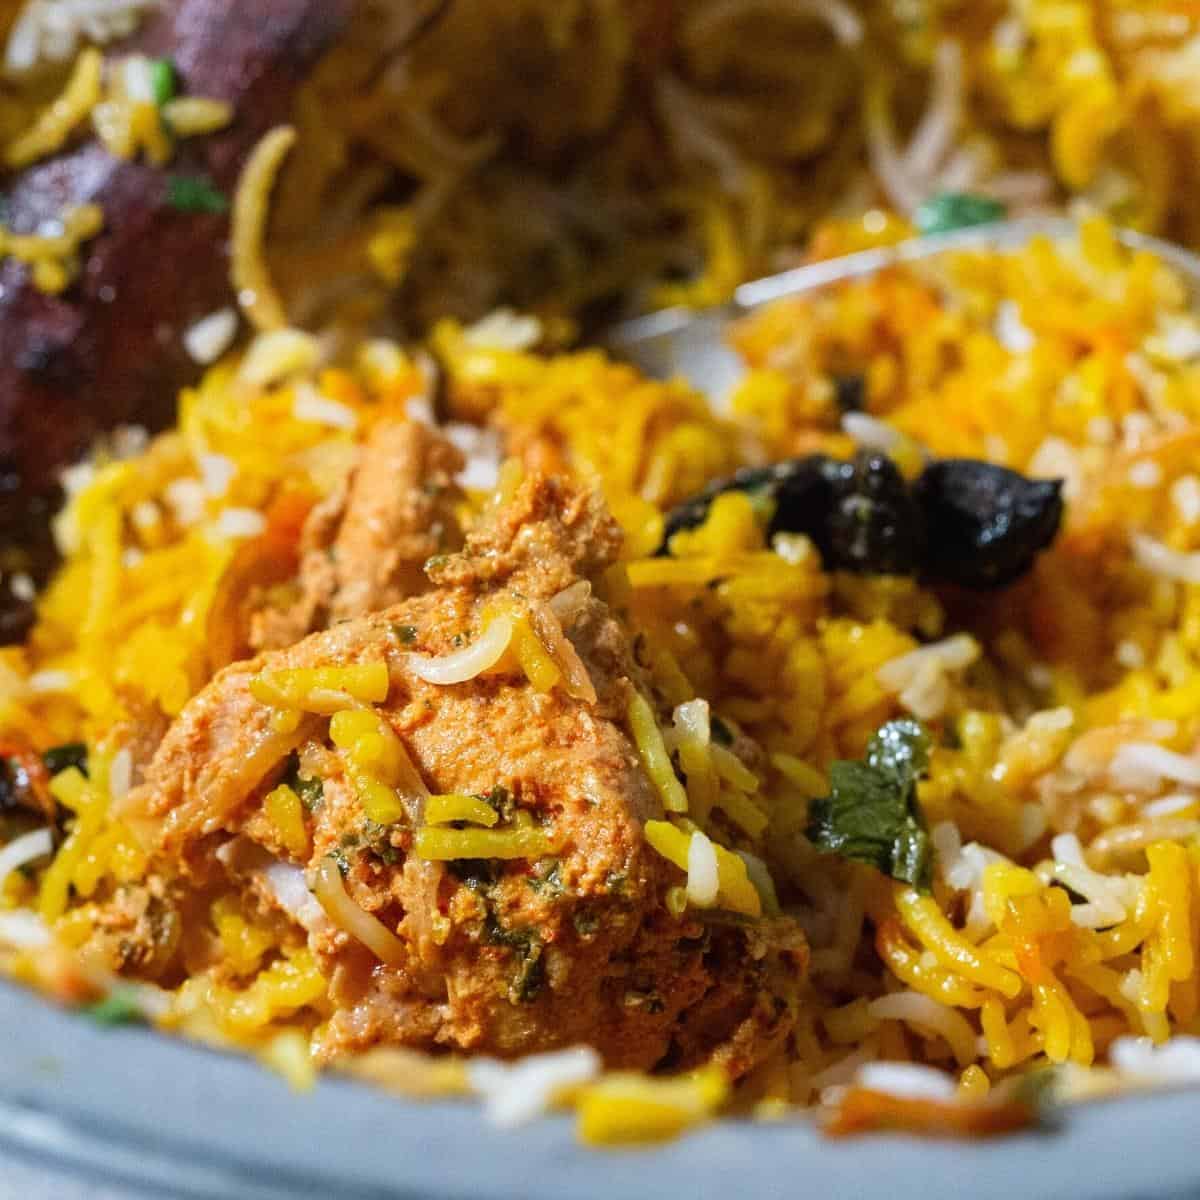
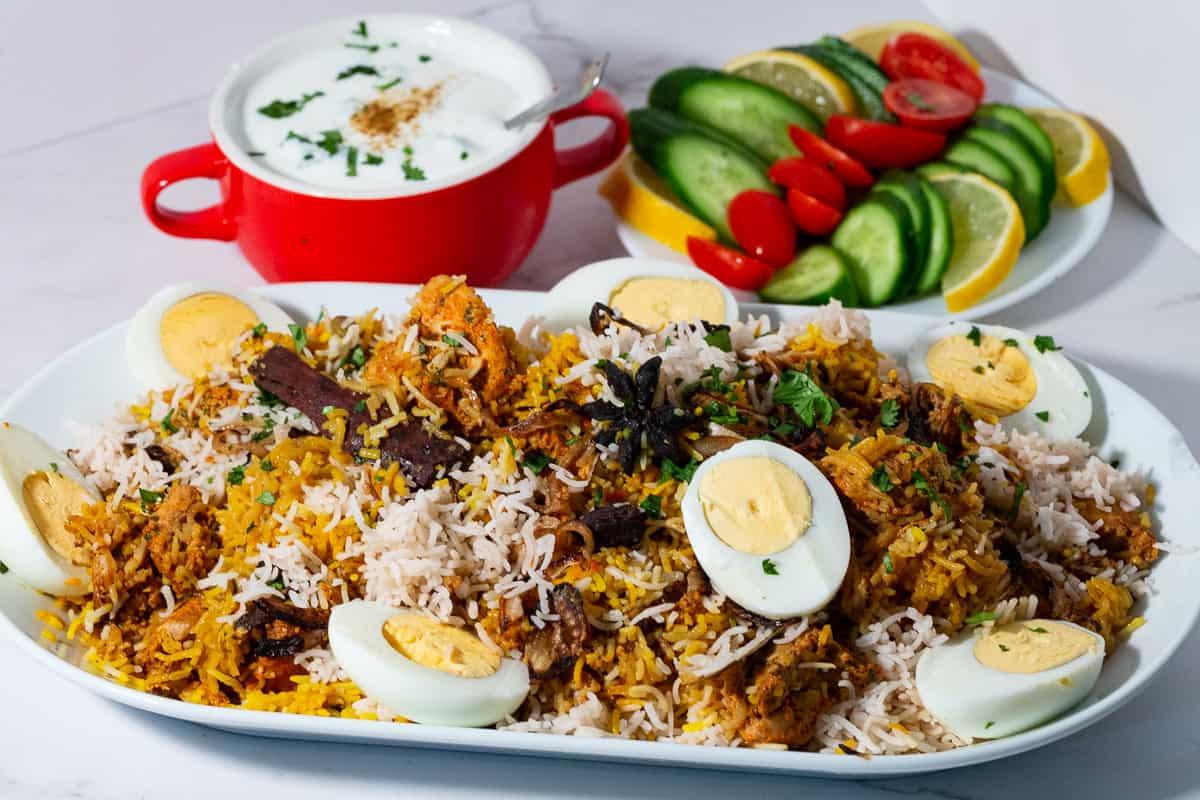
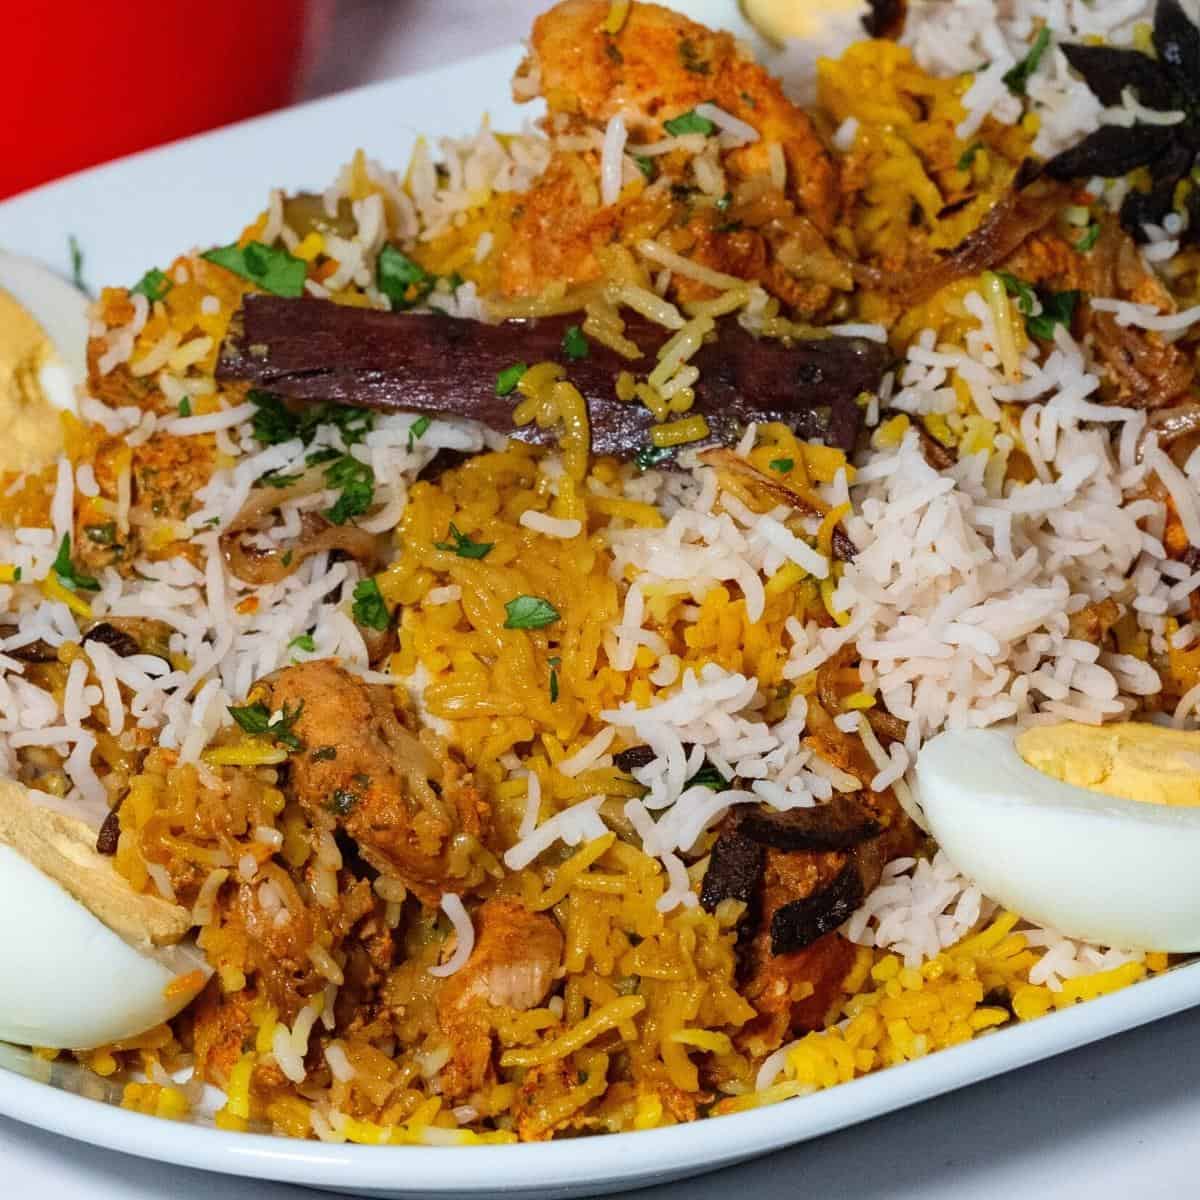
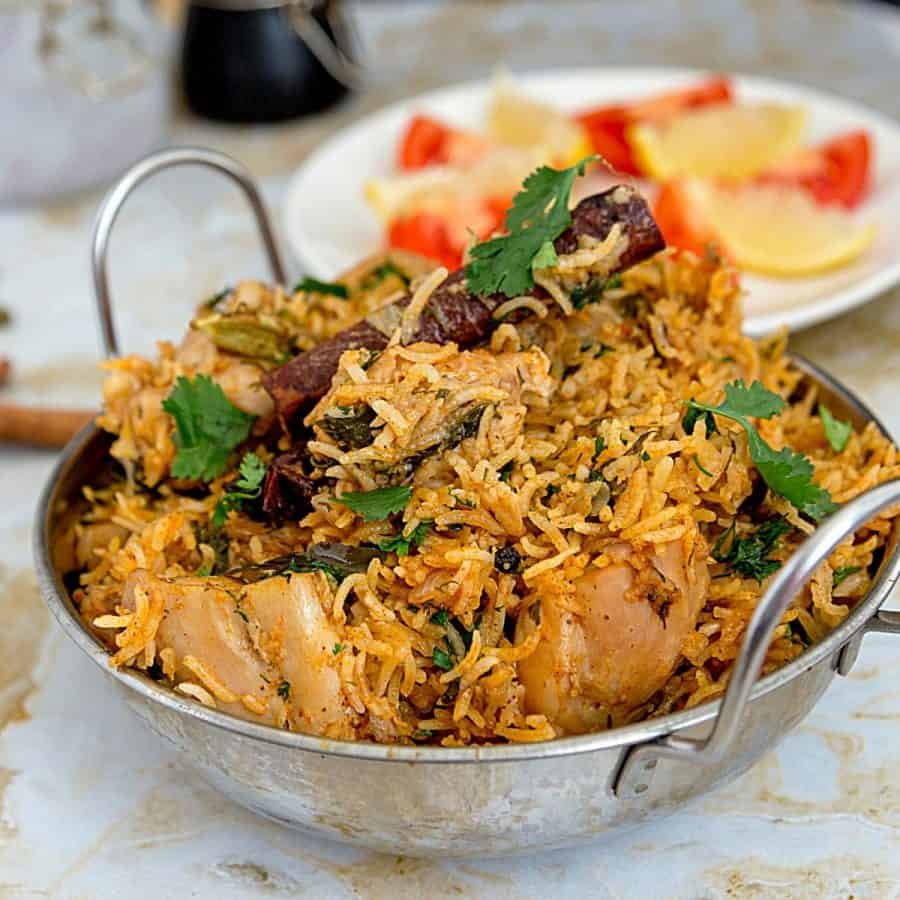
Biryani is a legendary dish that represents the rich tapestry of Indian cuisine. It’s a fragrant, spiced rice dish typically made with basmati rice, meat (such as chicken, beef, lamb, fish, or vegetables), and a blend of aromatic spices. The dish is often layered with marinated meat and partially cooked rice, then slow-cooked to perfection, allowing the flavors to meld together in a delightful harmony. Originating from the Indian subcontinent, biryani has become a beloved dish across the world, known for its complex flavors and aromatic allure. Biryani comes in various regional variations, each with its own unique flavor profile and cooking technique. The term Dum refers to the slow cooking method where the pot is tightly sealed (traditionally with dough) to trap the steam inside. This process, known as ‘Dum Pukht,’ allows the ingredients to cook in their own juices, resulting in a tender, flavorful dish where the meat and rice absorb the rich spices and aromas. The ‘Dum’ method is integral to Hyderabadi Biryani, ensuring that each bite is a perfect blend of textures and flavors. Hyderabadi Dum Chicken Biryani is celebrated for its intense flavors and meticulous cooking technique. The chicken is marinated in a medley of spices, yogurt, and herbs, then layered with partially cooked basmati rice. The layers are infused with saffron milk, ghee, and fresh herbs, before being sealed and cooked on low heat. This slow cooking process allows the spices to permeate every grain of rice and every piece of chicken, creating a dish that is both aromatic and deeply satisfying. The use of the ‘Dum’ method in Hyderabadi Biryani is what gives it its characteristic depth of flavor, making it a dish that is truly special and loved by food enthusiasts around the world.
Step-by-step: Hyderabad Dum chicken biryani
Prepare – mise en place
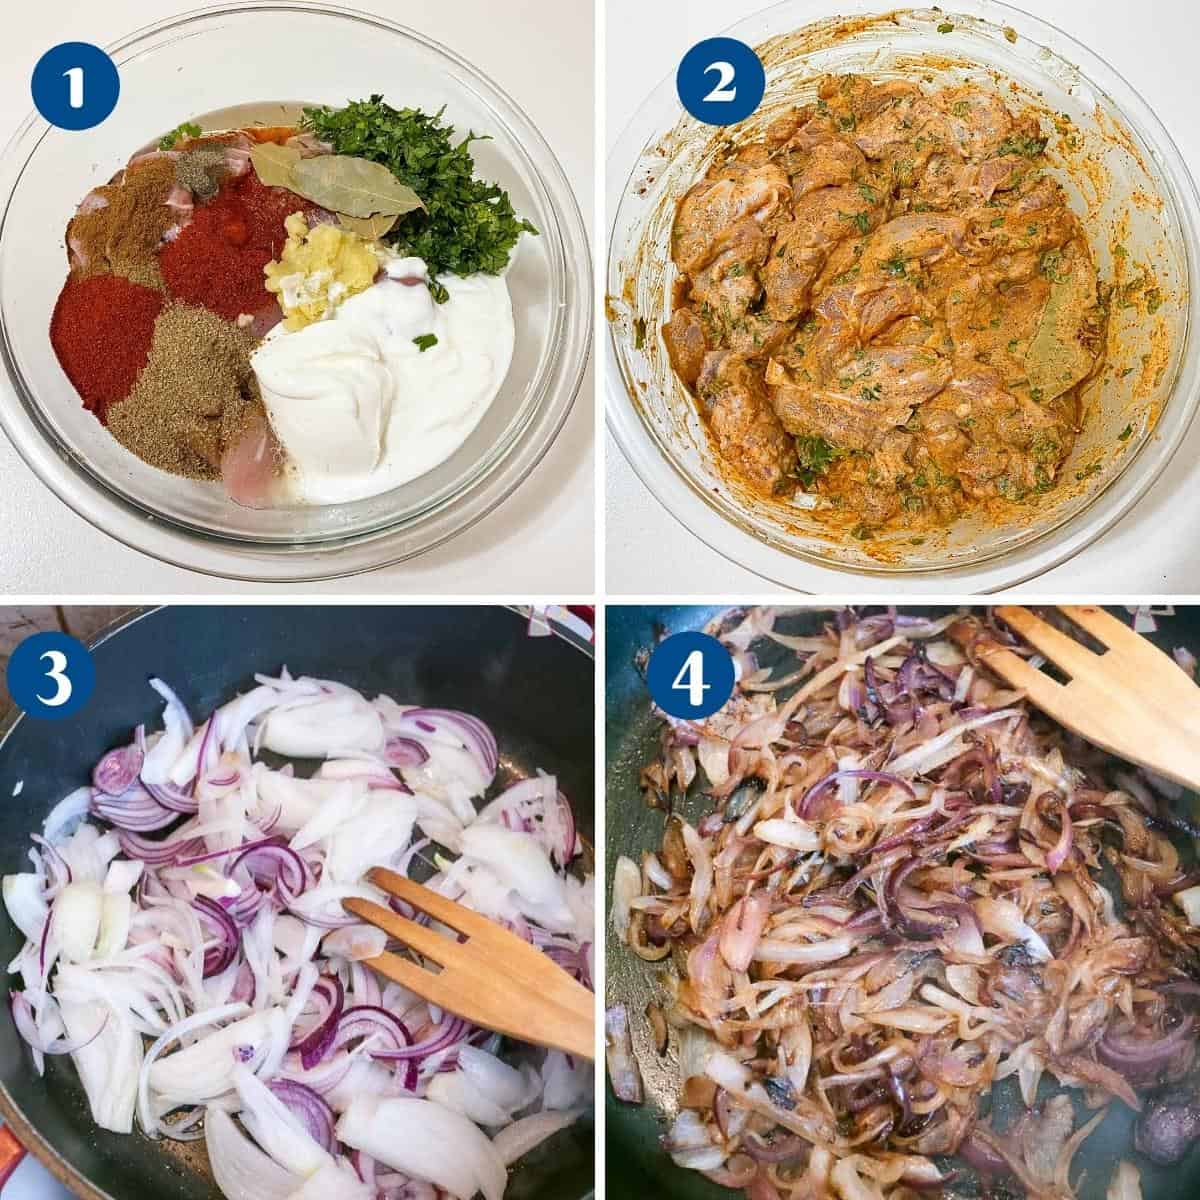
Saute Onions – In a saute pan add 2 tbsp cooking ghee, saute the sliced onions with a pinch of salt until caramelized and golden brown. The onions will take about 10 to 15 minutes. Add half the onions to the marinated meat and use the rest to sprinkle between the layers of rice and top of the finished biryani.Alternatively, you can deep fry the onions in oil until they are golden brown. Drain on a paper towel. Herbs – Chop the herbs and divide them. Add half to the marinated meat and keep the rest to sprinkle between the layers of rice and top of the finished biryani – set aside Saffron – Soak the saffron in the milk and let it steep for 10 minutes to 3 hours – set aside. The longer the saffron steeps the deeper the color of the saffron. Rosewater – Have the rose water measured and ready to use. Set aside
Step One – Marinate Chicken
In a large marinade-safe bowl add all the marinade ingredients. Yogurt, ginger garlic, spices, lemon juice, oil, bay leaves, salt, pepper, etc. Then, add the chicken pieces and combine well. Cover and leave to marinate for an hour on the counter or overnight for up to 12 hours in the fridge.Pro tip – Always use a marinade safe bowl such as glass or plastic, not metal. Metals like aluminum can react with the acid in the recipe causing it to discolor food and give it a bad taste.
Step Two – Partially cook rice
Rinse – Measure the rice in a large bowl. Fill with water at least 2 inches more than the rice. Swirl the water around and gently rub the rice with your hand. The water will become very cloudy. Drain the water and repeat the process at least 3 times more or until the water is clear. Drain well.Pro tip – Rinsing the rice will wash away the starch and reduce stickiness. However, if you purchase pre-washed rice you can skip the rising process. Soak – Place the rice in a large bowl and fill it with clean water, at least about 2 inches more than the rice. Leave to soak for 30 minutes. After 30 minutes, drain the rice and cook using your preferred method. Rice water – Simultaneously, place a large pot of water on the stove and add the spices. Let it simmer for 20 minutes – the color of the water will change because of the spices.Pro tip– You can tie the spices in cheesecloth before adding them to the pot. That way you can remove them once the rice is cooked. I prefer to keep them. Boil – To the water, add the salt, oil, lemon juice, and rice, stir and let boil. Cook rice for about 3 to 4 minutes until 70% cooked. Drain and set aside.Pro tip – We want the rice cooked only 70% as it will continue to cook with the steam over the chicken later. I like to drain my rice in a colander lined with cheesecloth.
Step Three – Layer and cook biryani
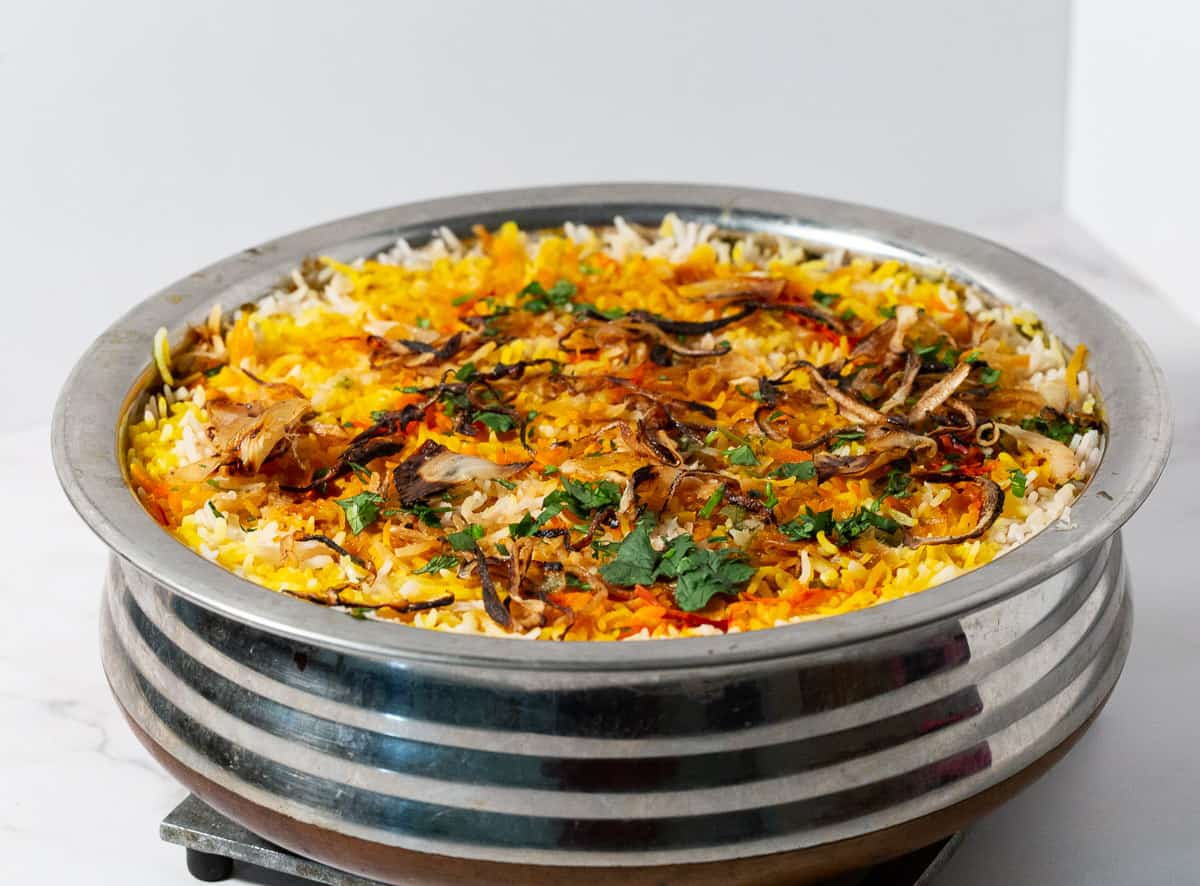
To the marinated chicken, add half the chopped herbs, half the caramelized onions, and oil. Then, spread the chicken into a wide heavy bottom pan or Dutch oven in an even layer.Pro tip – it is important that the meat is all in a single layer touching the bottom of the pan so it cooks evenly. Next spread half the rice over the chicken. Sprinkle the remaining herbs and onions over the rice. Drizzle half the saffron milk and rose water. Top with the remaining rice. Sprinkle with remaining saffron milk, ghee, and rose water. Seal the pot – Cover the pot with a lid make sure it is sealed well. You want all the stem to stay in.Pro tip – I use two sheets of aluminum foil one on the rice and the second on the lid. This ensures a good seal making sure all the dum/steam stays in.
Cook the chicken Biryani – 5 minutes on medium-high heat. This will get the chicken juices released – 10 minutes on medium-low heat. This will ensure the juices cook off without too much gravy – 15 minutes on low heat. This will ensure the chicken will not burn on the bottom.Pro tip– if you find that the heat is still not low enough, use a heat diffuser or heat tamper below the pot/skillet. When the cooking time is done. Don’t open the pot just yet – let the residue heat tenderize the chicken and absorb all the excess moisture for another 15 minutesPro tip – by the aroma, you will know the chicken biryani is cooked. Don’t be tempted to open it immediately. This resting time will make sure the steam stays in giving you a moist light and fluffy juicy biryani.
Tips for success
Choose Quality Basmati Rice: Use long-grain basmati rice for the best texture and aroma. Soak the rice for at least 30 minutes to help it cook evenly and achieve a fluffy, separate grain structure. Marinate for the Right Amount of Time: Allow the chicken to marinate for at least 2-4 hours, but overnight is best. This gives the chicken time to absorb all the spices, resulting in a deeply flavorful dish. Monitor the Rice Cooking: Cook the rice until it’s just 70% done. The grains should be slightly firm, as they will continue to cook during the Dum process. Overcooking the rice at this stage can lead to a mushy biryani. Seal the Pot Tightly: When cooking on Dum, ensure the pot is sealed tightly to trap the steam inside. This steam is crucial for cooking the chicken and rice evenly and for blending the flavors perfectly. If your lid isn’t tight enough, use a dough seal around the edge of the pot. Cook on Low Heat: The Dum process requires slow, even cooking on various heats. Place the pot on a tawa (griddle) to avoid direct heat that could burn the bottom layer. This method ensures the flavors meld together beautifully without overcooking any part. Rest the Biryani: After turning off the heat, let the biryani rest for 10 minutes before opening the lid. This resting period allows the steam to settle, making it easier to fluff the rice without breaking the grains. Don’t Skip the Fried Onions: Fried onions add sweetness and depth to the biryani. You can either make them at home or use store-bought ones, but they’re essential for the authentic taste. Use Fresh Herbs: Fresh coriander and mint leaves add a burst of freshness and are integral to the dish’s flavor profile. Add them generously in the layering process. Adjust Spice Levels to Taste: Taste the marinade before adding the chicken and adjust the spices to your liking. This ensures the final dish is perfectly suited to your palate. Serve with Accompaniments: Biryani is best served with cooling raita, a side salad, and boiled eggs or papad for a complete and satisfying meal.
Troubleshooting
Rice is Too Mushy: The rice was overcooked before layering or cooked for too long during the Dum process. Ensure the rice is only 70% cooked before layering. Use a timer when boiling the rice and check the texture frequently. During Dum cooking, keep the heat med-low to prevent overcooking. Chicken is Undercooked: The chicken pieces were too large, or the heat was too low during Dum cooking. Cut the chicken into medium-sized pieces to ensure even cooking. If the chicken is undercooked, you can continue to cook the biryani on low heat, but make sure the pot is sealed to prevent moisture loss. Burnt Bottom Layer: The heat was too high during the Dum process or the pot was placed directly on the flame for too long during cooking. Always follow the recipe properly making sure to cook the biryani according to the suggested heat and temperature. Use a tawa (griddle) underneath the pot to distribute the heat evenly and prevent burning. Avoid opening the lid frequently during cooking. Biryani is Too Dry: Insufficient moisture in the marinated chicken or the rice was overcooked during boiling. Ensure the chicken marinade is moist enough, and don’t drain the rice too thoroughly after boiling. Adding a bit more saffron milk or ghee during the layering process can also help. Biryani Lacks Flavor: The chicken wasn’t marinated long enough, or the spices were not balanced. Marinate the chicken for at least 2-4 hours, preferably overnight. Taste the marinade before adding the chicken and adjust the spices as needed. Make sure to use fresh spices for the best flavor. Rice is Clumped Together: The rice wasn’t soaked before cooking, or too much water was used during boiling. Soak the basmati rice for at least 30 minutes before cooking to prevent clumping. When boiling, use a large pot with plenty of water, and drain the rice immediately when it’s 70% cooked. No Aroma in Biryani: Low-quality or old spices and basmati rice were used, or the pot wasn’t sealed properly during Dum cooking. Use high-quality, fresh spices and basmati rice for a fragrant biryani. Ensure the pot is tightly sealed to trap all the steam and aromas inside during Dum cooking. Rice is Sticking to the Pot: Insufficient ghee or oil was used in the layering process, or the heat was too high. Grease the pot lightly with ghee before adding the marinated chicken and rice layers. Use a generous amount of ghee between the layers to prevent sticking. Cook on low heat and use a tawa if necessary.
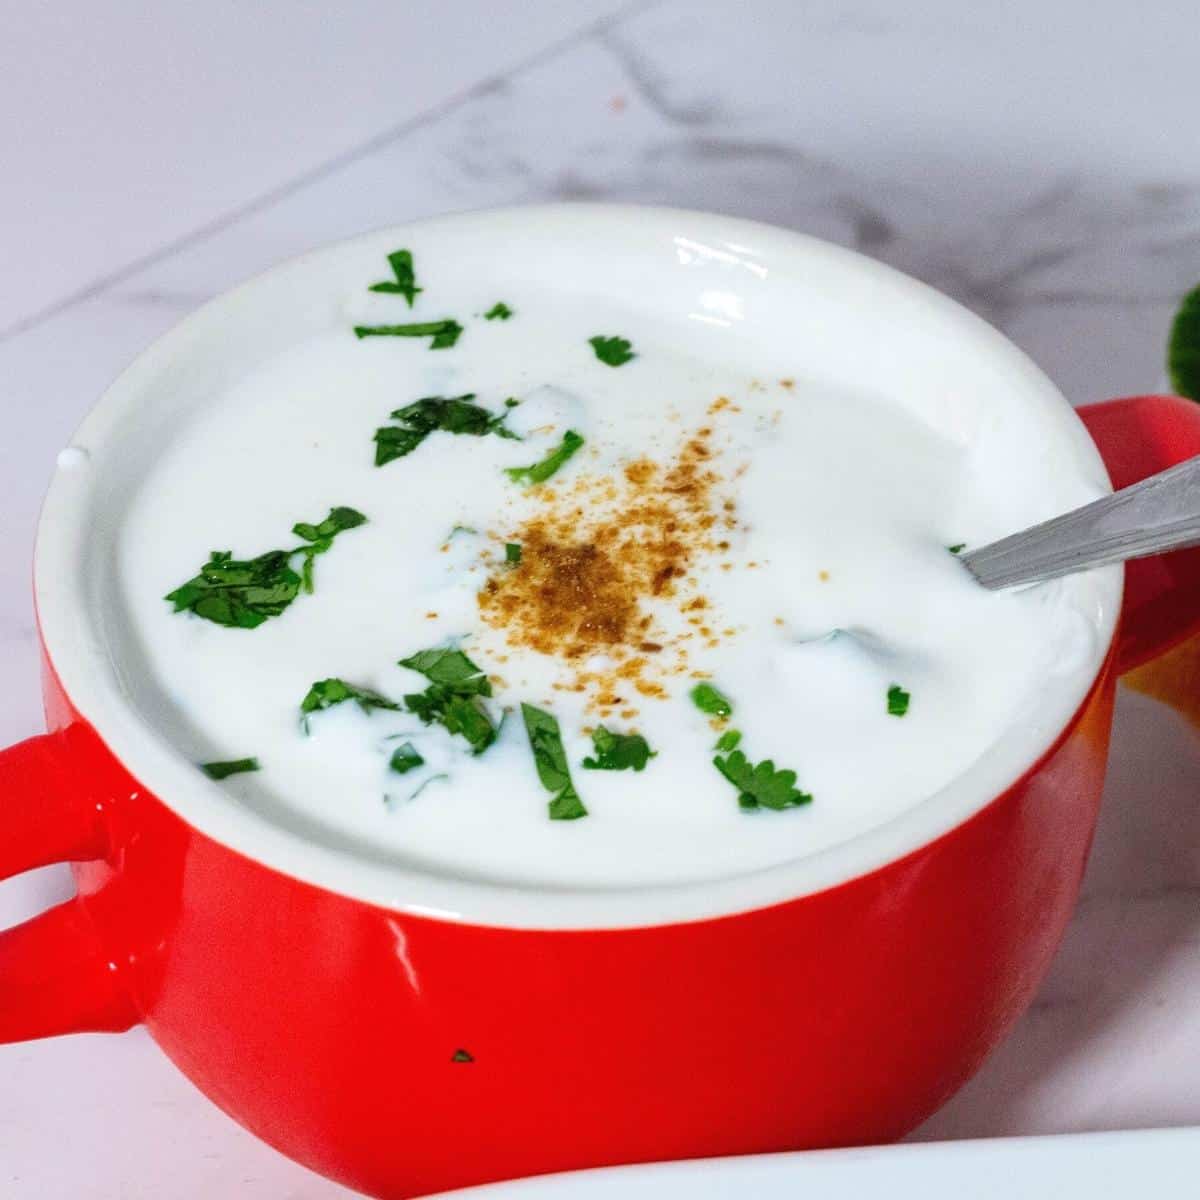
Raita – Yogurt salad with biryani
Biryani is often served with raita which is flavored yogurt. This is the basic raita but you can make this in many variations too. For example – add chopped cucumbers and cilantro or boondi raita made with added deep-fried chickpea flour balls.
1 cup yogurt 1/2 tsp sugar 1/4 tsp pepper 1/4 tsp salt and 1/4 tsp cumin powder Combine all ingredients in a bowl. Taste and adjust seasoning. If the yogurt is not sour add 1/4 tsp lemon juice. Serve alongside any rice pilaf or biryani
Lamb Biryani or Mutton biryani – goat meat biryani Instant pot or pressure cooker chicken biryani One-pot chicken biryani Shrimp rice pilaf biryani, Turmeric Prawn Rice Cooked chicken Biryani Recipe – stovetop
Frequently asked questions
Creative ways to serve and use leftover chicken biryani
Stuffed Bell Peppers: Prepare the chicken biryani as usual and then stuff it into colorful bell peppers. Bake the stuffed peppers until they are tender, and serve them in individual biryani-filled edible bowls. Biryani Arancini: Turn leftover chicken biryani into arancini by forming small balls of biryani, coating them in breadcrumbs, and deep-frying until golden and crunchy. Serve these biryani arancini with a spicy chutney or raita. Biryani Stuffed Tomatoes: Scoop out the insides of large tomatoes and fill them with chicken biryani. Bake until the tomatoes are tender and the flavors meld together. Tacos: Create an Indo-Mexican fusion by serving biryani in taco shells. Add a layer of biryani, top it with shredded lettuce, diced tomatoes, and a drizzle of yogurt-based sauce.
Did you LIKE this recipe? Save it for later. You can find my recipes on Pinterest. Follow me on Facebook, Twitter, and Instagram.Subscribe, and I’ll send you new recipes right to your inbox. Thank you for sharing - Save for later