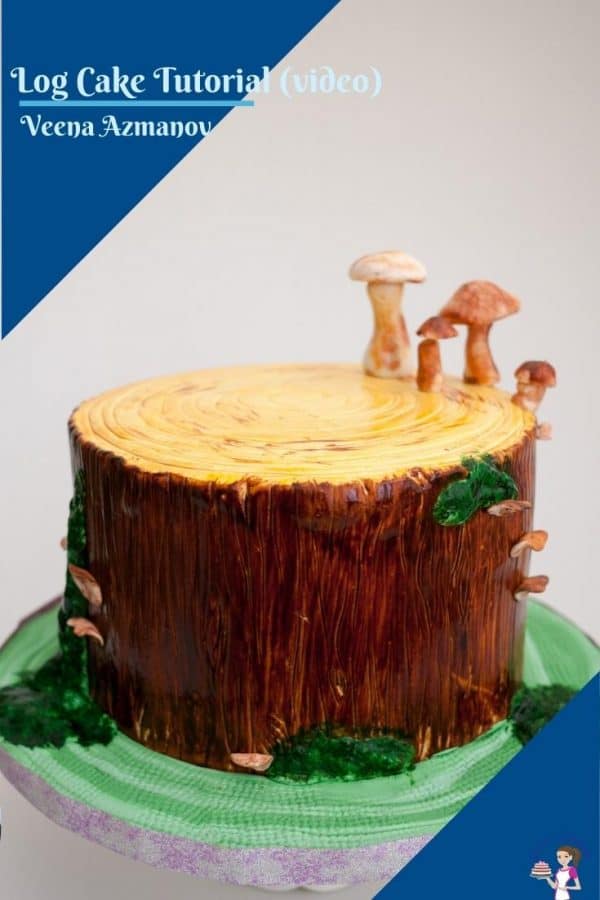
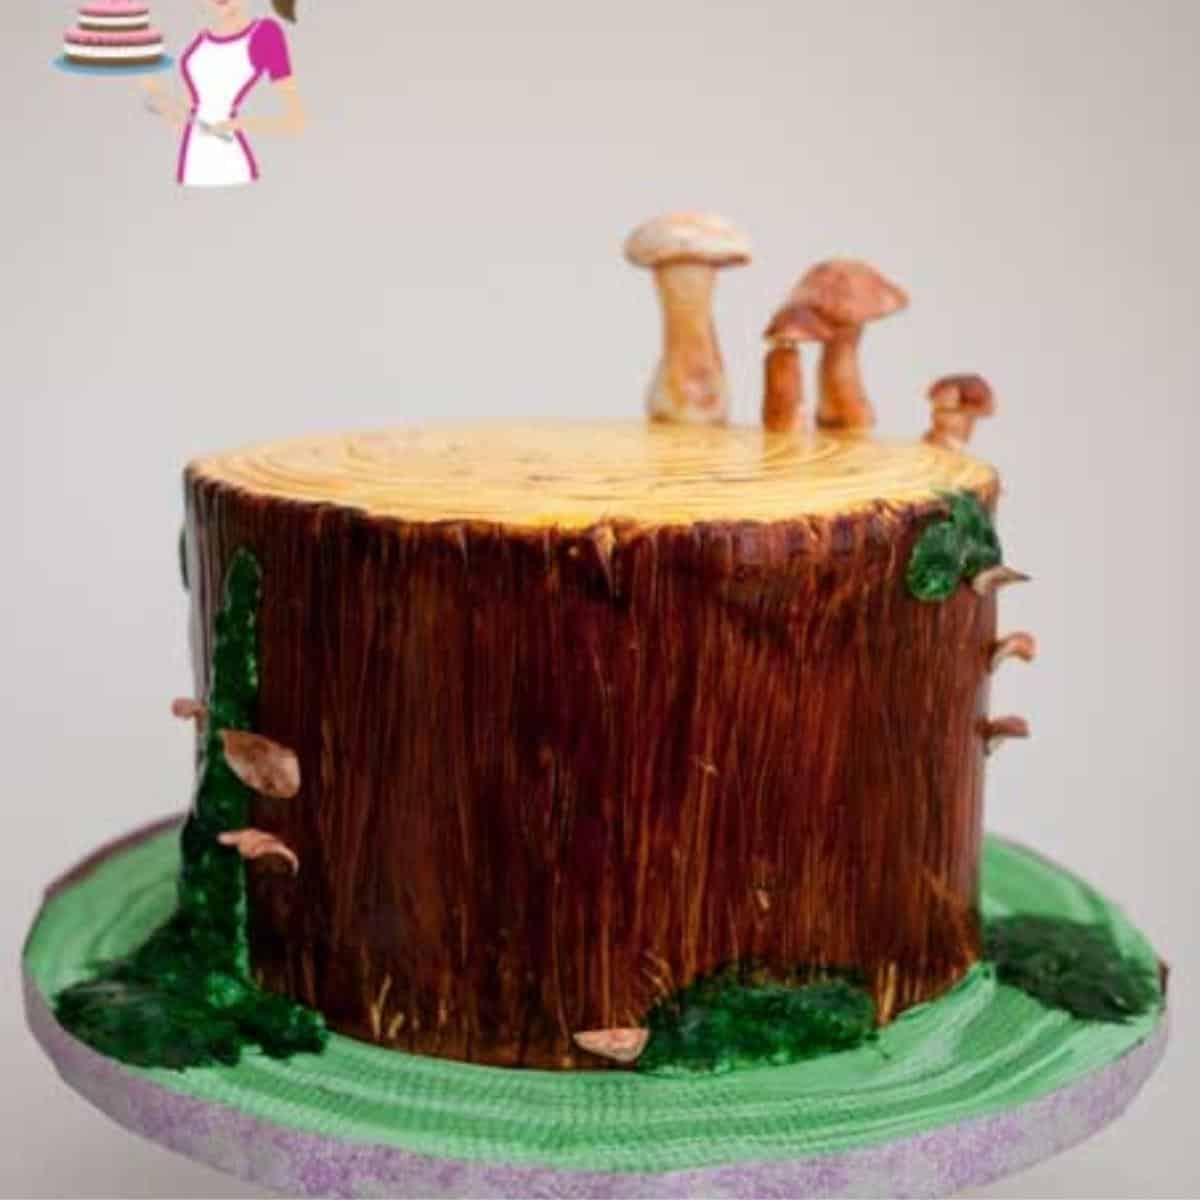
A Hand Painted Tree Stump cake for a 77th Birthday celebration to symbolize strength and age. I love creating wood effects on cakes, cake boards, and edible decorations. I have made a few recently and in many different variations, too. I love using the airbrush to create the wood grain. However, most often, my students don’t have an airbrush. This is a nice and easy way to create a tree stump effect with just hand painting. Don’t worry. You don’t need to be an expert at painting this cake. As I said, there are many ways to make the wood effect on cake. You can make it using a texture mat, and you can create the effect with a simple Dresden tool. I used my Sugar Sharpers for this – you know, I cannot do without them.
Useful tips and tools
You will need a cake board for the bottom of the cake. You will need two cake circles. One for the top and one for the bottom. Make sure they are both the same size. They must be firm and not bend or flex. Tall metal bench scrapers are best if you ganache cakes often. A right angle will help make sure your cake is straight. A leveler works great to ensure that your cake is leveled. A level cake is especially important when you have stacked cakes. Use a straight spatula for the sides and an off-set spatula for the top.
Materials
2 x cake layers – see 50 plus layer cake recipes Buttercream Frosting – see 30 plus buttercream frosting recipes Simple syrup to keep the cakes moist Cake Decorators Chocolate Ganache for cake decorating – Dark or Cake Decorators White Chocolate Ganache
Note – For cakes that need to be covered with fondant, I use my cake decorators chocolate ganache or cake decorators white chocolate ganache. The ratio of cream to chocolate is different in these, with more chocolate and less cream. The classic white and dark chocolate ganache are good but stay soft, so they are not the best for cake with fondant.
Below, I have two videos.
The first is cake basics – how I torte, fill, and frost the cake with ganache using the top and bottom board method
The second shows from the time I covered the cake in fondant, creating the wood grain impression, hand-painting, grass, moss, and edible mushrooms
You may also like
Teapot cake tutorial Minion Cake Tutorial or Minion cake tutorial Stained glass cake Car cake tutorial Dora the explorer Fondant billowing technique Buttercream ruffle cake tutorial Doughnut cake tutorial Pink sunset cake
Thank you for sharing - Save for later