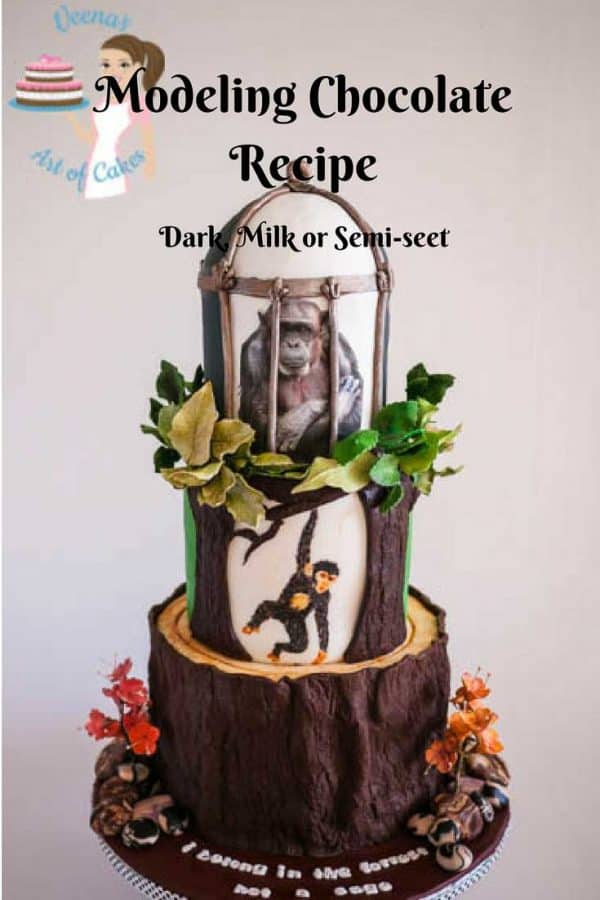
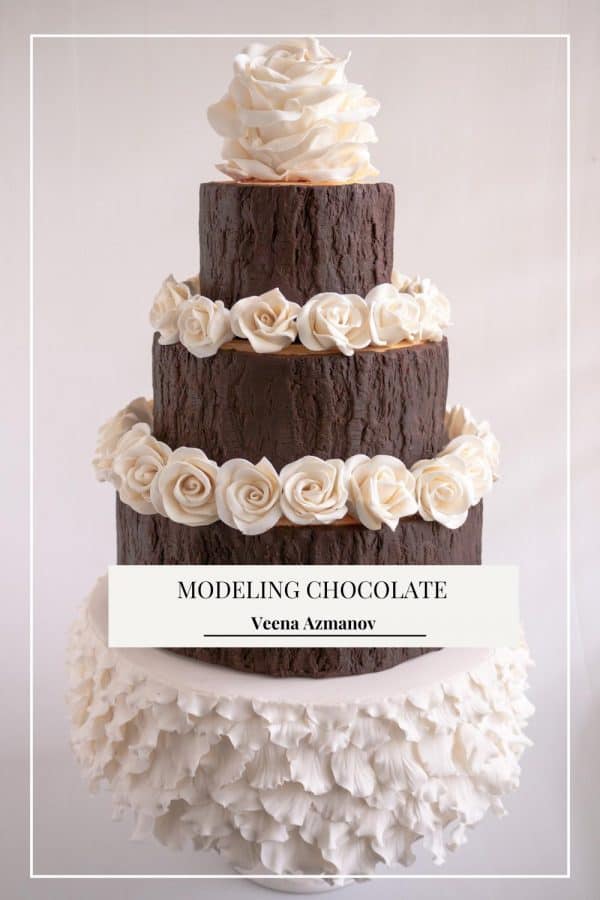
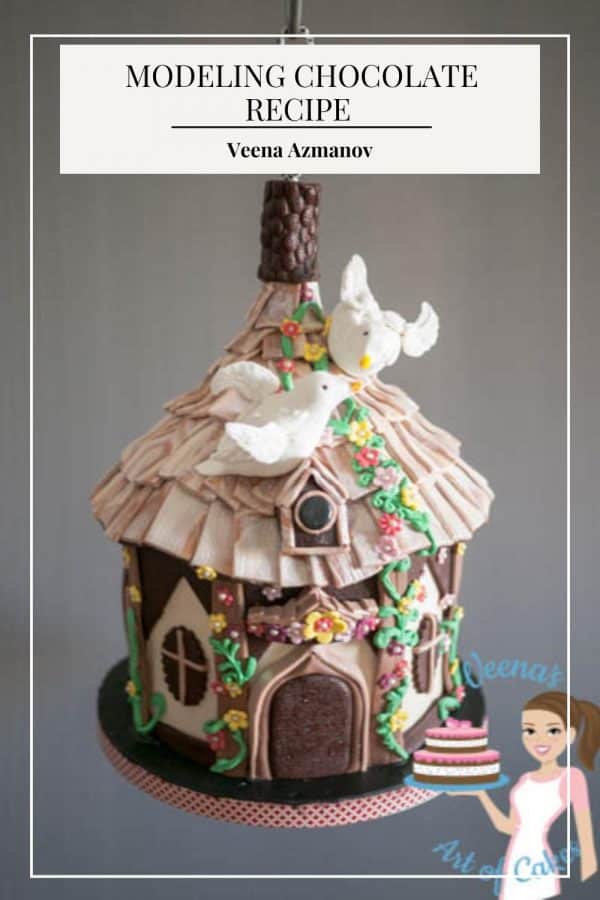
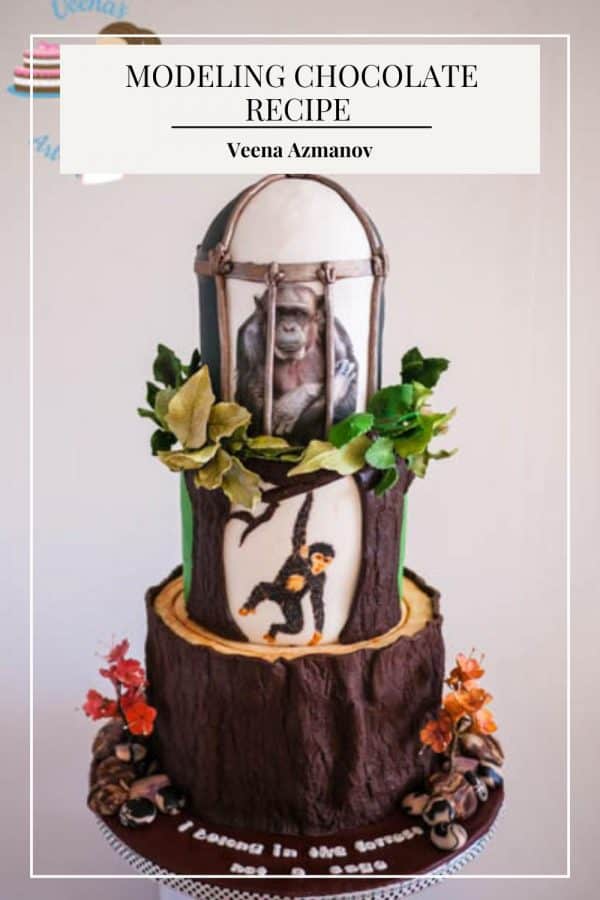
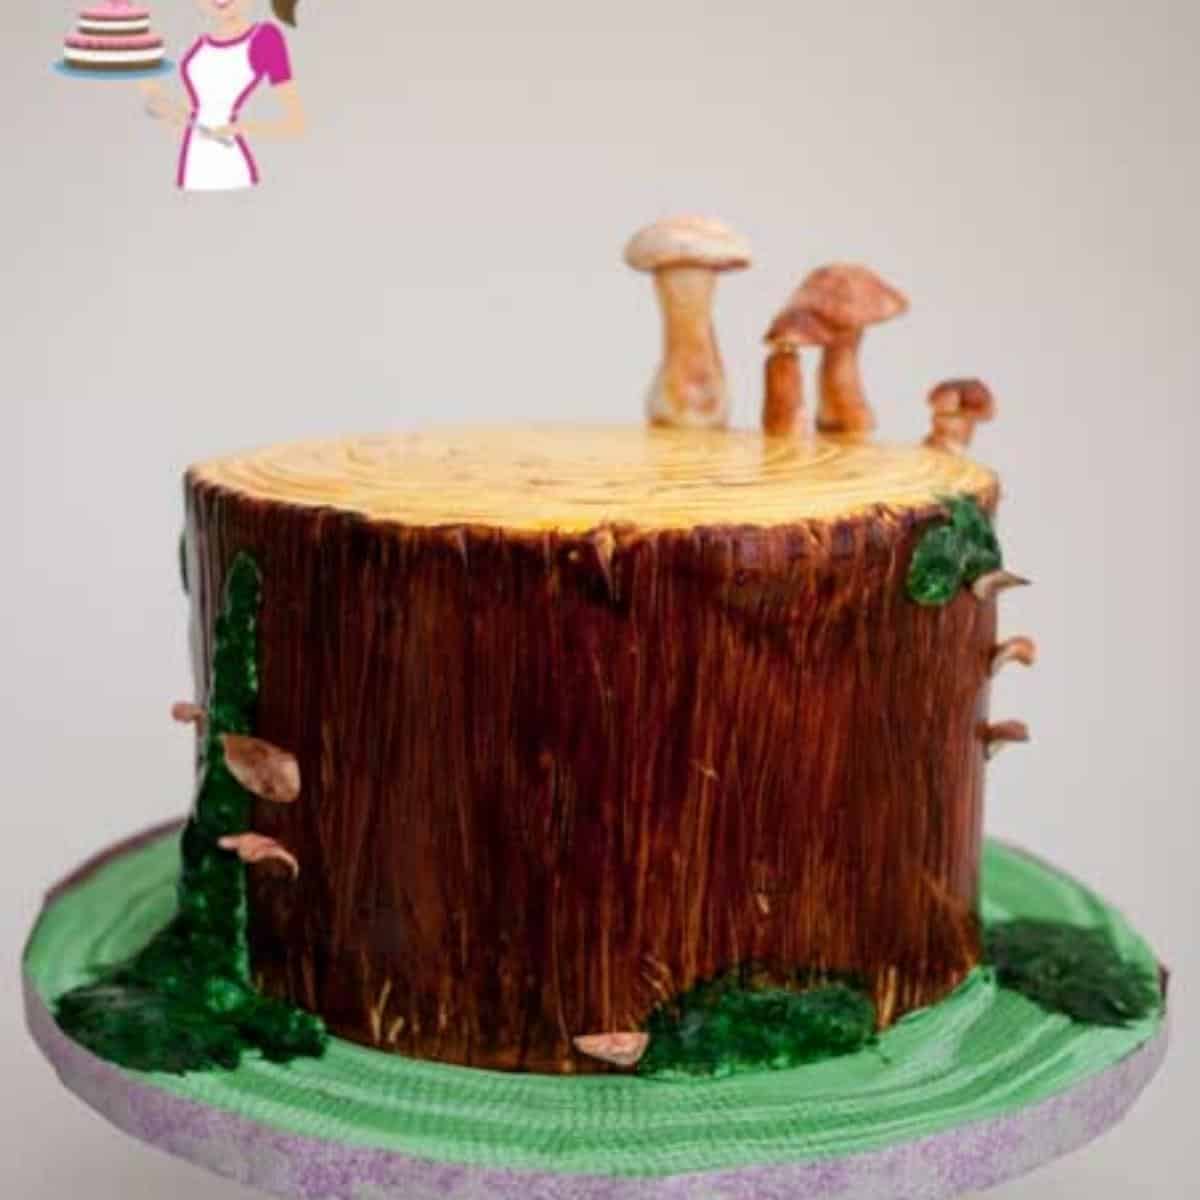
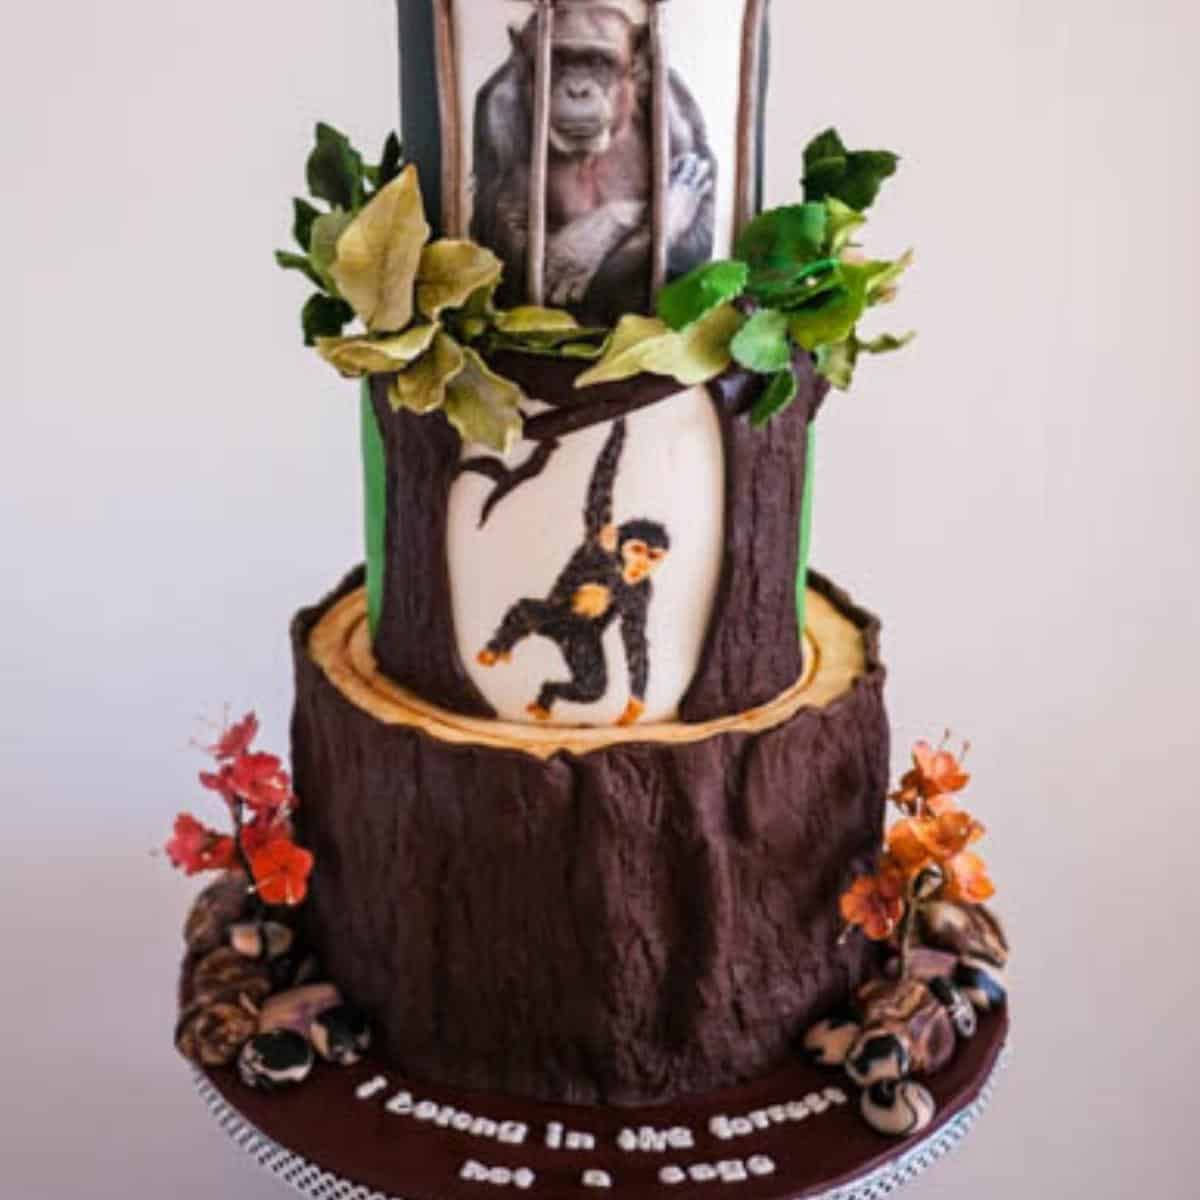
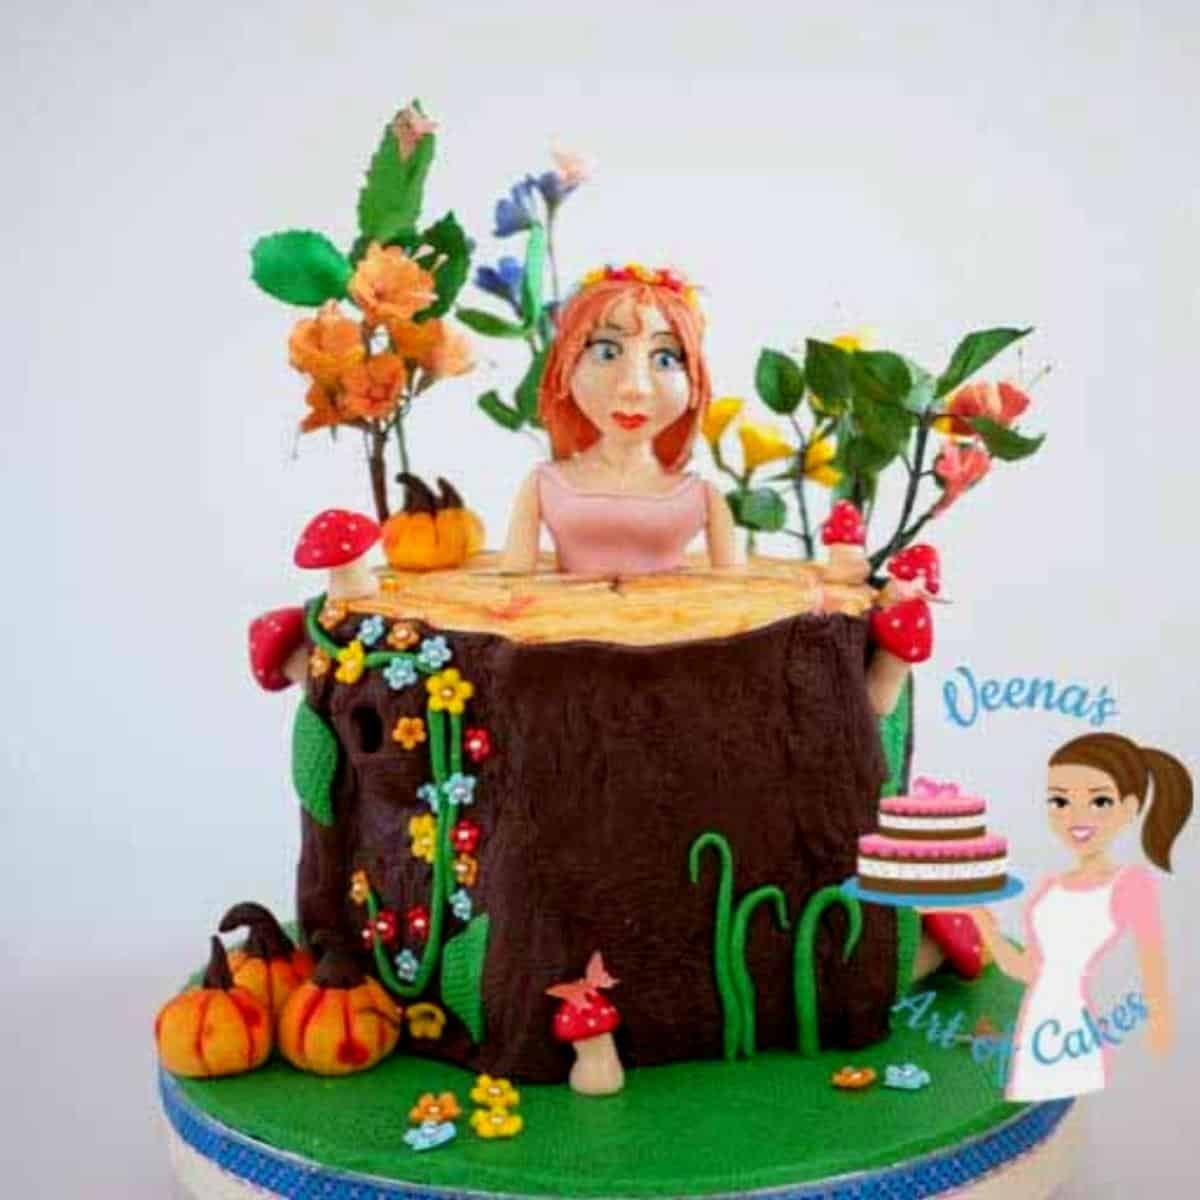
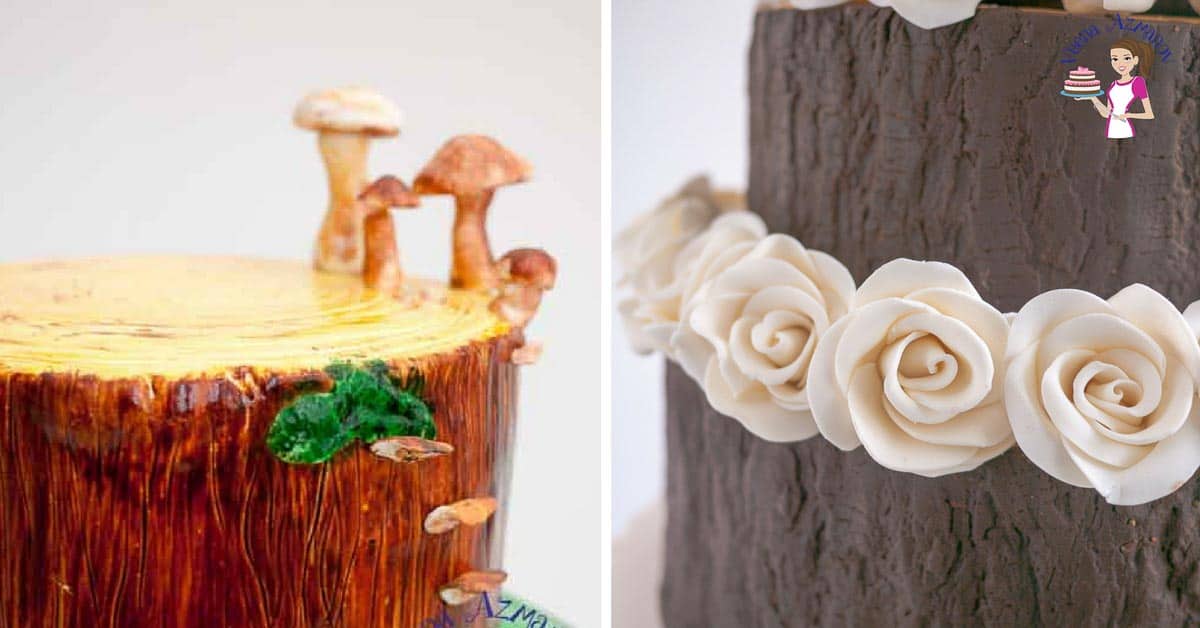
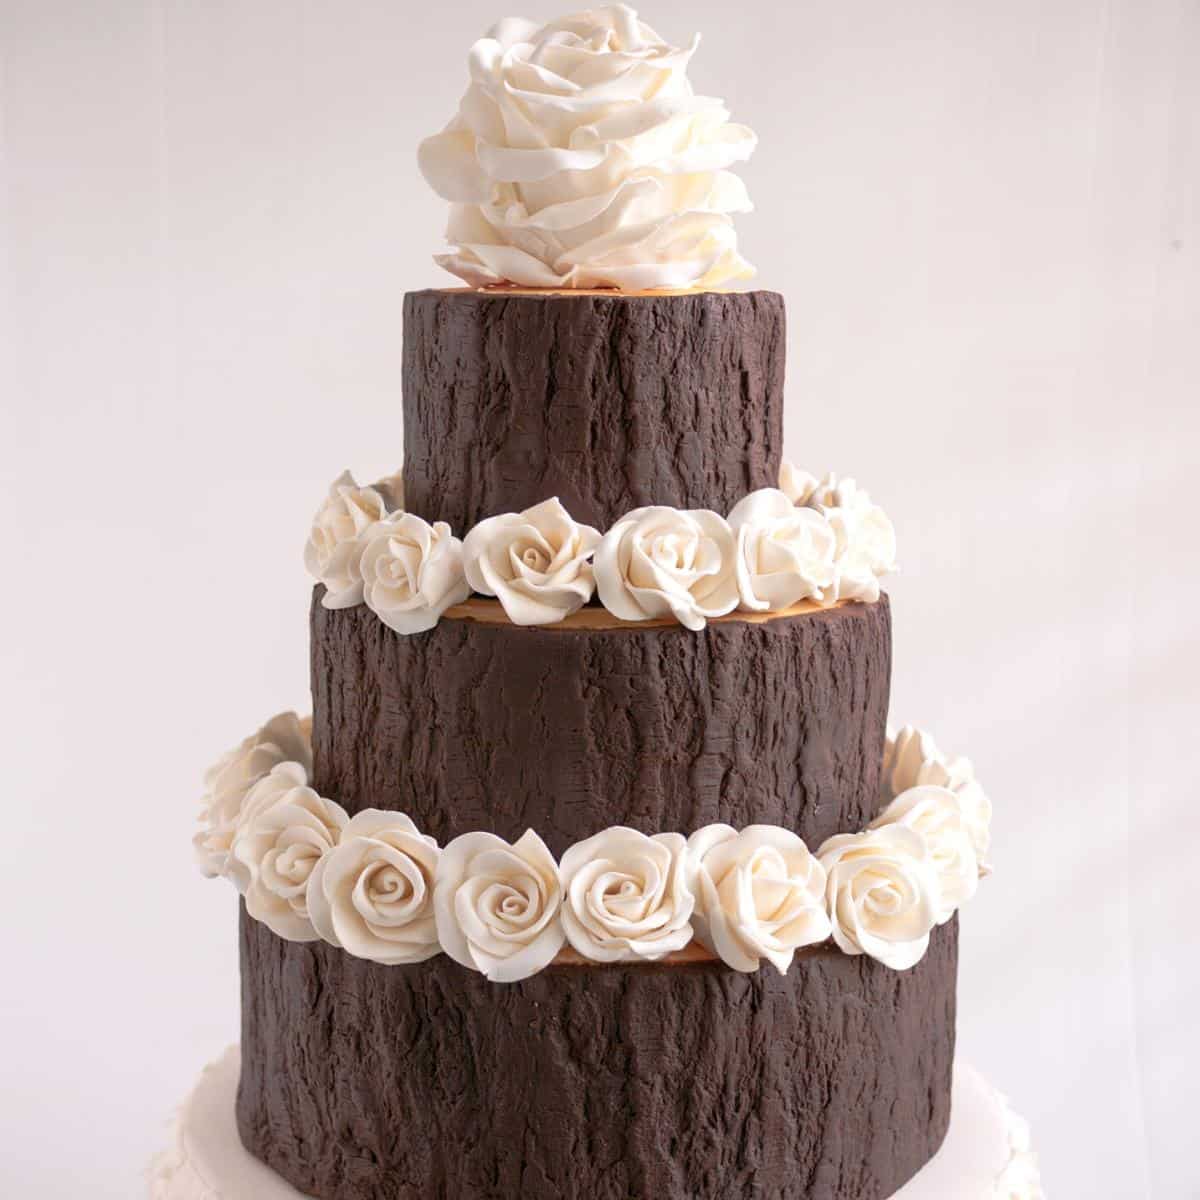
Before I started cake decorating I was most fascinated with chocolate roses. I always wondered HOW!! How do you make chocolate roses? The chocolate is so messy how can you actually make it into a rose. Of course, over time I realized the chocolate roses were not made with melted chocolate but were made from something called chocolate modeling paste also known as candy clay. Ah!! Now that makes more sense eh? Modeling chocolate (MC) has now become a valuable ingredient in cake decorating. It is very fascinating what can be done with it. In fact, you can use it to extend the design of a cake or even to cover a cake such as in this tree stump cake. As novelty cakes started becoming a trend so did the use of MC. MC, especially white modeling chocolate, became perfect to fill gaps and mold shapes, which was impossible with fondant. The biggest advantage, of course, is that you can rub off any seams. You just rub your fingers over the seam and it’s gone. Just like magic.
Step-by-step: Easy modeling chocolate recipe
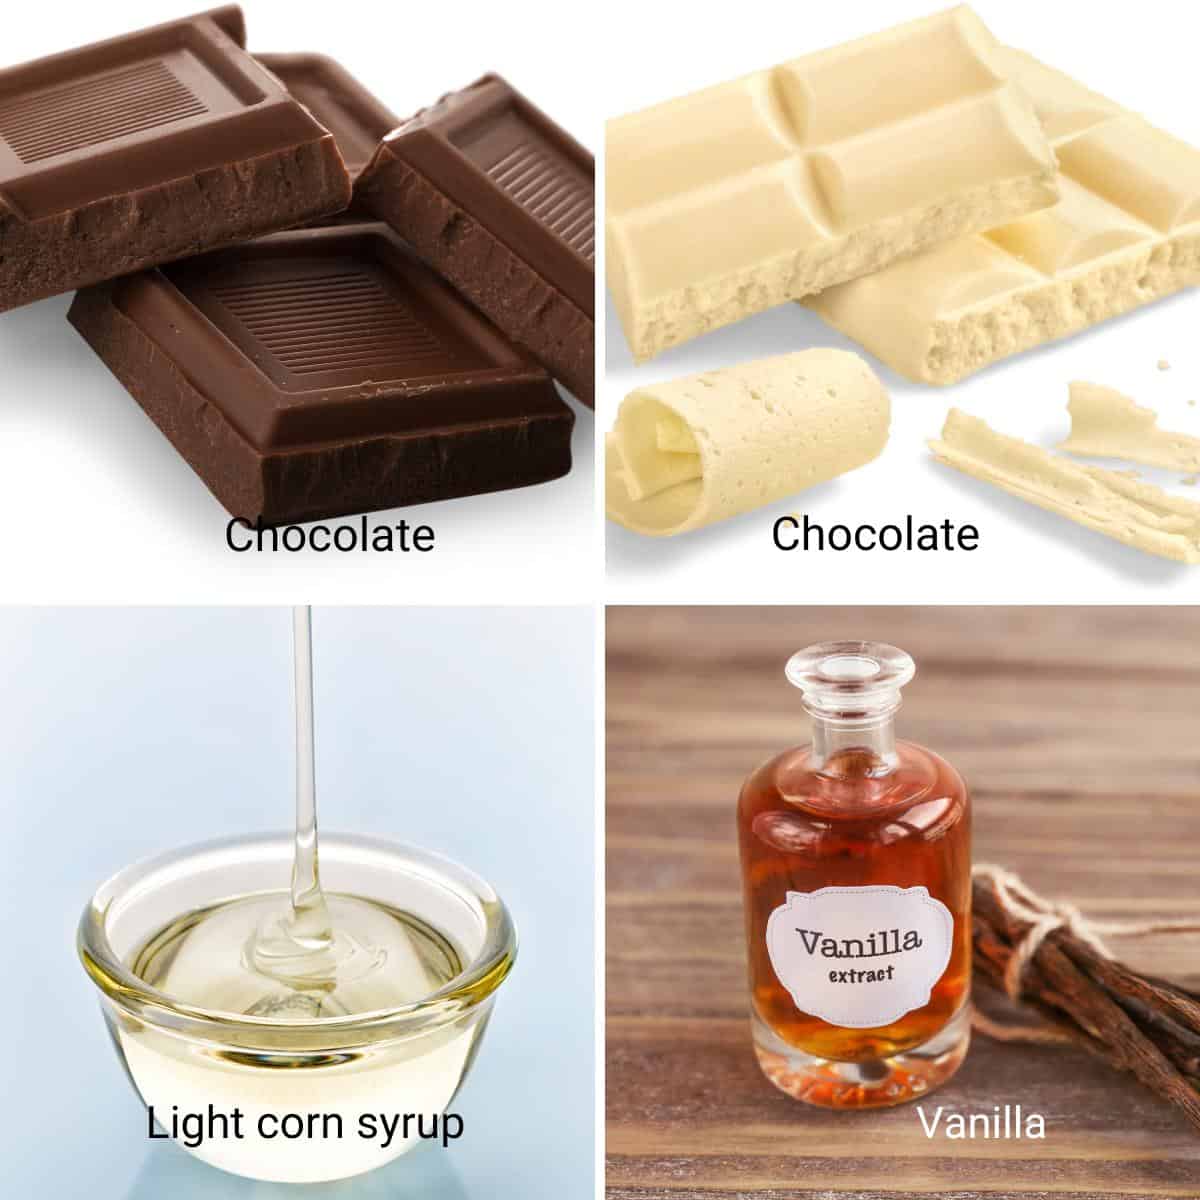
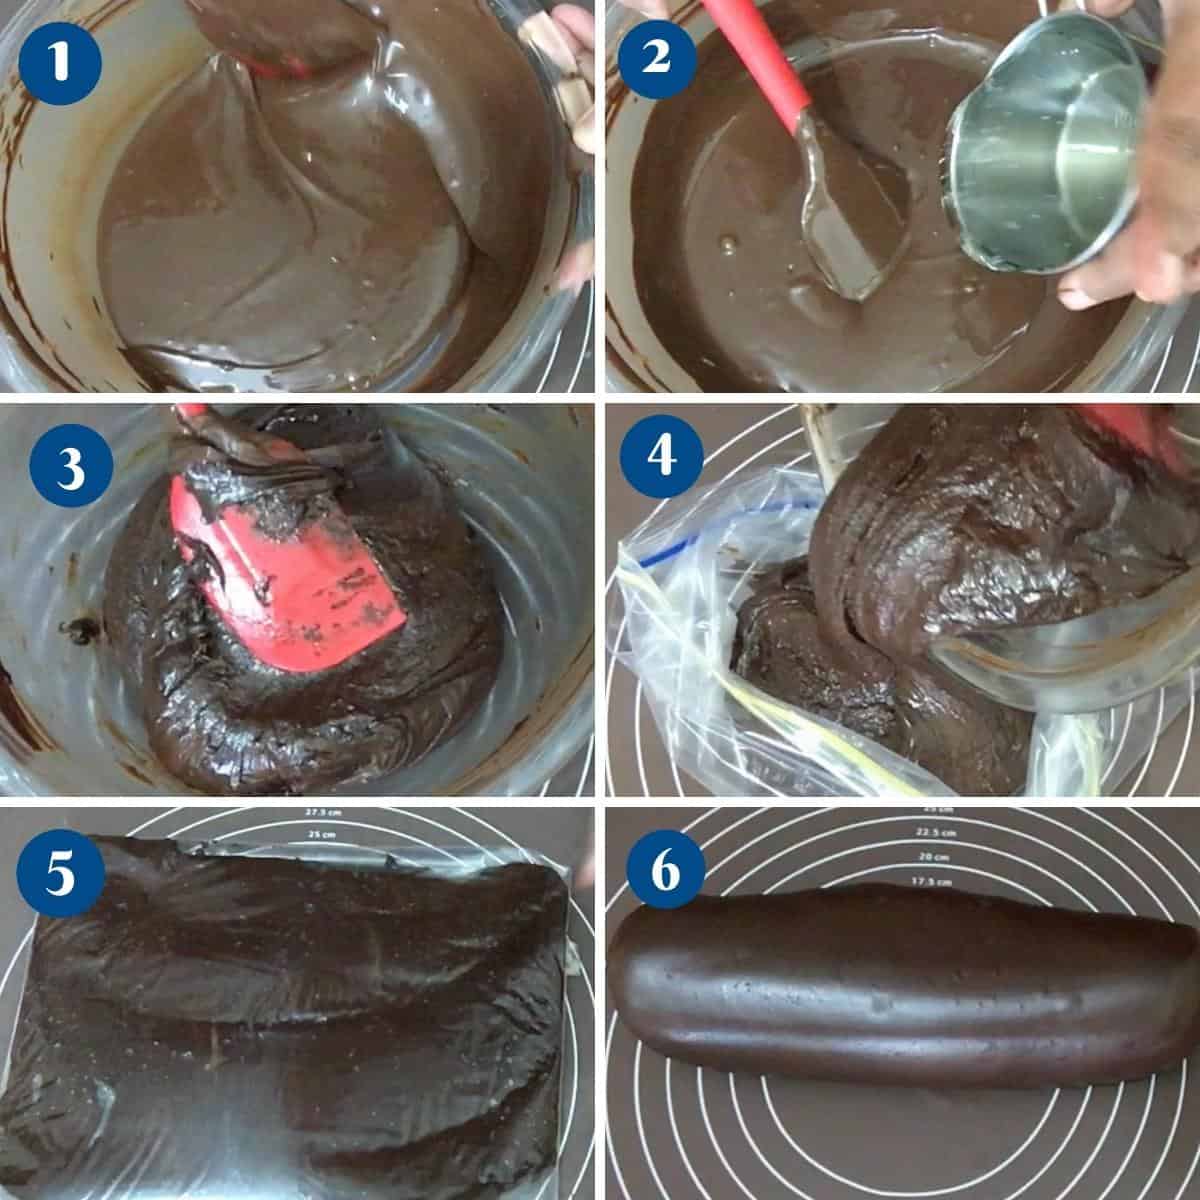
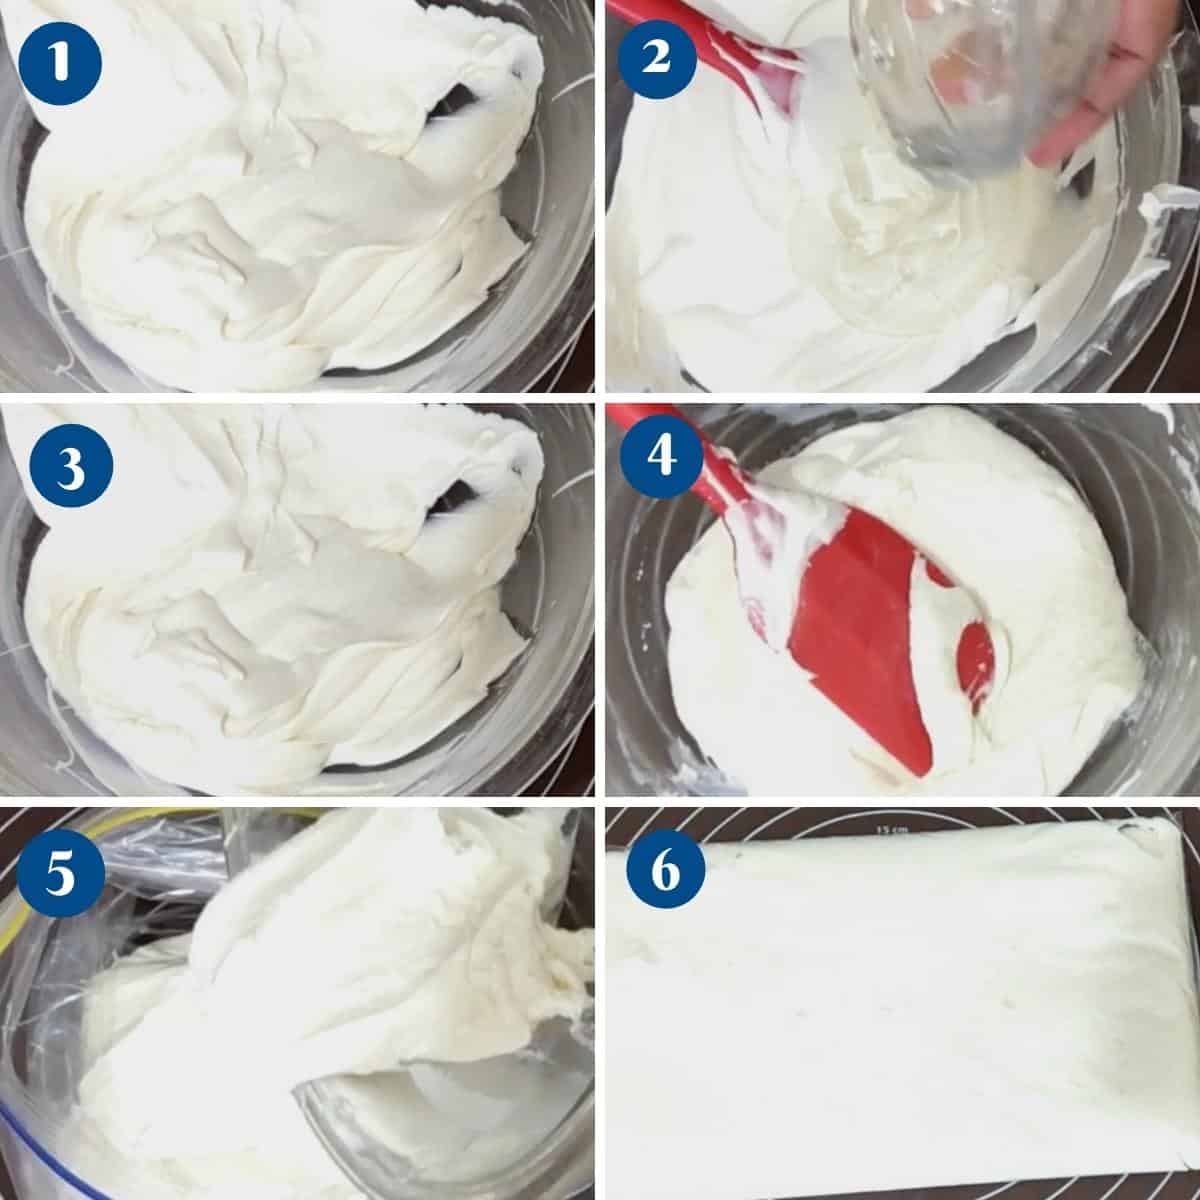
Melt the chocolate in a microwave-safe bowl such as a measuring cup or double boiler. Take it off the heat and add the light corn syrup. Stir until just combined. DO NOT OVERMIX.Pro tip – If you stir too much the cocoa butter in the chocolate will separate causing it to seize. Pour the mixture into a ziplock bag, (or wrap in plastic wrap) spread evenly, and flatten it. Chill in the fridge for at least 3 hours.Pro tip – In winter you can leave it on the counter overnight and it will set. Personally, I like to chill it in the fridge so it becomes firm. Modeling chocolate can be stored in an airtight container in the refrigerator for up to three months or in the freezer for up to 6 months.
Using modeling chocolate
Remove the modeling chocolate from the fridge a few hours before and let come to room temperature. Knead on a work surface until smooth, soft, and pliable.Pro tip – If the paste is very hard – thaw in the microwave for 5 to 10 sec. Chocolate melts easily so 5 to 10 seconds is plenty otherwise it can become oil.
Best EVER Homemade Fondant Chocolate Marshmallow Fondant Homemade Edible Sugar Lace Bean Paste Recipe for Sugar Flowers – Korean Bean Paste See all Fondant recipes or See all frosting recipes
Frequently asked questions
Thank you for sharing - Save for later
Too Soft/Sticky: Refrigerate: Place the mixture in the refrigerator for a few minutes to firm it up. Add more chocolate: Gradually knead in additional melted chocolate until the mixture reaches a firmer consistency. Chill your hands: If your hands are warm, they can soften the mixture. Rinse them under cold water or hold a cold pack briefly to cool them down before handling the modeling chocolate or candy clay. Too Firm/Hard: Warm slightly: Gently warm the mixture in the microwave for a few seconds or use your hands to knead and warm it until it becomes more pliable. Add more corn syrup or liquid: Incorporate a small amount of corn syrup, water, or flavoring (such as clear extract) to soften the mixture. Gradually add it in, a little at a time, until you reach the desired consistency. Let it sit at room temperature: Allow the mixture to rest at room temperature for a while, as it may soften naturally. Cracking or Breaking: Knead and warm: If the modeling chocolate or candy clay is cracking while you’re working with it, knead and warm it gently in your hands to soften it. This will make it more pliable and less likely to crack. Avoid overworking: Over-kneading the mixture can cause it to become dry and prone to cracking. Be gentle when working with it and avoid excessive handling. Greasy Texture: Absorb excess oil: If the modeling chocolate or candy clay feels greasy, you can blot it with a paper towel to absorb some of the excess oil. Add more powdered sugar: Gradually knead in small amounts of powdered sugar to help absorb the excess oil and achieve a smoother texture.
Remember, the consistency and behavior of modeling chocolate and candy clay can vary based on factors like temperature, humidity, and the specific brand or type of ingredients used. With practice and some adjustments, you’ll be able to troubleshoot and achieve the desired results.
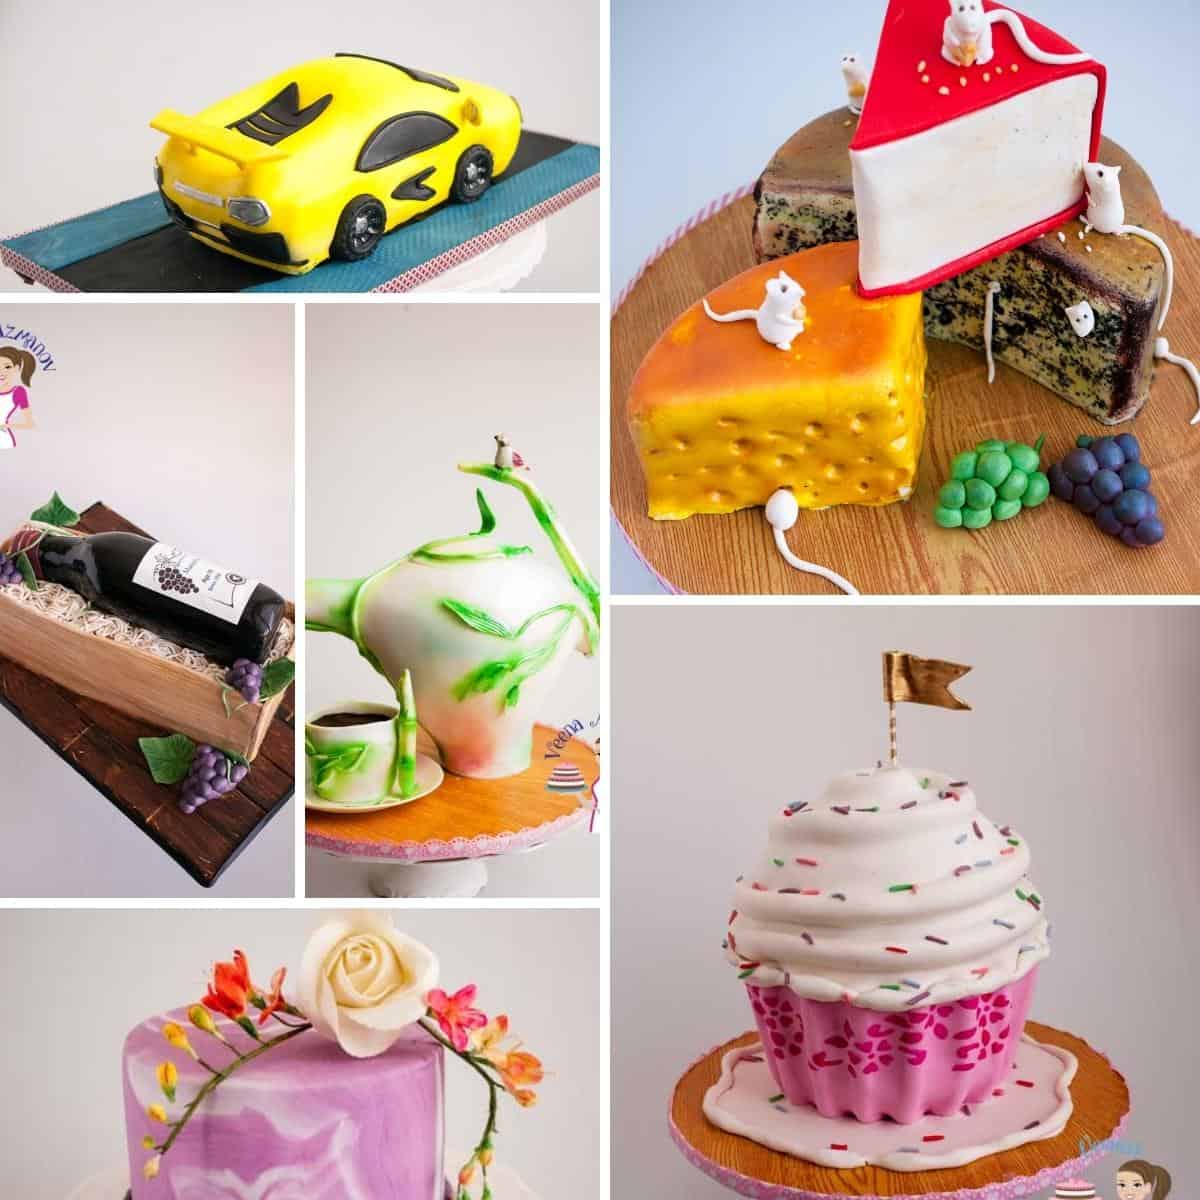
Sculpted Cake Toppers: Use modeling chocolate to create detailed and customized cake toppers, such as figurines, animals, flowers, or any other design you can imagine. Sculpt and shape the modeling chocolate to bring your creations to life. Cake Decorations: Use modeling chocolate to create intricate patterns, textures, and designs on the surface of cakes. Roll out thin sheets of modeling chocolate and cut them into shapes, strips, or intricate patterns to adorn your cakes. 3D Cake Decor: Create three-dimensional decorations using modeling chocolate, such as bows, ribbons, ruffles, or pleats. These can add depth and dimension to your cake designs and make them visually appealing. Cupcake Toppers: Make cute and edible cupcake toppers using modeling chocolate. Mold small shapes or characters to place on top of cupcakes. You can create animals, flowers, hearts, or any other themed decorations to match your event or celebration. Chocolate Roses: Sculpt beautiful roses out of modeling chocolate to use as standalone decorations or to embellish cakes and cupcakes. With a little practice and shaping, you can create realistic-looking roses that will impress your guests. Embossed Designs: Use textured molds or embossing tools to create intricate designs on modeling chocolate. Press the chocolate into the molds or use the tools to create raised patterns, lace-like textures, or even imitate the look of fabric. Cake Wraps and Borders: Roll out long, thin strips of modeling chocolate to create decorative borders or wraps around cake tiers. You can use different colors, shapes, or patterns to add a unique touch to your cake designs. Chocolate Decorative Accents: Cut out various shapes from modeling chocolate, such as stars, hearts, or geometric designs, and use them as decorative accents on desserts. You can also add a touch of edible gold or silver dust to create a luxurious and elegant look. Filling for Chocolate Bonbons: Use modeling chocolate as a filling for homemade chocolate bonbons or truffles. Roll small portions of modeling chocolate into balls, dip them in melted chocolate, and let them set for a delicious and visually appealing treat. Edible Art: Use modeling chocolate as a medium for creating edible art. Paint on it with edible food colors or use it as a canvas for sculpting and shaping unique and artistic designs.
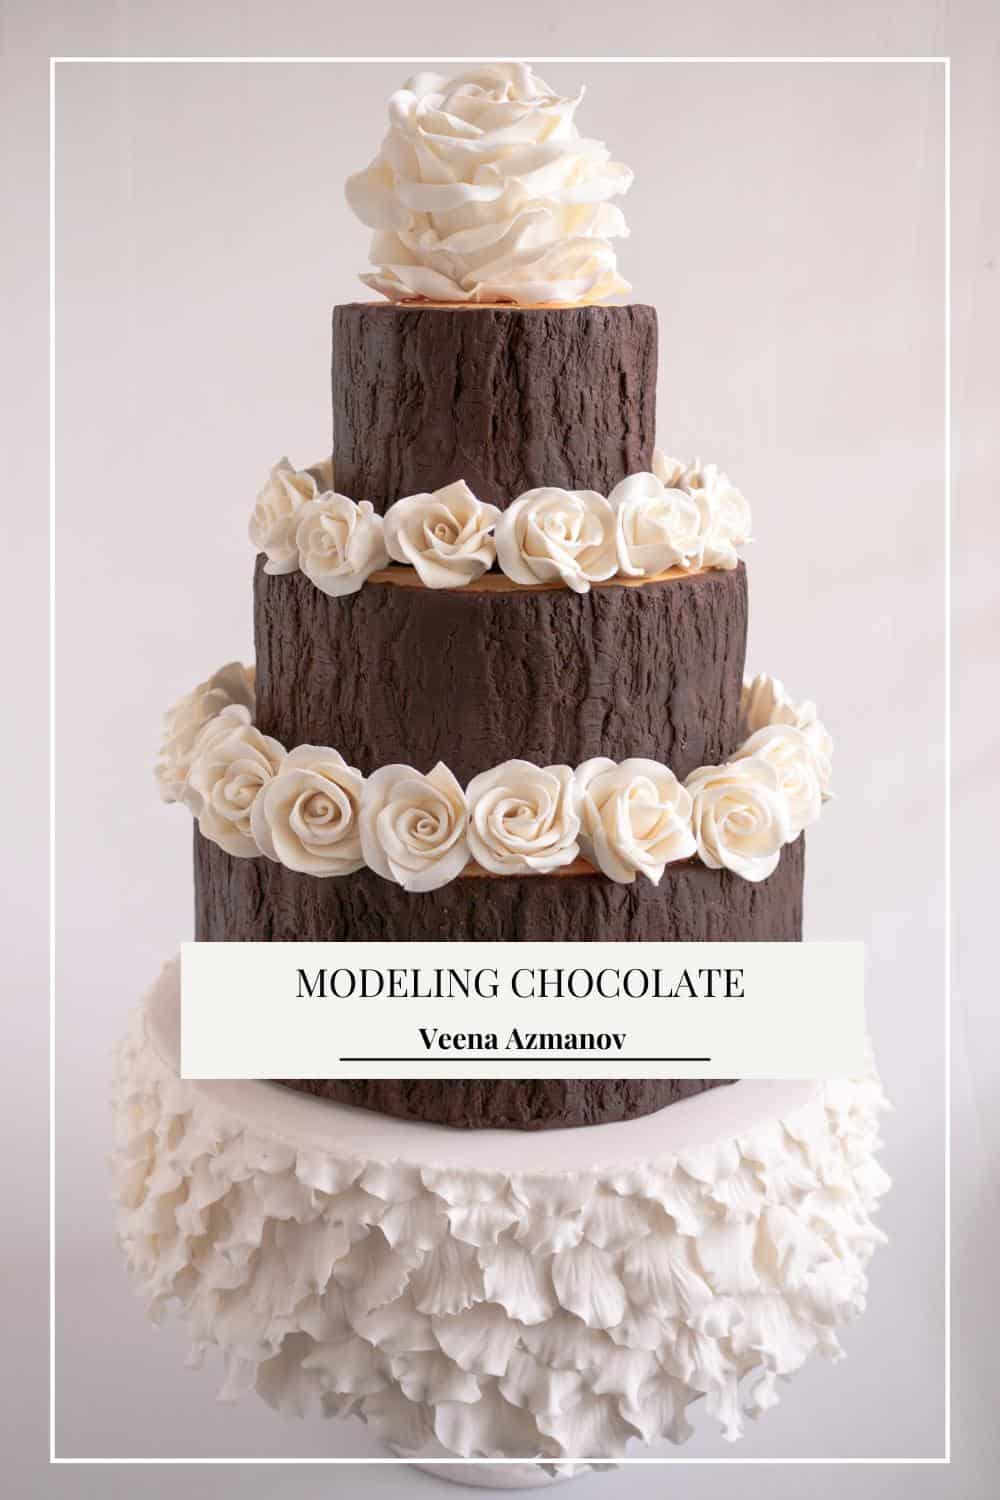
Prepare the modeling chocolate: Make a batch of MC by melting chocolate (dark, milk, or white) and combining it with corn syrup or using candy melts according to the instructions provided. Allow the mixture to cool and set at room temperature until it is firm but still pliable. Color the modeling chocolate (optional): If desired, divide the MC into smaller portions and knead in gel or powdered food coloring to achieve the desired shade for your roses. Ensure the color is evenly distributed throughout the mixture. Form the rosebud: Take a small amount of MC and roll it into a smooth ball between your palms. This will be the center of the rose, also known as the rosebud. Create the petals: Take another small piece of MC and flatten it into a thin, circular shape. The size of the piece should depend on the desired size of the rose and the thickness of the petals. Repeat this step to create several petals, ensuring they are all uniform in size. Attach the petals: Place one petal on top of the rosebud, gently pressing and shaping it around the bud. The petal should cover part of the bud while leaving the top exposed. Repeat this step, overlapping the petals slightly to create a realistic layered effect. Continue adding petals until you achieve the desired fullness for the rose. Shape the petals: Once all the petals are attached, gently pinch and shape the edges of each petal to create a natural and realistic appearance. You can slightly curve and fold the petals outward to mimic the opening of a real rose. Repeat for more roses: If desired, repeat the process to create additional chocolate roses, adjusting the size and shape of the petals as needed. Let the roses set: Allow the chocolate roses to set at room temperature until they become firm. This will ensure they hold their shape when placed on desserts.
Once the chocolate roses are completely set, they are ready to be used as decorations. Carefully place them on top of cakes, cupcakes, or any other desserts, and enjoy the beautiful and delicious addition they provide.