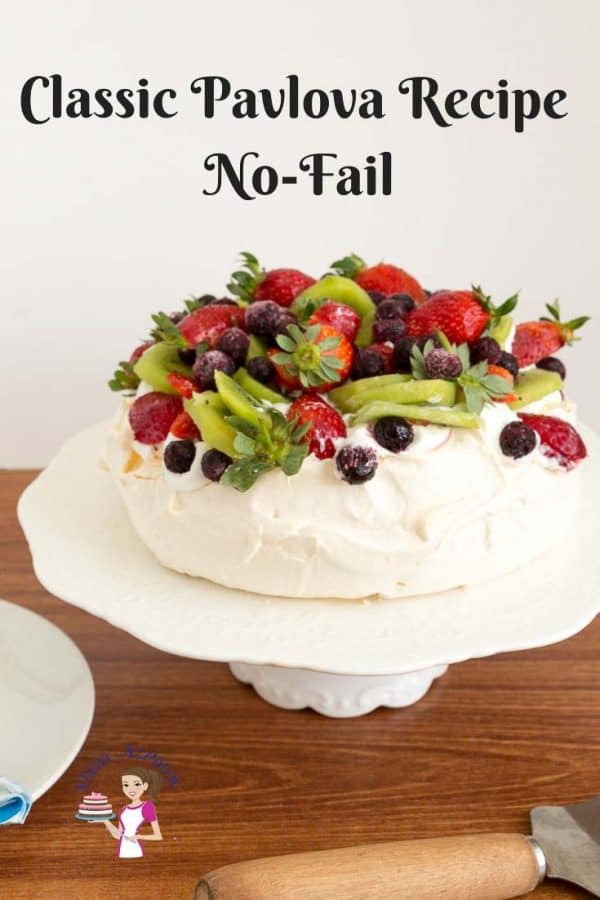
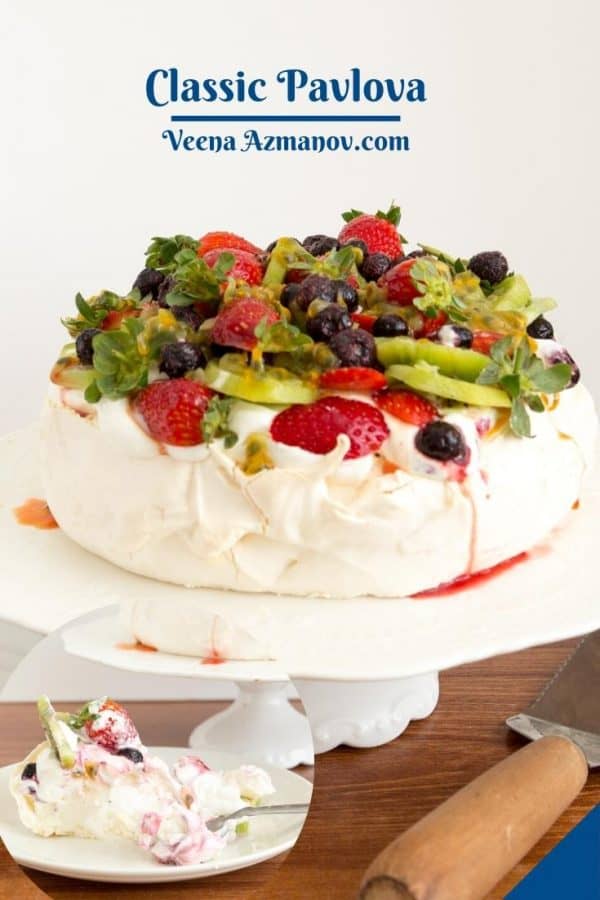
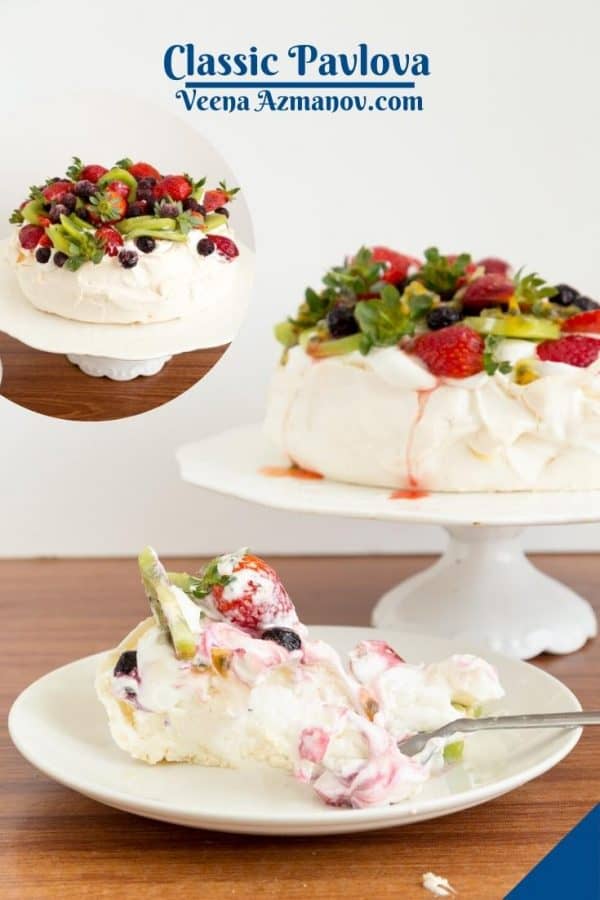
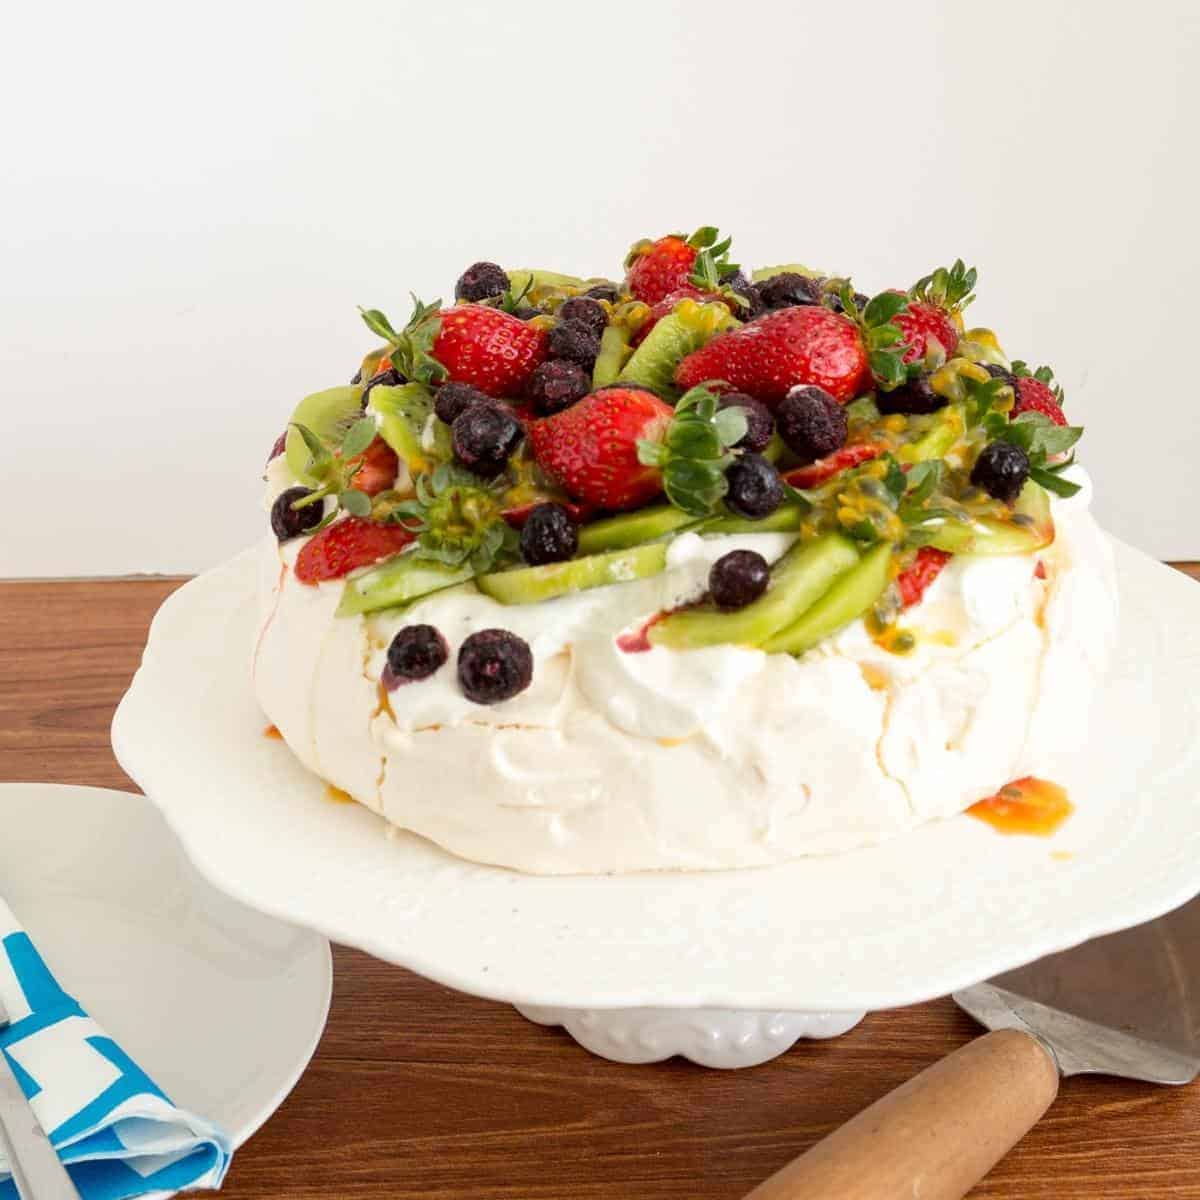
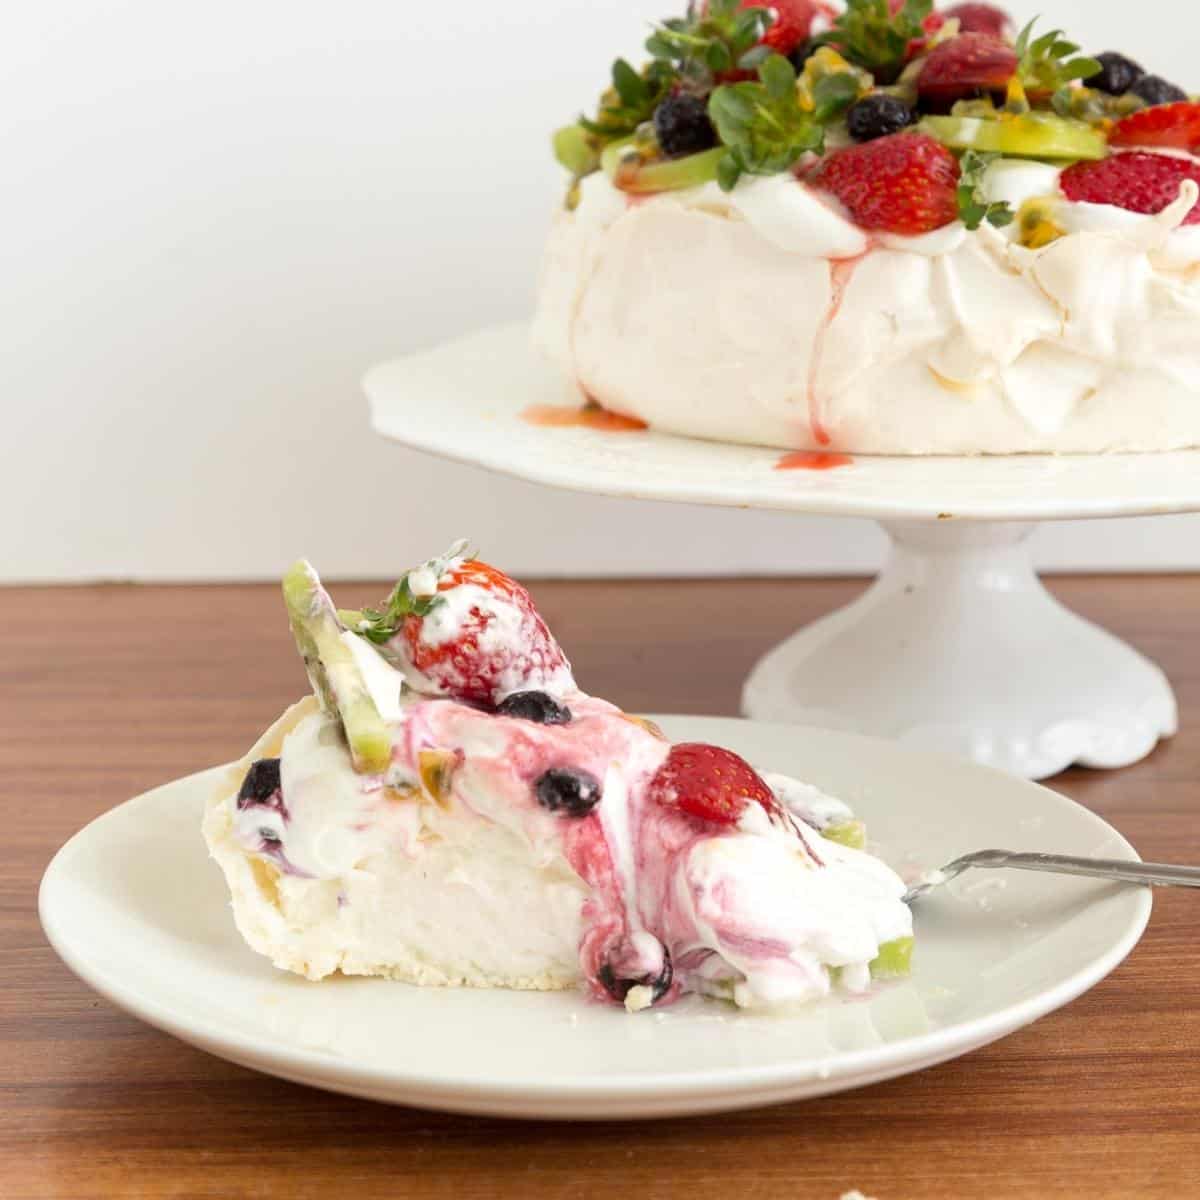
Do you want to impress your friends and family with a dessert that looks like it came straight out of a gourmet bakery? Look no further than mastering the perfect pavlova! This light and fluffy meringue dessert topped with fresh fruit and cream is sure to wow your guests. But fear not, we know that pavlovas can be notoriously tricky to get right. Did you know that the pavlova was named in honor of a Russian ballerina? I used to think this was a Russian dessert. And yet, it’s not! Some say it’s Australian while others say it’s from New Zealand. The first time I had a pavlova was on my first trip to Melbourne, Australia. I fell in love and had to make it myself. I’ve had my fair share of success and failures over the years. We love making this at home and it’s now my kids’ favorite over meringue!
Step-by-step: Easy No-Fail Pavlova
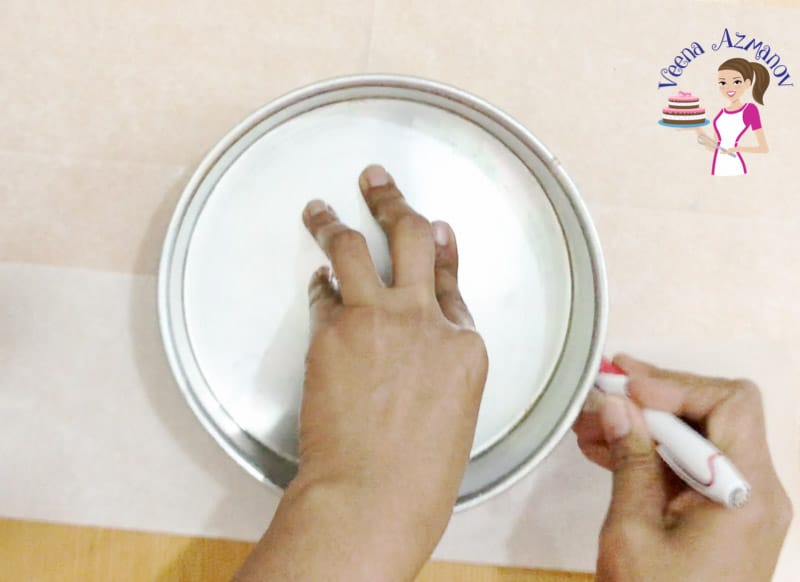
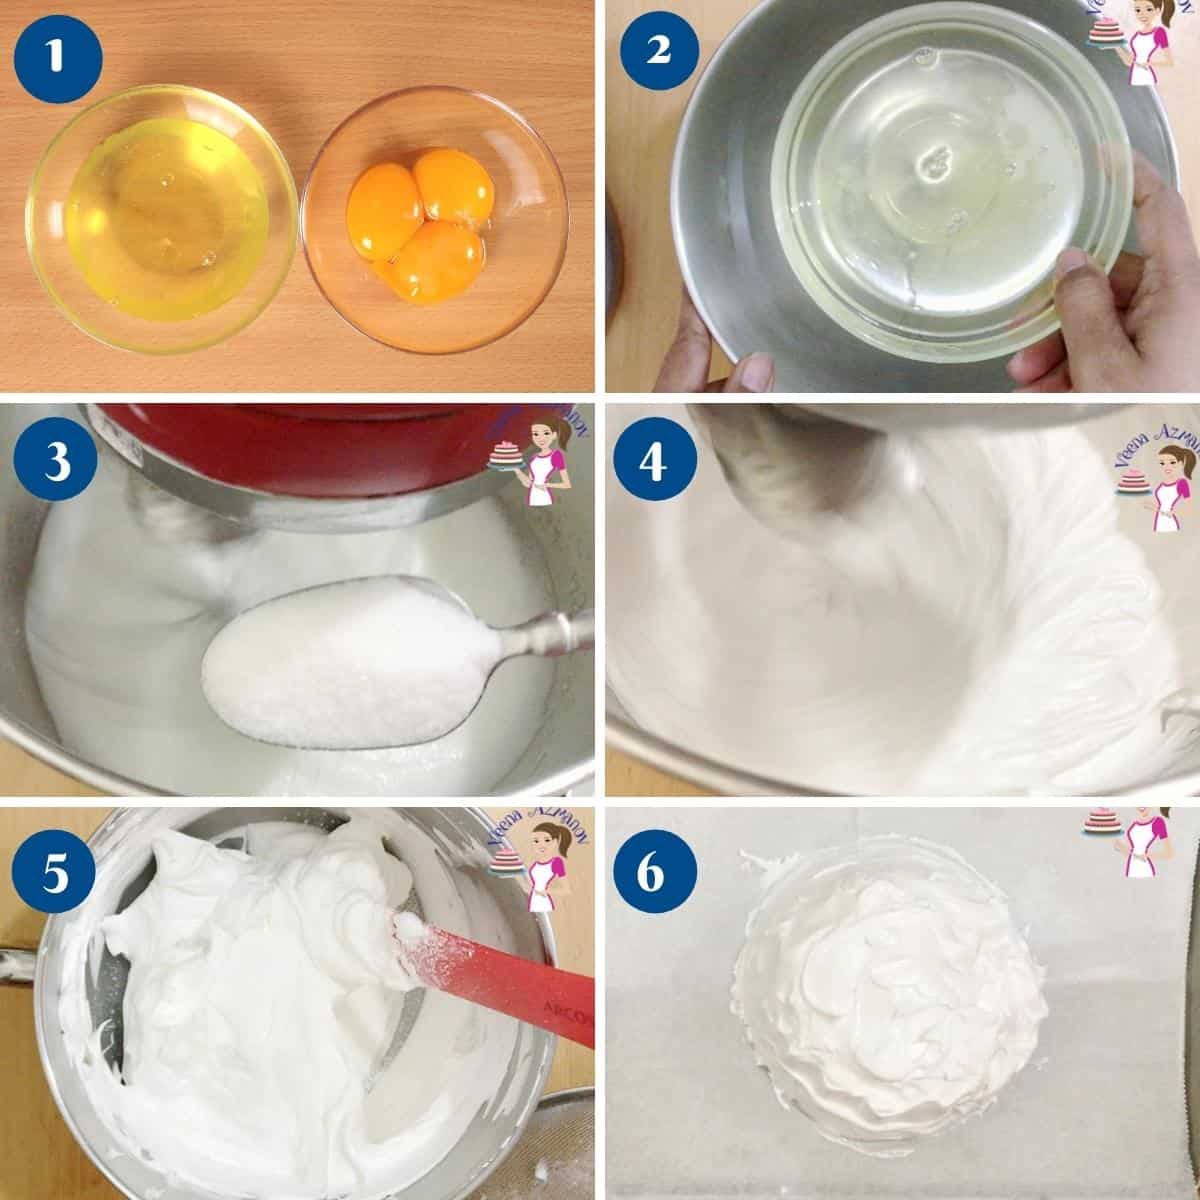
Template – Preheat the oven to 305F/150°C/ Gas Mark 2. Line a baking tray with parchment paper. Trace an 8-inch circle as a guide on the parchment paper. Flip the paper so the pencil side is down not under the meringue.Pro tip – we start with a higher temperature then change to a lower temperature when we place the pavlova in the oven.
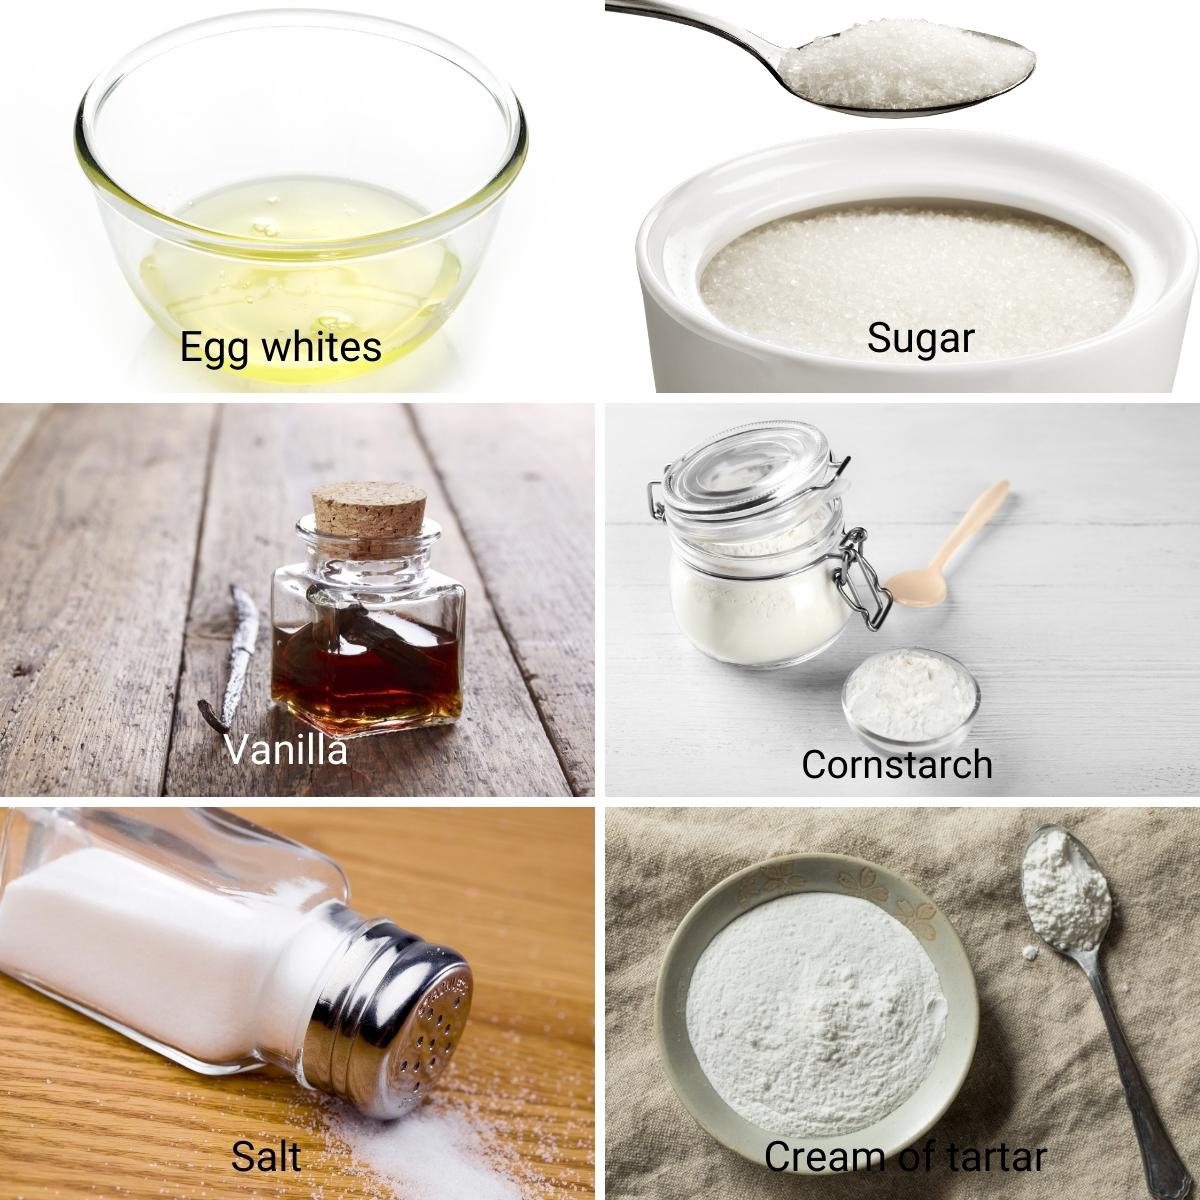
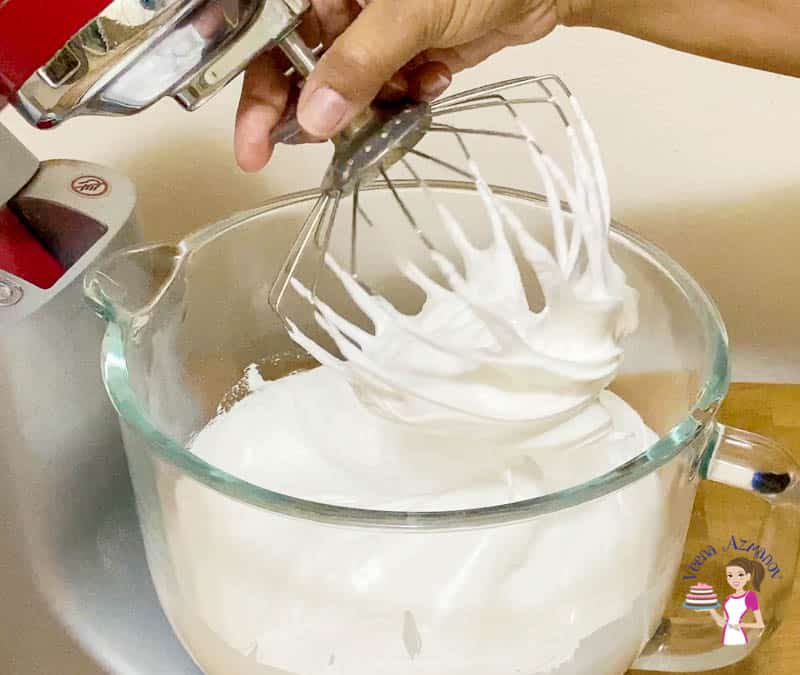
Egg whites – In the bowl of a stand mixer with a whisk attachment – whip the egg whites with salt on medium speed. Gradually add the sugar one tablespoon at a timePro tip – adding the sugar slowly prevents the protein from drying out. Adding sugar quickly can cause the meringue to become flat and runny later too. Sugar – Gradually add the sugar one tablespoon at a time. When all the sugar has been added – continue to whip the meringue until you have stiff peaks.Pro tip – the meringue should be sticky with stiff peaks but still have a shiny appearance. Additions – Switch to a spatula. Fold in the vanilla extract. Then sift in the cream of tartar and cornstarch.Pro tip – Cream of tartar helps stabilizes the protein in the meringue and prevents it from separating. The cornstarch absorbs all the excess moisture and gives a crisp meringue Shape – Spread the meringue on the circle you created – being careful to stay inside the circle. Use a spatula to smooth the sides evenly. Keep the sides high and the top flat.
Bake – Transfer the pavlova to the oven on the center rack. Close the oven door and immediately reduce the oven temperature to 265°F/130°C/Gas Mark 1/2. Bake for 90 minutes. When the baking time is done do not open the door, let the pavlova cool inside the oven naturally.Pro tip – (DO NOT OPEN THE OVEN DOOR DURING BAKING)You can leave it in the oven for 2 to 3 hours up to 12 hours.
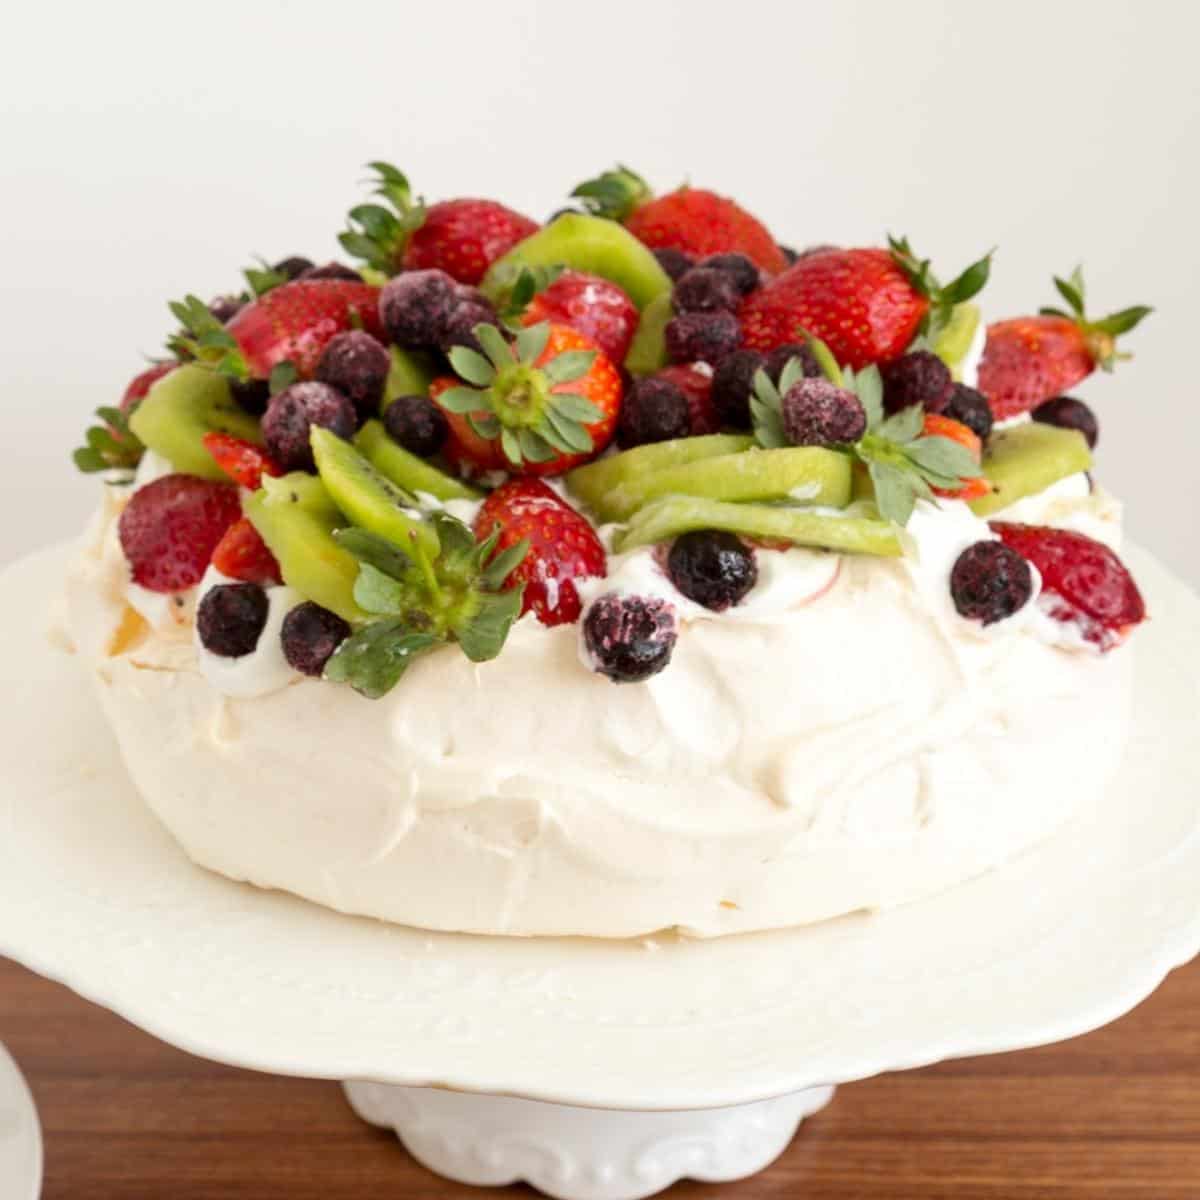
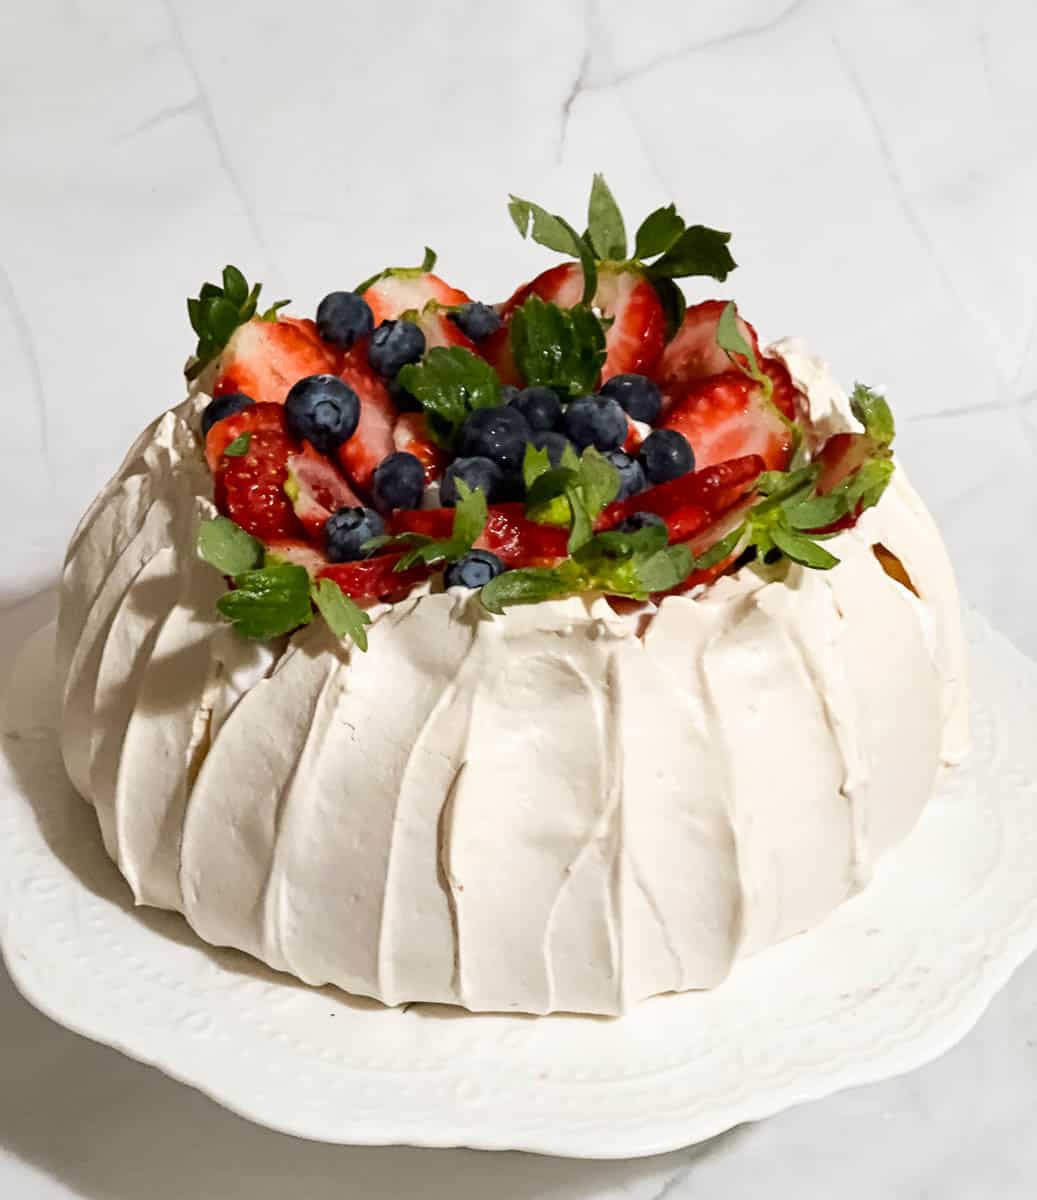
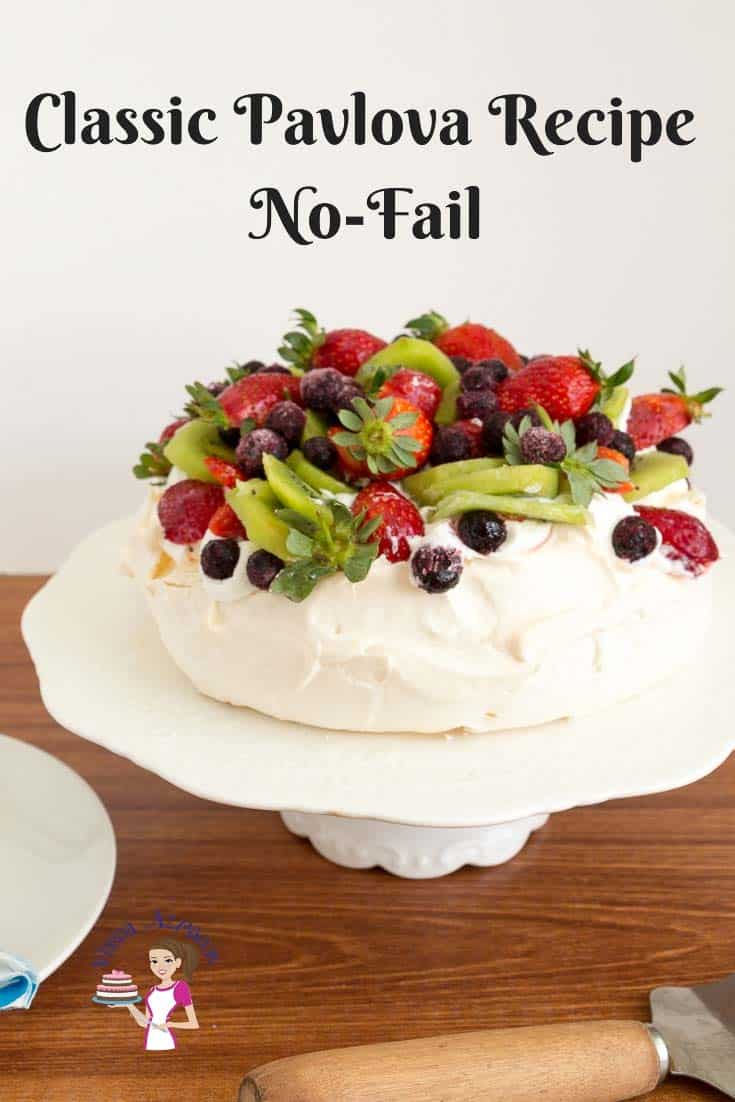
Whipped cream – In the bowl of a stand mixer with the whisk attachment whip the cream with powdered sugar.1 cup Whipping cream Loosen – Use an offset spatula to gently loosen the pavlova from the parchment paper. Place it on a serving platter or cake board.Pro tip – once assembled this is a delicate dessert to move around so always assemble it on a serving platter and not too early as the moisture from the whipping cream will make them soft Decorate – Evenly spread or pipe the whipped cream on each pavlova. Arrange the fruits of your choice. I’m using sliced strawberries, fresh blueberries, kiwi, and mint leaves for garnish. Enjoy!
Raspberry Pavlova Ice CreamMini PavlovasChristmas PavlovaElevate Your Baking with Italian Meringue ButtercreamItalian Meringue Buttercream with Meringue Powder
Frequently asked questions
Thank you for sharing - Save for later
Meringue vs pav? Both are made of egg whites and sugar. In a meringue, egg whites are whipped to stiff peaks. While for a pav, you take a whipped meringue, add cornflour and vinegar and then bake it low and slow. So pav is essentially a baked meringue.
That’s where this no fail recipe comes in. By following our tips and tricks, you’ll be able to impress your guests with a beautiful and delicious Pavlova every time. Not only is it a crowd-pleaser, but it’s also a versatile dessert that can be customized to suit any taste. Try my mini pavlovas or raspberry pavlova ice cream. Also, most of the ingredients are easy to find or simple pantry staples. In fact, if you have leftover egg whites this is a great dessert to use. And, this is a perfect make-ahead dessert. Just make the pavlova ahead of time and frost it on the day of the event. It is gluten-free and Nut-free so it is a great dessert to serve when entertaining. So why settle for a store-bought cake when you can whip up a Pavlova that’s sure to be the star of the show?
Weigh your eggs to ensure you have approximately 150 to 160 grams. 4 large eggs often make between 140 to 177 grams, depending on the size. You may need more or fewer than 4 egg whites. Use room temperature eggs – Cold egg whites don’t whip up as well as room temperature ones. Let your eggs sit at room temperature for at least 30 minutes before separating them. Any grease in the egg whites will not whip the meringue. So break each egg separately in a bowl before you combine all four. If any egg yolk breaks when baking, save it for your breakfast omelet and use another egg. Aged eggs are often the best for making meringues. So if you have any egg whites in the freezer or fridge use them for this recipe as long as they are yolk-free. Add sugar slowly. Adding the sugar too quickly can cause a grainy texture. Pour it in slowly, one tablespoon at a time, while beating the egg whites. Meringue does require a good amount of whipping, handheld or whisk can be hard work. Use a stand mixer if possible Use cornstarch and vinegar: Adding cornstarch and vinegar to your egg whites stabilizes them and helps give the pavlova its signature crispy exterior and marshmallowy interior. A circle of 7 to 9 inches works best for this recipe. Do not make it smaller or larger than 9 inches. The taller the pav the higher the risk of being undercooked in the center. So, one way to ensure it cooks is to create a little dip in the top. Not too low, it also prevents sinking. DO NOT OPEN THE OVEN DOOR WHEN BAKING – OR AFTER THE PAV HAS BAKED. Cooling naturally in the oven will prevent sinking. Let it cool in the oven. Once your pavlova is finished baking, turn off the oven and let it cool inside. This will prevent cracks from forming and give the pavlova time to set. To cool the pav quicker, gently create an opening in the oven door with a wooden spoon. This will help the warm air to escape slowly and prevent sinking. A well-baked pav will have cracks on the outside with a small marshmallow-like pillow on the inside. Add whipped cream and fruit just before serving. Moisture from the cream and fruits will start to soften the crisp outer shell and soak into the inside.
