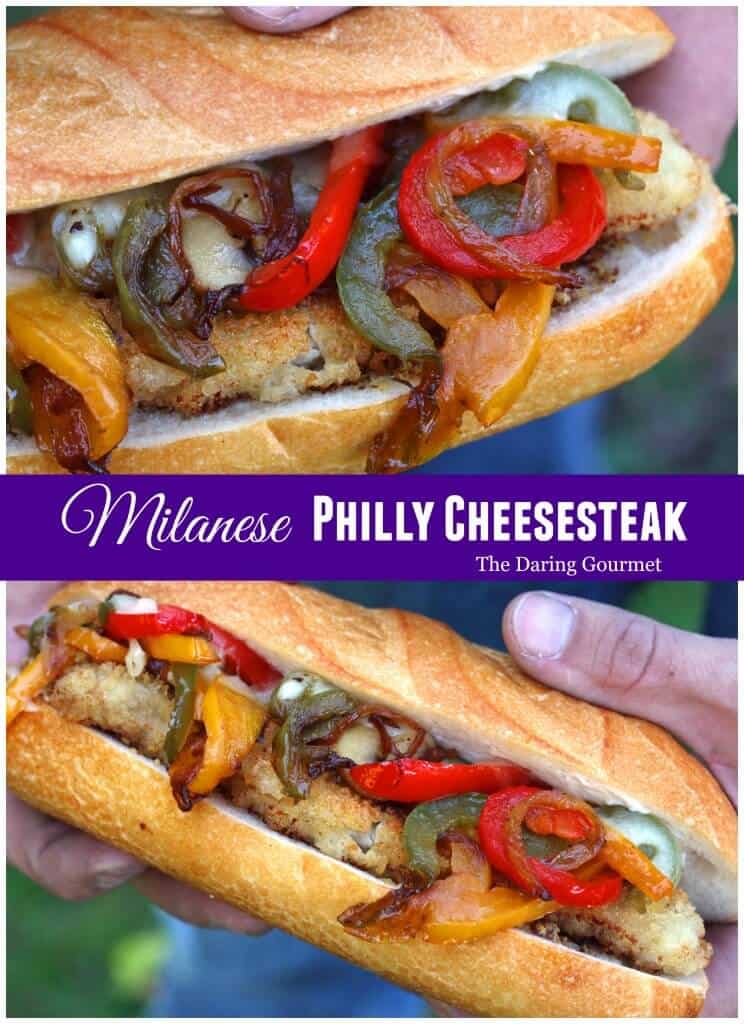
The all-American Philly Cheesesteak sandwich gets an Italian makeover! These Milanese Philly Cheesesteak is packed with flavor and will have your taste buds singing!
This is the sandwich that had my husband’s colleagues clamoring at his office door at lunchtime as its fragrance filled the whole clinic. Todd called me up to tell me, “everyone here is salivating over it!” Every Philly Cheesesteak shop thinks they’ve got the best version. And I’m not going to attempt to compete with any of the iconic cheesesteak shops in Philly. What I’m doing is creating a fun Italian twist to this all-American classic. After all, if you’re going to add a twist to the Philly Cheesesteak it’s only fitting that it should be Italian, right? Philadelphia’s strong and proud Italian roots date back to the Colonial Era. And the Philly Cheesesteak’s inventor, Pat Olivieri, was also Italian-American. And so we’re going to take this classic American dish and combine it with a classic Italian dish – Veal Milanese – to create this irresistibly delicious Milanese Philly Cheesesteak!
Note: You can use your choice of beef, veal, pork, chicken or turkey to make these cheesesteaks. As the name suggests, Milanese is attributed to Milan, Italy where veal has been the traditional choice for these classic breaded and fried cutlets. Veal is much leaner and milder than beef; so lean that it almost melts in your mouth. Combine the delicate texture and flavor of veal with a delightfully crispy breaded coating and it’s no wonder Veal Milanese has been so popular that, through Italian immigrants, it made its way to South America where it’s still hugely popular today. Incidentally, Veal Milanese and Wiener Schnitzel are virtually identical dishes (Wiener schnitzel cheesesteak, anyone?). In fact, the Italians and Austrians have been arguing for eons over who created it first. I won’t get involved in that one. I’ll just enjoy the dish :)
Milanese Philly Cheesesteak Recipe
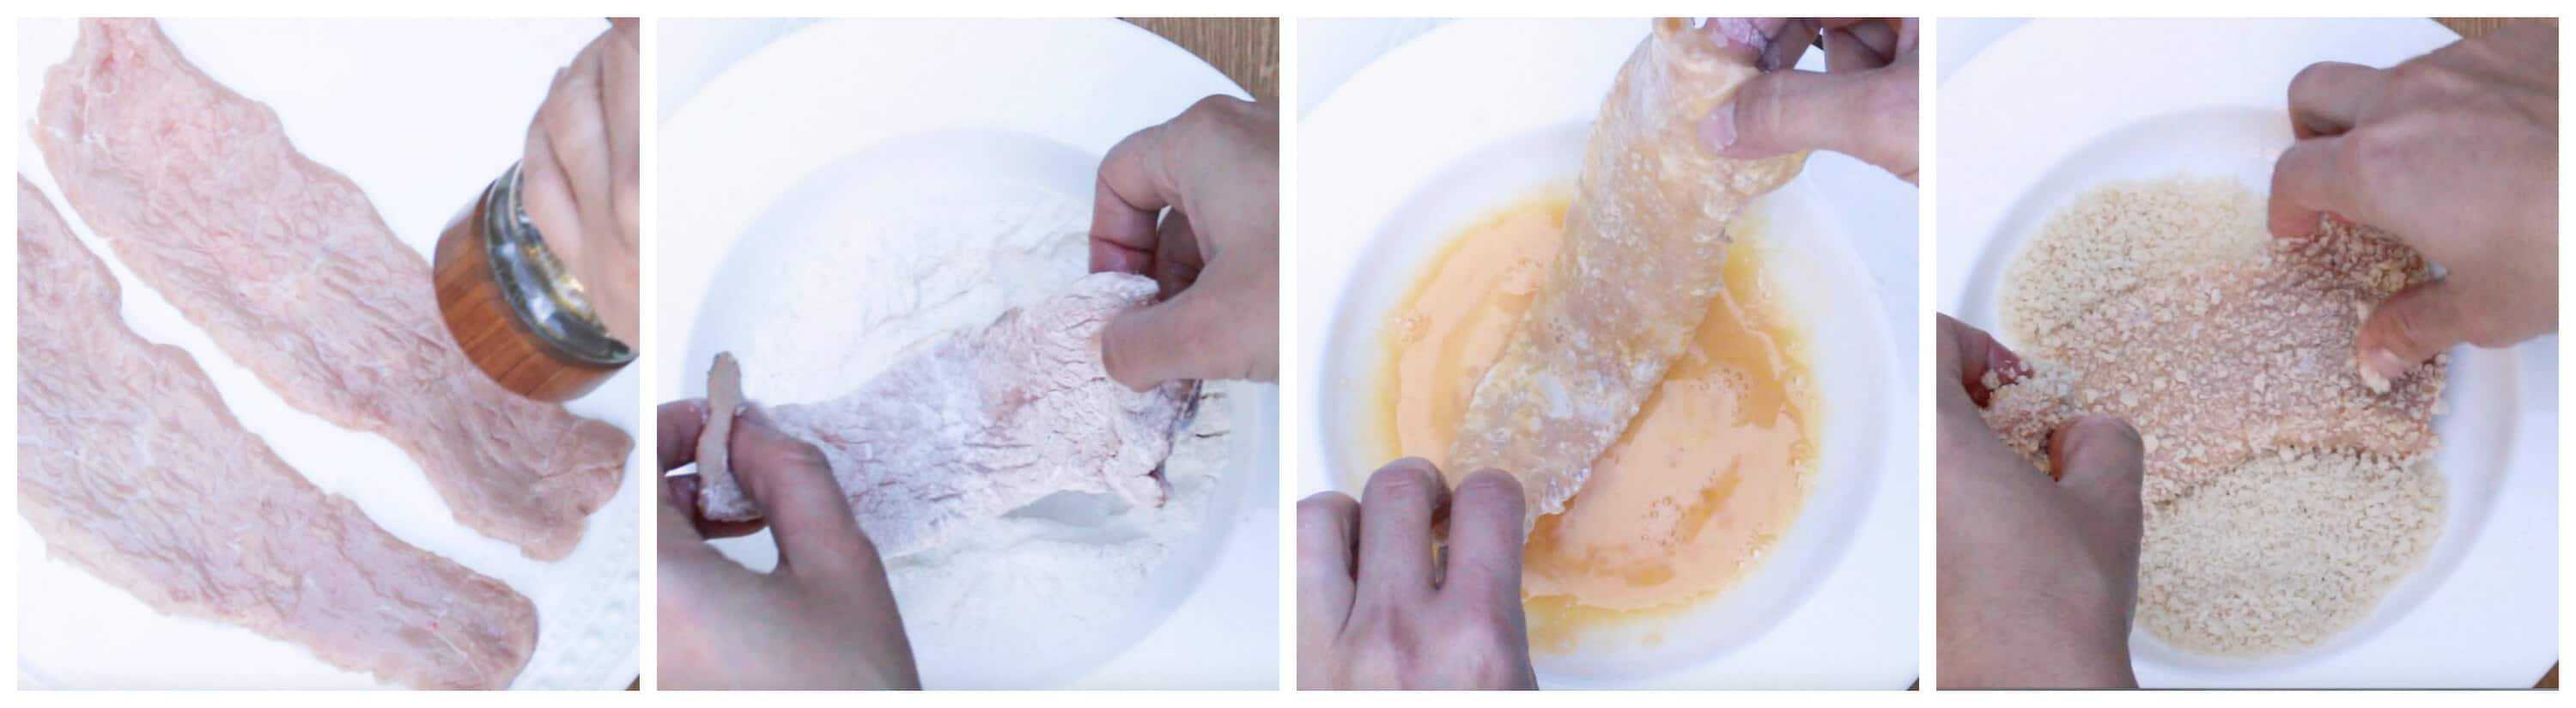
Let’s get started! Lightly salt and pepper each cutlet. Dredge the cutlets on all sides in flour, dip them in egg yolk and then coat them on all sides in panko breadcrumbs shaking off any excess.
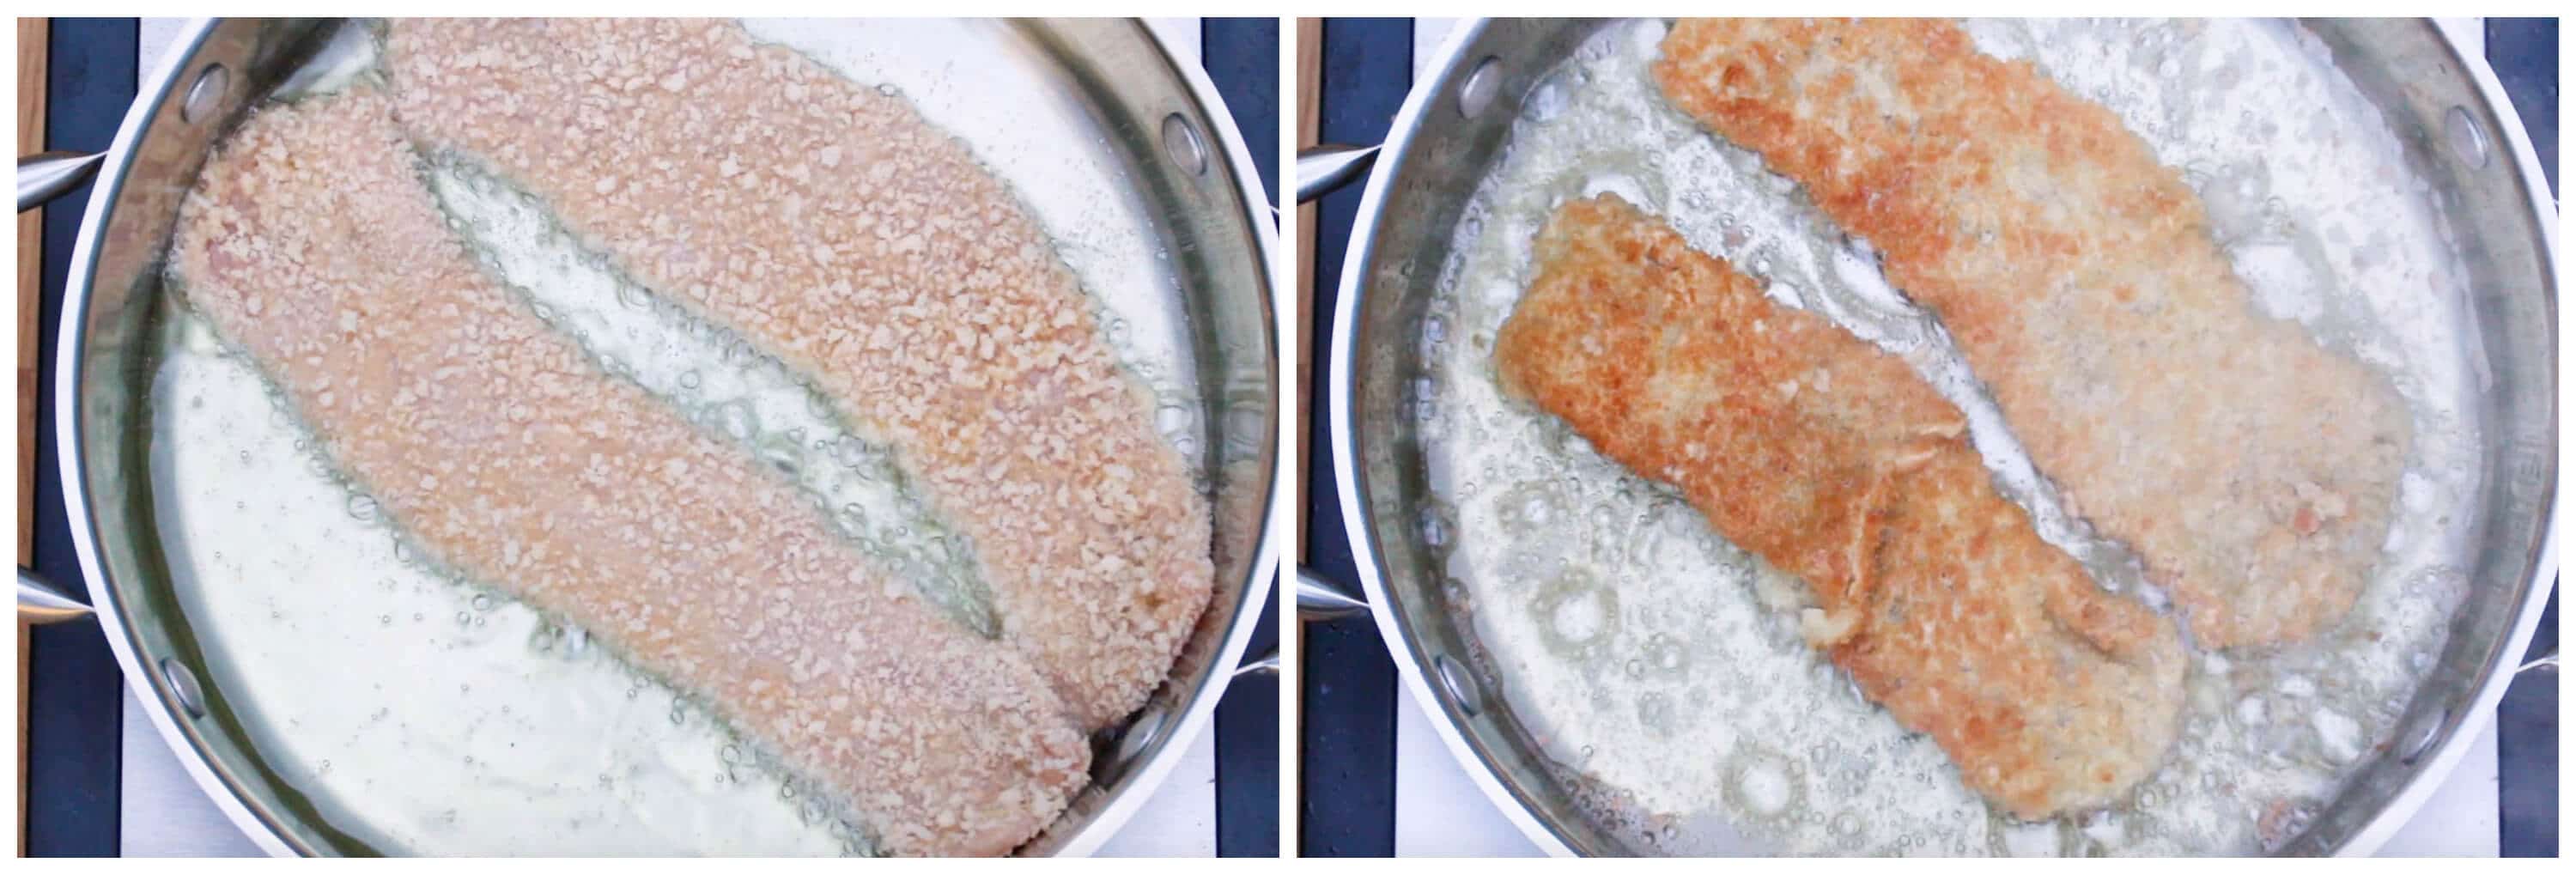
Immediately fry the cutlets. Don’t let them sit in the coating or the end result won’t be as crispy. Another key to achieving a great crispy result is to make sure the oil is hot enough – but not too hot. You don’t want the coating to burn before the meat is done. Conversely, if the oil isn’t hot enough the coating will be on the soggy side because more oil will penetrate the crust. Having the oil the right temperature will result in a drier, less oily, crispier crust and a meat interior that is tender and juicy. The oil should be around 330ºF. Fry the cutlets on both sides until golden brown. Transfer them to a paper towel-lined plate and place them in a warm oven. Do not tent them with aluminum foil or the steam will cause the crust to become soggy.
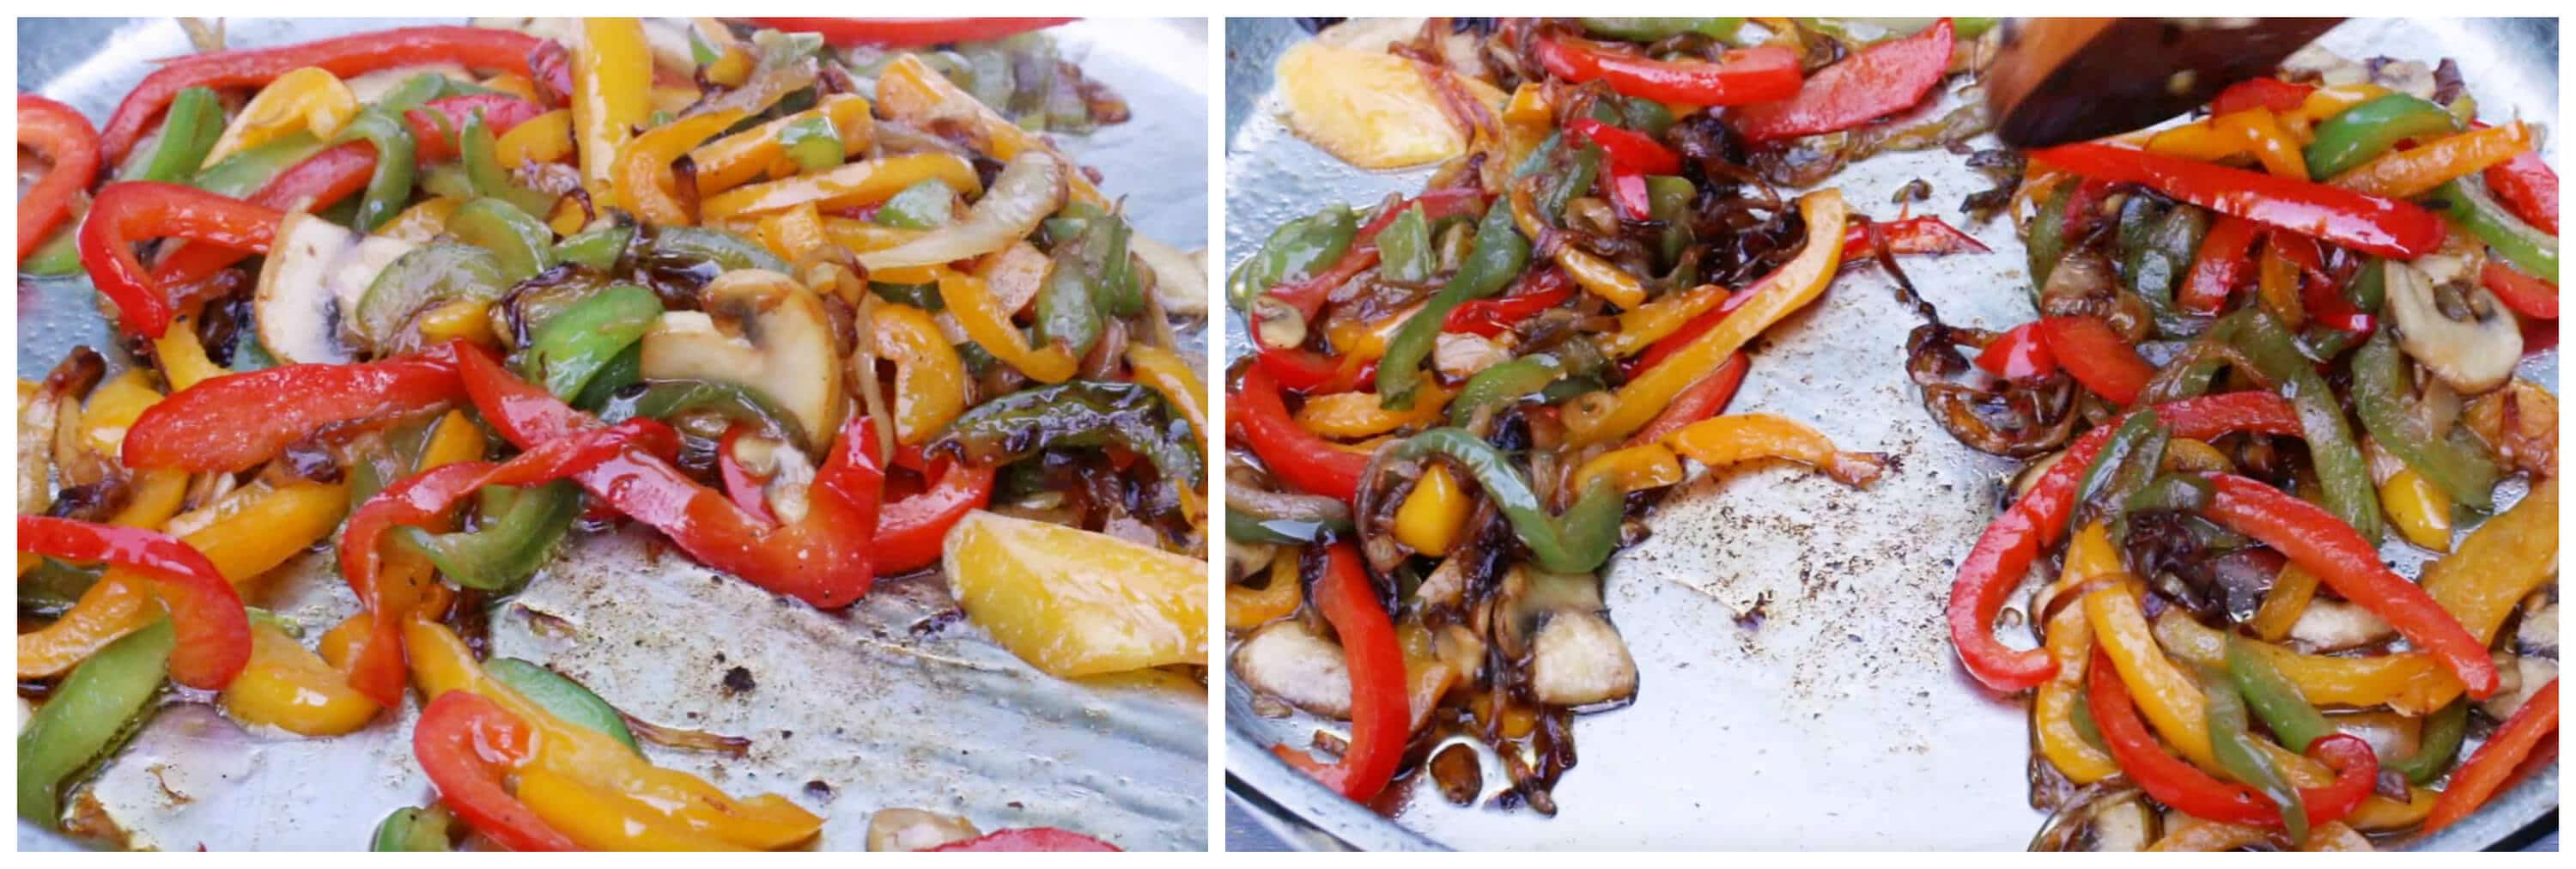
Fry the onions until lightly browned then add the bell peppers and mushrooms. Fry until crisp-tender and season with the garlic powder, onion powder, salt and pepper. Divide the vegetable mixture into serving portions.
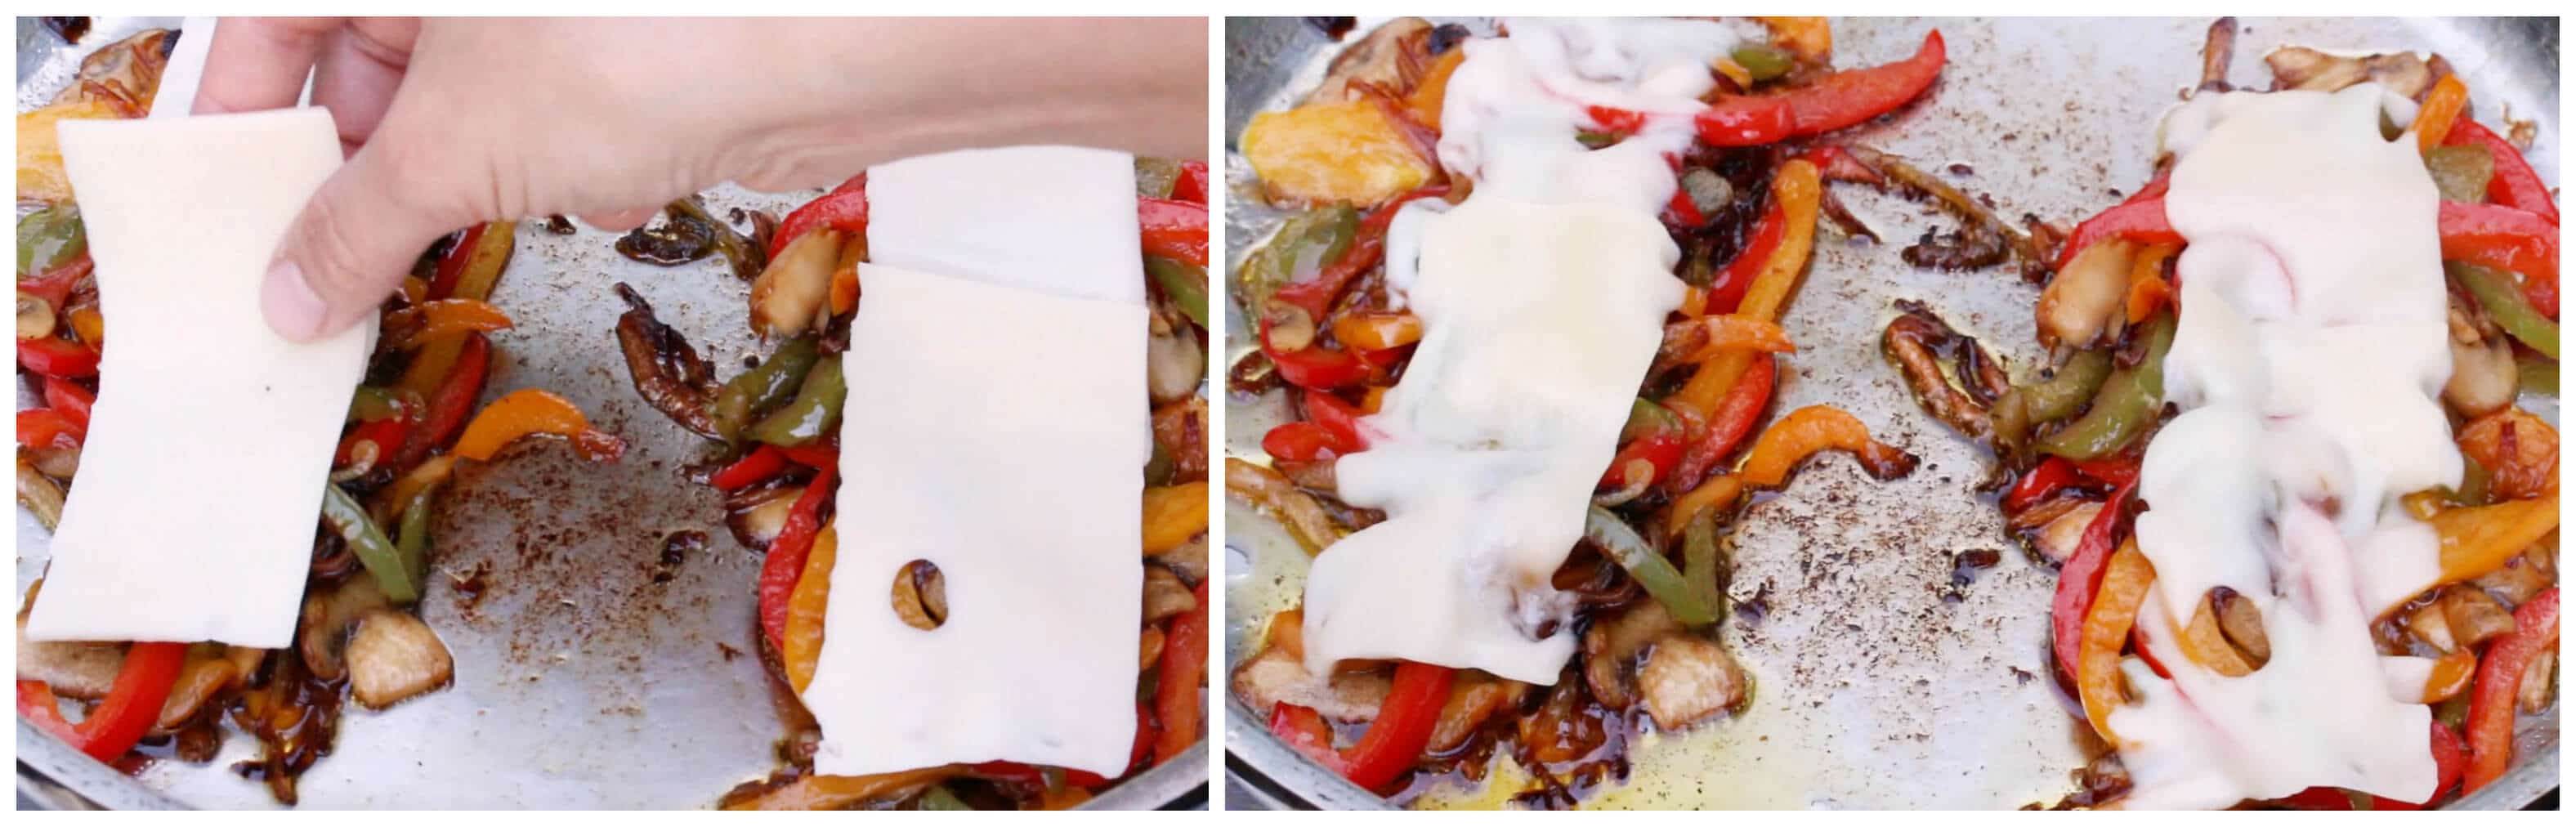
Top each portion with cheese and let it melt.
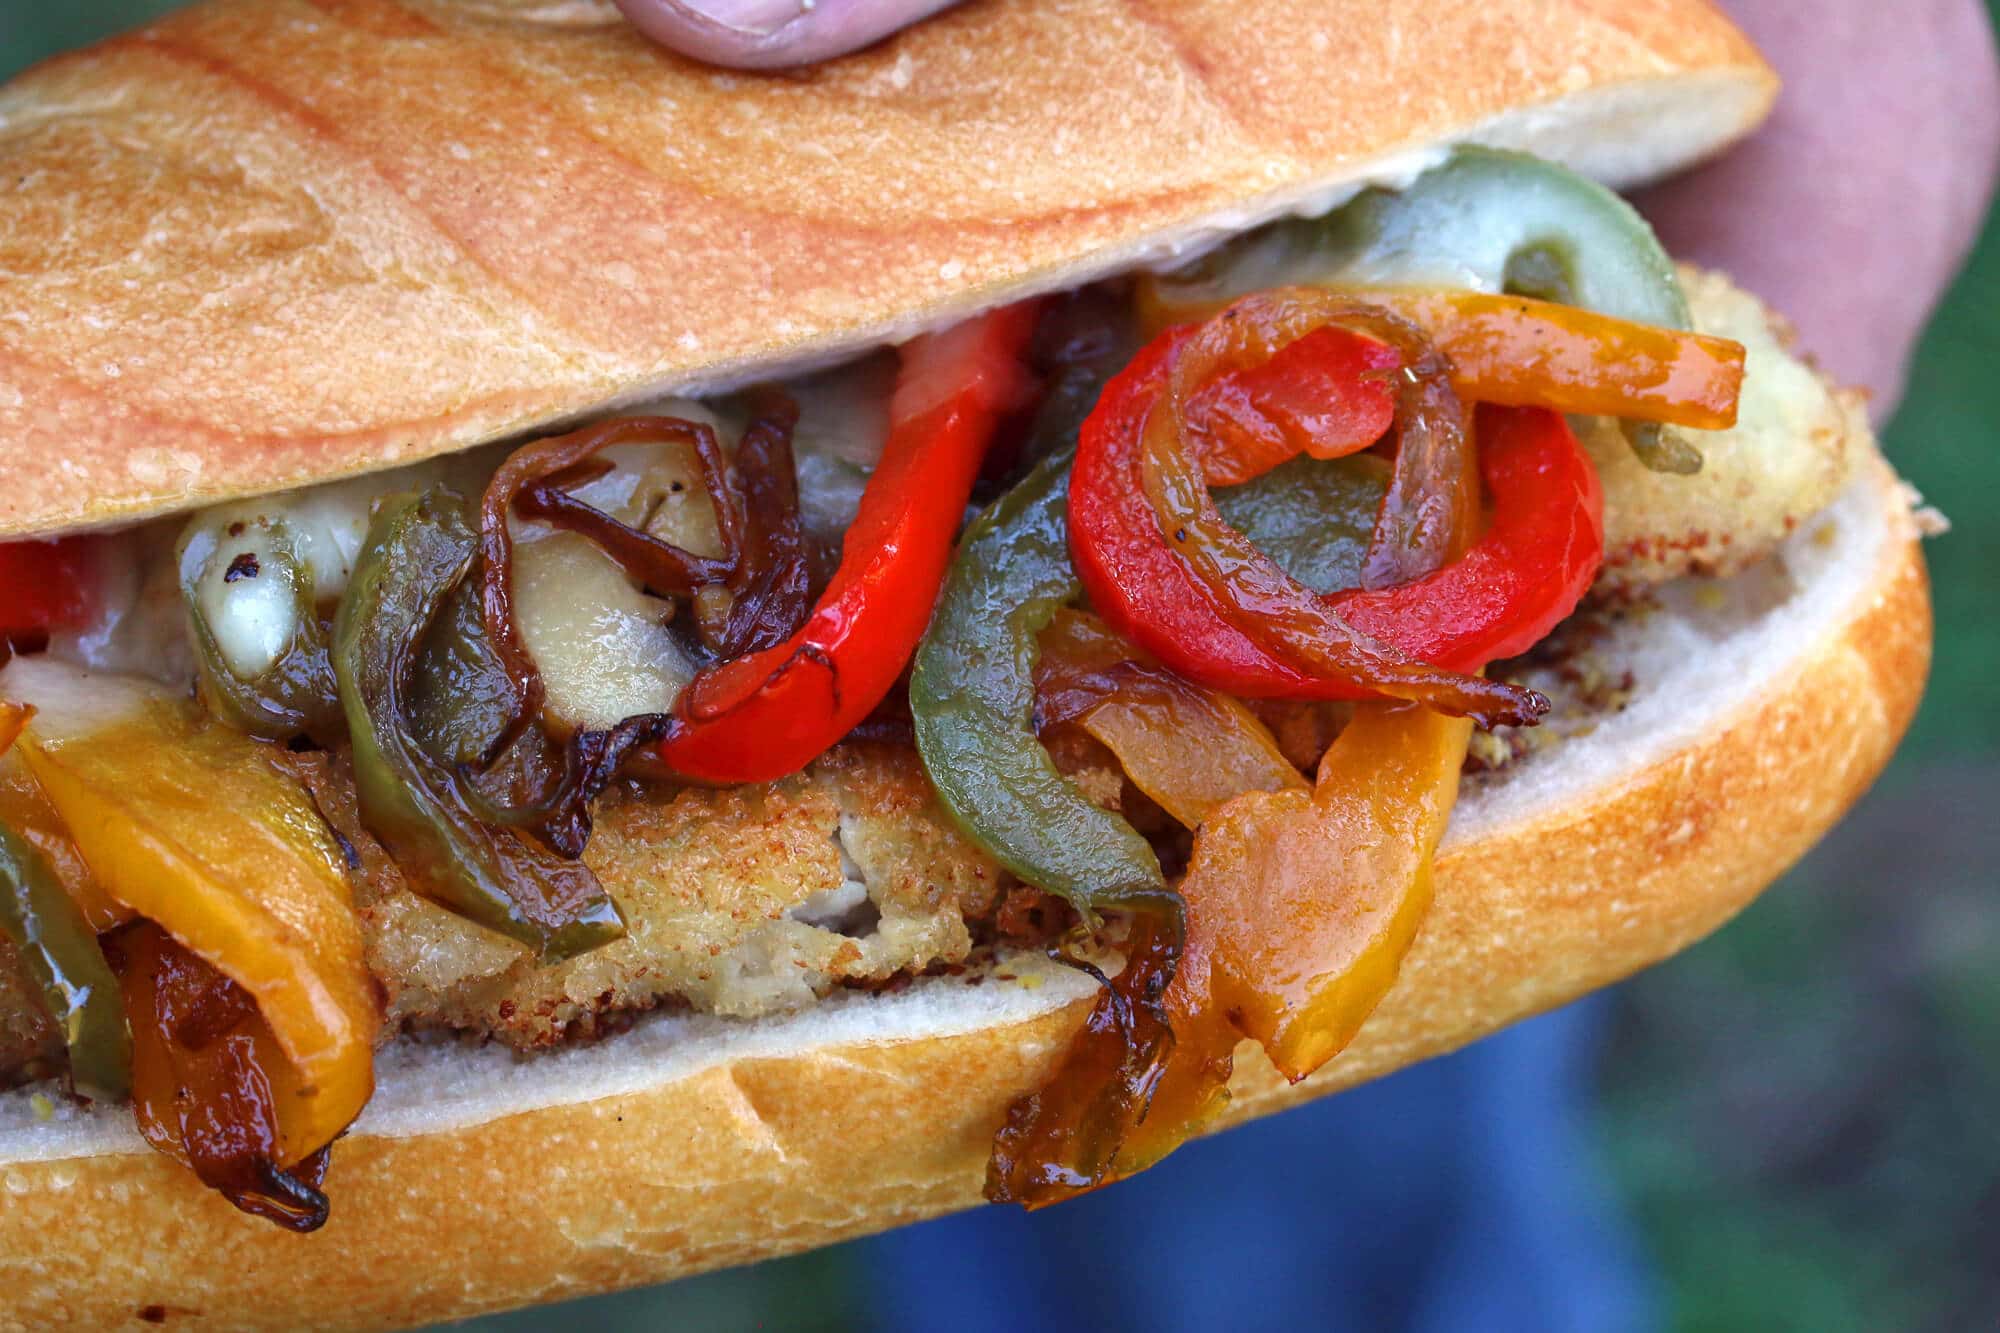
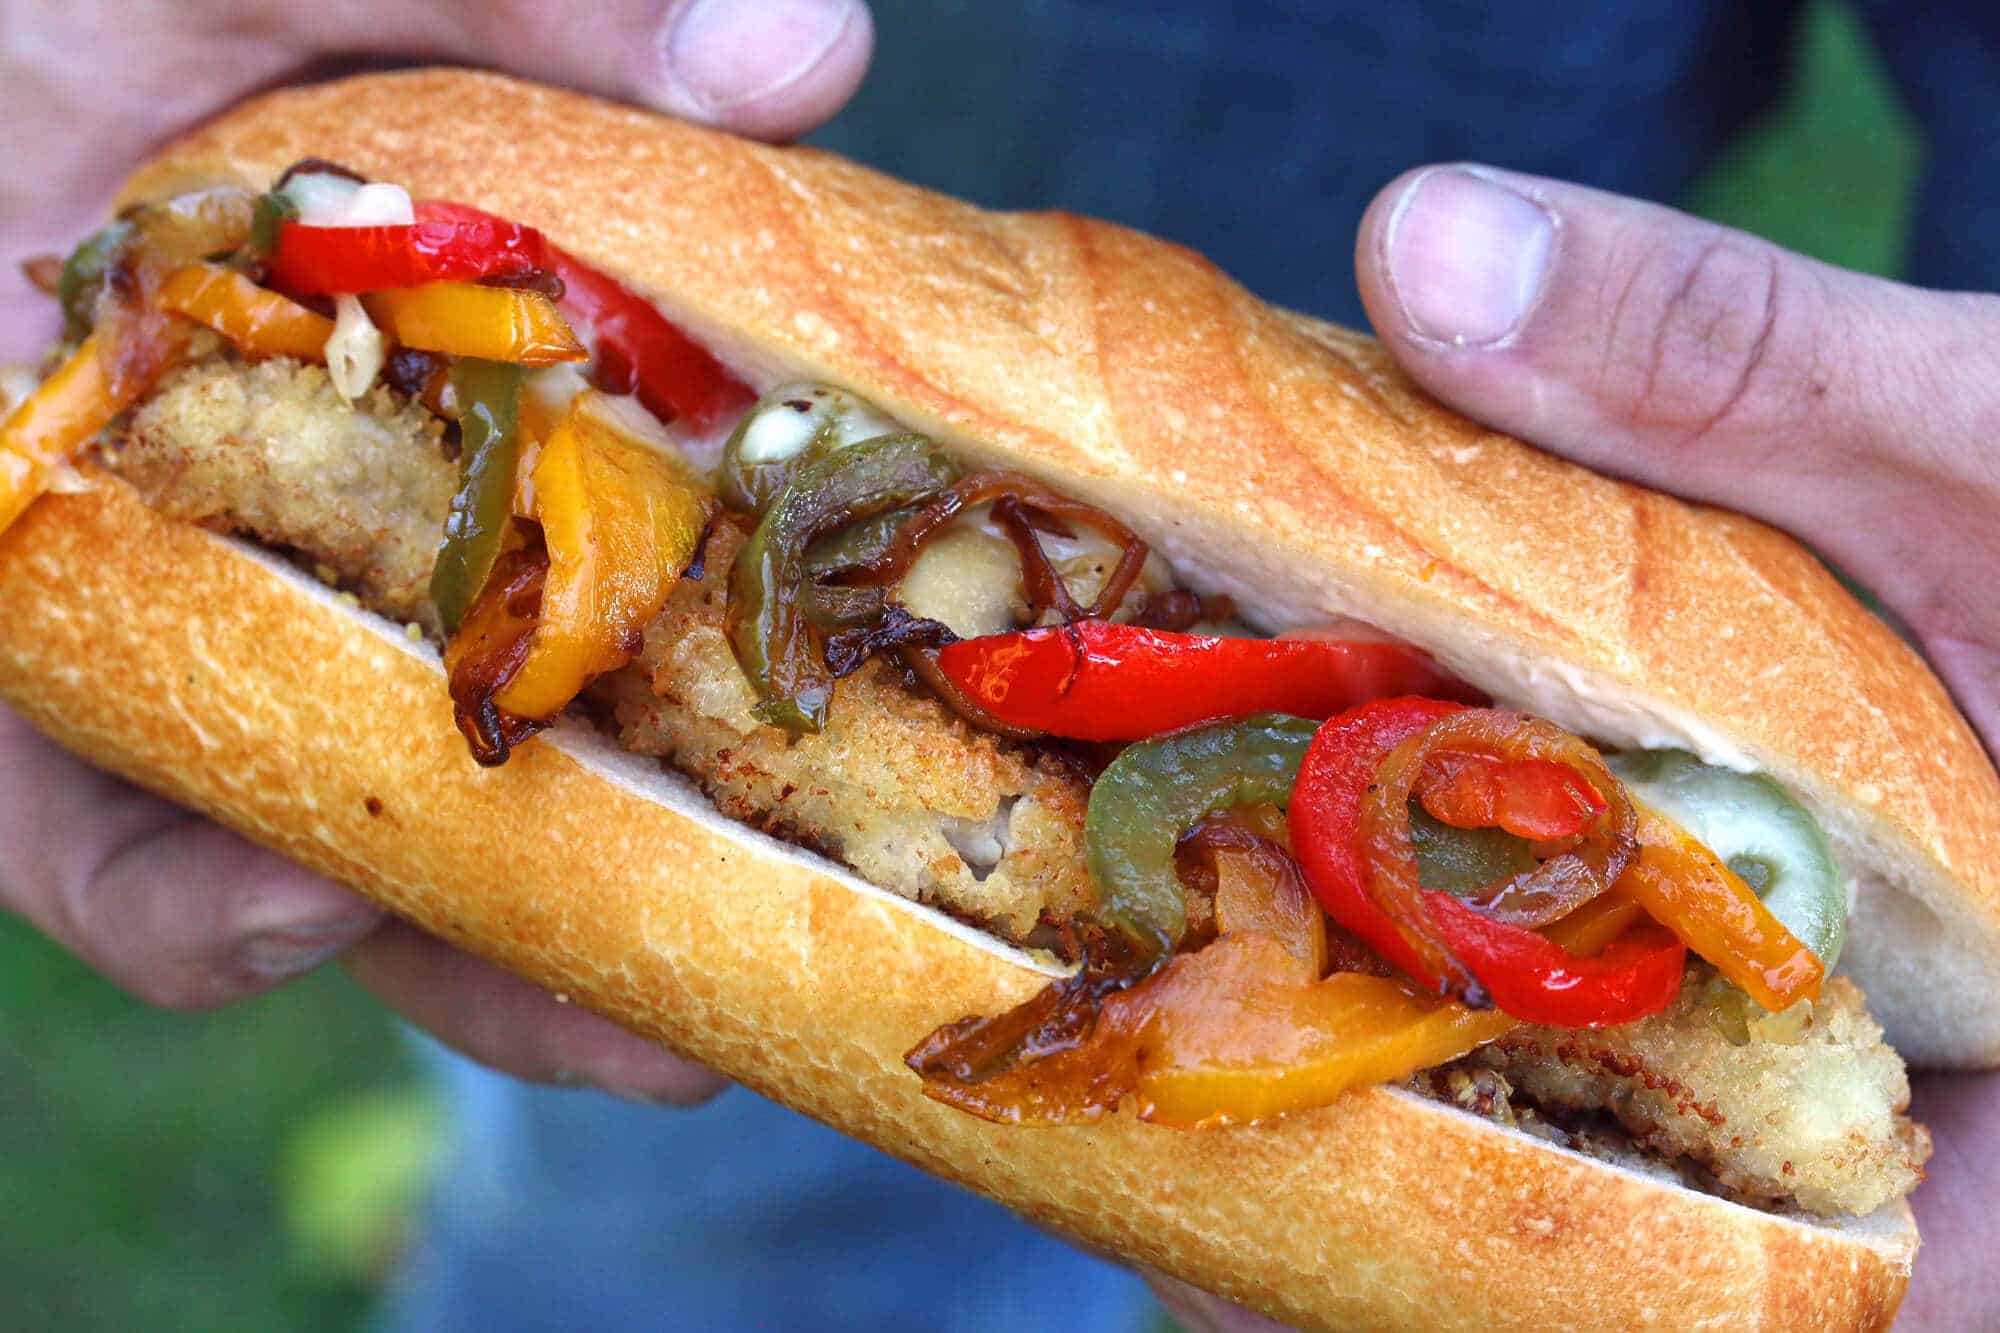
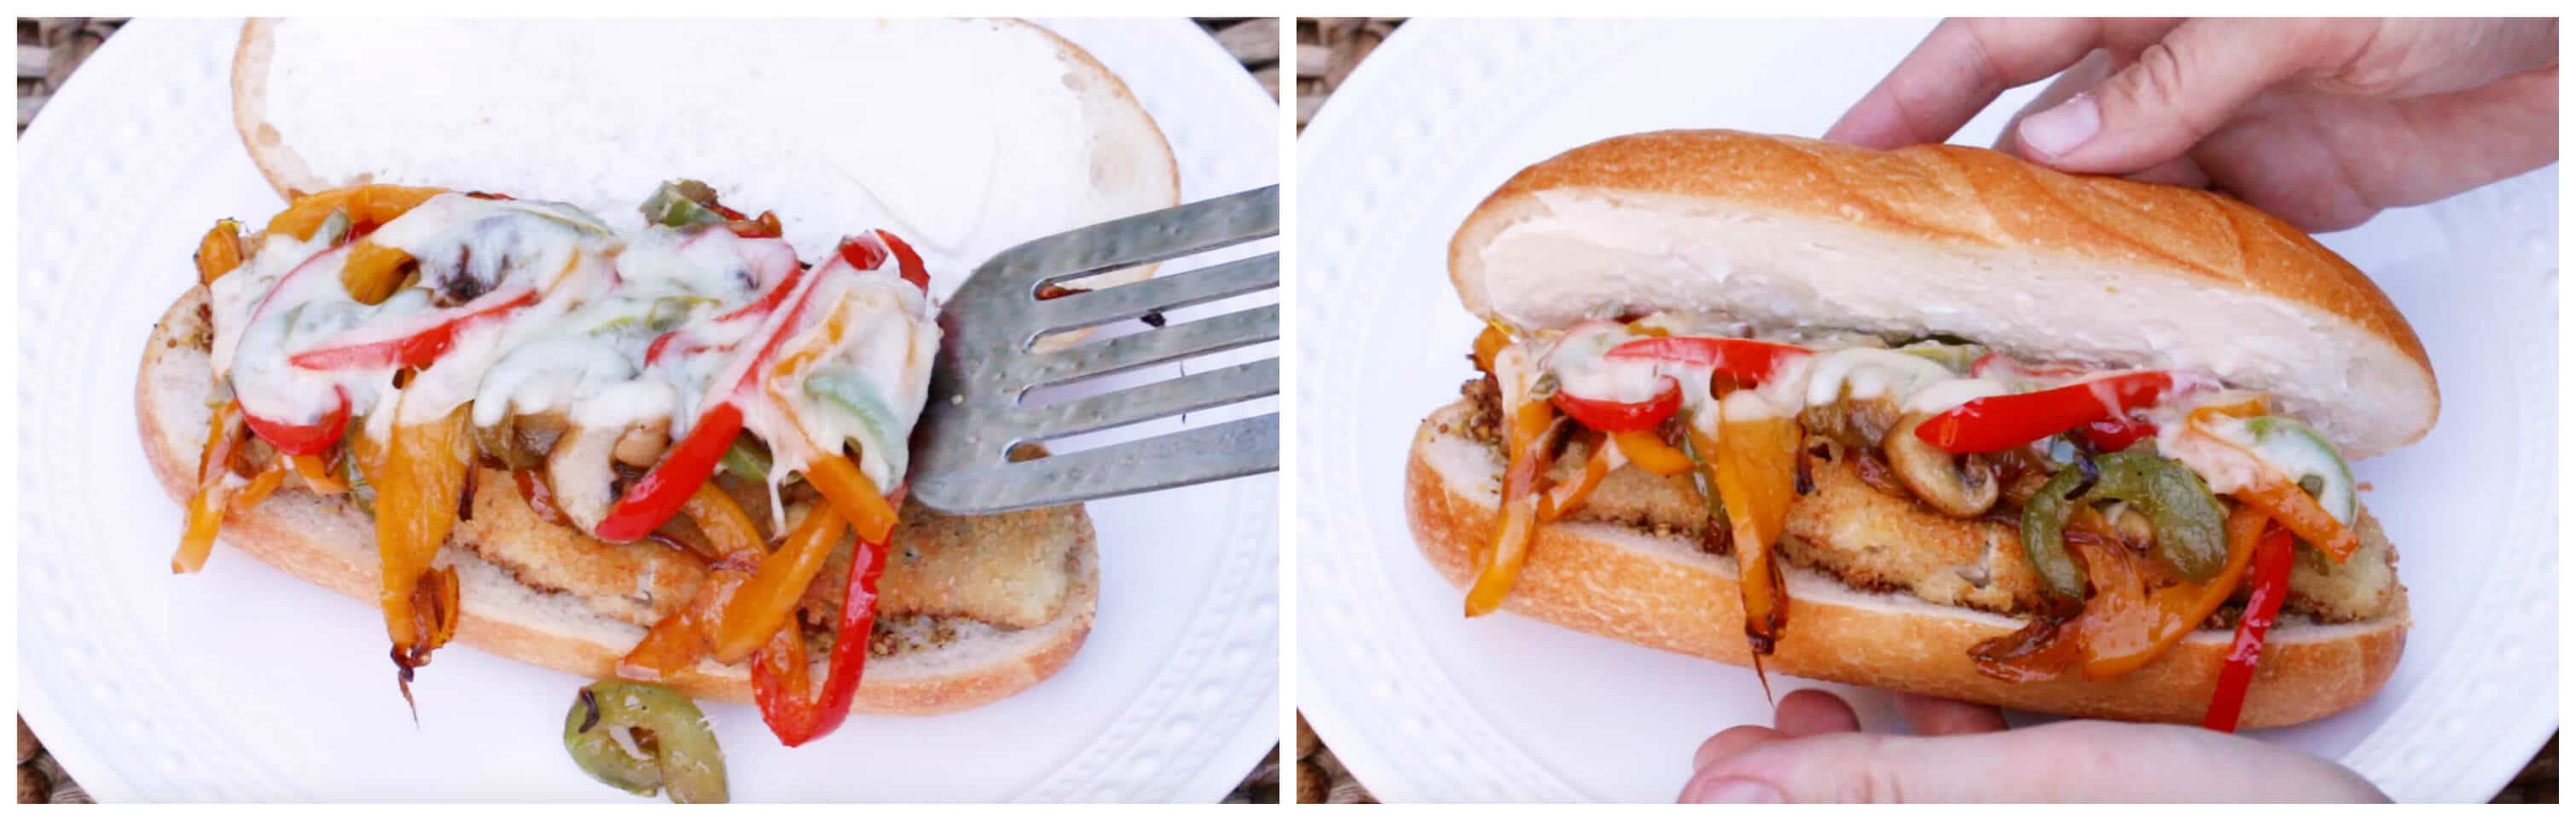
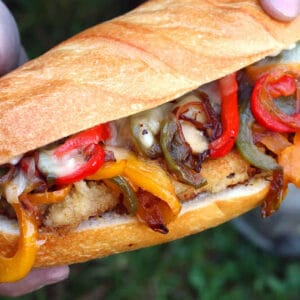
Lightly toast the hoagie rolls and slather them down with mayonnaise and/or a good grainy mustard. Lay a cutlet on each hoagie roll and top with the vegetable/cheese mixture.
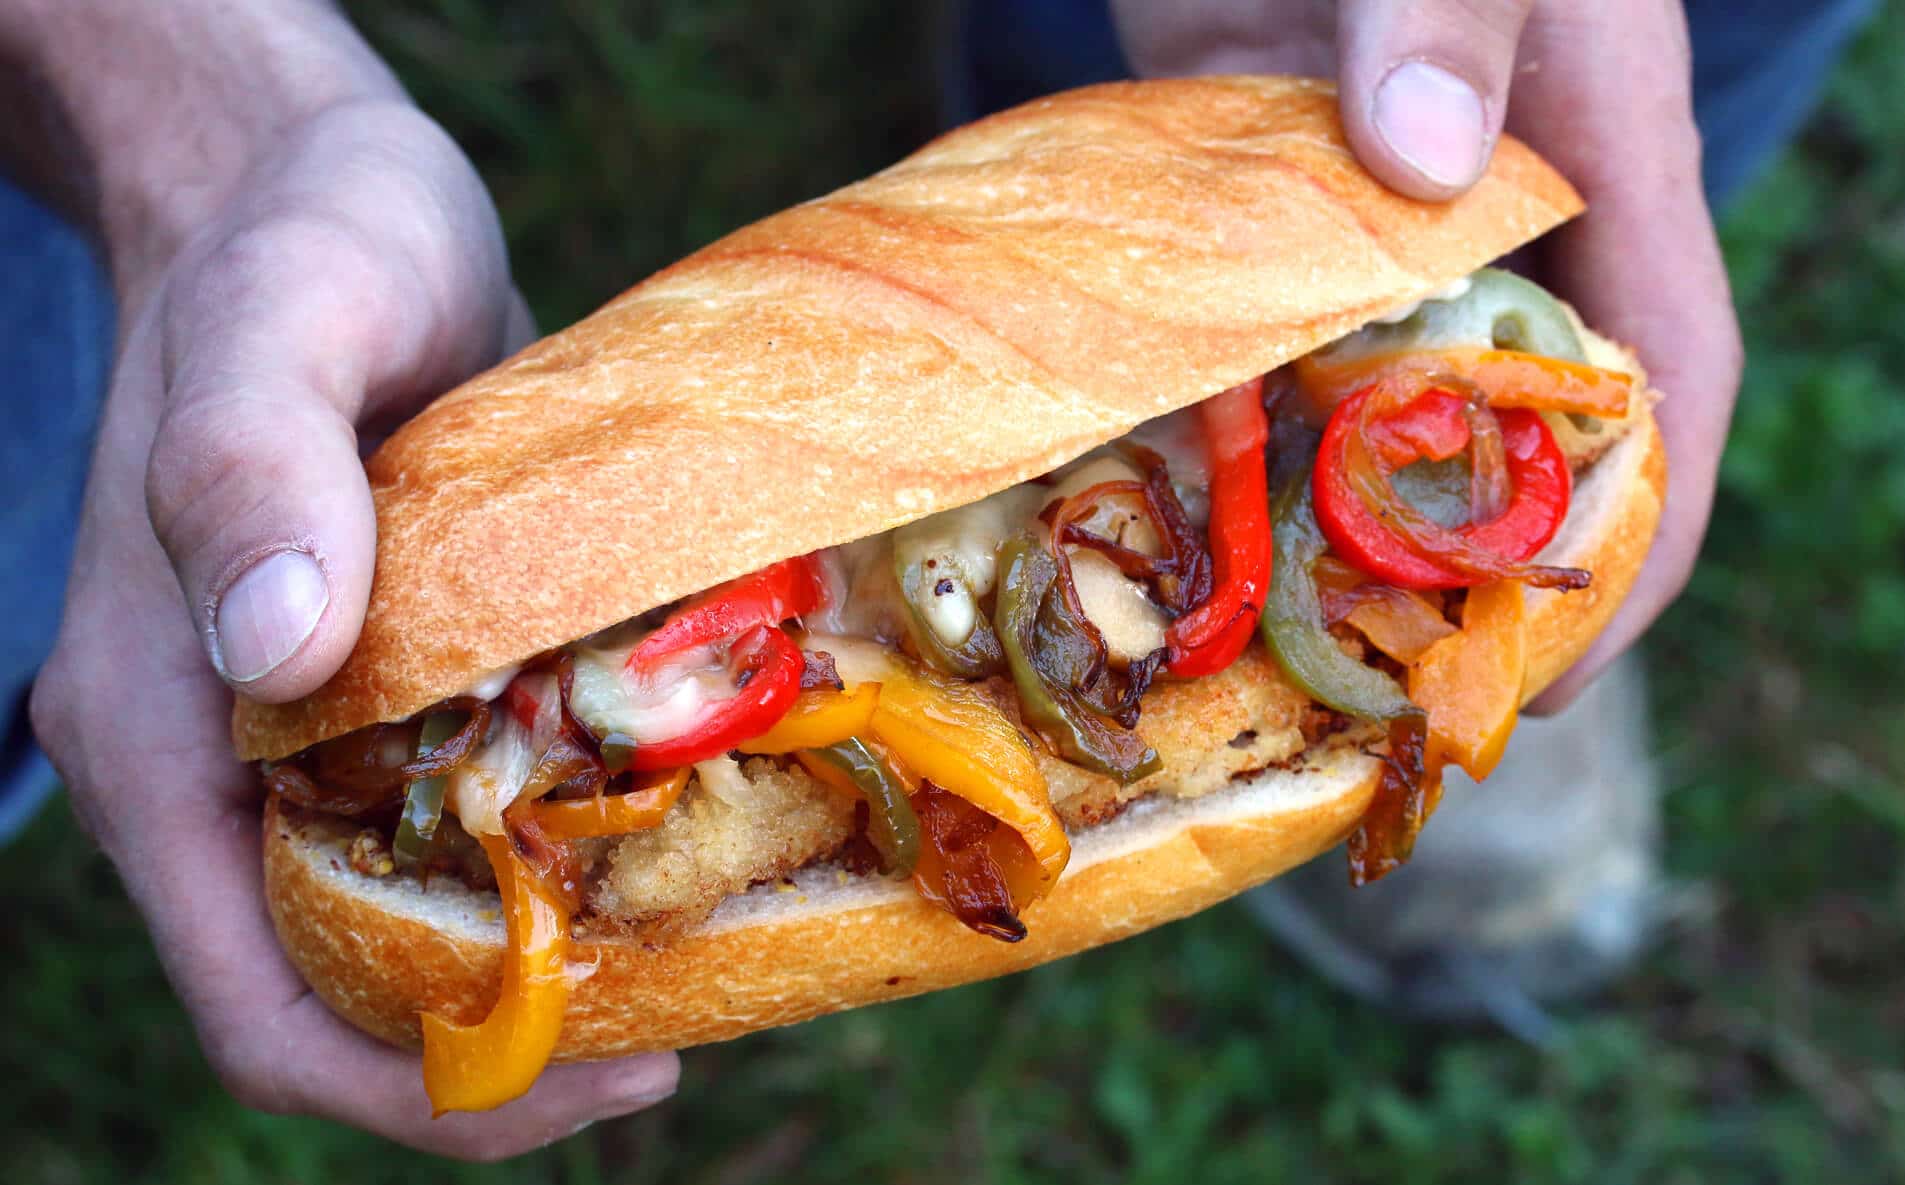
Serve immediately. Buon Appetito! Enjoy!
PIN ME!
Be sure to also check out our classic Philly Cheesesteak recipe! For a truly classic and authentic Italian sandwich, check out our recipe for Porchetta! Originally published on The Daring Gourmet October 16, 2016 Read more about me…