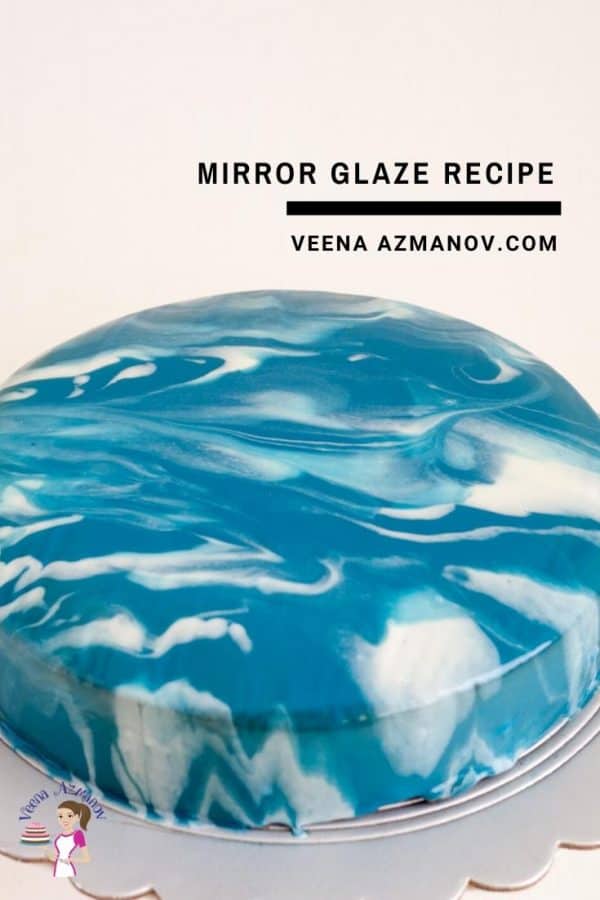
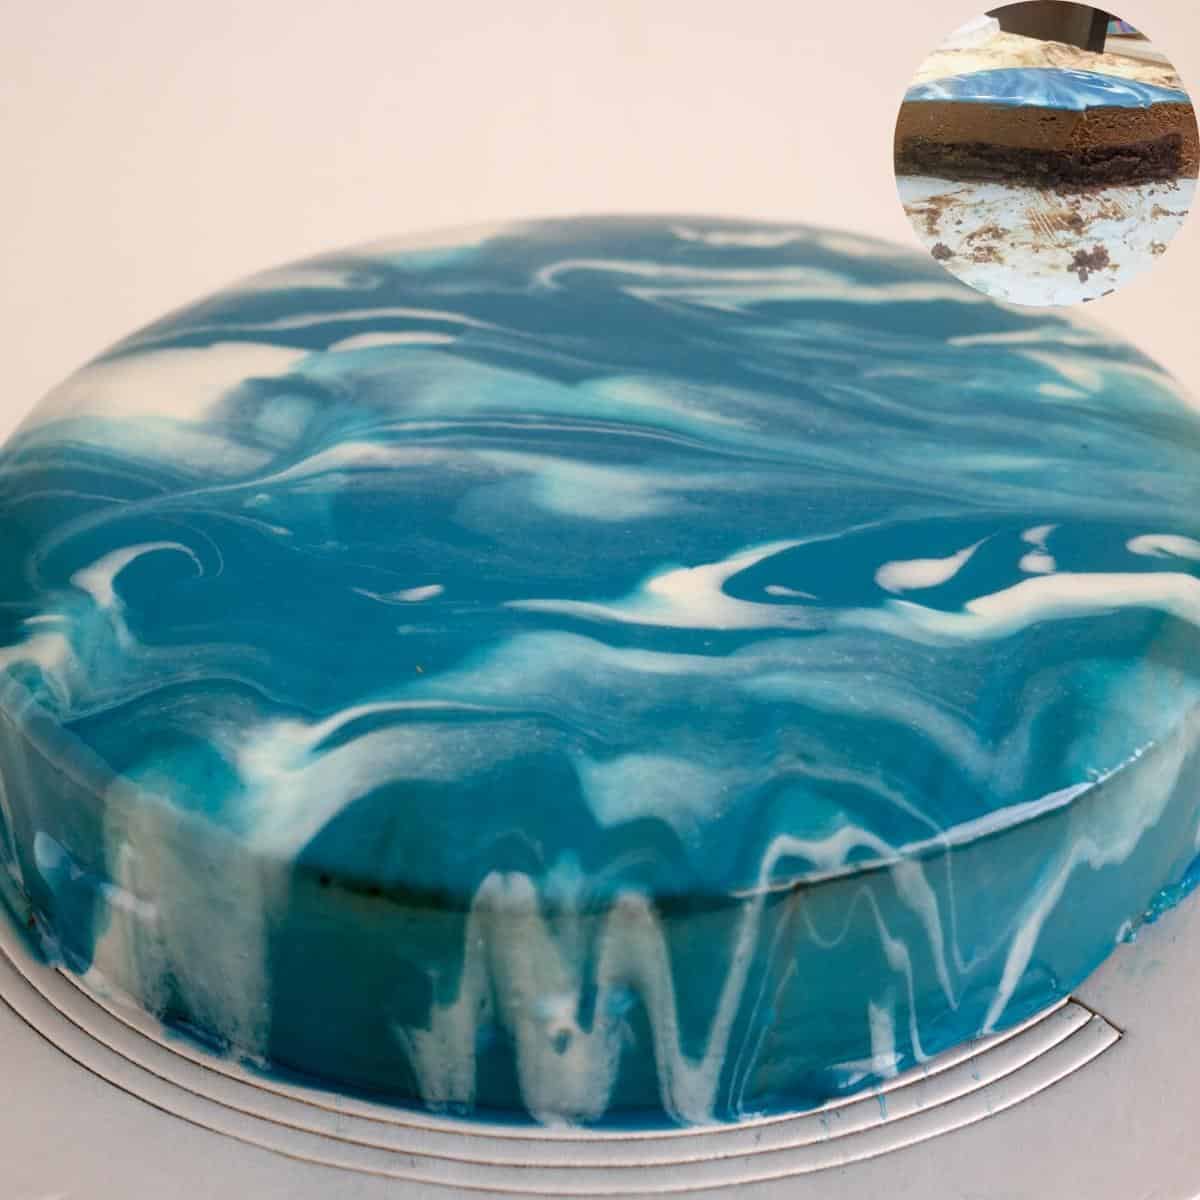
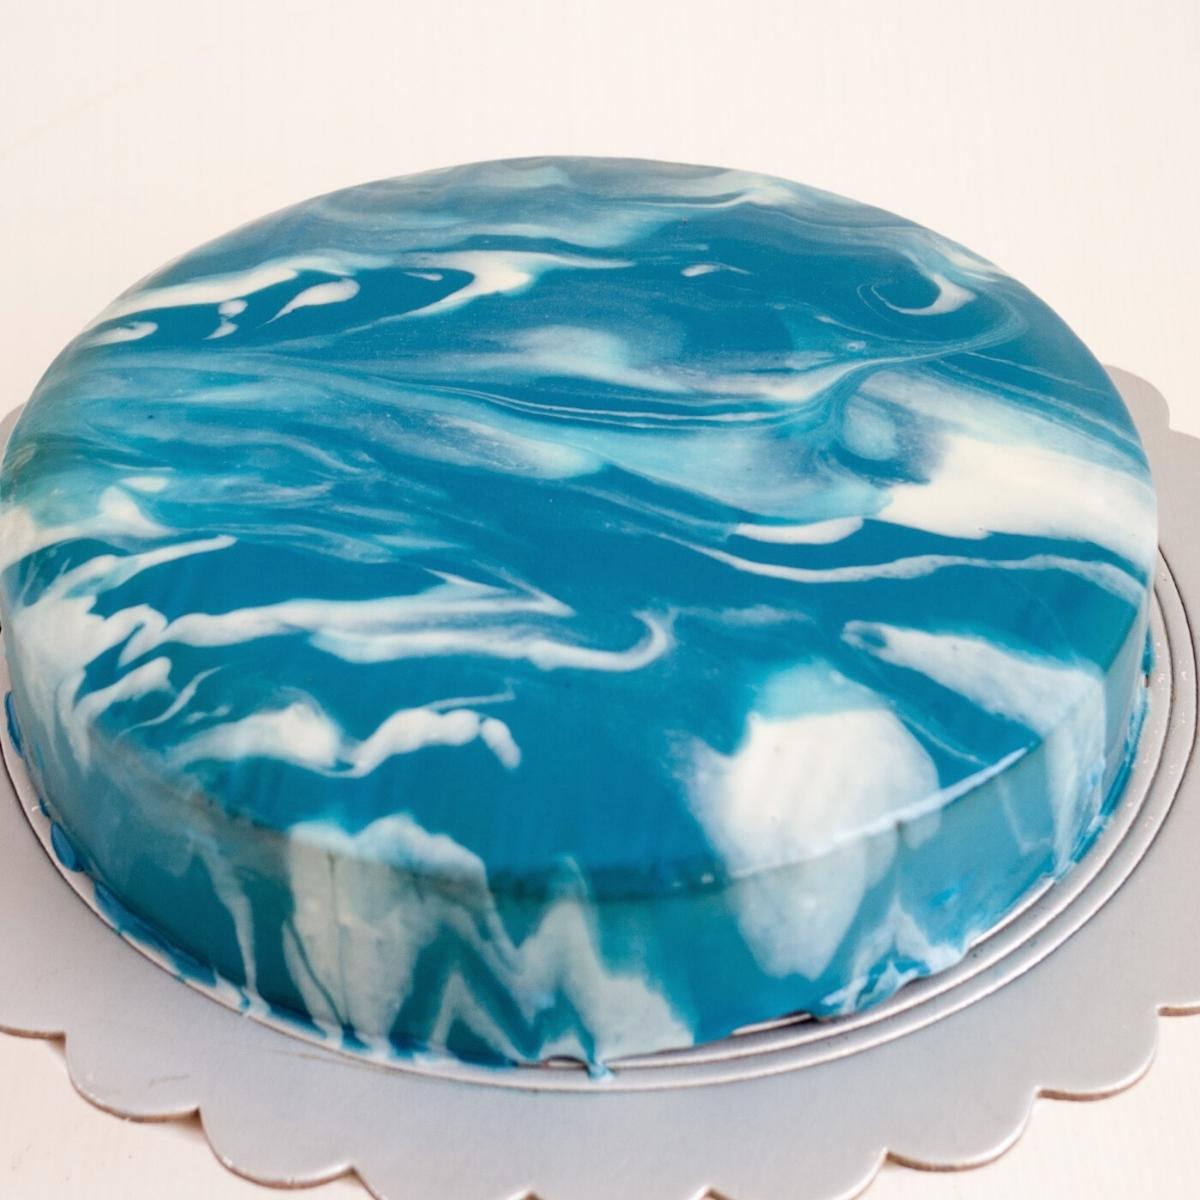
Have you seen these mirror glaze cakes recently? Wow! It’s got to be the latest craze in the cake world. Mirror Glaze aka Shiny Cakes. There is a Russian confectioner on Instagram that has these cakes, and they blow my mind every single time especially those galaxy mirror glaze cakes. These have been on my wishlist for a while, and I wanted to make one and share the recipe with you.
What is a mirror glaze?
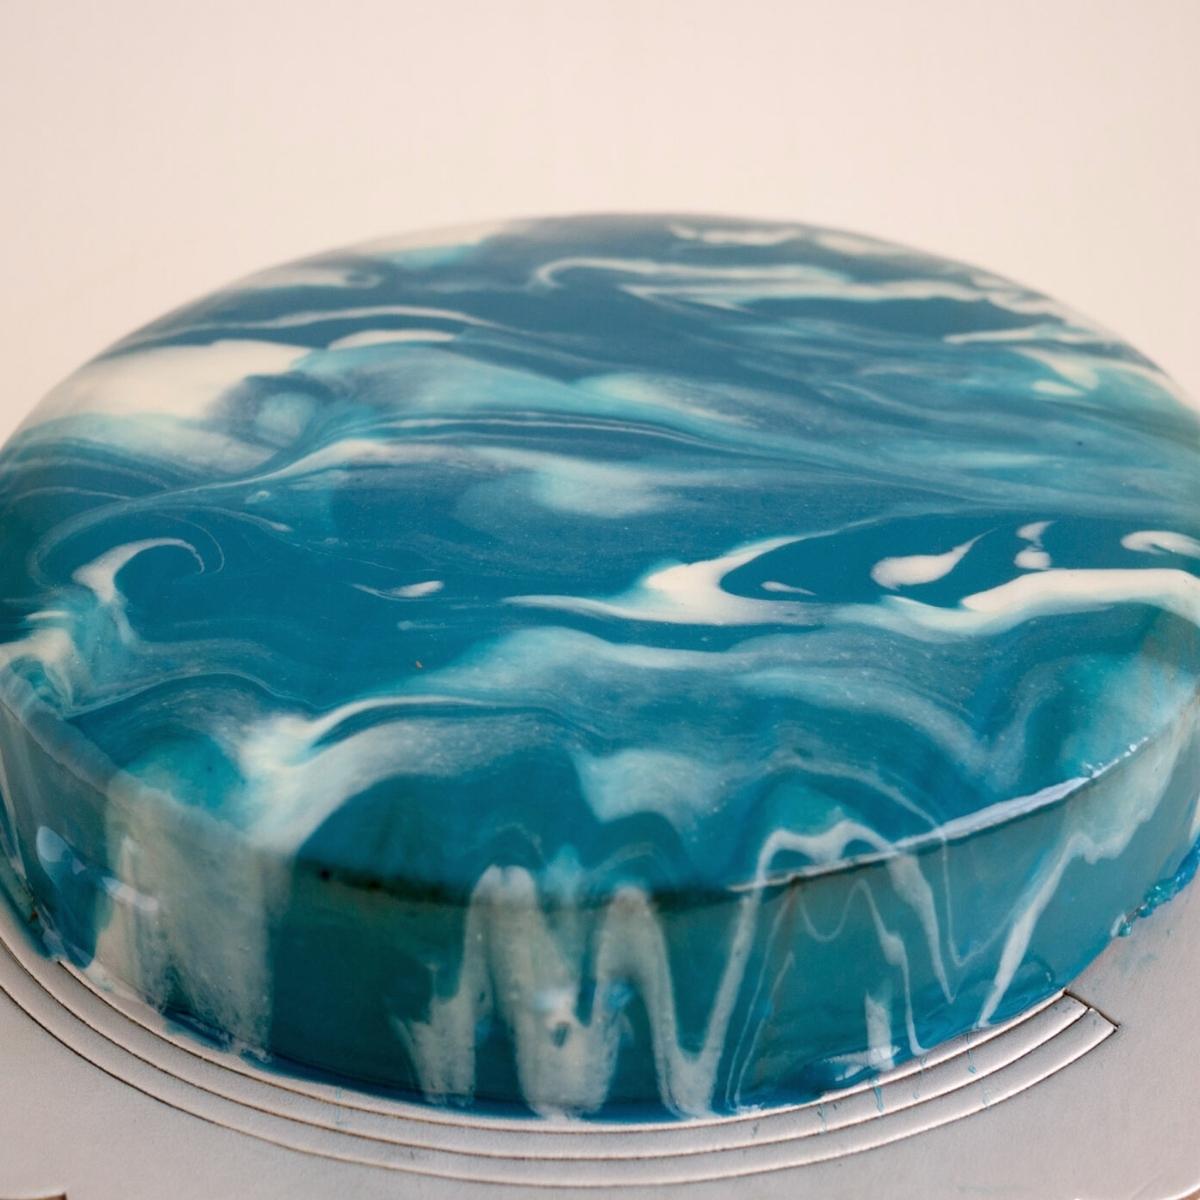
Mirror glaze is white chocolate and gelatin-based often used on entremets. This glaze, when poured over a cake gives an ultra-shiny appearance like the surface of a mirror. Hence the name mirror glaze. And, although it consists of chocolate, very little of it sticks to the cake so it does not affect the flavor of the cake much.
Ingredients and substitutes
Gelatin – This is what helps the mirror glaze stick to the cake. So yes a critical element. Use good quality non-flavored gelatin for the best results. Glucose – This helps prevent the mixture from crystallizing. If you can’t find glucose, you can use, light corn syrup as well. But you do need one of these two. Sugar – Yes, I know condensed milk is sweet, and then again we have sugar but this recipe is not about the calories it’s about achieving that mirror glaze effect. Condensed milk – The main ingredient in a mirror glaze is condensed milk, which when combined with chocolate, water, and gelatin, gives it that reflective mirror quality. And, because it uses gelatin, the result is a soft glaze, not hard like chocolate. You can use homemade condensed milk too. White Chocolate – We use white so we can play with color and achieve all those different colors but you can use dark chocolate too! Of course, once you add dark chocolate there is only one color – brown – so you won’t be able to make the blue, reds and all those fancy colors.
Mirror glaze cake
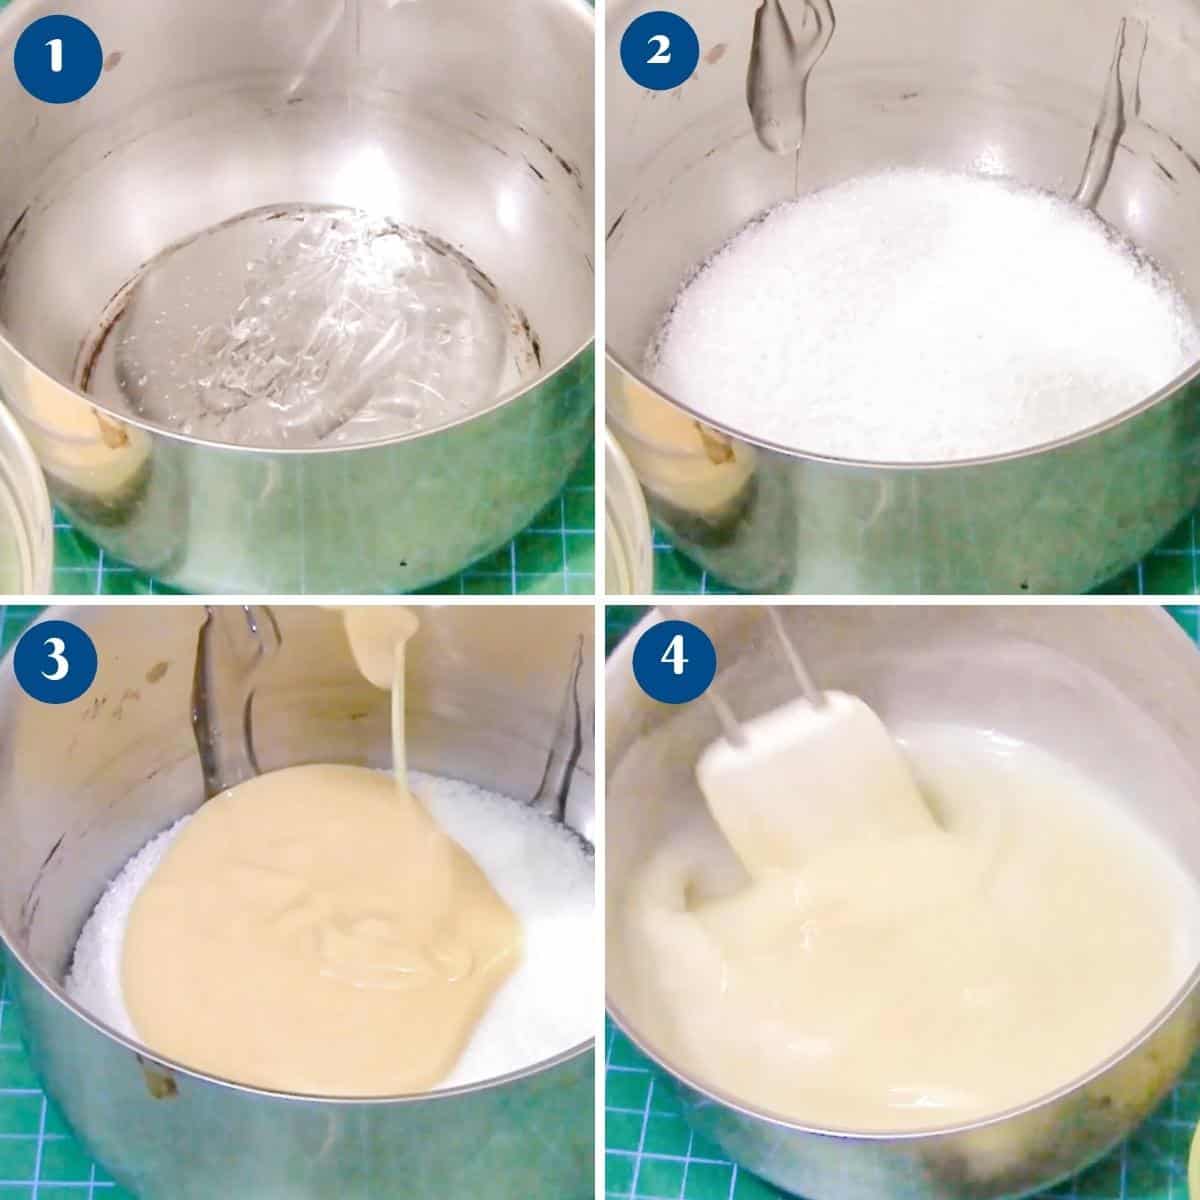
Have all your ingredients ready so you do not leave out anything. Add half the water in a small bowl with gelatin and let it soak for 3 to 5 mins to bloom. Pro tip – It is important that the gelatin soak well or it can give you a very grainy glaze.
In a heavy-based saucepan, add glucose, sugar, condensed milk, vanilla extract, and remaining water. Stir well and let come to a boil over low to medium heat.Pro tip – A heavy-bottom pan will prevent the condensed milk from scotching a the bottom. If it does do not scrape it as it will ruin the taste and texture of the glaze.
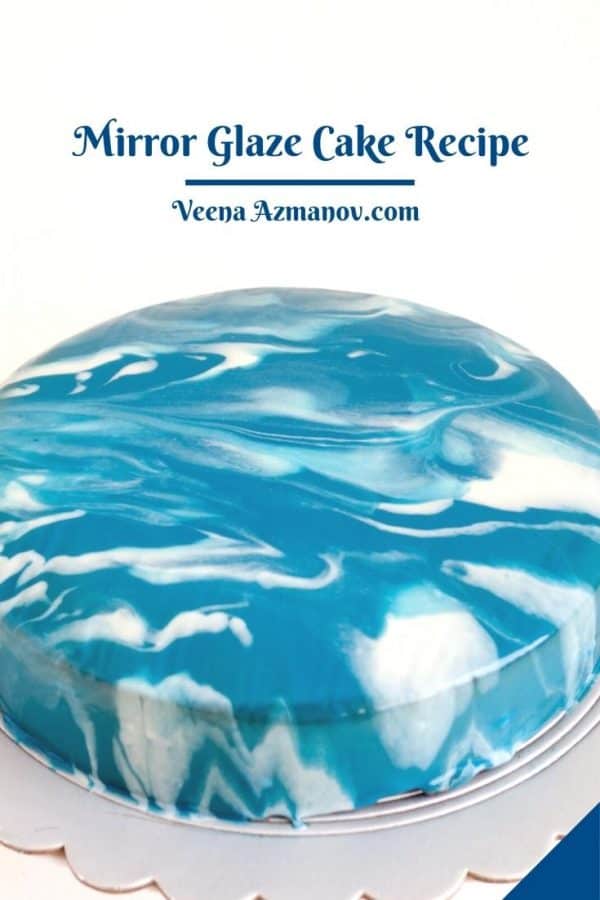
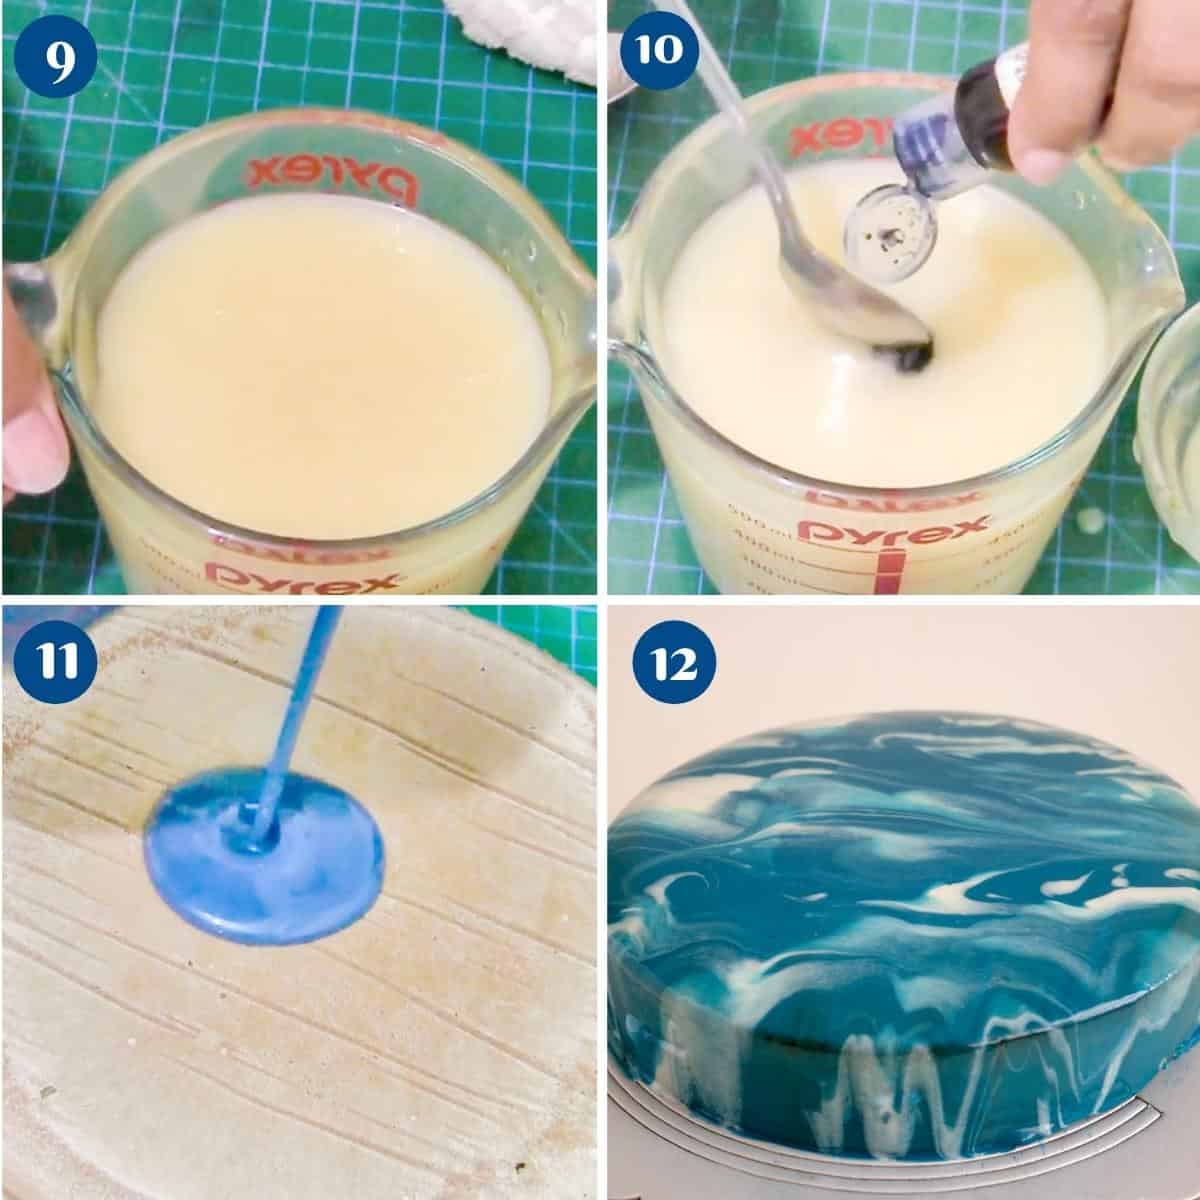
Once all the sugar has dissolved and the mixture has come to a nice slow boil, take it off the heat. Let rest for a minute before you add the white chocolate.Pro tip – The reason we let it cool a minute is so that the white chocolate does not split as soon as it is added to the boiling mixture. Next, add the soaked/bloomed gelatin – Let it melt.Pro tip – The heat in the liquid mixture should be enough to melt the white chocolate and gelatin. If not, use an emersion blender for just a few seconds. Strain the mixture through a fine mesh sieve or mesh.Pro tip – We strain to remove any undissolved gelatin or unmelted chocolate. Color the glaze – Divide the glaze into the number of colors you need for your project. Color the glaze with food gel colors. Let it come to almost room temperature between 90 to 95 F.Pro tip – You don’t want the glaze too hot as it can melt the dessert, but also, not too thick. It should be a pouring consistency. Otherwise, it will not flow down the dessert.
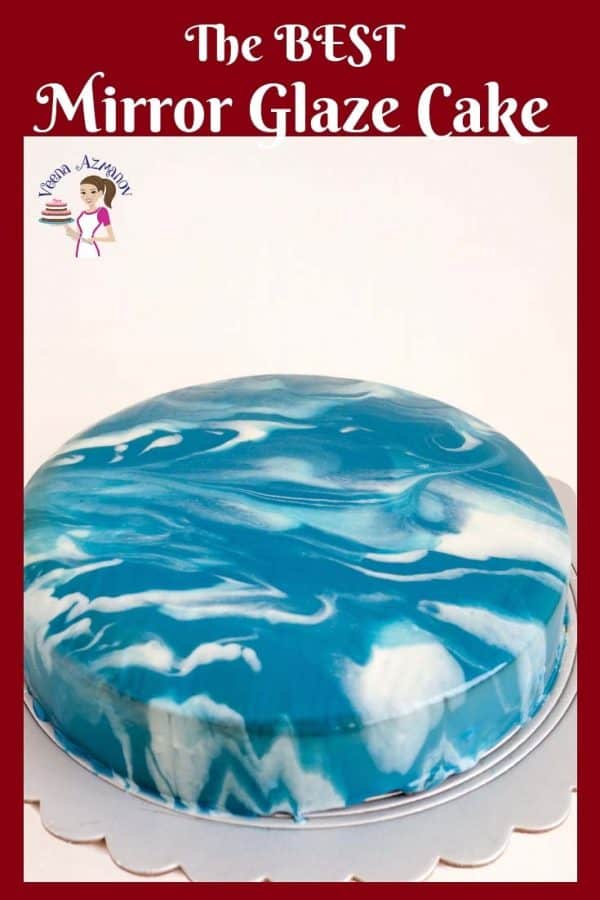
Pouring the glaze – Place the frozen cake on a cooling rack (wire rack) over a large plate or baking sheet/tray so the excess glaze will drip down on the cake. Pour the glaze in a circular motion starting with one or two colors based on the desired effect. Use an offset spatula to blend the colors. Pro tip – If you have air bubbles in the mirror glaze, hold the glaze a bit higher so the bubbles disperse before the glaze drips down to the cake.
Troubleshooting
My glaze is too thick so it won’t pour – You need the mirror glaze to be pouring consistency at a temperature between 90 to 95 F. Before you attempt to pour, take a ladle and check the consistency – if it’s not pouring then add a few tablespoons of water. Be careful when adding water as you cannot make it thicker once you’ve diluted it. My glaze is too thin – If you have not boiled the mixture enough when preparing the mirror glaze, it will be too runny and will result in a very thin coverage. Also, if you have not waited long enough after making the glaze, the gelatin would not have gelled. I suggest placing the glaze for 3 to 5 minutes in the fridge or wait a little longer at room temperature. This will help thicken it up a bit – then try again. The glaze does not stick to the cake – It just slips off. Condensation on the cake can cause the glaze to slide off the cake rather than stick to it. If the cake is frozen, wipe off any excess moisture from the cake and try it again. If you live in a place with high humidity, I highly recommend glazing immediately, as soon as the cake is out of the freezer before it has had time to condense. Additionally, setting the air conditioner to high for those few minutes might help as well. My cake started to melt as soon as I started to glaze it – The glaze needs to be at room temperature. If you use a hot or warm glaze, it will melt the frozen cake, causing the cake to have a melting effect.
Frequently asked questions
Did you LIKE this recipe? Save it for later. You can find my recipes on Pinterest. Follow me on Facebook, Twitter, and Instagram.Subscribe, and I’ll send you new recipes right to your inbox.
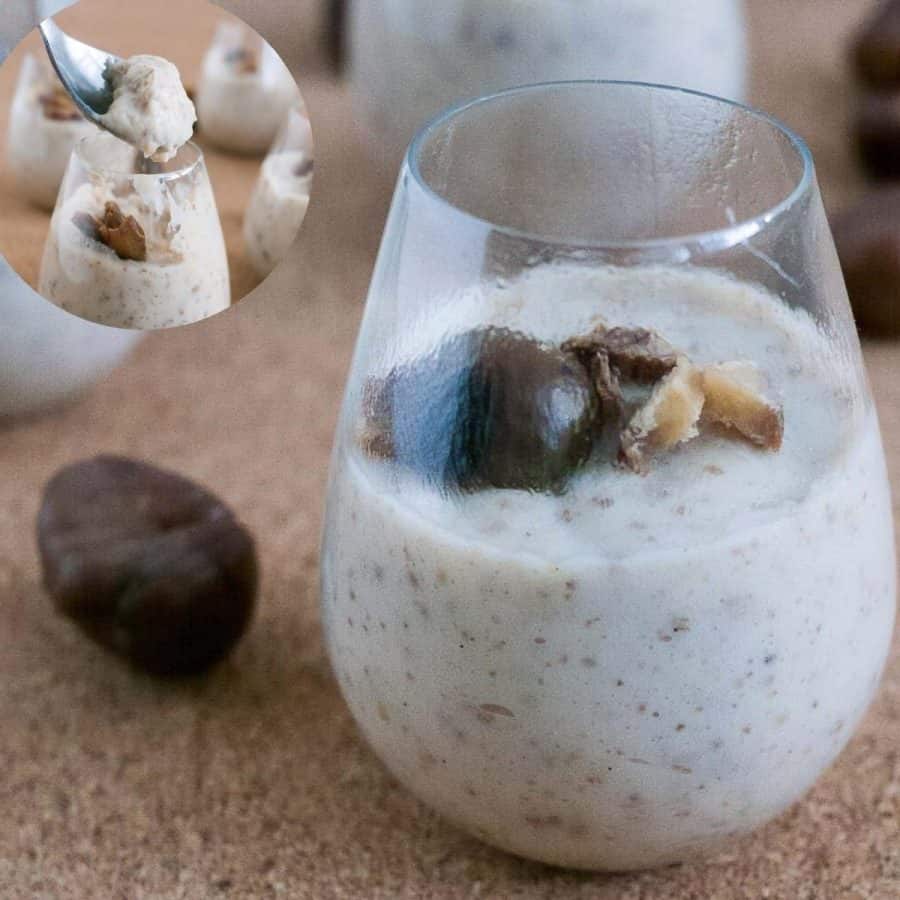
Classic Mango Mouse – vegetarian mango mousse Vegan mango coconut cream mousse (vegan, vegetarian) Classic strawberry mousse Classic chocolate mousse, Eggless, or Vegan chocolate mousse Blackberry mousse (eggless) Chestnut mousse (eggless)
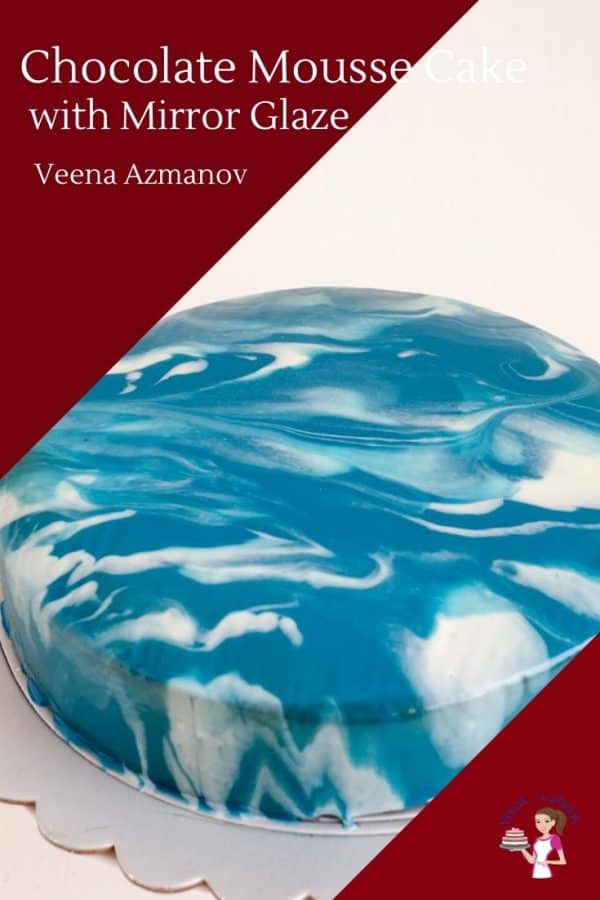
How to Make a Vegetarian Mirror GlazeChocolate Mousse Cake with Mirror Glaze – VideoStrawberry Bavarian Cream Cake RecipeBest Strawberry MousseHeart Chocolate Mousse Recipe
Thank you for sharing - Save for later