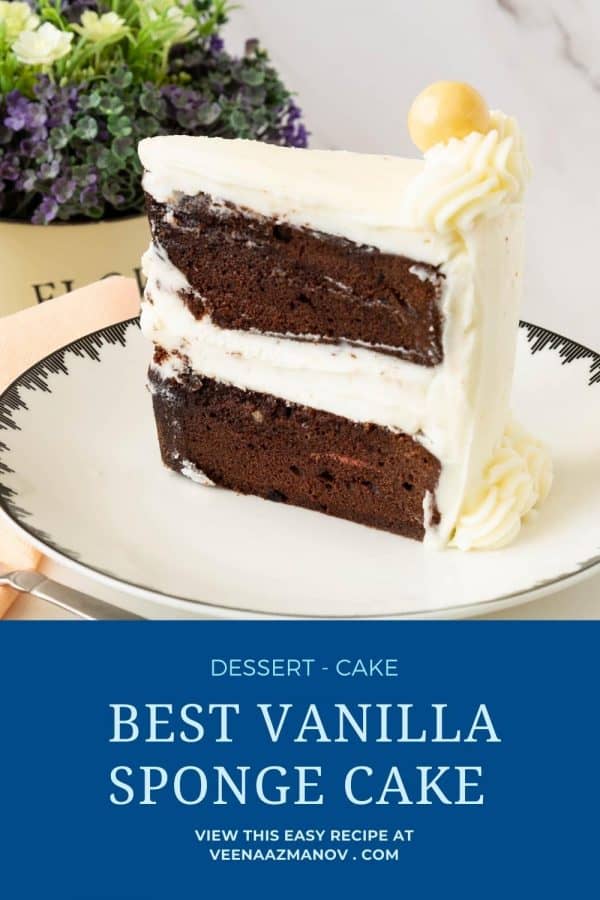
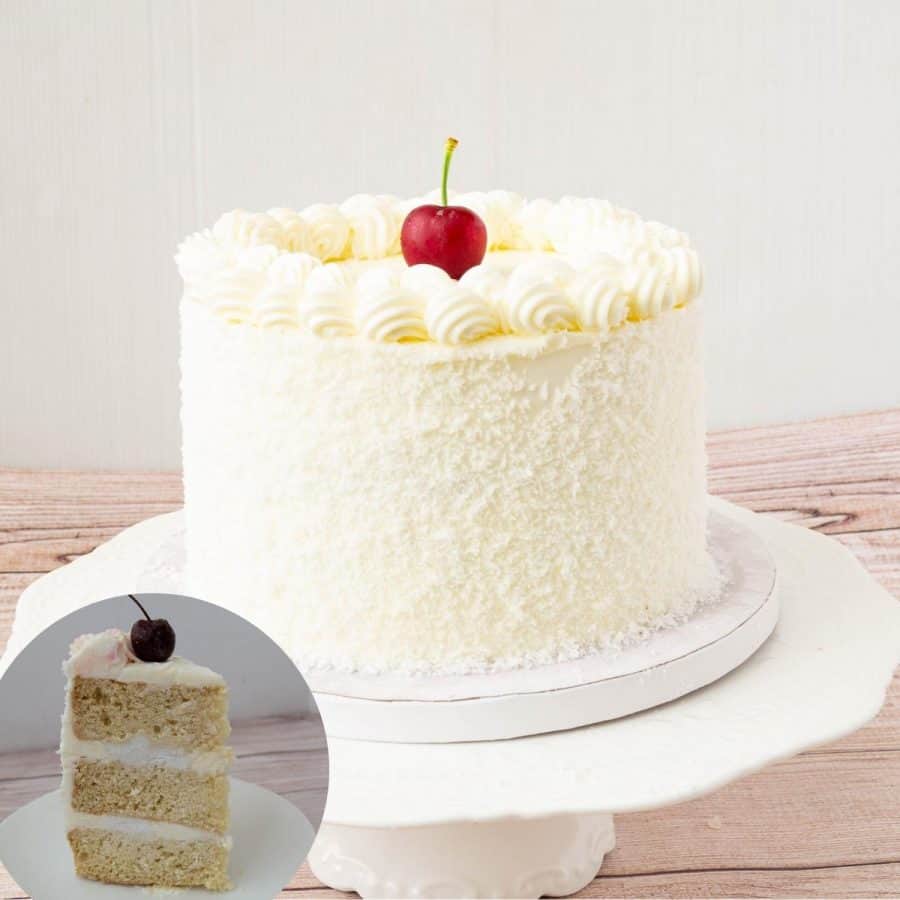
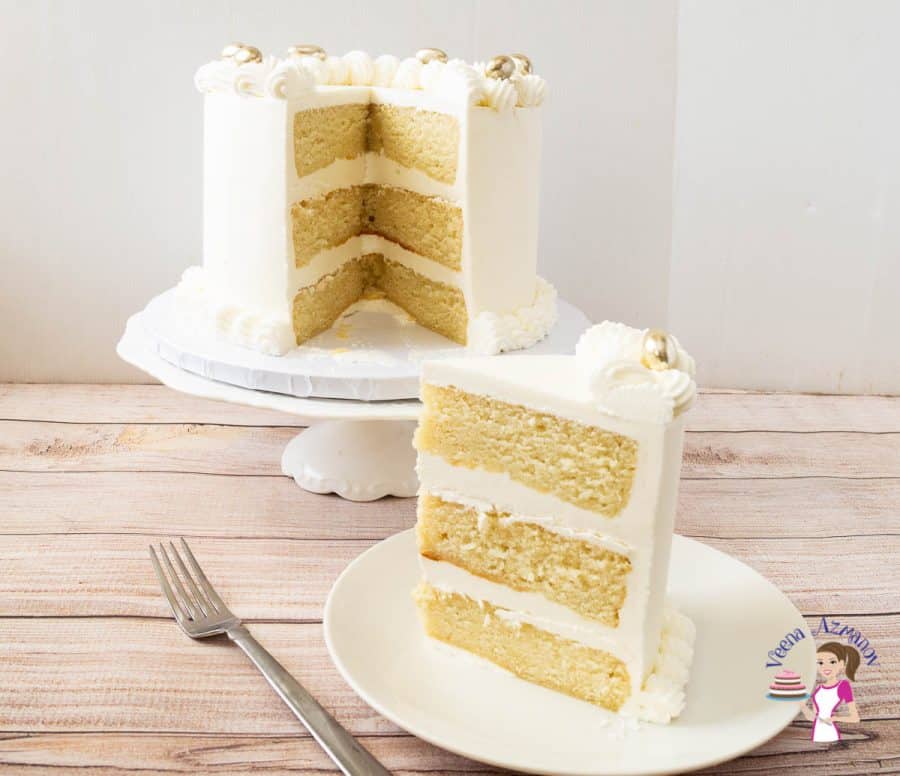
Sponge cake, a light and airy dessert, is beloved for its delicate texture and versatility. What sets it apart is its unique method of preparation, which involves beating eggs with sugar until fluffy, then gently folding in flour to create a batter that rises beautifully in the oven. This technique gives sponge cake its characteristic spongy, soft texture, perfect for soaking up flavors from syrups and fillings. Sponge cake’s popularity lies in its ability to serve as a blank canvas for a myriad of flavors and presentations. It can be layered with creams and fruits, rolled into a roulade, or simply enjoyed on its own with a dusting of powdered sugar. Its lightness and simplicity make it a favorite for celebrations around the world, from birthdays to weddings. Whether enjoyed with a cup of tea or as a decadent dessert, sponge cake continues to delight with its timeless appeal.
Ingredients and substitutes
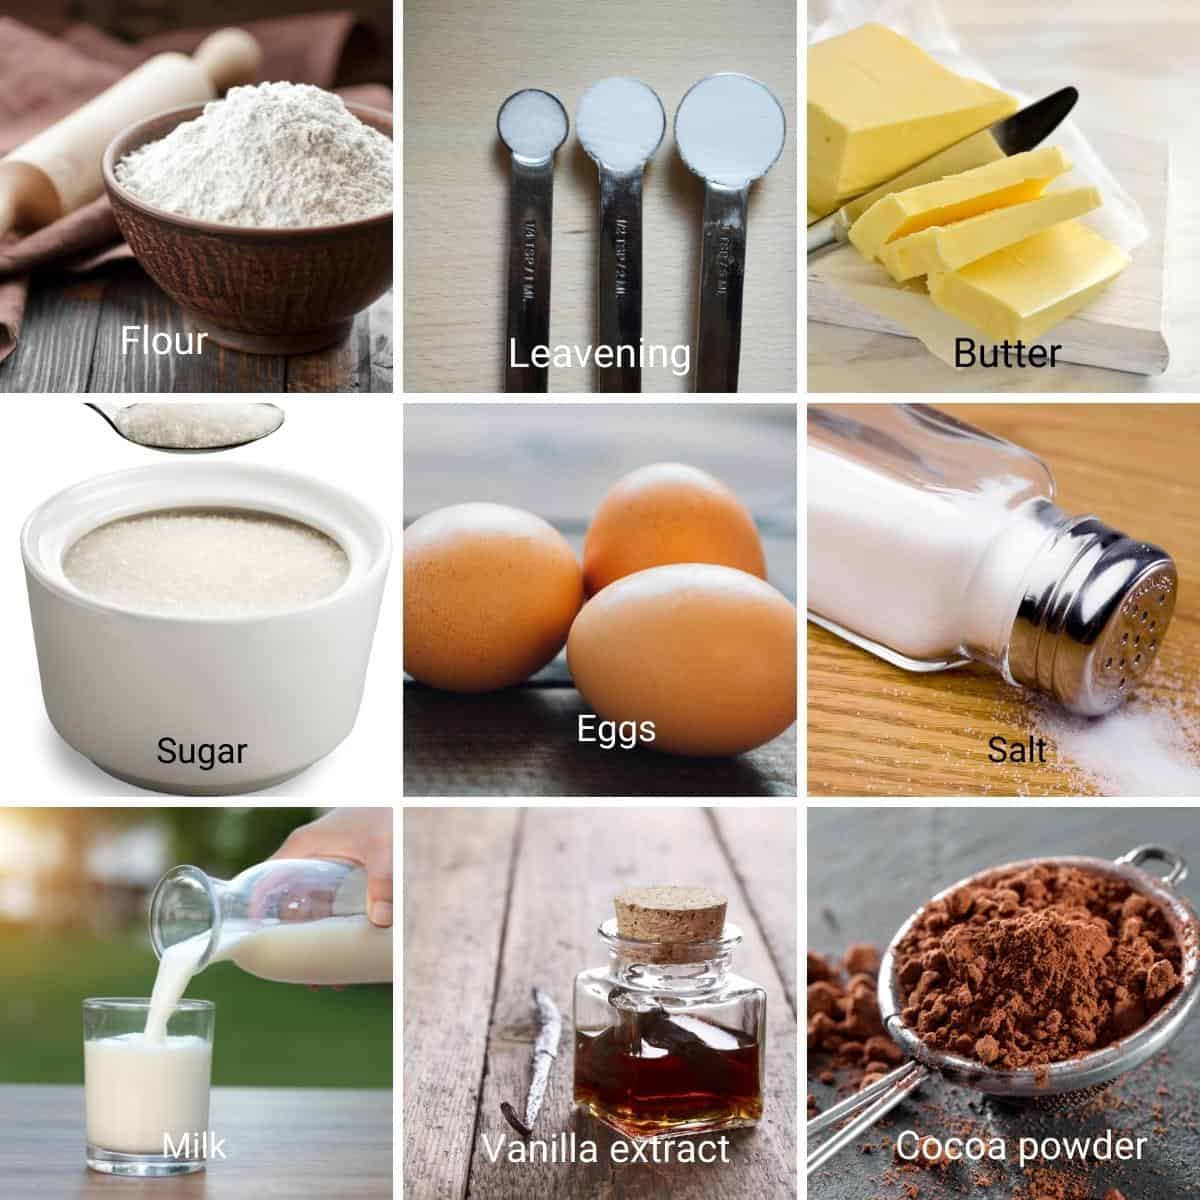
All-purpose flour – Yes, regular all-purpose flour works great. No need for special cake flour. And if you have only self-raising flour on hand, use it but reduce the baking powder by half. Unsalted butter – I always use unsalted so I can control the amount of salt. And yet, if salted butter is all you have, use it and omit salt in the recipe. Sugar – I’m using white sugar so I can have a white cake. It’s always best to use fine-grain white sugar, so it dissolves easily in the butter. Vanilla – A good quality vanilla will make a huge difference in anything you make. You can use vanilla extract, bean paste or sugar.
Step-by-step: Best sponge cake recipe
Cake
Preheat the oven to 325°F/165°C/Gas Mark 3 Grease and line 3 x 7-inch round cake pans or 2 x 8-inch round cake pan with parchment paper.Pro tip – You can also make 4 x 6-inch round cakes for a tall cake.
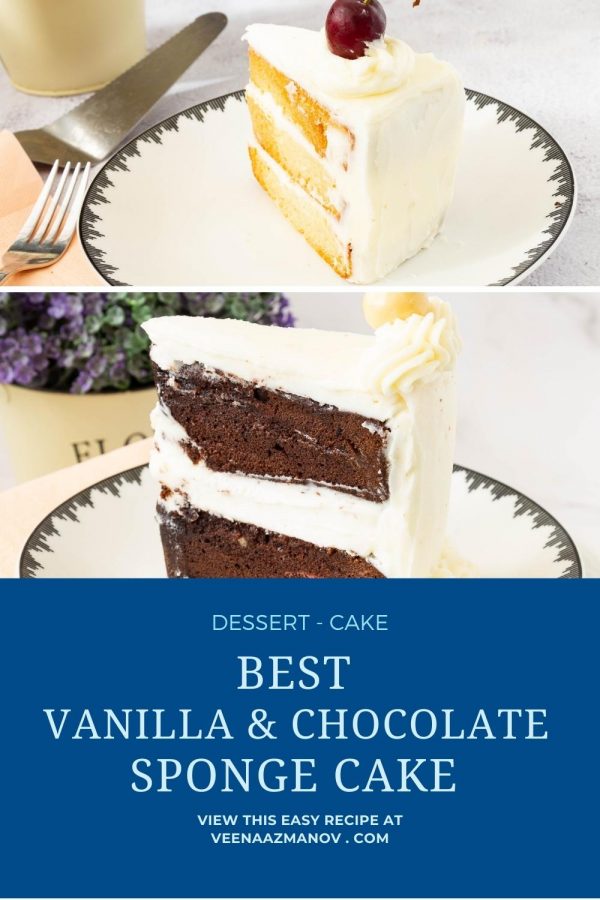
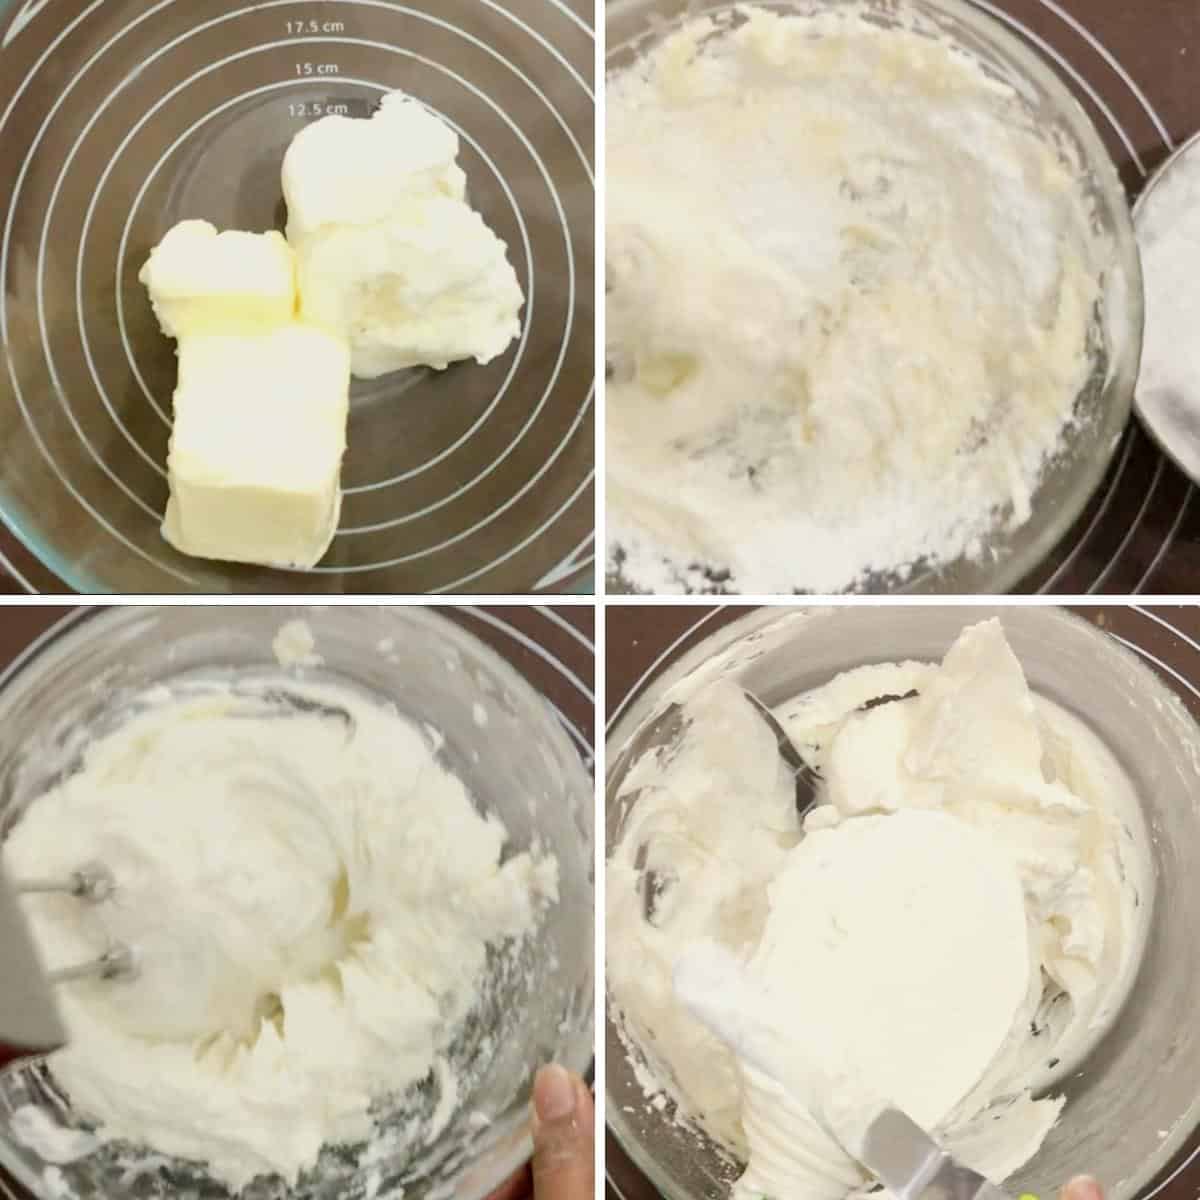
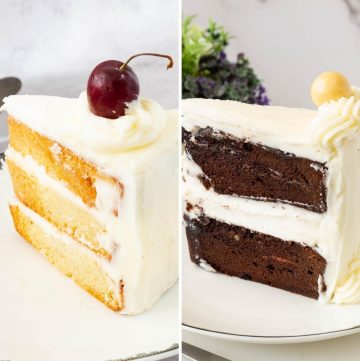
Dry ingredients – Vanilla cake – Sift flour with baking powder and salt. And set aside. Chocolate cake – Sift flour with baking powder, baking soda, cocoa powder, and salt. And set aside. In the bowl of a stand mixer with the paddle attachment, on medium-high speed, cream butter and sugar until you get a light and fluffy texture.Pro tip – We want to add some volume in the batter and dissolve the sugar completely, so make sure to cream well. Next, add large eggs, one at a time. Followed by the vanilla extract.Pro tip – Ensure the eggs are at room temperature or the batter will curdle. If that happens, just add a tablespoon or two of flour and combine well. Then, add the flour mixture and milk alternating in three batches. And combine on low speed.Pro tip – Since whipping cream is thick the batter looks a bit stiffer than regular vanilla cake. But the cream will melt in the oven, so don’t add any more milk. Scrape the sides of the bowl, and ensure you have a smooth batter. Then, divide the batter between the prepared baking pans.Pro tip – Use an offset spatula to spread the batter evenly in the baking pan so it bakes evenly.
Bake for about 25 to 30 minutes, in the center of the oven, until a toothpick inserted in the center comes out clean.Pro tip – I like to use cake strips to ensure my layer cakes bake flat. Then, cool in the pan for 10 minutes then invert on a cooling rack (wire rack) and cool completely. Always cool cakes completely before you decorate or store them away.Pro tip – Wrap in plastic wrap and place in the freezer for an hour. This will make fewer crumbs when torting and leveling the cake.
Vanilla buttercream
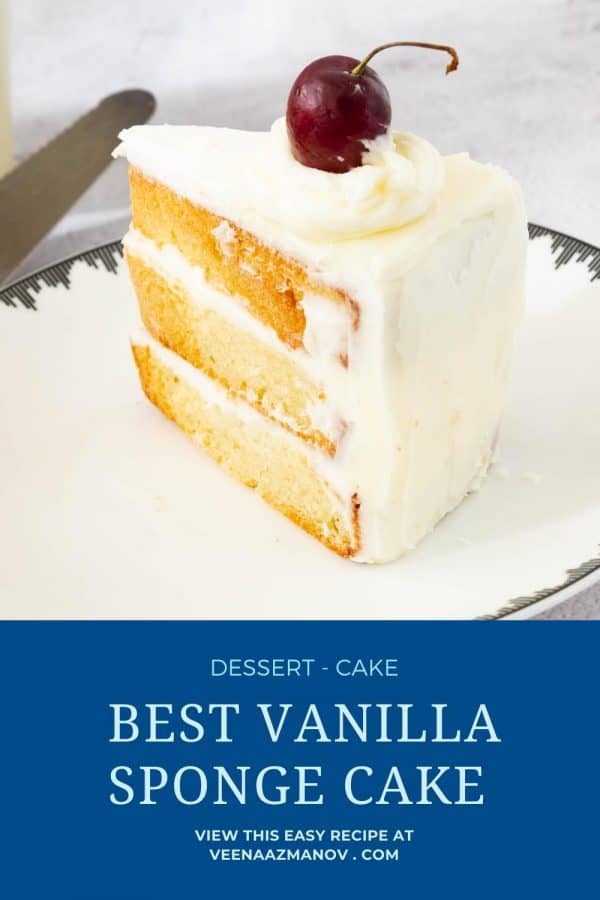
In a stand mixer with a paddle the attachment, cream butter with salt for a minute. Then, gradually add the powdered sugar and vanilla extract. Once all the powdered sugar is in – gradually add the whipping cream. Continue to whip until you have a light and fluffy whipped cream consistency ( 2 to 3 minutes).Pro tip – If you do not whip the consistency will be very soft. The whipping will add volume to the buttercream making it light and fluffy.
Assemble
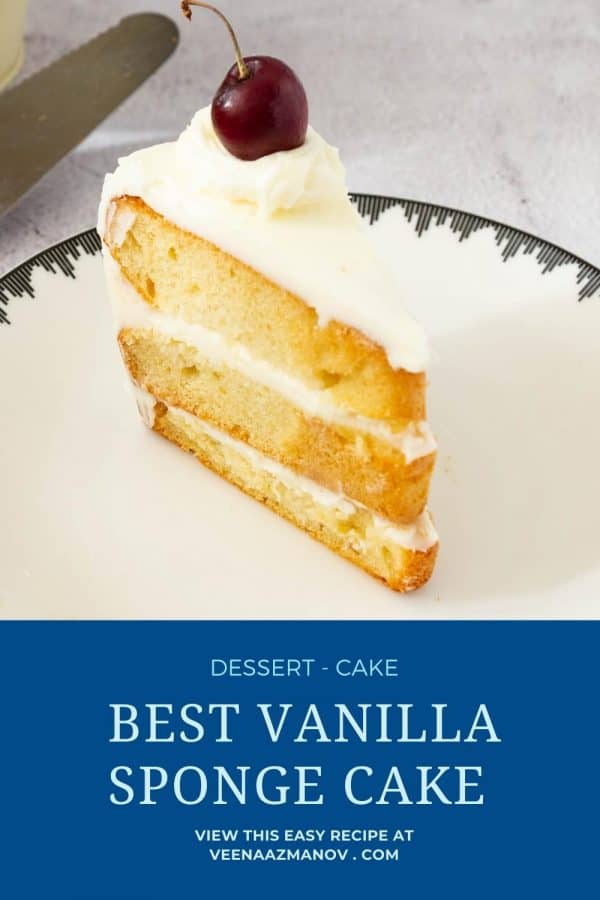
Prepare simple syrup – cool completely before using.Pro tip – Simple syrup is just sugar water that has been boiled and cooled. Used to keep cake layers moist. Then, using a bread knife (serrated knife) or cake leveler, cut the domes off the cake layers. Next, cut each layer in half horizontally giving you a total of four layers. Brush each layer with the cooled simple syrup. Place a cake layer on the cake board or cake stand.Pro tip – If you plan to move the cake again, it is best to use a cake circle under the cake, so you can pick the cake with its base and without any accidents. Filling – Top with a big dollop of the buttercream – spread evenly with a straight-edged rubber spatula. Top the second cake layer on top followed by more frosting until you have used up all the layers.Pro tip – It is best to lift individual cake layers on pieces of clean cardboard or cake lifter so you do not break them from table to cake. Next, place the cake in the fridge for 15 minutes so the layers hold together. Pro tip – Chilling the cake at this point will ensure the layers don’t move when you frost the outside. Though, if you leave the cake uncovered in the fridge for too long it can dry out. So, 10 minutes is all you need. Frosting – Next, spread the remaining frosting on top and around the cake.Pro tip – A straight-edge spatula for the top, an off-set spatula, and a bench scraper for the sides work better. Final touches – You can place the remaining frosting in a piping bag with a star or round piping tip and pipe a border or swirls on top.
Tips for Success
Room Temperature Ingredients: Make sure your eggs are at room temperature before beating them. This helps them incorporate air more easily, resulting in a lighter cake. Properly Beat the Eggs: Beat the eggs and sugar until they are thick and pale in color. This process aerates the batter and helps the cake rise properly. Gentle Folding Technique: When adding the flour mixture to the beaten eggs, use a gentle folding motion to avoid deflating the batter. Overmixing can result in a dense cake. Preheated Oven: Make sure your oven is fully preheated before baking the cake. This ensures that the cake rises evenly. Cooling Properly: Allow the cake to cool in the pan for 10-15 minutes before removing it from the pan and transferring it to a wire rack to cool completely. This helps prevent the cake from collapsing. Slicing and Serving: Use a serrated knife to slice the cake for clean, even slices. Serve the cake with your choice of toppings or fillings, such as whipped cream, fruit, or frosting. Storage: Store any leftover cake in an airtight container at room temperature for up to two days, or freeze it for longer storage.
Frequently asked questions
Variations
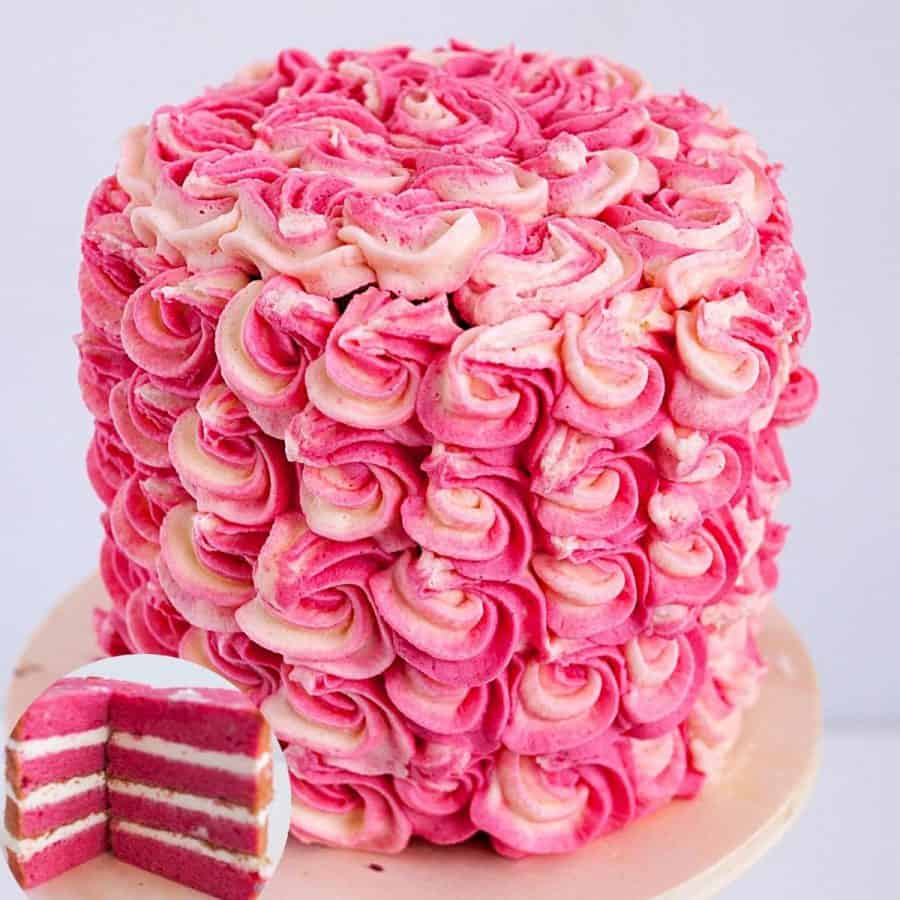
Lemon sponge cake replace 2 tbsp milk with lemon juice. Add 1/4 tsp lemon extract along with the vanilla extract. Adding 2 drops of lemon yellow food color is optional Orange sponge cake replace the milk with orange juice Add 1/4 tsp orange extract along with the vanilla extract Adding 2 drops of orange food color is optional Strawberry sponge cake replace the milk with reduced strawberry puree (pulsed in the food processor) Add 1/4 tsp strawberry extract with the vanilla extract Adding 2 drops of pink food color is optional
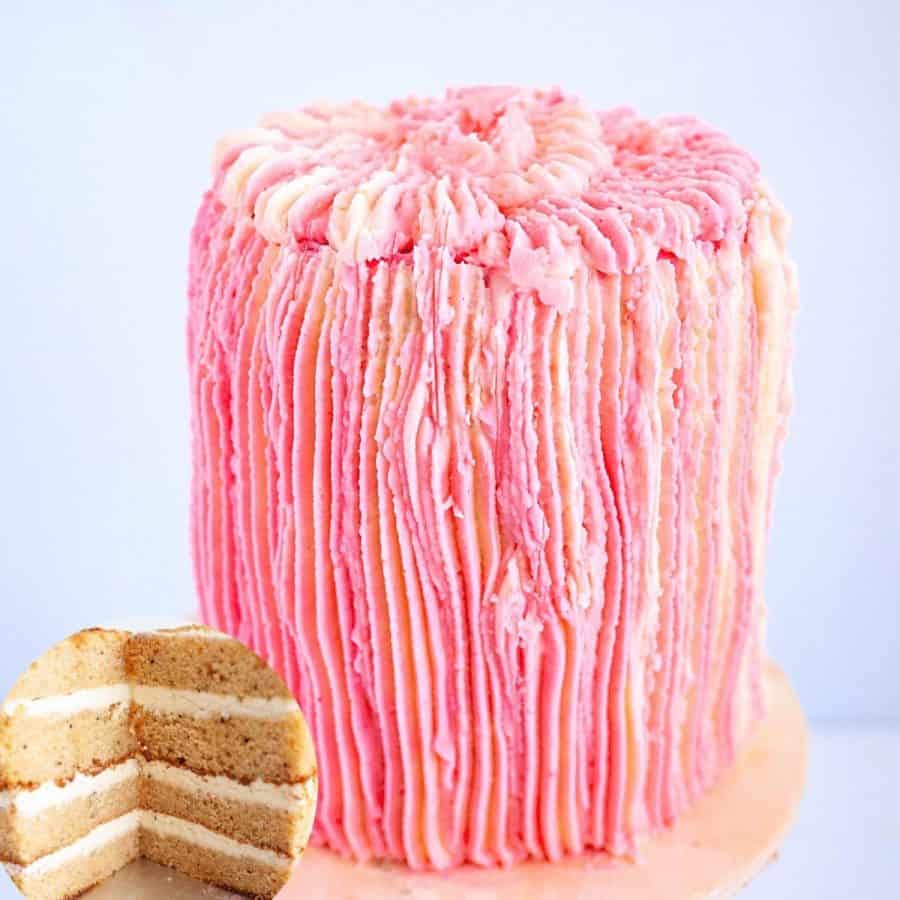
Creative ways to decorate a layer cake
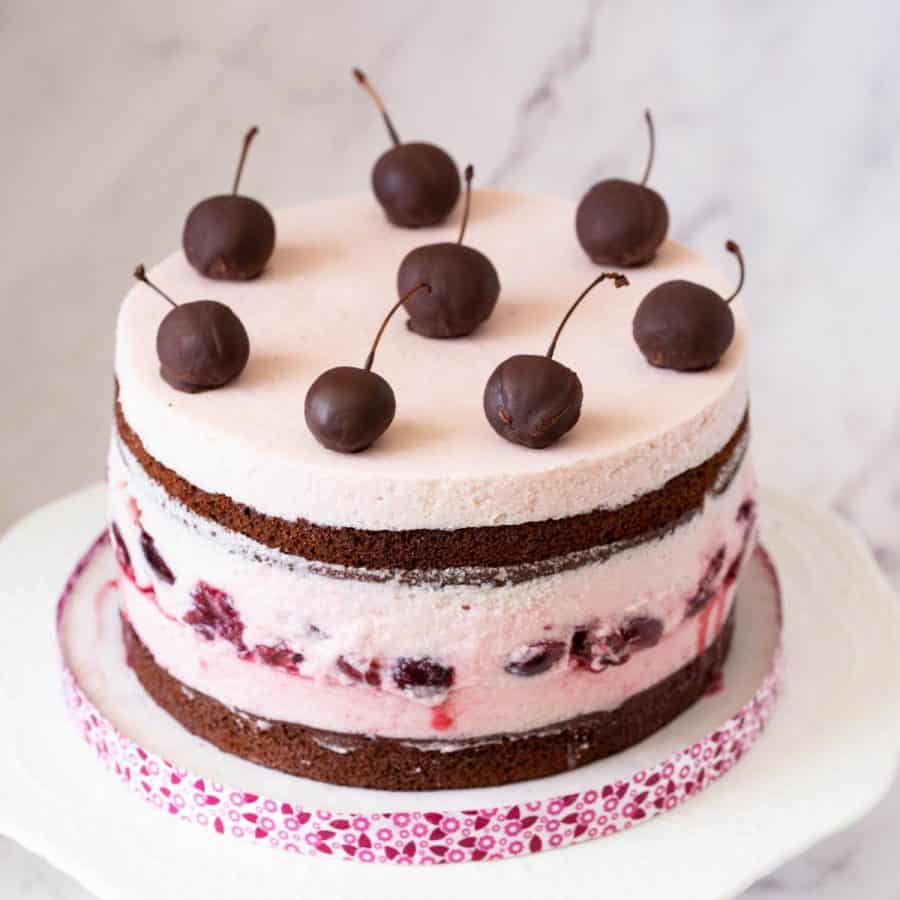
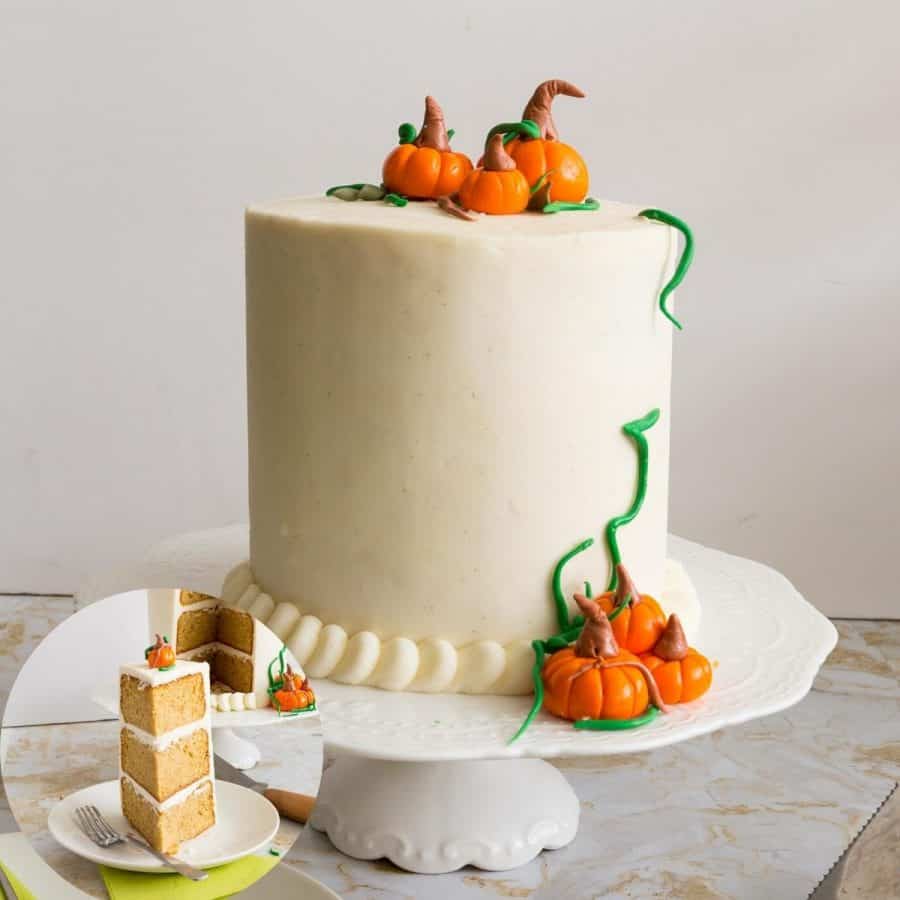
One easy and classic option is a naked cake! Simply dust the top with powdered sugar and serve with fresh berries or a dollop of whipped cream. If you’re looking for something a bit more unique, try layering sliced strawberries, raspberries, or peaches over the top of the cake for a fruity twist. For a more formal occasion, consider using a piping bag and frosting to decorate the cake with intricate designs or personalized messages. You can also add edible flowers or other decorations to give it a touch of elegance. Another fun option is to cut the cake into fun shapes and designs, such as squares or triangles, and serve on a platter with a variety of toppings and sauces. Whatever your choice for decorating and serving your vanilla cake, be sure to have fun and let your creativity shine.
Vanilla Birthday Cake, Homemade Chocolate Birthday Cake Microwave Vanilla Mug Cake, Chocolate Fudge Mug Cake
Thank you for sharing - Save for later