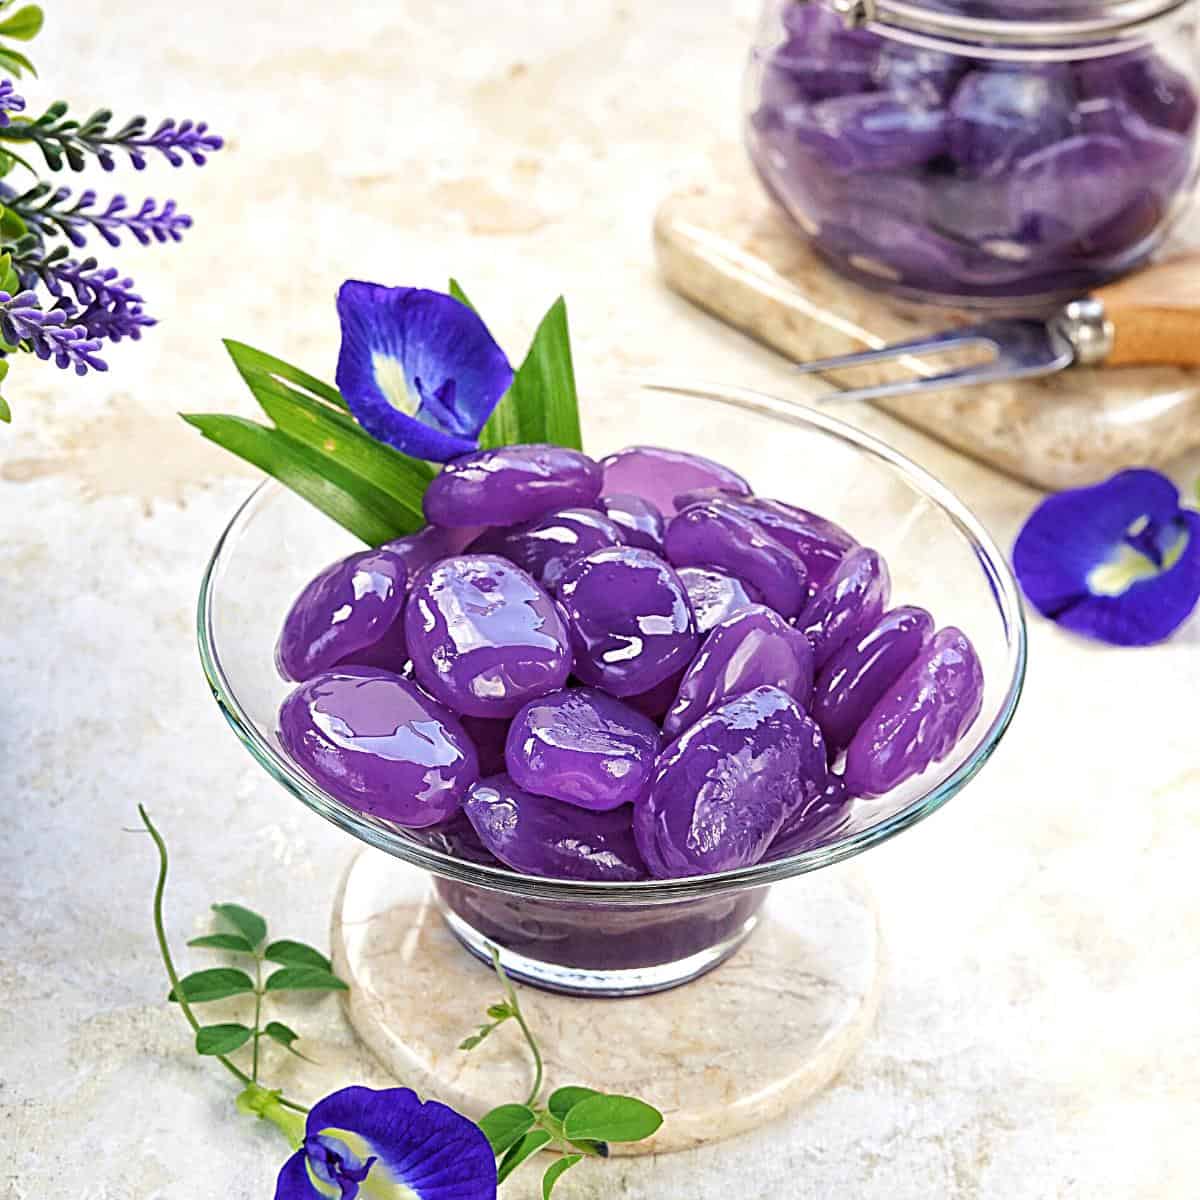
Have you ever gazed in awe at the intricate sugar decorations adorning a gorgeous cake, wondering how they were made? Look no further than the versatile baking sugar, isomalt. This beginner’s guide will take you through everything you need to know to start creating stunning edible art using isomalt. From the essential equipment and ingredients to the fundamental techniques and troubleshooting tips, we’ll cover it all. You’ll also discover design inspiration, secrets to perfectly clear isomalt, and ways to use this candy sugar in your baking. Don’t be afraid to experiment and unleash your creativity – with this ultimate starter guide, the possibilities are endless Recently, I made these candy apples as gifts for friends. And usually, I pour leftovers into my silicon chocolate molds for the kids to eat like candy. This time, I poured them into my candy molds and thought – Ah why didn’t I think of using this as my gems instead of Isomalt. So, it looks like it may work as a great substitute f in some cases. Compared to sugar, Isomalt has a lower glycemic index, making it a better option for individuals with diabetes. Plus, isomalt does not crystallize during cooling, resulting in a smoother and more consistent texture than sugar.
It is a popular choice for creating ornate decorations on cakes, cupcakes, and other desserts due to its unique physical properties. Unlike regular sugar, isomalt stays crystal clear when melted and does not yellow or caramelize when exposed to heat. This makes isomalt perfect for creating beautiful, translucent designs that are sure to impress. Isomalt is derived from beet sugar and is considered a healthier alternative to regular sugar as it has a lower glycemic index and fewer calories. It has a slightly sweet taste and can be flavored and colored to suit your needs. It is a sugar substitute created from real sugar made from beets. Often found in sugar-free substitutes such as sweeteners, candies so yes, it is safe to eat. It is white, borderless, and crystalline. It is used in commercial products all by food manufacturers in the production of hard candies, chewing gum, cough drops, and other baking goods. It is often used by cake decorators to make decorations like candy sculptures, molded for cakes.
While sugar is a versatile sweetener that’s found in many sweet treats, it has its drawbacks. Sugar has a higher glycemic index than isomalt, which can cause blood sugar spikes and crashes for those with diabetes. Sugar also tends to crystallize during the cooling process, which can result in an uneven texture and appearance. If you’re looking for a sugar substitute that won’t affect blood sugar levels and is easier to work with, isomalt is an excellent choice. Additionally, with its ability to be molded into different shapes, isomalt can be used to create beautiful and delicious dessert centerpieces.
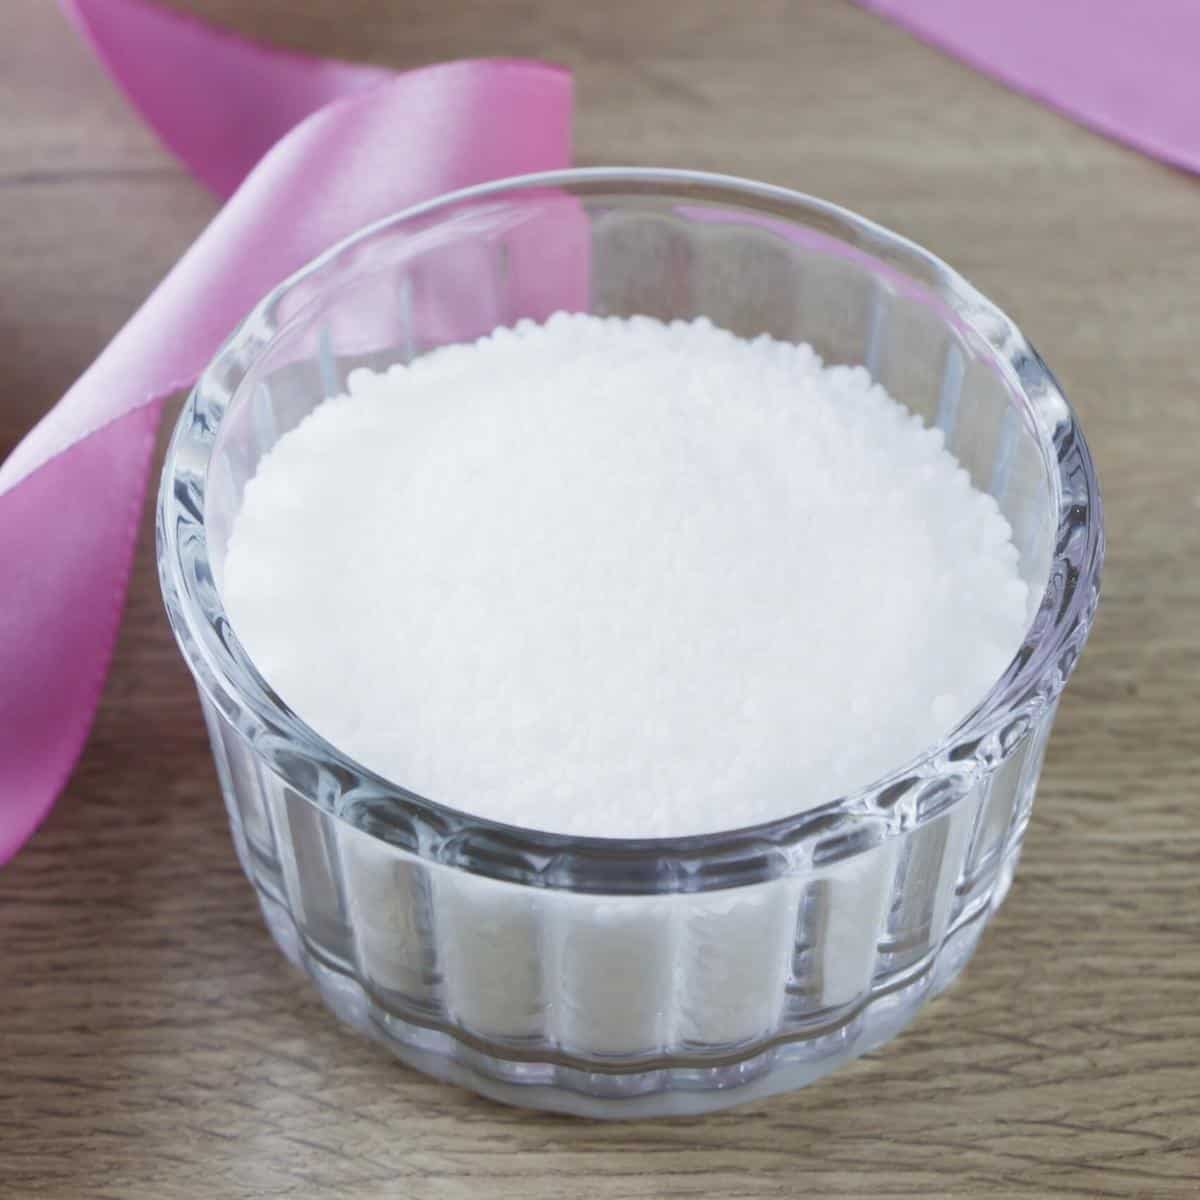
Raw isomalt – Looks like crystals often referred to as isomalt crystals. which needs to be cooked to a certain temperature and then cooled for further use. The advantage of this product is that it is more affordable. The disadvantage of this is that it needs to be cooked carefully to the proper temperature. If not cooked correctly, it can be a lumpy mess and a waste of money. Pre-cooked isomalt – which has already been cooked to that temperature. All you need to do is melt the quantity you need for your project. It is much easier to work with. Just melt the isomalt at 15-seconds intervals
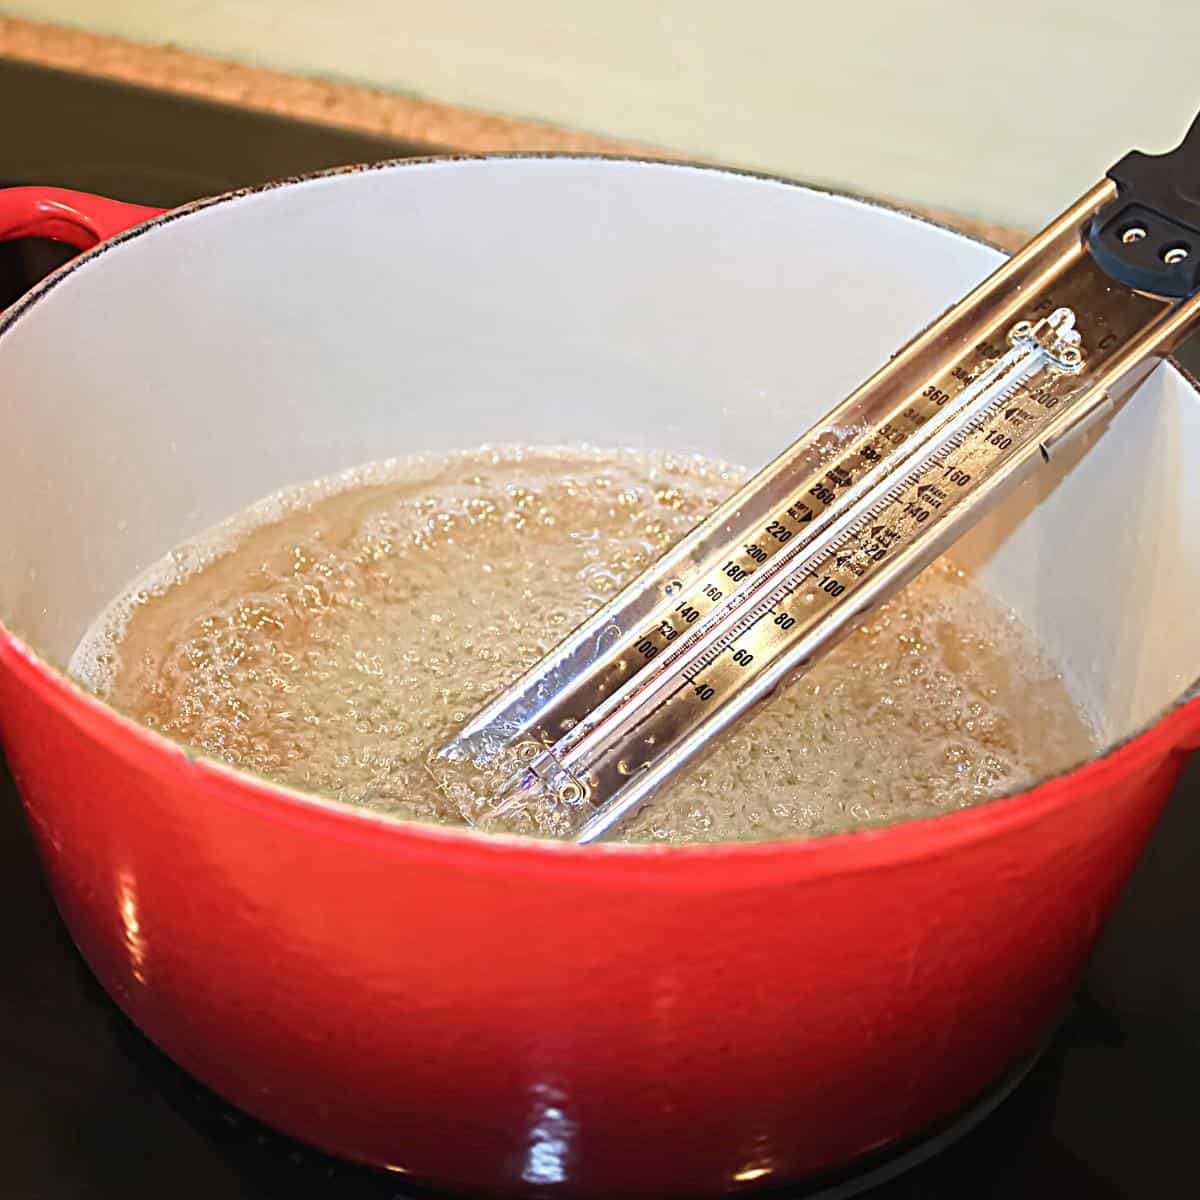
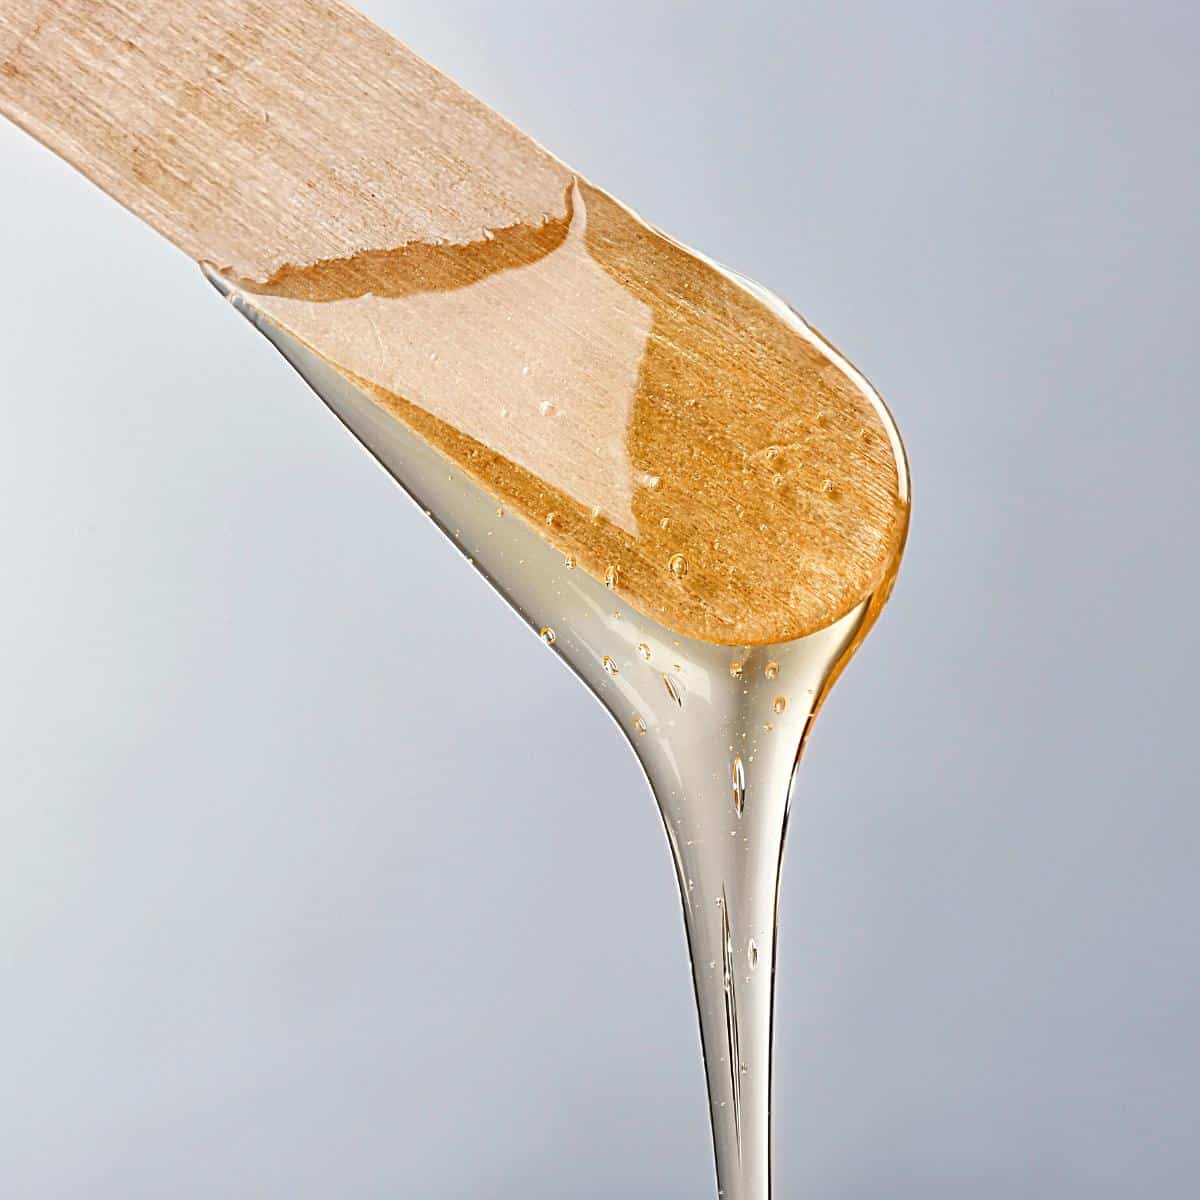
One of the first things to keep in mind when working with isomalt is to avoid overheating it. When heated too much, isomalt can quickly reach its caramelization point, which can cause it to become discolored or even burnt. Use a candy thermometer to carefully monitor the temperature, and work slowly to prevent any mishaps. Another crucial technique to keep in mind is to work with isomalt at the right consistency. If it’s too hot, it will be too thin and difficult to work with, while if it’s too cool, it will be too thick and unable to be molded or shaped. Experiment with different temperatures to find the ideal consistency for your project, and work quickly to ensure that it stays at that consistency. Finally, shaping and molding isomalt requires a bit of finesse. Use silicone molds to create intricate designs, and work with isomalt while it’s still pliable to achieve the desired shape and texture. Remember that it can be re-heated and re-molded as needed, so don’t be afraid to experiment until you achieve the perfect result.
Small blow torch – while you can use a microwave to heat or melt the isomalt you will still need a blow torch to keep it warm so you can bend it to your will as well as stick pieces together. Silicone mat – IS is too hot so you can’t use parchment paper or aluminum foil, you need a good heat-resistant silicone mat so the IS won’t stick to it. This will protect your work surface and allow you to work with the sugar without it sticking to the table. You’ll also want to have a few silicone molds on hand, as these will provide the perfect shape for your designs. Next, you’ll need a heat-resistant spatula. Once your isomalt is melted, you’ll need to stir it regularly to prevent it from burning. A heat-resistant spatula will ensure that you can do this safely Silicon bowl – you can’t use metal, plastic or glass bowls as the isomalt will stick to it. So you need good quality silicone bowls so it won’t stick to it. Gloves – whatever you do, do not touch IS with your bare hands. And if you ever do – immediately immerse your hand in ice water. That is why it is best to use nitrate gloves which can be found in your local pharmacy. Candy thermometer – if you buy raw isomalt. you will need a good quality candy thermometer as isomalt needs to be heated to a precise temperature in order to melt and set properly. This will help you to achieve the perfect consistency for your designs
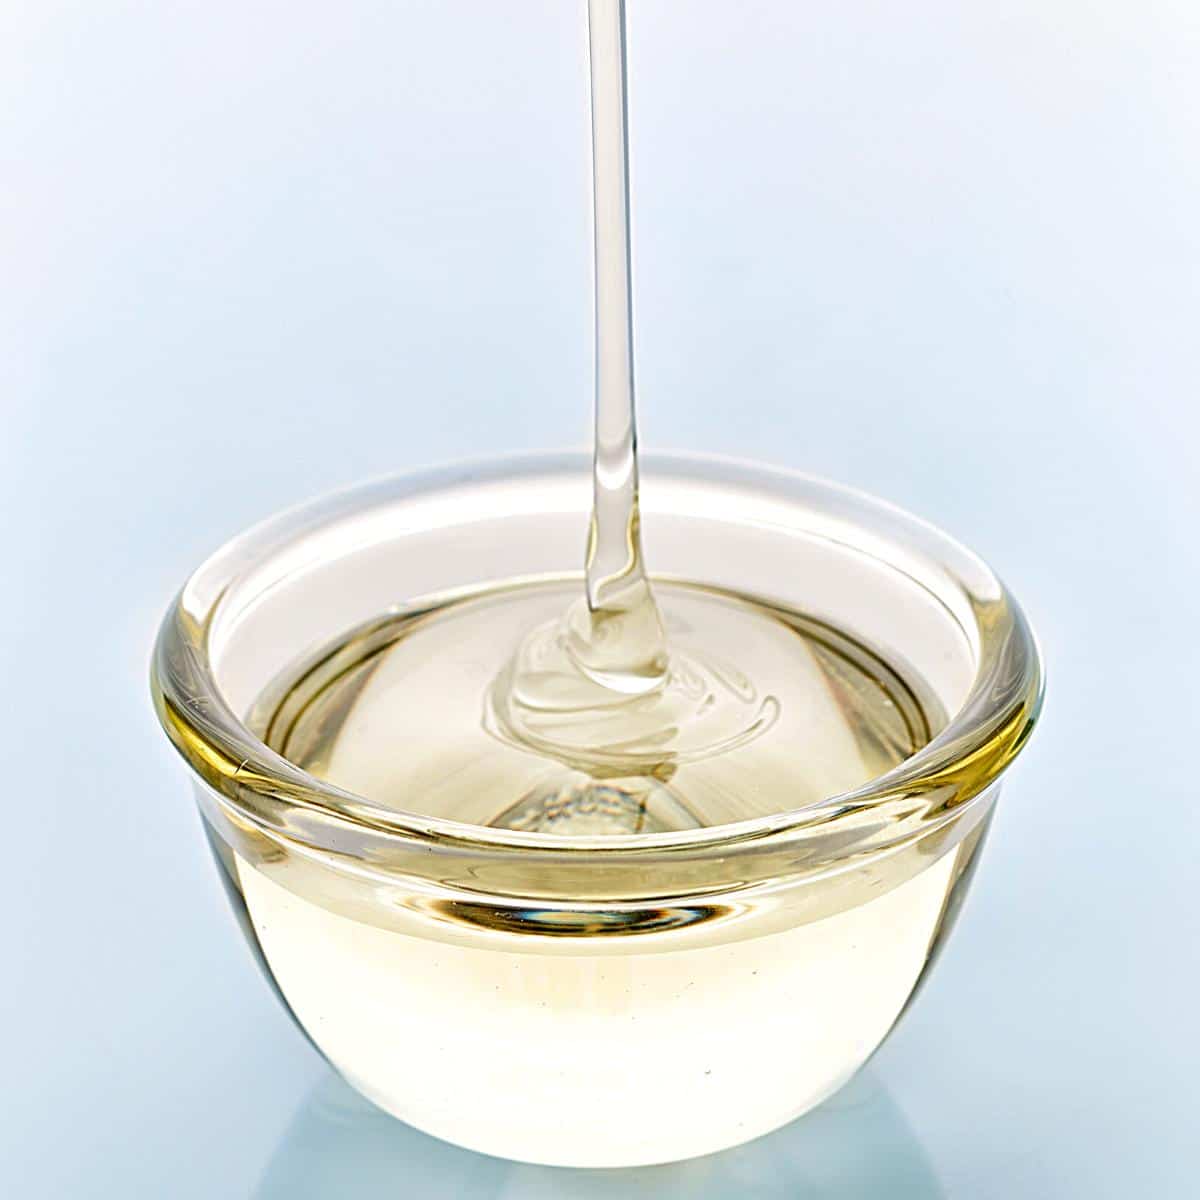
First on the list is isomalt itself, which can be purchased in small crystals or pre-made sticks. Depending on your recipe, you may also need additional ingredients such as flavorings, food coloring, and glucose syrup. When selecting your isomalt, it’s important to pay attention to the melting point. Isomalt typically melts at around 145°C (293°F), which is higher than regular sugar. This means that it requires more heat to melt and can also burn more easily if not closely monitored. In addition to isomalt and any flavorings or colorings, you may also want to invest in a few additional tools such as a candy thermometer and silicone molds. These can make it easier to work with isomalt and create the shapes and designs you desire.
Isomalt is cloudy – Cloudiness can be caused by using too much water, overheating the mixture, or using old or impure isomalt. To fix this, try reducing the amount of water in your recipe, being careful not to overheat the mixture, or using fresh, high-quality isomalt. Isomalt is too brittle or sticky – This is usually caused by overcooking or undercooking the isomalt. If your isomalt is too brittle, try cooking it for a shorter amount of time, or adding a small amount of corn syrup or glucose to the mixture. If your isomalt is too sticky, try cooking it for a longer amount of time, or adding a small amount of acid (such as cream of tartar) to the mixture. Isomalt won’t set – Isomalt needs to be heated to a very specific temperature in order to set properly. If your isomalt won’t set, try bringing it to a higher temperature and/or letting it cool for a longer amount of time.
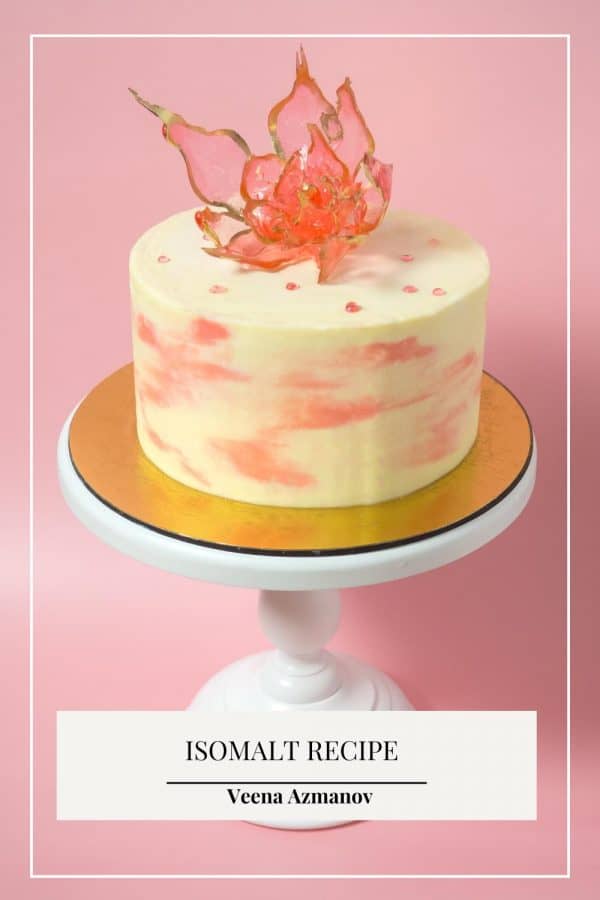
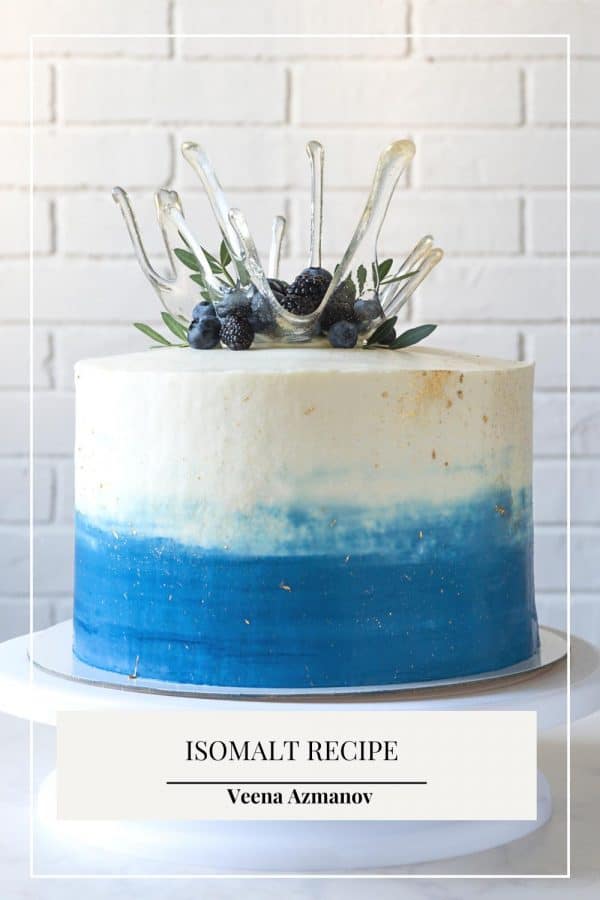
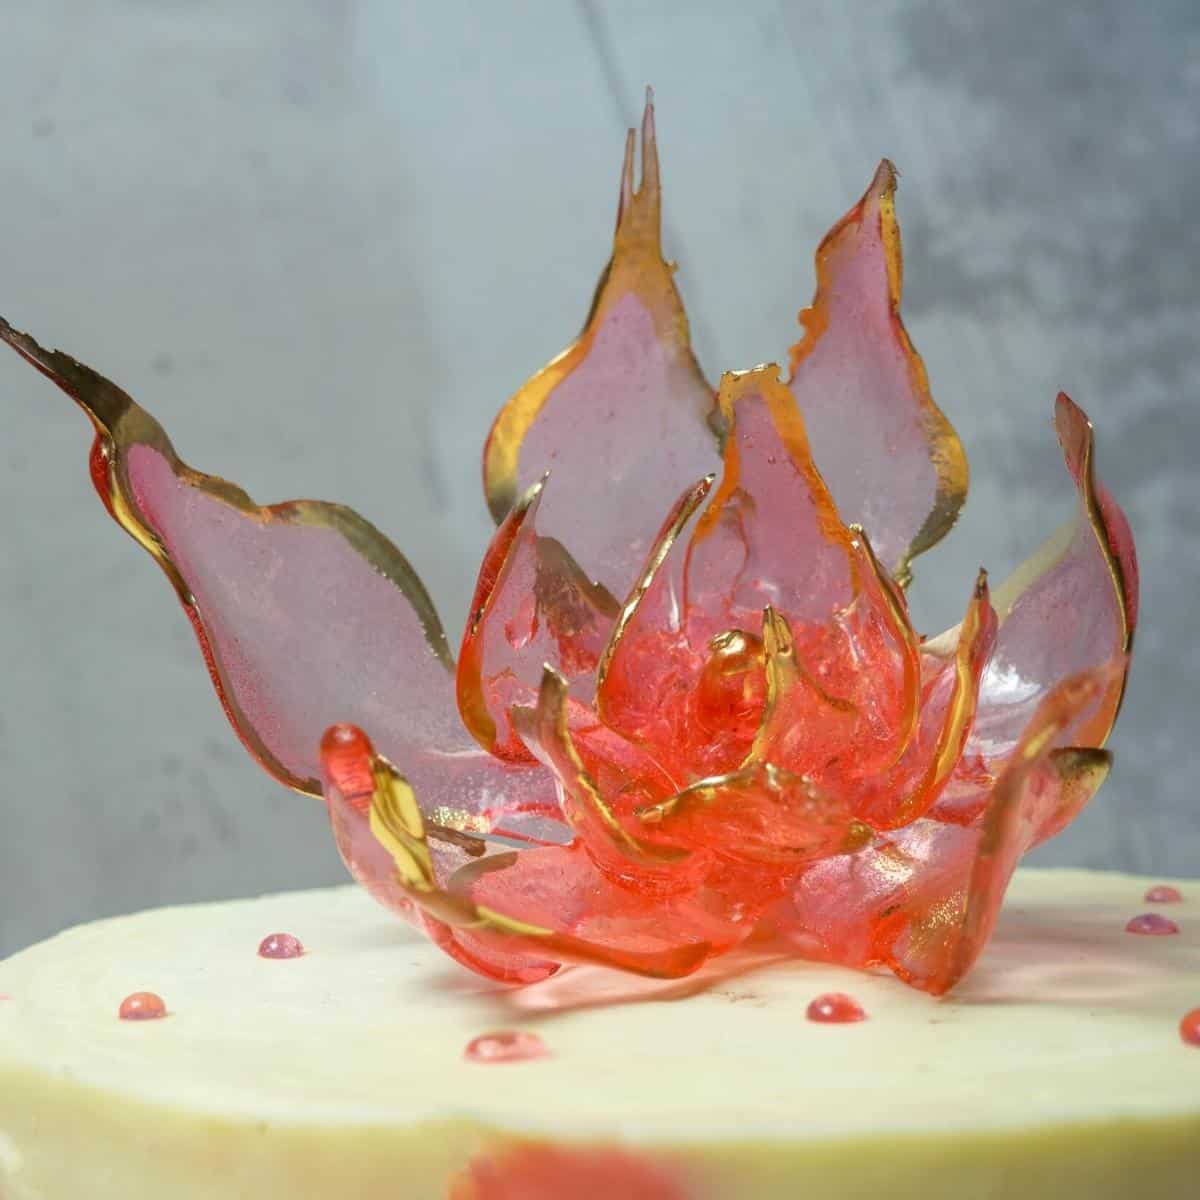
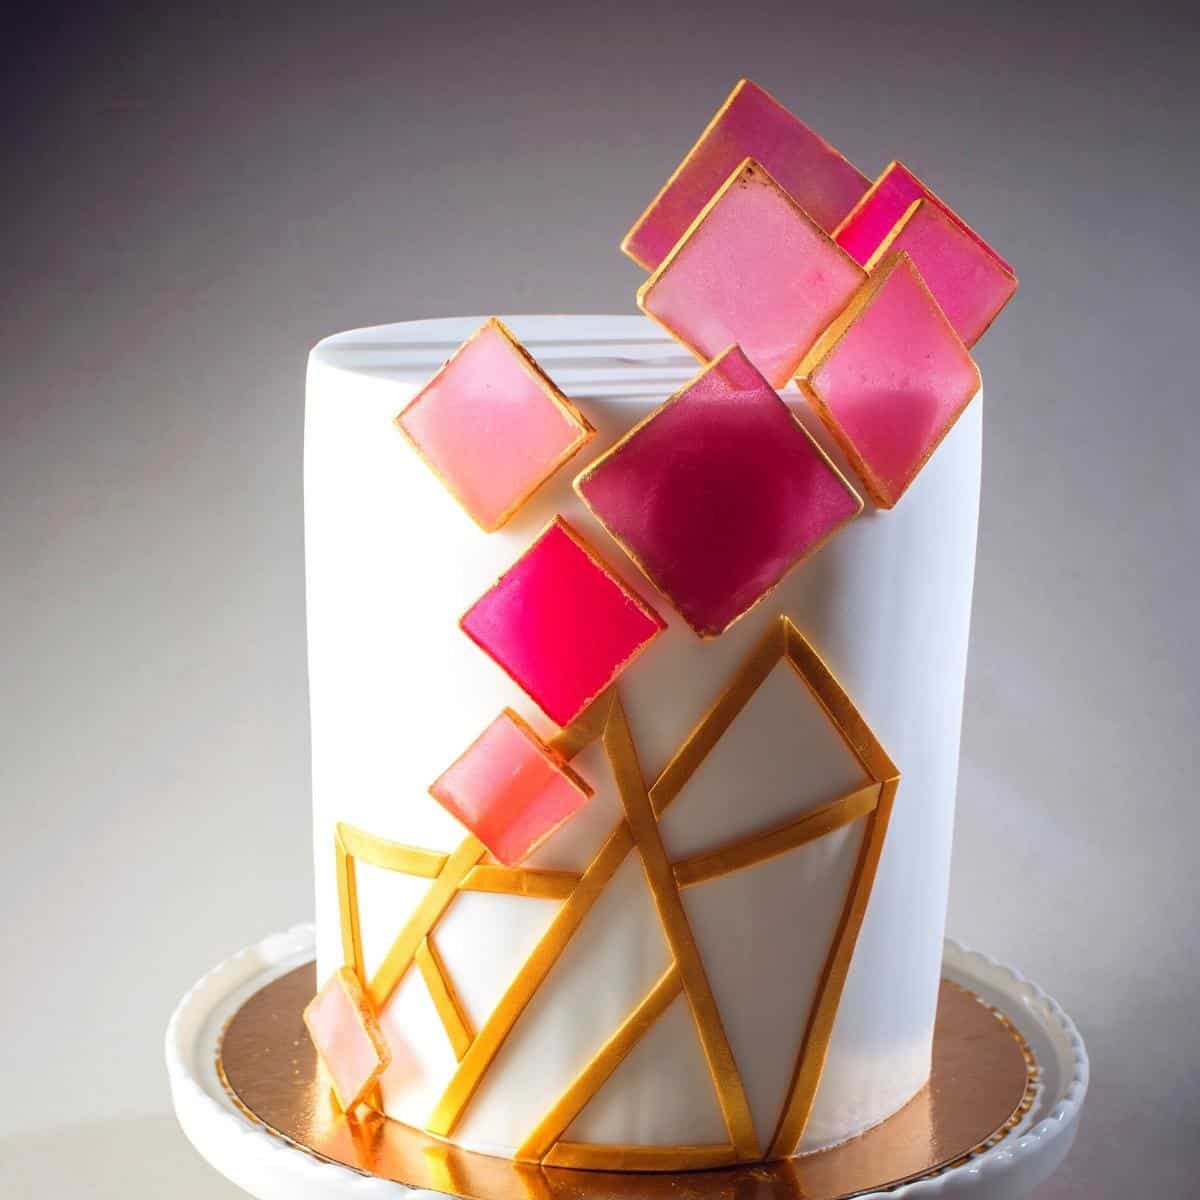
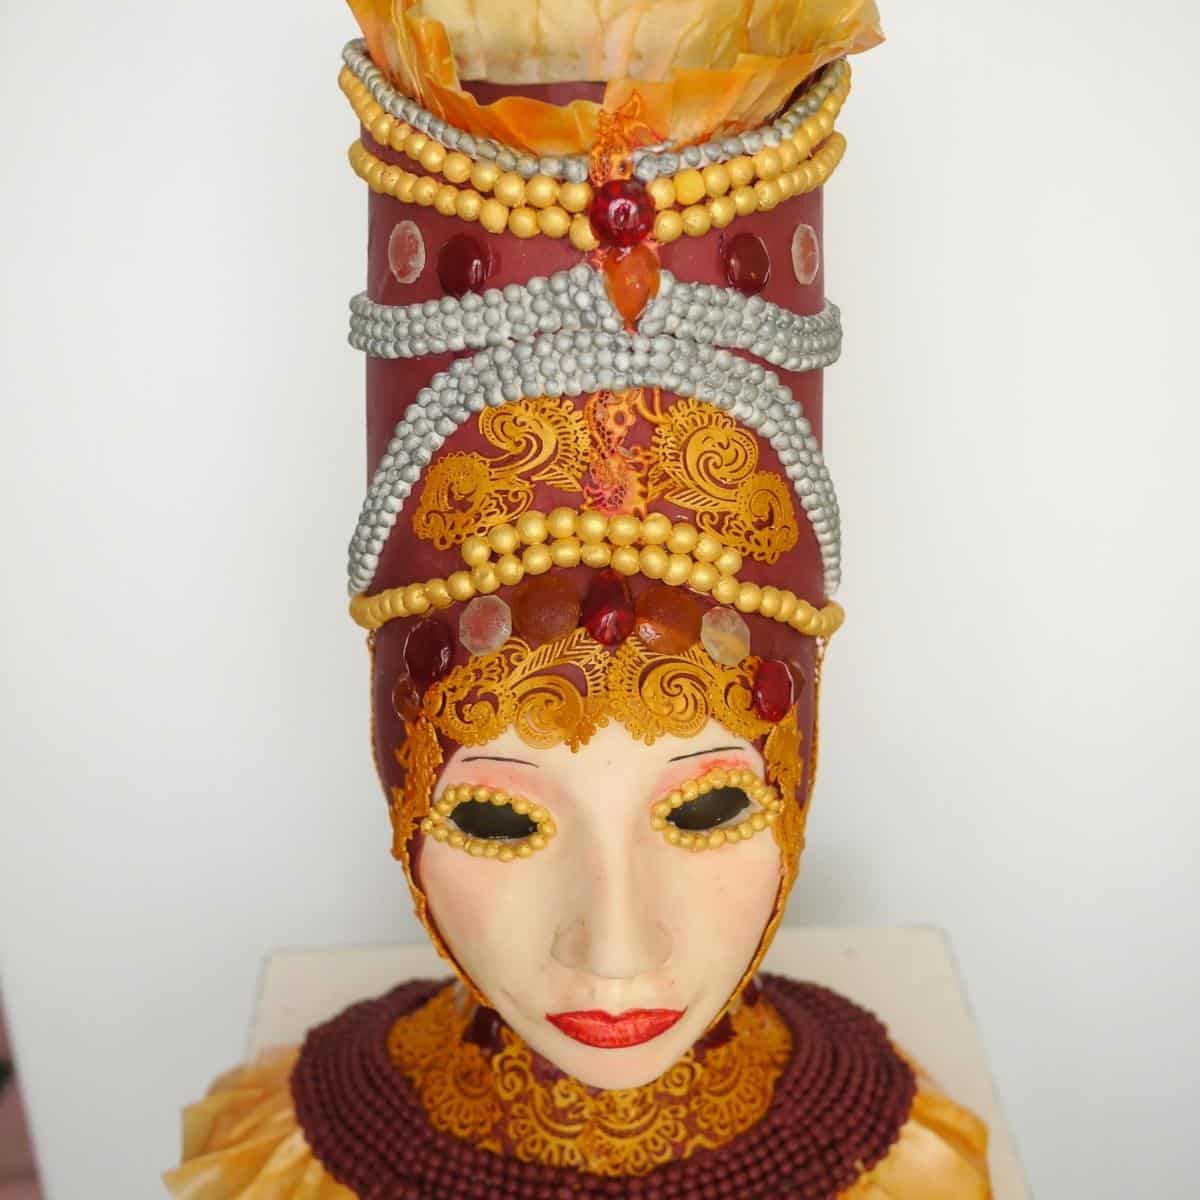
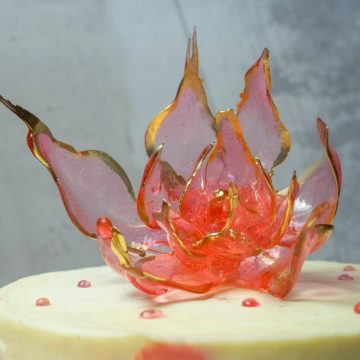
When it comes to isomalt, the possibilities are endless. From creating intricate sugar flowers to sculpting jaw-dropping cake toppers, isomalt can be molded, colored, and shaped to fit any design aesthetic. Take a scroll through social media platforms like Instagram or Pinterest to find inspiration for your next creation. You can also draw inspiration from nature, fashion, and even architecture. The colors and shapes of flowers, the intricate details of lace or embroidery, and the geometric patterns in buildings can all be translated into stunning isomalt designs. But don’t forget to let your own creativity shine through! Experiment with different color combinations, shapes, and textures to create a unique design that’s all your own. Ready to take your isomalt creations to the next level? Before you get started, check out our next section on the secrets to perfectly clear isomalt
Bean Paste Recipe for Sugar Flowers – Korean Bean Paste How to make Edible Gum Paste for Cake Decorating Homemade Edible Sugar Lace Homemade Gumpaste Recipe for Sugar Flowers Korean Buttercream Recipe Homemade Edible Fabric – Edible Silk See all cake decorating recipes
In summary, if you don’t have access to isomalt or prefer not to use it, there are several alternatives you can try. Xylitol, erythritol, and maltitol are all potential substitutes, each with their own unique properties and benefits. Be sure to experiment with each one to find the best fit for your recipe
One possible substitute is xylitol, which is a sugar alcohol derived from plants. It has a similar sweetness profile to sugar, but with fewer calories and a lower glycemic index. Xylitol also has the added benefit of promoting dental health, as it inhibits the growth of bacteria that cause cavities. But, it cannot be used for cake decorating. Erythritol is another option to consider. Like xylitol, it’s a sugar alcohol, but it has zero calories and a glycemic index of zero. It has a similar sweetness level to sugar, but with a slight cooling effect on the tongue. Erythritol is also known for its digestive benefits, as it’s absorbed into the bloodstream and excreted without being metabolized. This also cannot be used for cake decorating. Maltitol is a sugar alcohol derived from maltose, which is a type of sugar found in grains. It has a sweetness profile similar to sugar, but with fewer calories and a lower glycemic index. One downside to maltitol, however, is that it can have a laxative effect if consumed in large quantities. Cannot be used for cake decorating.
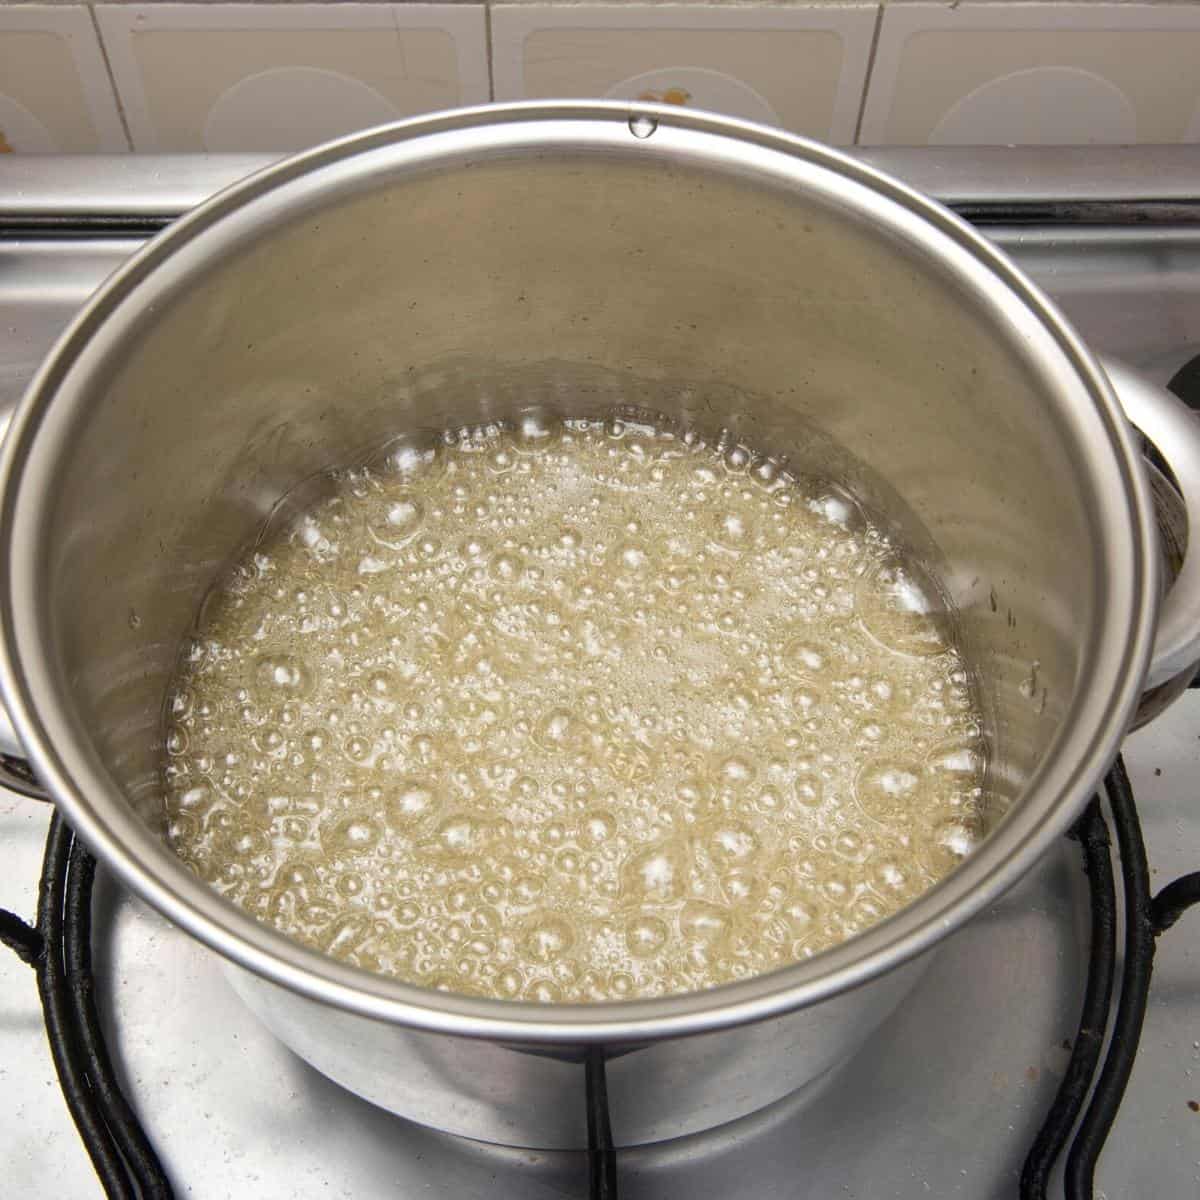
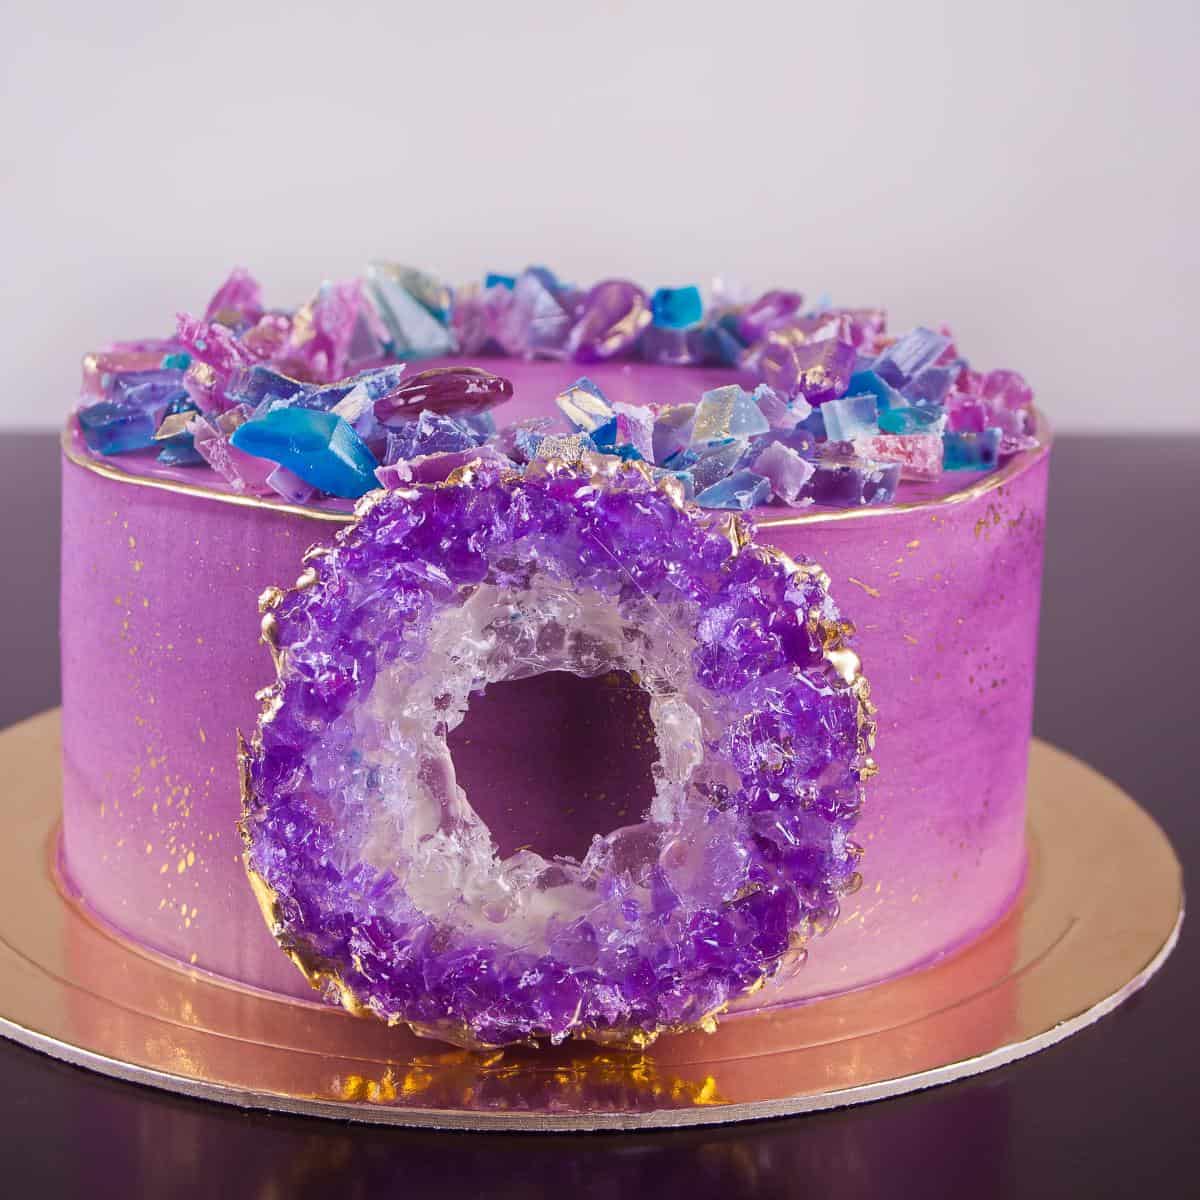
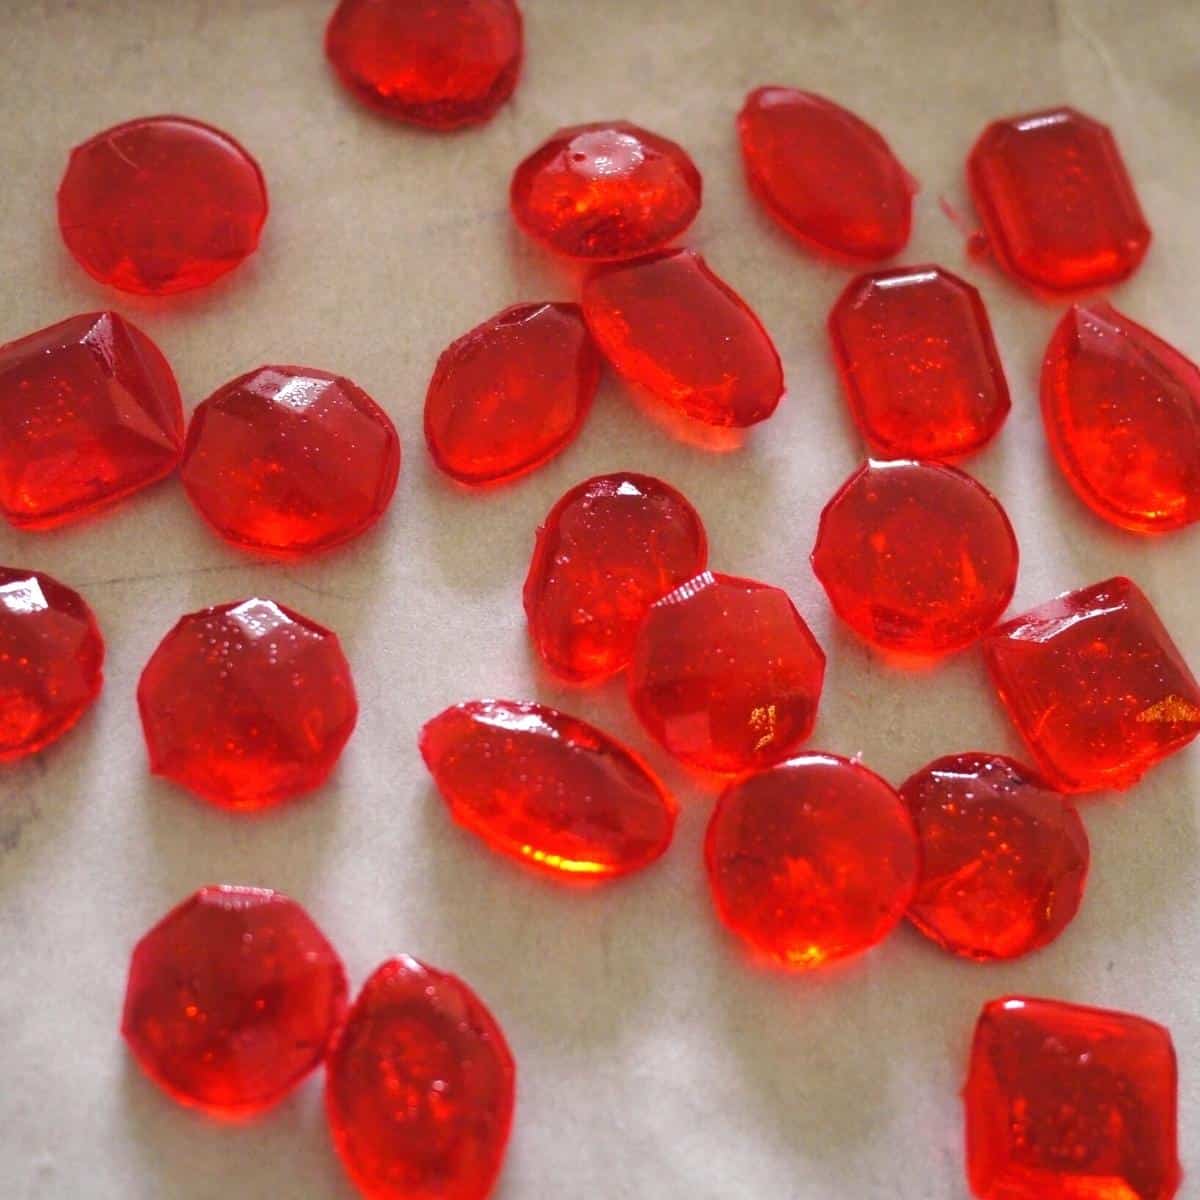
Bring sugar, water, light corn syrup to a boil. Once it starts to boil do not stir with a spoon or spatula. Gently brush the sides of your pot with a wet pastry brush to drop any sugar crystals stuck to the side. Let syrup boil gently until it reaches 300°F on a candy thermometer. Add food color if needed. Let the bubbles & steam settle. Pour into candy molds. Leave to set for about 30 minutes undisturbed. Once set flip the mold over and the gem should just drop off. Store in an airtight container. Use as gemstones on a cake.
Thank you for sharing - Save for later