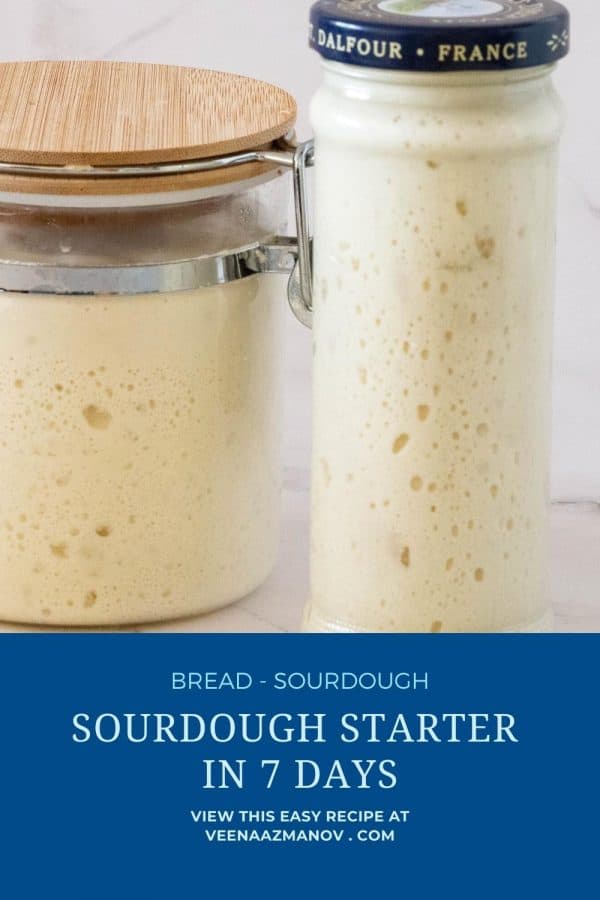
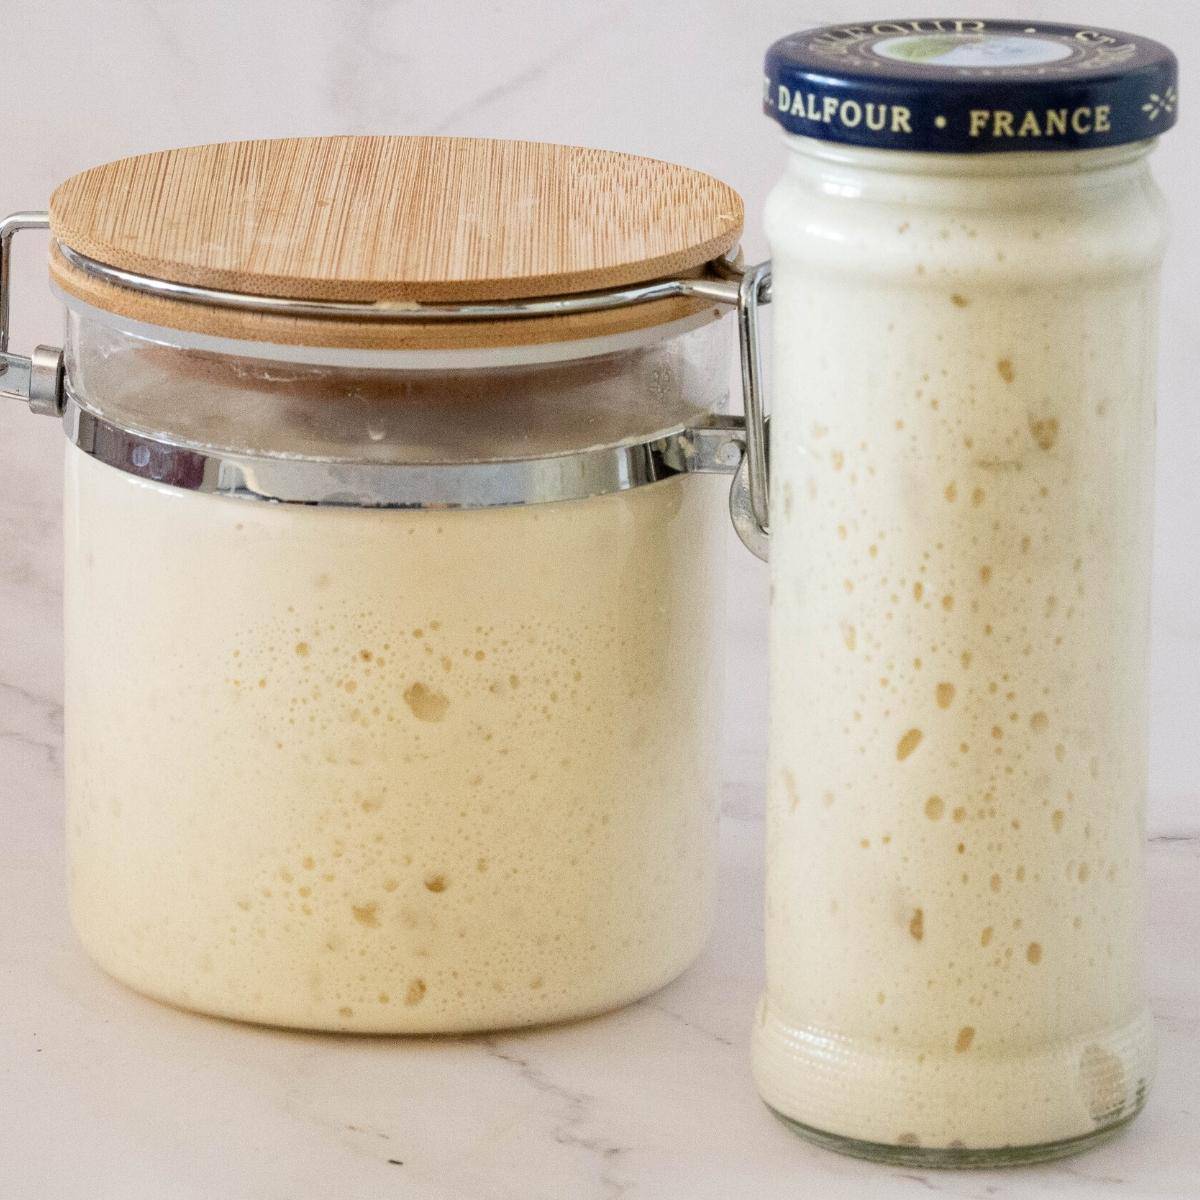
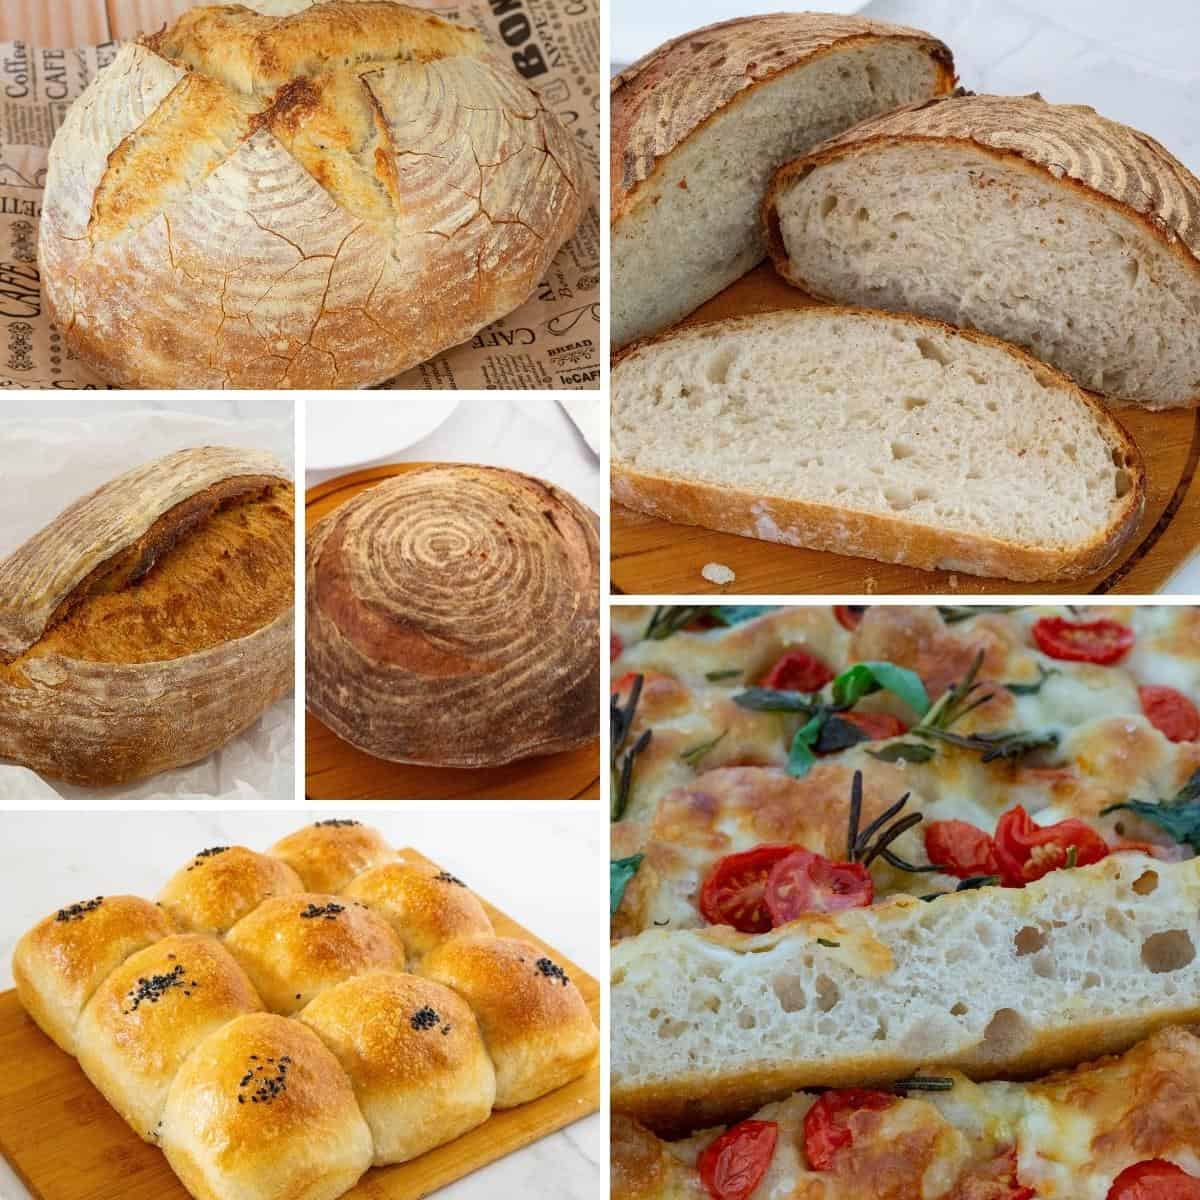
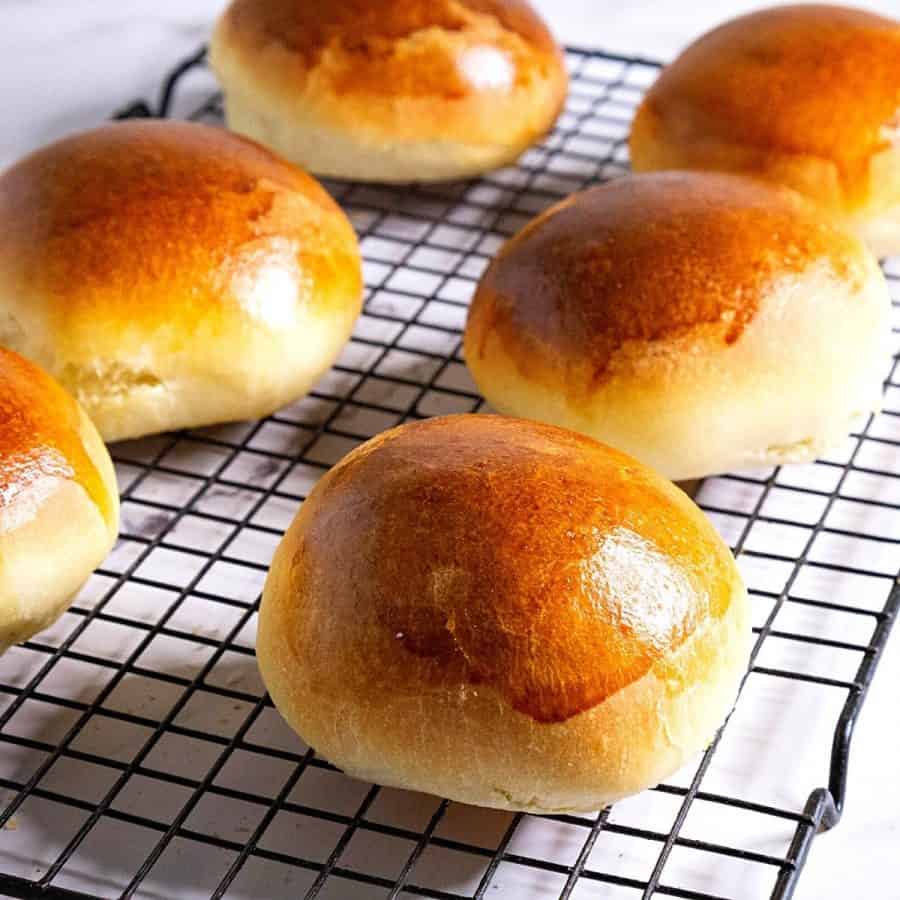
I’ve been making homemade bread for years with my sourdough starter. And I’m waiting anxiously to share some of my simple and easy recipes with you. But, of course, it all starts right here with the sourdough starter. So, today, I want to share with you everything you need to know about making bread with wild yeast or a sourdough starter. How to make it from scratch as well as how to feed it and maintain it. In the coming days, we will make all kinds of bread dough with it, including simple dinner rolls, seeded dough, baguettes, focaccia, ciabatta, pizza dough, and more.
Understanding the Science of Sourdough
At its core, sourdough is the result of a symbiotic relationship between yeasts and lactic acid bacteria. These microscopic organisms work together in a delicate dance to produce the rise, flavor, and texture we love in sourdough products.
Most people presume that bread made with wild yeast is sour because of the popularity of sourdough bread. But, in fact, that is not true. Not all bread made with a sourdough starter is sour.
Sourdough is more than just a name for the stubborn yeast that won’t give up and die. You can make bread and other foods with easier-to-find baker’s yeast, but for the best flavor, most people will want to use sourdough starter.
The wild yeast present in the sourdough starter feeds on the sugars in the dough, converting them into carbon dioxide gas. This trapped gas creates tiny bubbles that expand during baking, resulting in the beautiful rise and airy texture that set sourdough cinnamon rolls apart from their commercially made counterparts.
But what truly sets sourdough apart is the additional element of lactic acid bacteria. These bacteria produce lactic acid during fermentation, giving sourdough its unique tanginess. The lactic acid also helps to strengthen the gluten structure in the dough, leading to a chewier and more satisfying bite. The interaction between the yeasts and bacteria creates a harmonious balance that yields a complex and well-rounded flavor profile.
Understanding the science behind sourdough not only allows us to appreciate its transformative powers but also empowers us to troubleshoot any challenges that may arise during the baking process. By understanding the role of temperature, hydration, and time in sourdough fermentation, we can manipulate these variables to achieve the desired flavor and texture in our cinnamon rolls.
How to make your own sourdough starter?
This wild yeast or sourdough starter needs only two ingredients: flour and water. With time and the right temperature, these two ingredients can go through the process of fermentation that creates yeast.
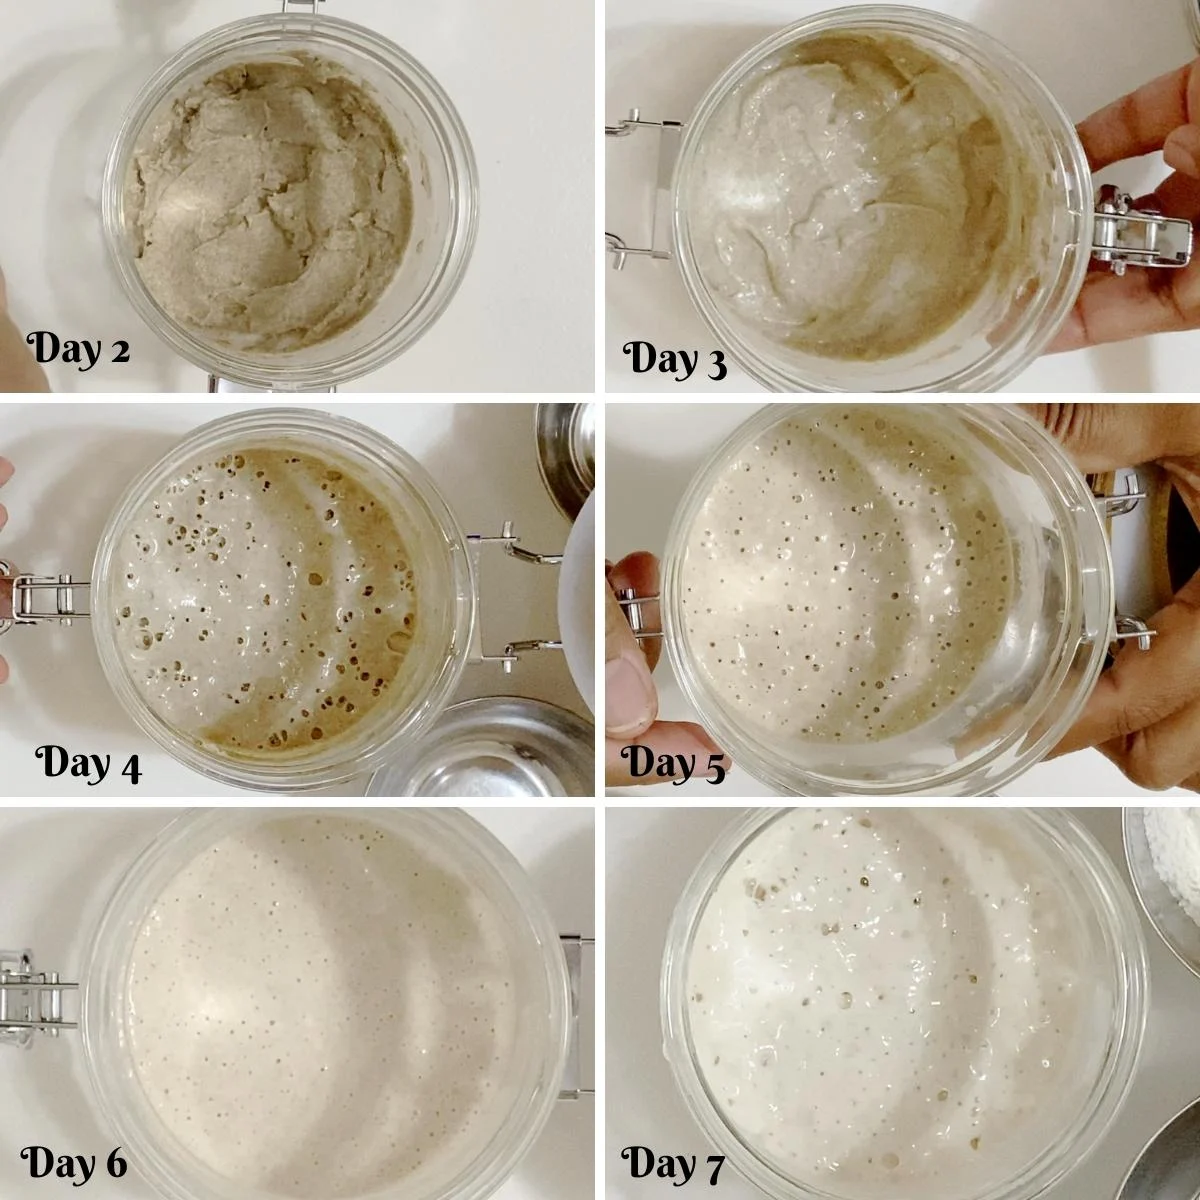
Day 1 – combine water and flour Day 2 & 3 – discard half and feed every 24 hours. and Day 4 to 7 – discard half and feed every 12 hours ( twice a day) In most cases, you should have made your starter. But if not, continue to feed every 12 hours.
Yeast is a living organism, which means it needs to be fed and maintained like a pet. When kept in the refrigerator, once a week you need to make sure you feed your wild yeast with more fresh flour and water. Of course, every time you remove some yeast to make bread you must save some and feed it more water and flour so that next time you can make more bread.
Ingredients and substitutes
Flour – The truth is you can make wild yeast with many different varieties of flour with different results. Some do a better job because they contain more wild bacteria. My preferred flour is rye flour. I use it every single time. Rye and whole-grain flour go through minimal processing and are packed with nutrients and microbes, which have more wild bacteria in them. And, since that is what we are trying to harness, these should definitely be your first choice. You can use these for all 7 days when making your starter or switch to all-purpose flour, as I did with this starter. Bread flour – Has more protein (about 12 to 14%), which usually is the best to use for making bread. More protein means the starter is able to trap more CO2 gas, which results in faster fermentation. All-purpose flour – Has low protein (about 9 to 12%) and works very slowly in the process of bacteria creation. Ideally, it can take longer than 7 days to make your wild yeast. Having said that, it is possible to make a sourdough starter with AP flour. It just needs more time and a few more feedings. Flour blends – There is no need to choose just one flour to make your starter. As you can see below, we started off with rye flour on day one and then used whole wheat on day two. You could continue with any three after that – rye, whole wheat, or AP flour. Liquid Water – Most people use water to make their starter. And while that works great, you must take into account that local tap water contains chlorine. Chlorine is said to slow the process of creating bacteria in yeast. You can also use bottled water or distilled water. Alternatively, you can keep the tap water in a wide pan on the counter overnight for the chlorine to evaporate. While you don’t necessarily need warm water it should not be cold. I’d say about 80 to 85%. Also, note that the quantity is 30 grams of water (the ratio is usually calculated in grams). Juice – I find adding a little something to the water helps increase the chances of fermentation. Today, I have added just a smear of molasses. But you can also use half water and half pineapple or orange juice for the first day. I believe grape must, raisin soaked water (soak raisins in water for a few hours), works too.
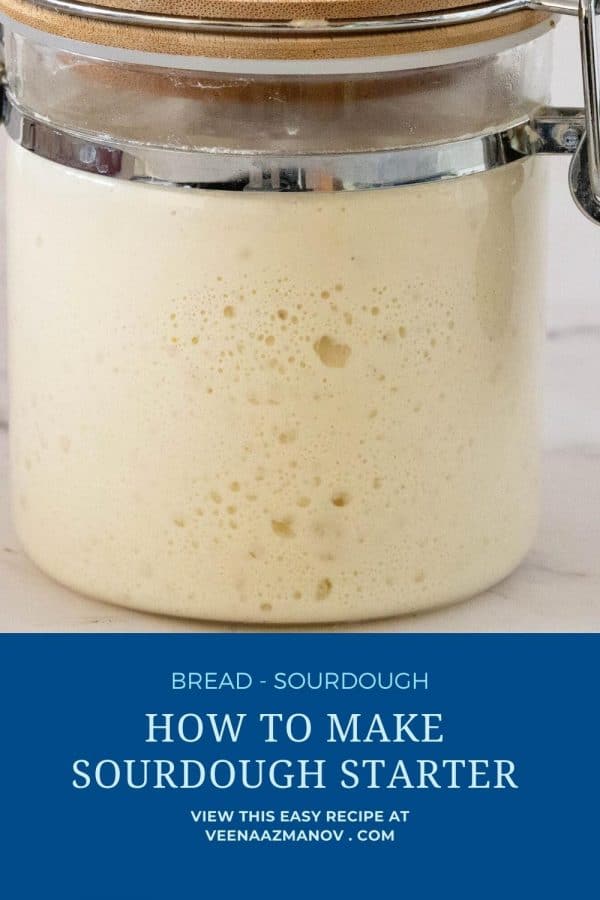
How to make a sourdough starter
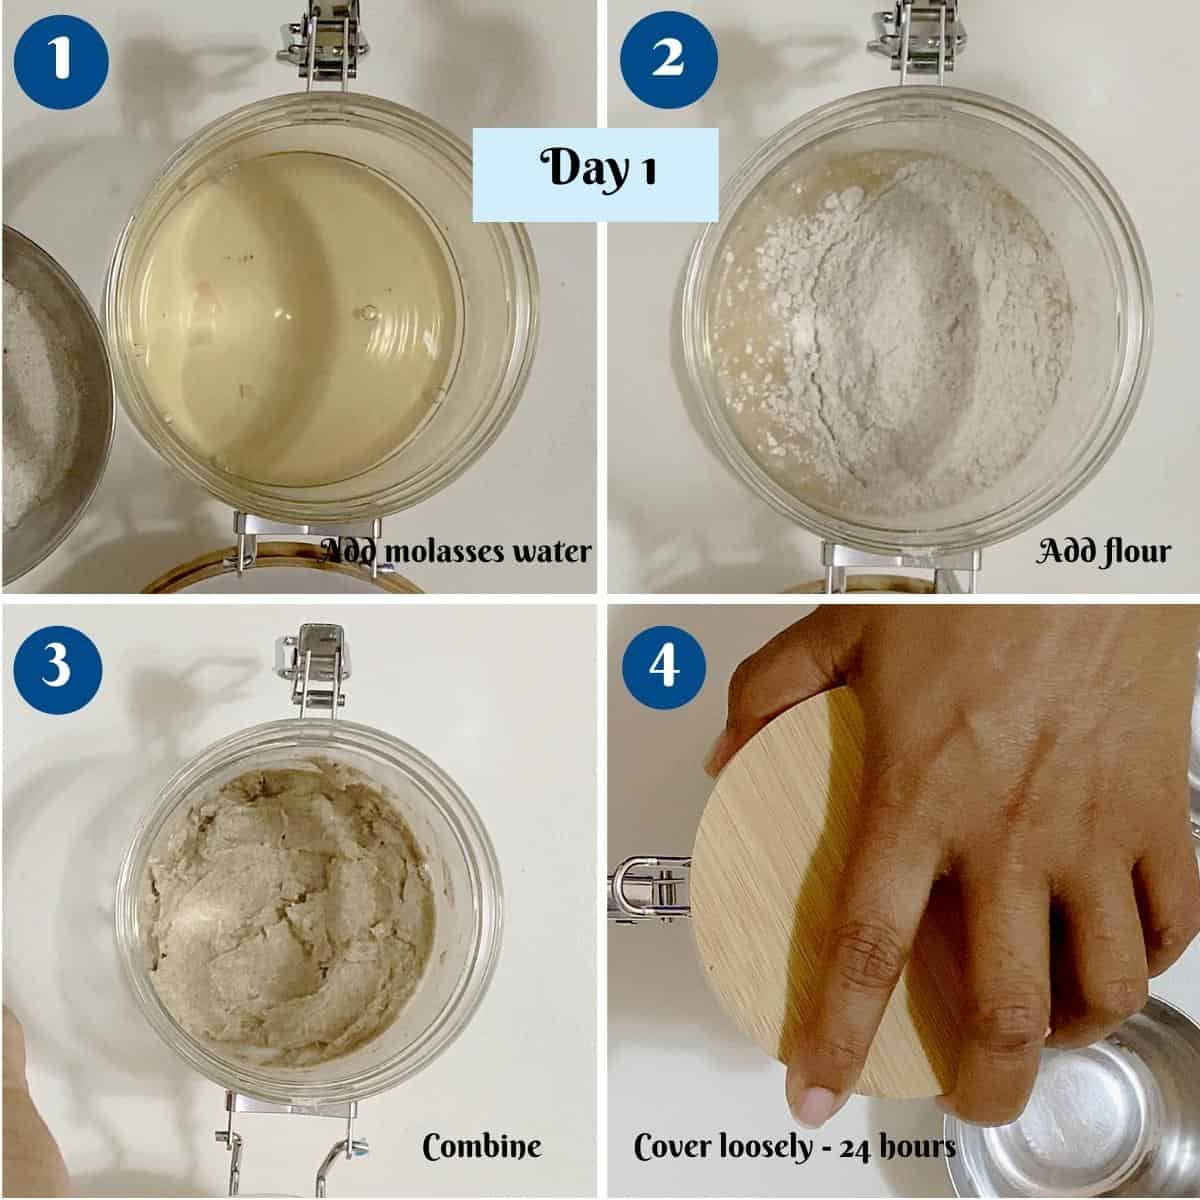
Day 1 In a clean, glass jar (about 8 oz), add the water and molasses. Combine well. Then, add the rye flour and combine. Make sure there is no dry flour left behind. Cover loosely with a lid and leave in a warm place for 24 hours.Pro tip – Keeping the jar in a warm place (67 F) such as in a switched-off oven can help. I left mine on the counter for all 7 days just so I don’t forget to feed it.
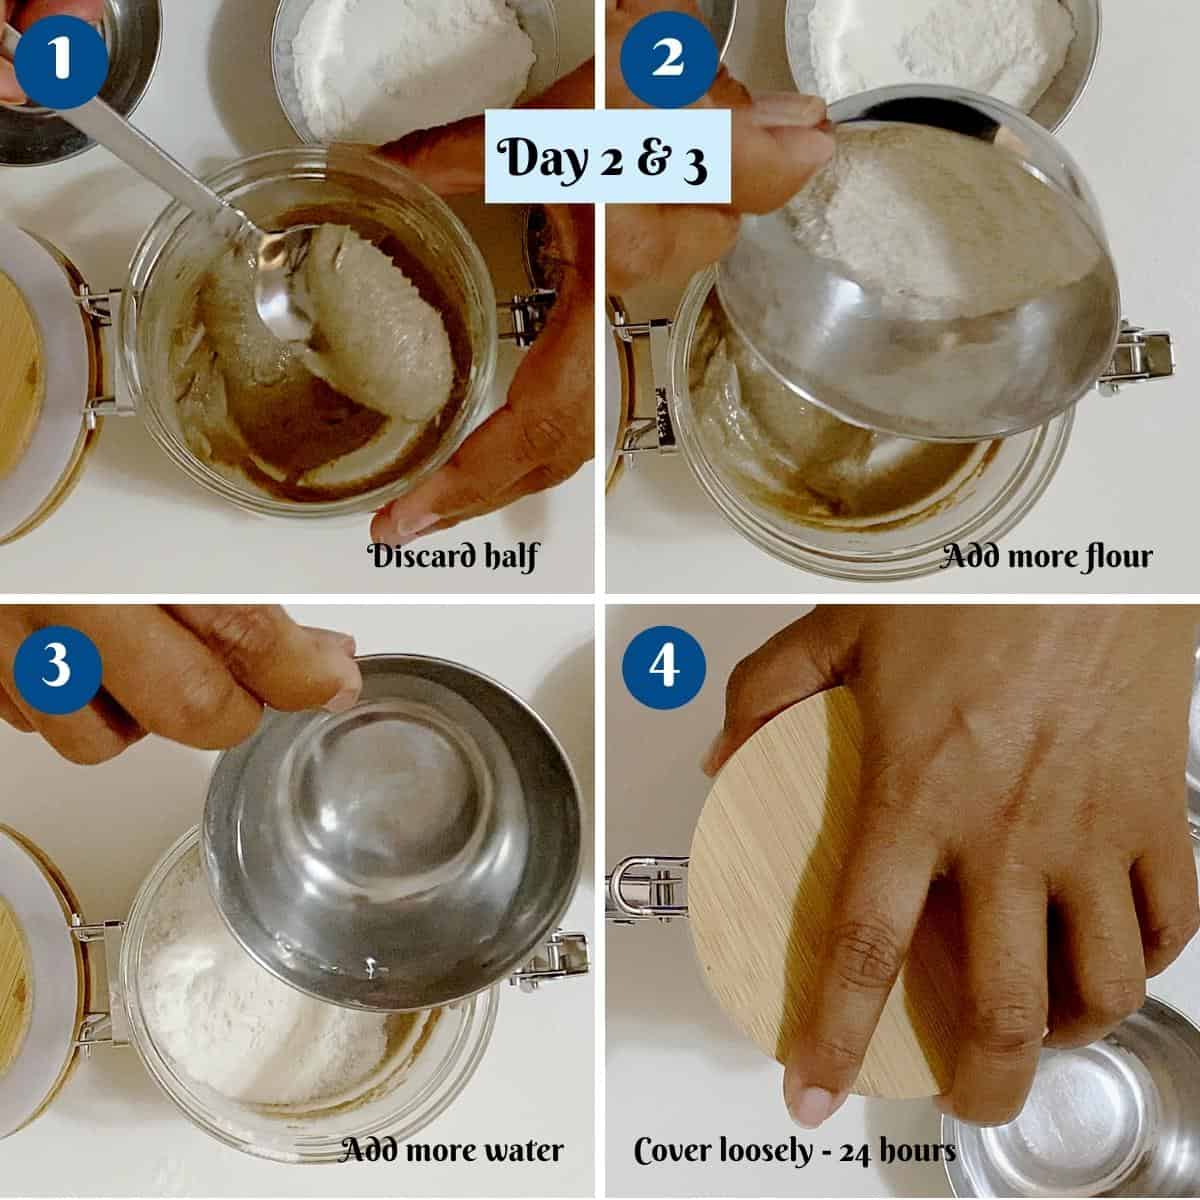
Day 2 Open the jar, stir well, remove half and discard. Add both the flours followed by the water. Combine well making sure no dry flour is left behind. Cover loosely with a lid and leave in a warm place for 24 hours.Pro tip – There will be no activity in the jar today. And there may or may not be a sweet tangy smell of fermentation.
and Day 3 Open the jar, remove half and discard. Add more flour and water. Combine well. Cover loosely and leave in a warm place for 24 hours.Pro tip – You may or may not see some bubbles today. There will be, however, a stronger smell of fermentation. It is a sour but pleasant smell.
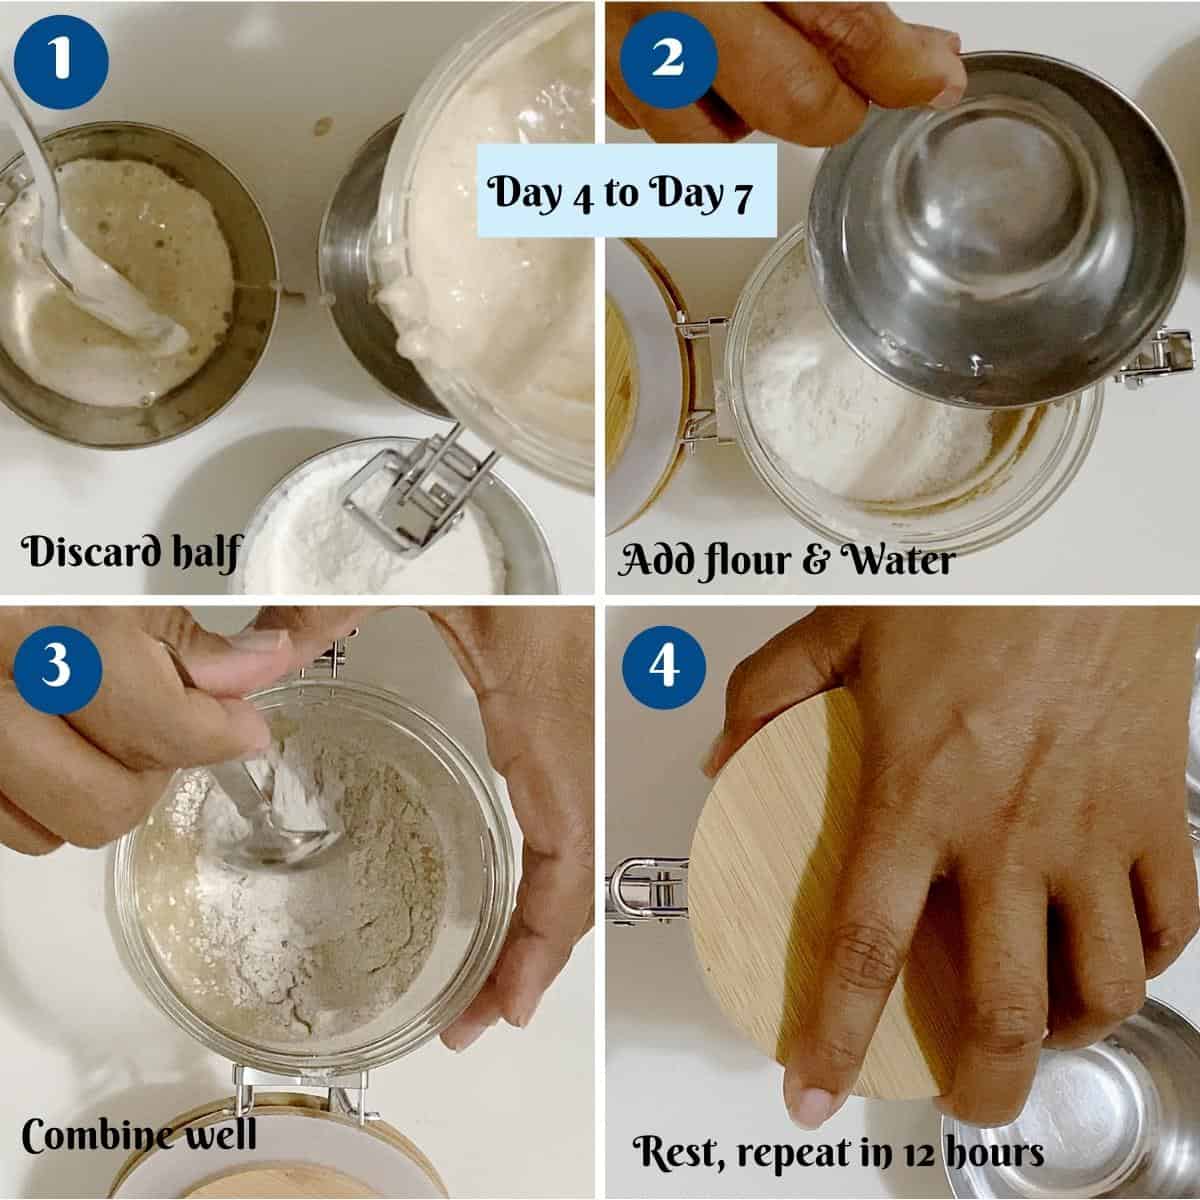
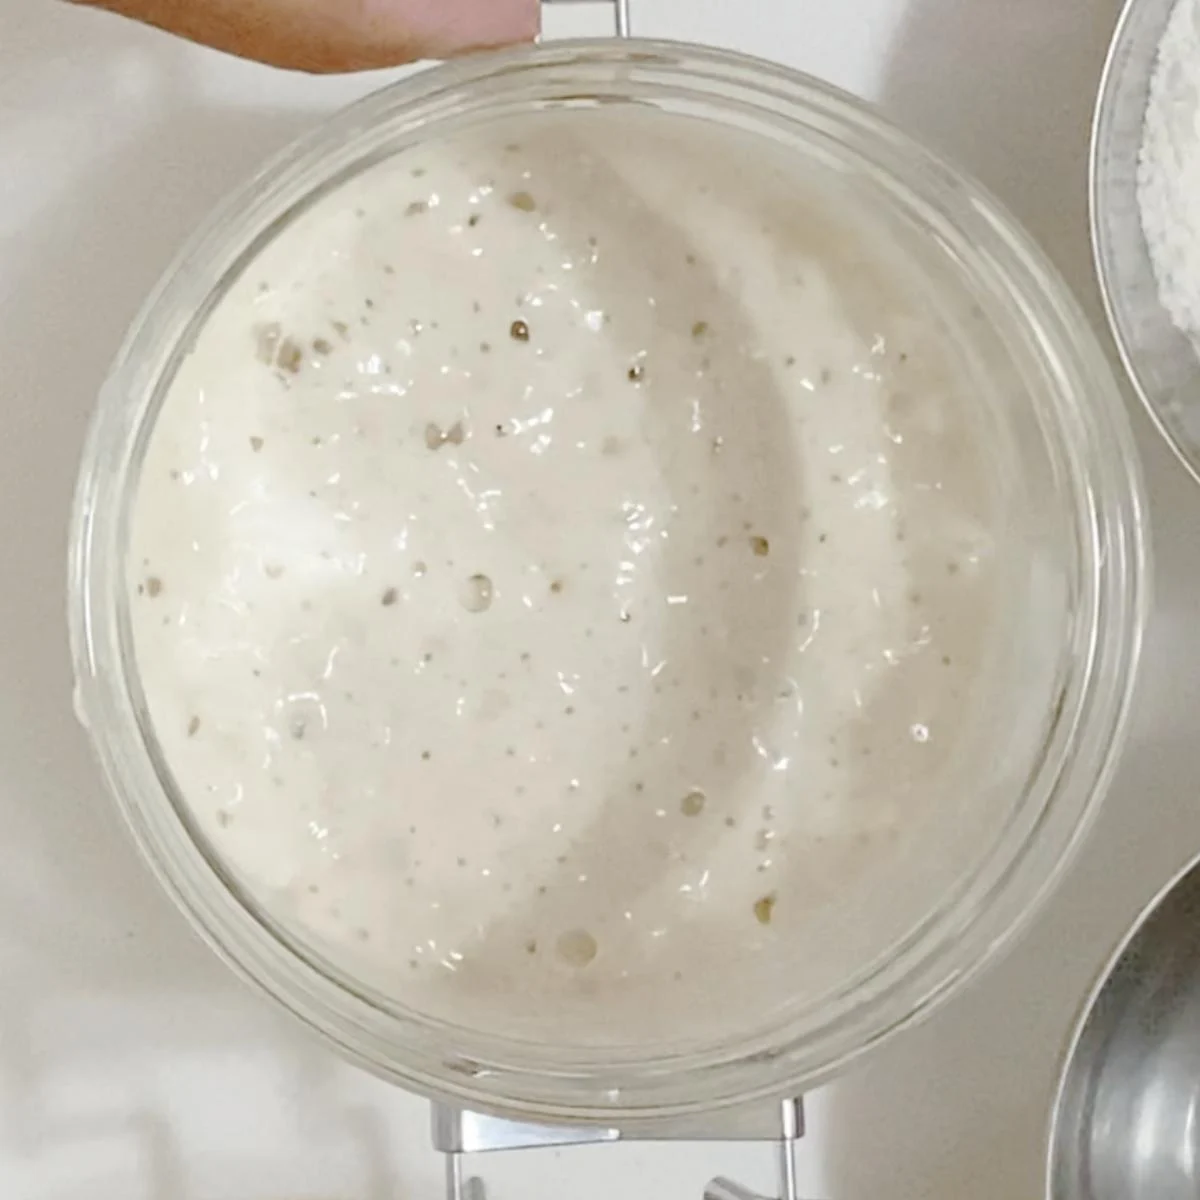
Day 4 (1st feeding) Open the jar, remove half and discard. Add fresh flour and water. Combine well. Cover and leave in a warm place for 12 hours.Pro tip – By now, you should see some bubbles and a stronger tangy smell. And if not, don’t worry, continue feeding. Day 4 (2nd feeding) Open the jar, remove half and discard. Add more flour and water. Combine well. Cover loosely and leave in a warm place for 12 hours.Pro tip – The bubbles and tangy smell get stronger. The mixture will have a little rise in the jar too. And if not, don’t worry, continue feeding. and Day 5 (1st feeding) Open the jar, remove half and discard. Add more flour and water. Combine well. Cover with a lid and leave in a warm place for 12 hours.Pro tip – In most cases, you should see the mixture rise and some yeast smell. There may even be a layer of liquid. This is the start of your yeast but it is still quite weak and needs regular feeding. And if not, don’t worry, continue feeding. Day 5 (2nd feeding) Open the jar, remove half and discard. Add flour and water. Combine well. Cover loosely and leave in a warm place for 12 hours.Pro tip – By this time, the top of the mixture will have some holes and bubbles. The smell of yeast starts to get stronger. But, it is still weak. Continue feeding. Day 6 (1 feeding) Open the jar, stir well, remove half and discard. Add more flour and water. Combine well. Cover with a lid and leave in a warm place for 12 hours.Pro tip – By this time, the smell of yeast gets stronger and you will see the mixture rises more than double. In some cases, the mixture will peak and deflate meaning it needs feeding. And there may even be a layer of liquid on top. Continue feeding. and Day 6 (2nd feeding) Open the jar, remove half and discard. Add fresh flour and water. Combine well. Cover loosely and leave in a warm place for 12 hours.Pro tip – Ideally, what you should have is a wonderful smell of yeast. The mixture will rise and fall. And when you mix with a spoon it will be a sticky elastic mixture. Day 7 – and onwards Open the jar, remove half and discard. Add more flour and water. Combine well. Cover and leave in a warm place for 12 hours.Pro tip – By now, you should have a nice strong smell of yeast. The mixture will rise within 4 hours. If not, don’t worry, and continue feeding.
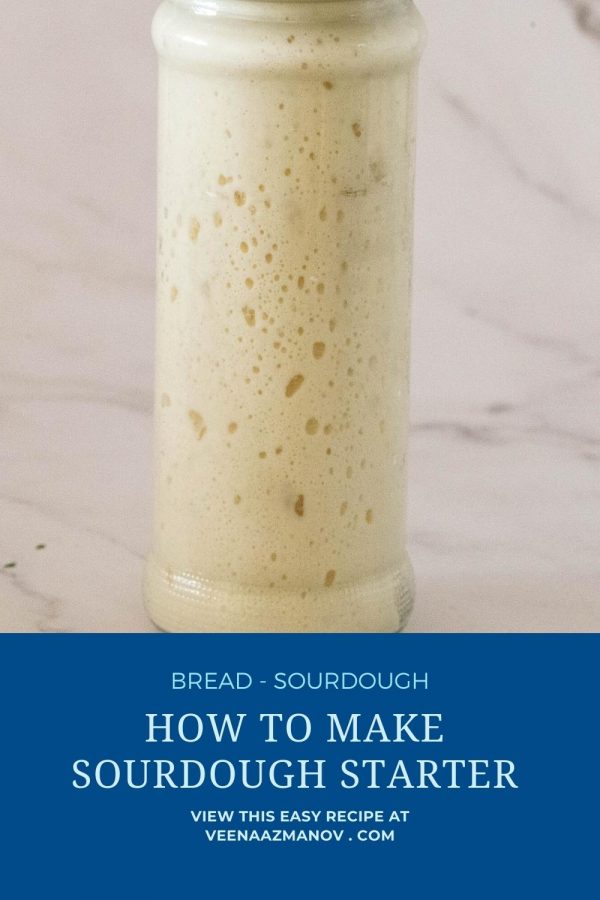
Is my sourdough starter ready?
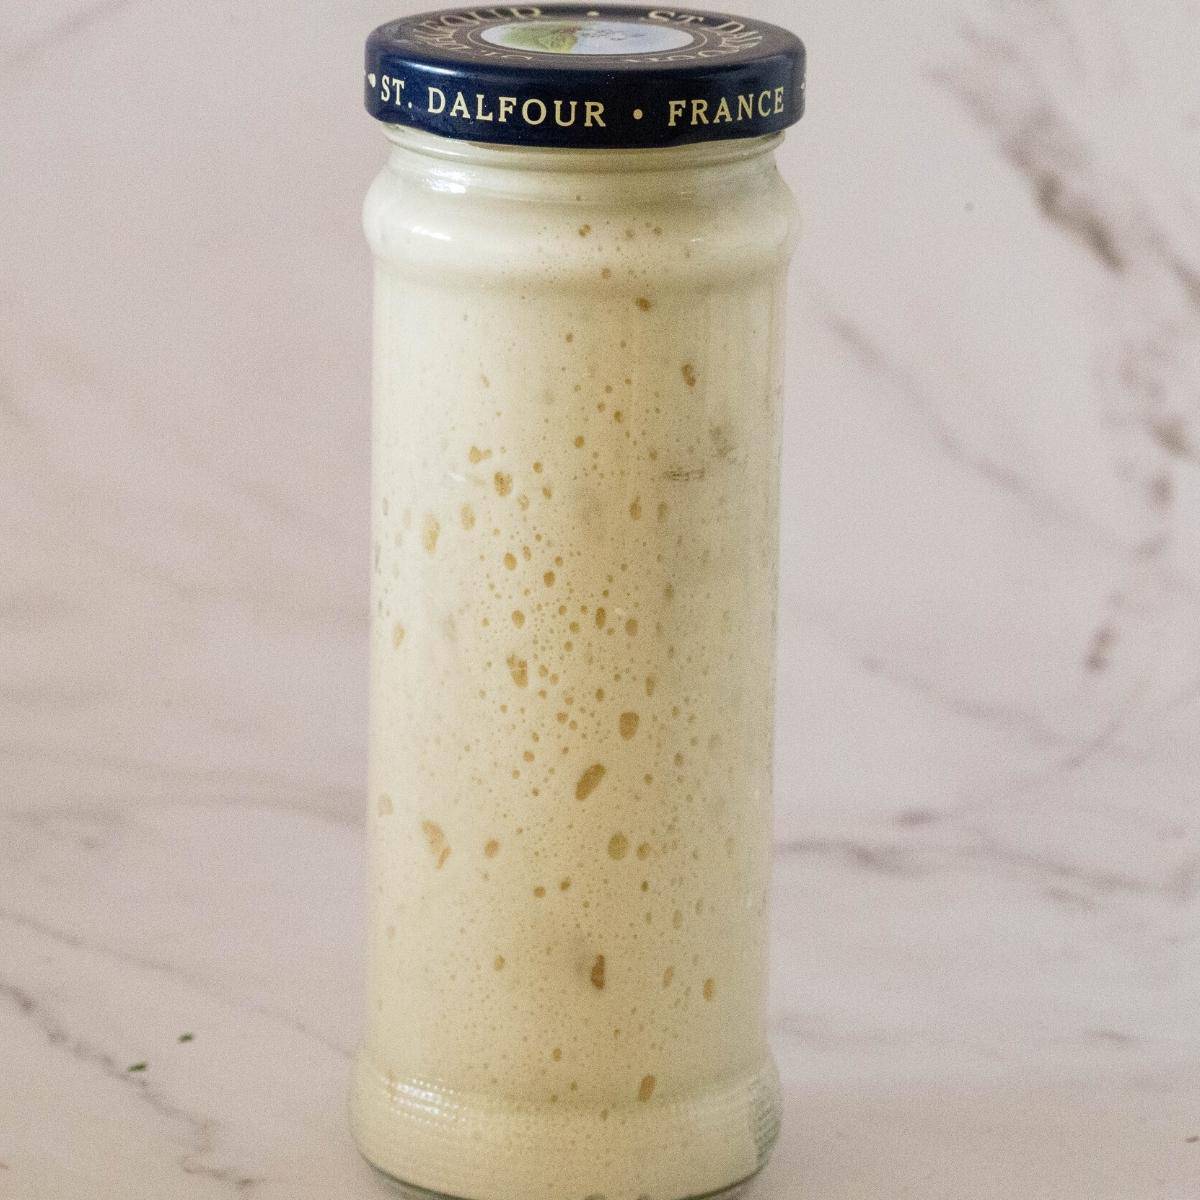
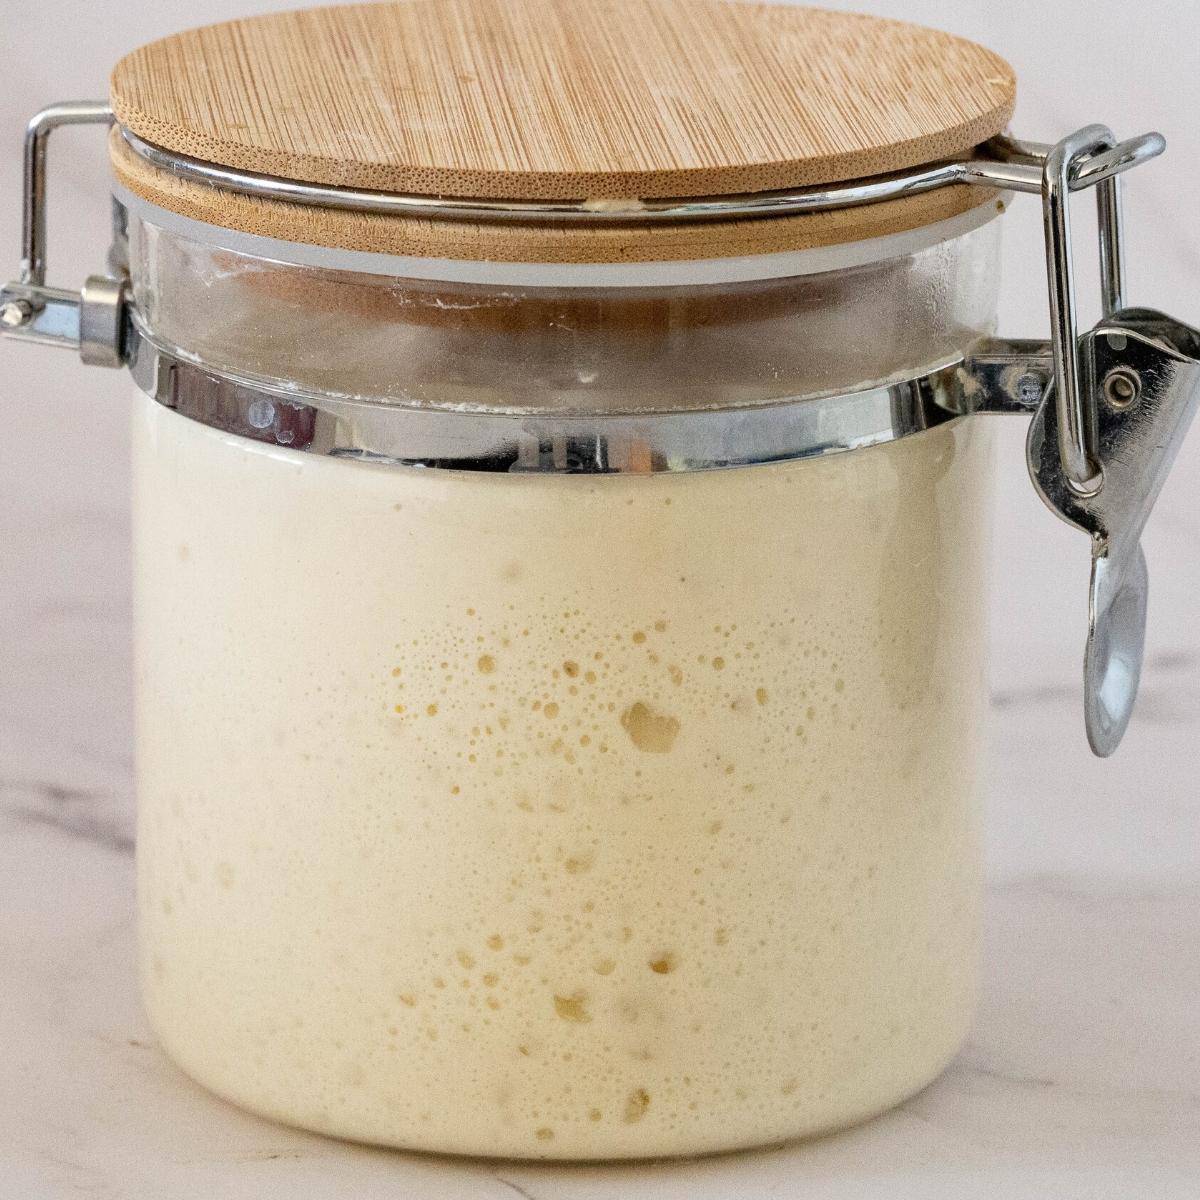
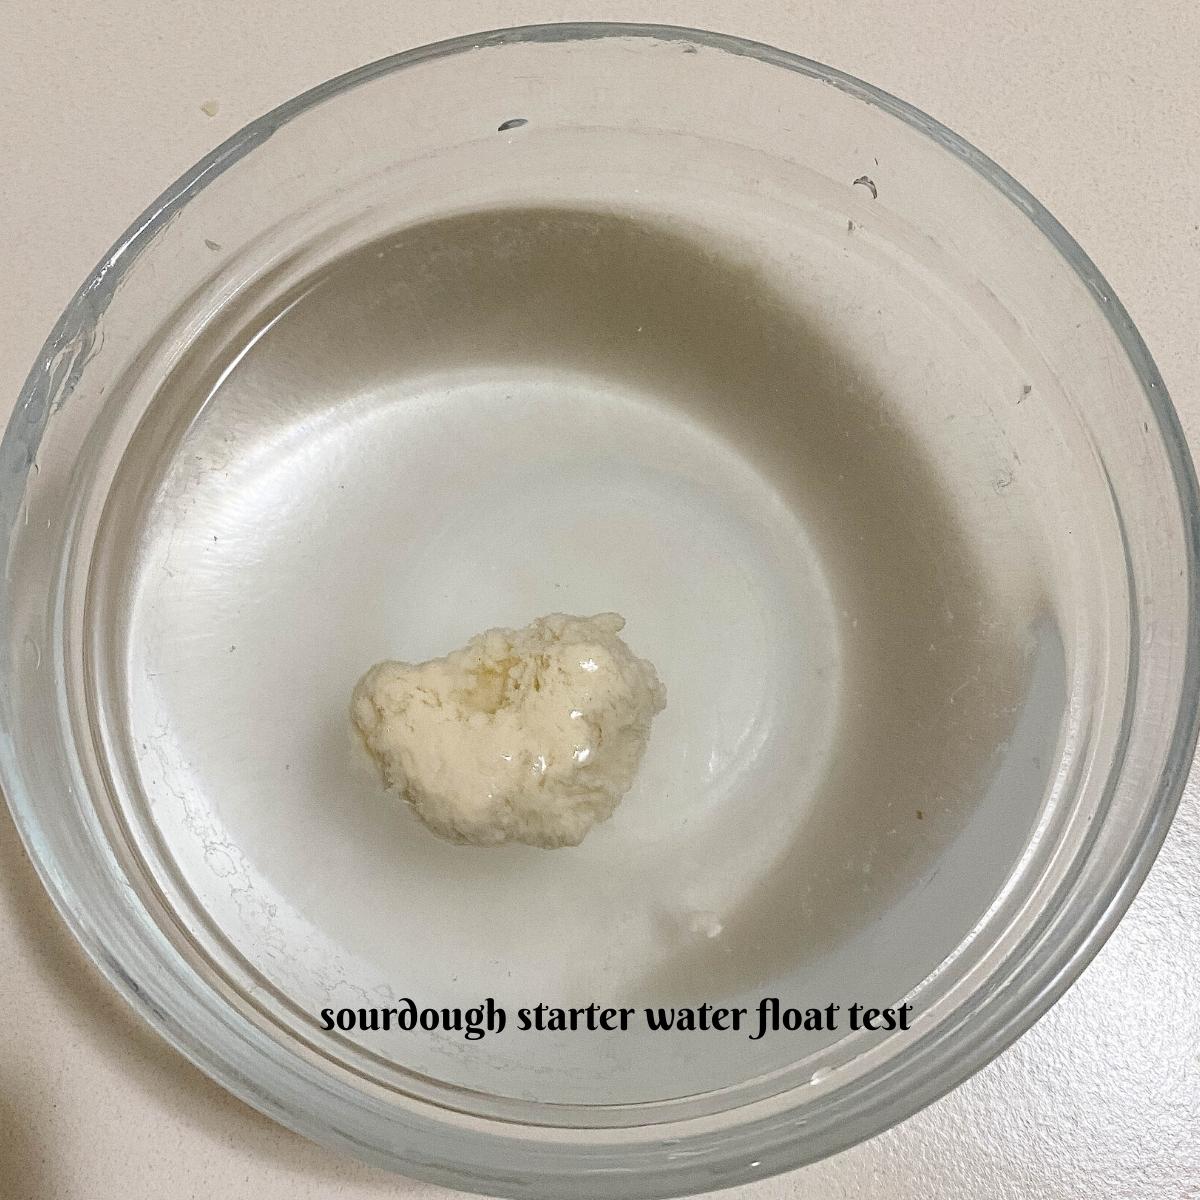
When you think your starter is ready but you’re not sure. Take a teaspoon of the starter and drop it in a bowl of room temperature water. If the starter floats like this, it is ready. Congratulation! You just made wild yeast or your first sourdough starter. You can now use some of it to make your sourdough bread or save it in the refrigerator and feed it every week. And if you do make bread, make sure to save a little so you can continue to feed it and use it for future bread recipes.
Tips for sourdough starter
Be prepared – A starter is like owning a pet. It needs attention. So, take into account that it needs to be fed often. Keeping it nourished and hydrated should be part of your plan from day one. Use the right kind of flour so you achieve good timely results. Rye and whole wheat flour are best to start with, at least for the first two days. After that, you can continue with AP flour for the rest of the feeding. Also, use bottled or filtered water if possible. Adding a little molasses (just the tiniest bit) will increase the process of bacteria culture. Hydration or ratio – This refers to the amount of water and flour you use for the starter. I’ve used 100% hydration. This means equal parts of flour and water. When using whole wheat or rye flour, the starter will be thicker as they absorb water differently. Use a volume measure equal to the amount you need so you don’t have to weigh the items every single time. I used volume measures like cup flour and cup water in this recipe so my feeding becomes easy and quick. In addition, keep the starter in a warm place (about 65F ) on the counter or in a switched-off oven. It is the best for the formation of bacteria. Use your senses – Look, see, smell to understand your starter. That way, you will know how to troubleshoot. Don’t be discouraged if the starter takes longer to ferment. It does not have to be ready in 7 days. It will be ready based on the quality of ingredients and the right ambient temperature. Use a rubber band or marker to see how much your starter has risen. And try to keep to a schedule. That way, there is less possibility of forgetting. And if necessary, set a reminder at least once a week so you don’t forget to feed the starter. Furthermore, I like to keep the starter in the front not tucked behind in the refrigerator. That way, there is less chance of me forgetting to feed it.
Feeding, maintaining, and storing the starter
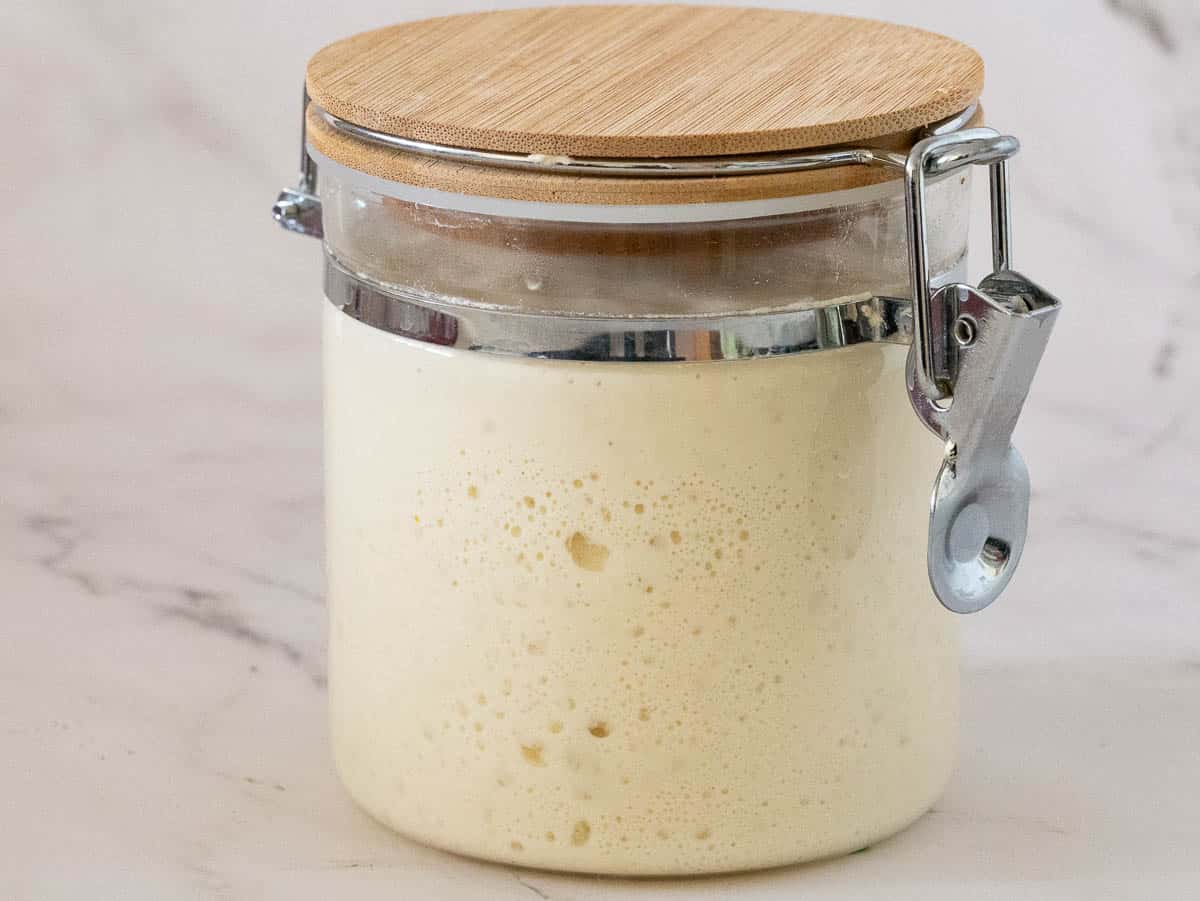
Try to pick a time of the day for the feeding schedule and stick to it so you don’t forget. Start with small quantities so you keep discards to the minimum. After day 6, you can feed the starter without discarding half to make a larger quantity. Always discard half the starter, then feed it with fresh flour and water. That way you keep the level of acidity and minimize waste. Once your starter is ready, you can close it and place it in the refrigerator. The cold temperature slows the process of fermentation and vice versa. And if you forget to feed the starter for a week or two weeks in a row, in most cases it would still be ok. Take it out, and feed it at room temperature regularly for 2 to 3 days until you have a bubbly and active starter. In addition, if you bake more often, such as more than once a week, you can leave the starter out at room temperature and feed it twice a day so you always have a starter ready to use. Otherwise, if you don’t bake often, leave the starter in the fridge and take it out for a few hours or overnight. Feed it for 4 to 8 hours so your starter is ready to use for your bread. Use a small portion of the starter and save the remaining to make more starters.
How to use your sourdough starter?
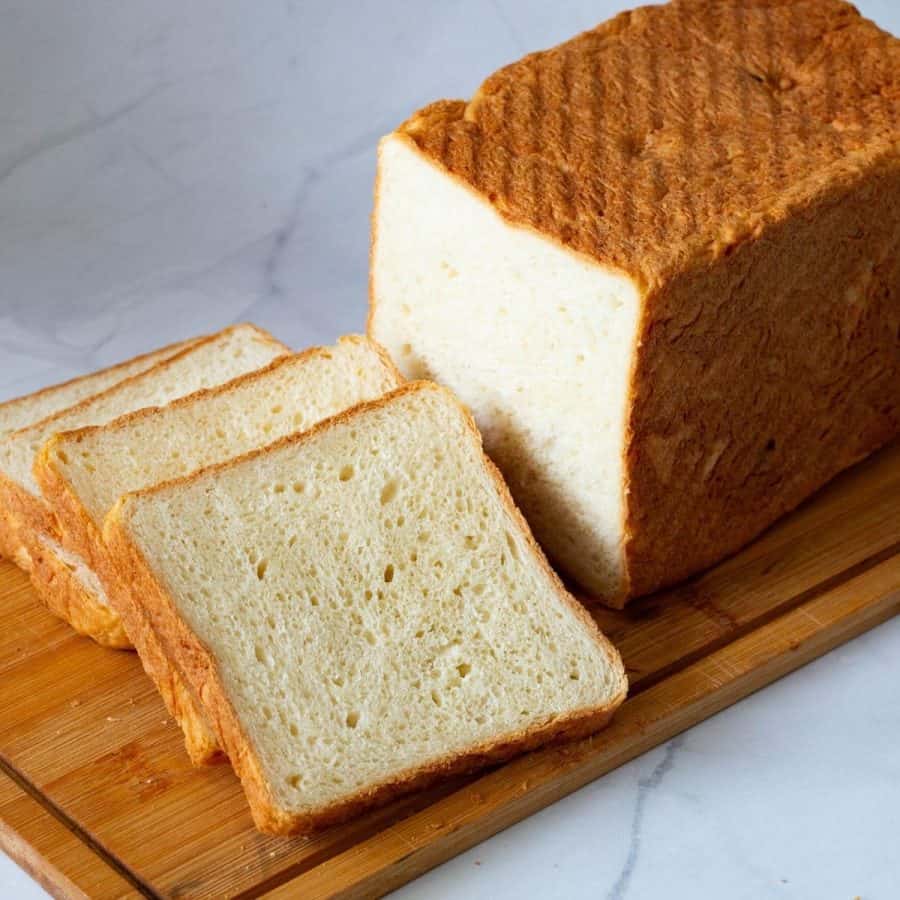
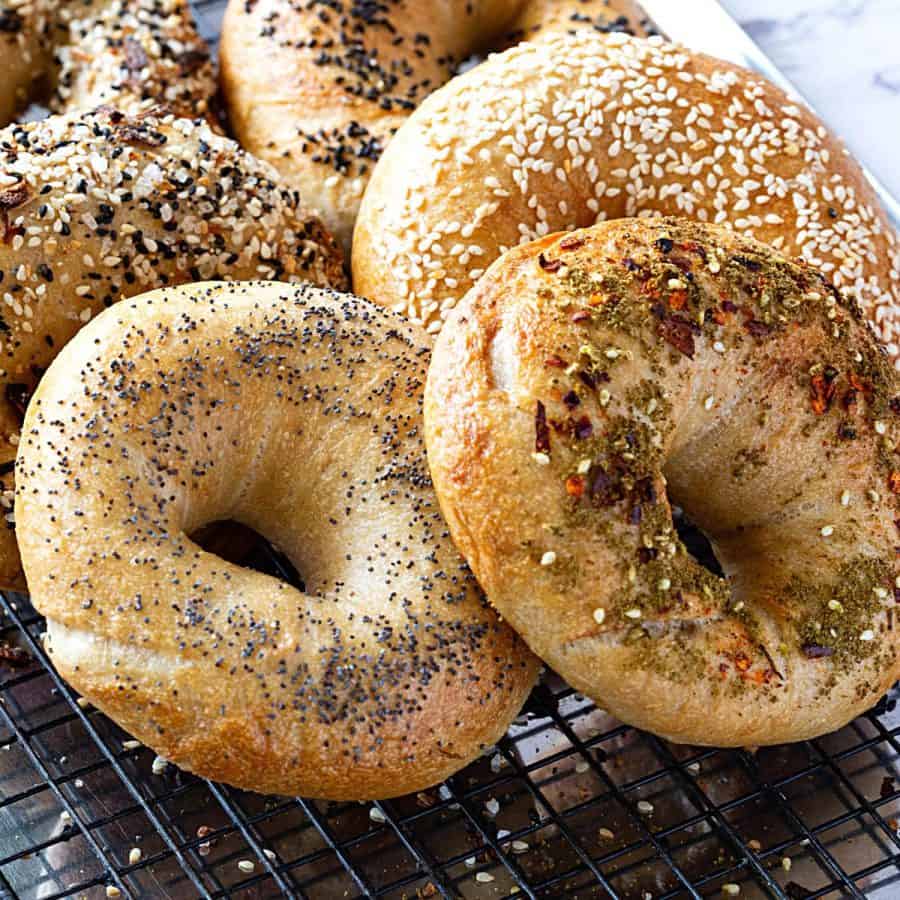
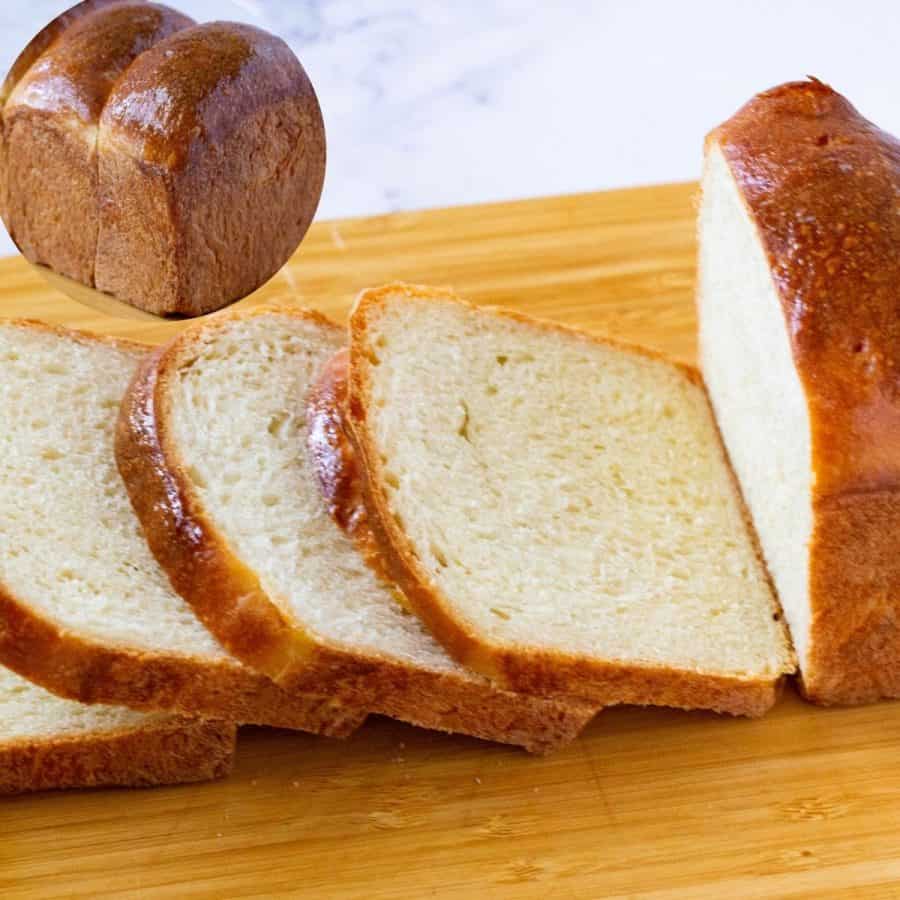
When you want to bake bread. Take the starter out of the fridge. Feed it and leave it at room temperature until it peaks. Then, use a small portion for your bread recipe (or follow the bread recipe making the necessary adjustments). Soon, I will be sharing all these sourdough recipes you see in the picture below. So, stay tuned and sign up so you don’t miss my recipes.
Frequently asked questions
Troubleshooting
Why does my starter have a bad smell? The smell from a starter should be slightly sweet and tangy or yeasty like you are about to make bread. If it has an unpleasant flavor or smells stronger than alcohol, or is pungent, it means it is bad and needs to be thrown out. Start over! It’s day 6 and there is no activity in my starter – Each starter is different depending on the type of flour, liquid as well as temperature you store it in. If it takes a little longer than 7 days, that’s ok. As long as it does not smell bad, you should continue to feed it regularly. Why is there a brown liquid on my starter? This brown liquid is called hooch and usually happens when you keep it for a long time without feeding. This brown liquid at the top of your starter is a sign that the starter is hungry and needs to be fed again. Just give it a good mix, and feed it with more fresh flour and water. Store it again in the fridge or at room temperature if you plan to use it. What is the green color on my starter? Mold or discoloration on the starter means this batch has been contaminated. Try to scoop as much out as possible and see if you can save some to make more. Then, feed it, and make sure it smells sweet, tangy, and yeasty (not pungent). If not, start over.
Rosemary Focaccia Bread No-knead Bread or No-Knead Sandwich Bread Shokupan Sandwich Bread BEST Sandwich Bread Recipe Challah Bread Recipe – 4 strand No-Knead Olive Bread
Thank you for sharing - Save for later
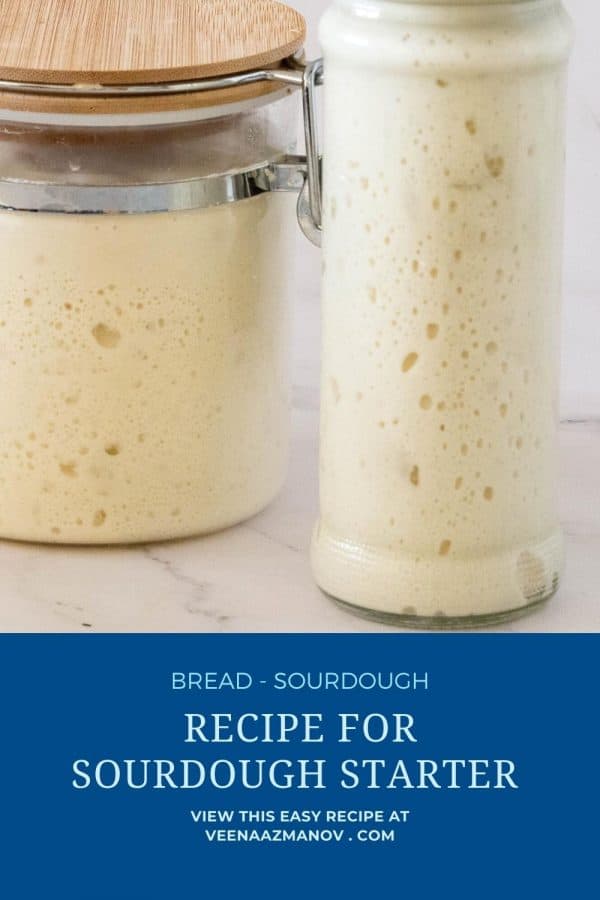
Day 2 – no activity (no smell either) Day 3 – nothing yet (some sweet tangy smell) on Day 4 – a few bubbles but no rise (tangy smell gets stronger) Day 5 – smaller bubbles and a little rise (and a very yeasty smell) Day 6 – small bubbles and more rise (strong smell of yeast bread) and Day 7 – lots of activity, double rise (stronger smell of yeast)