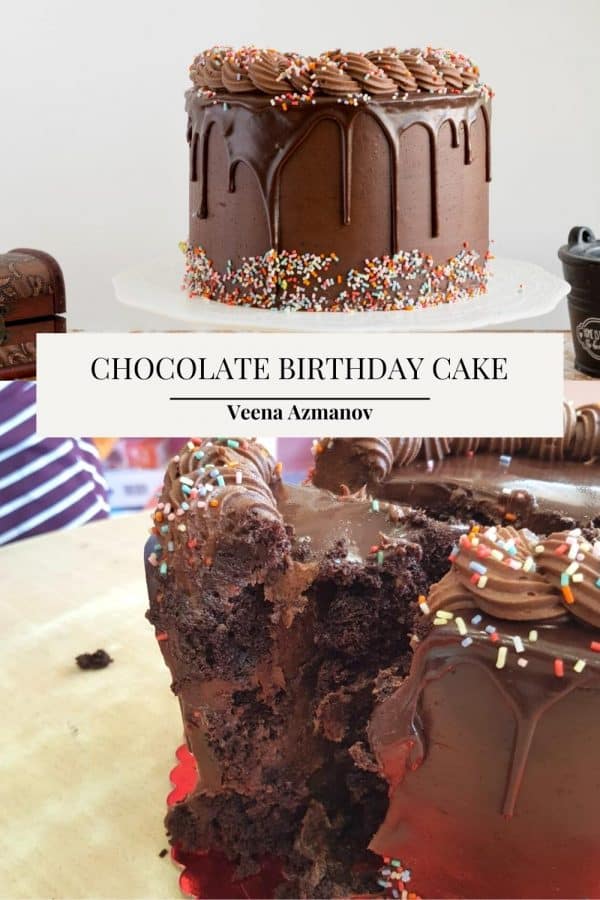
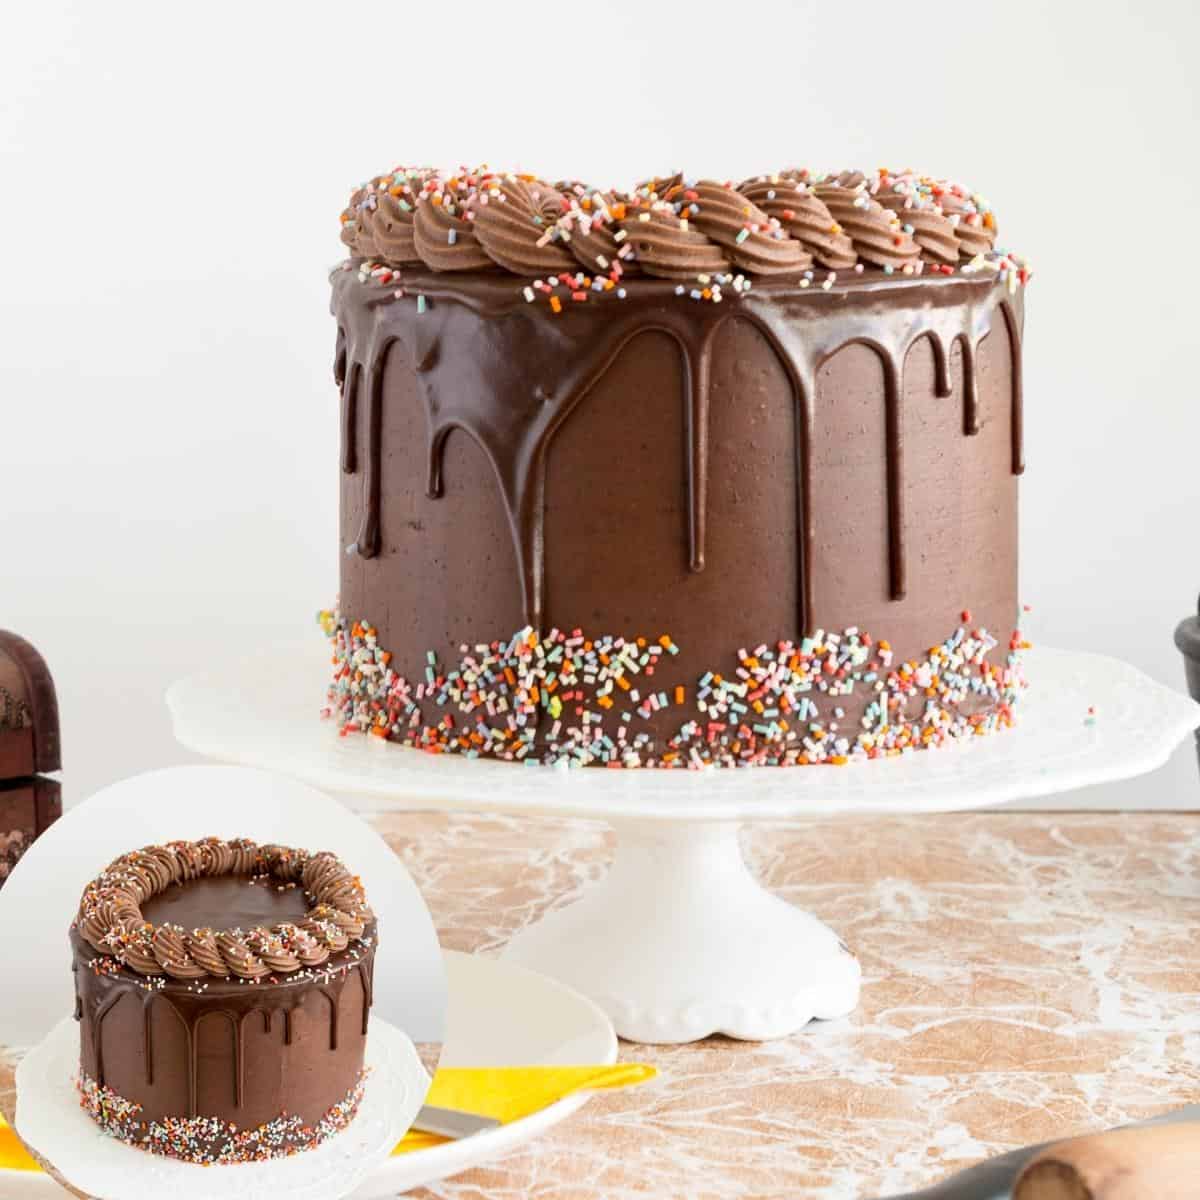
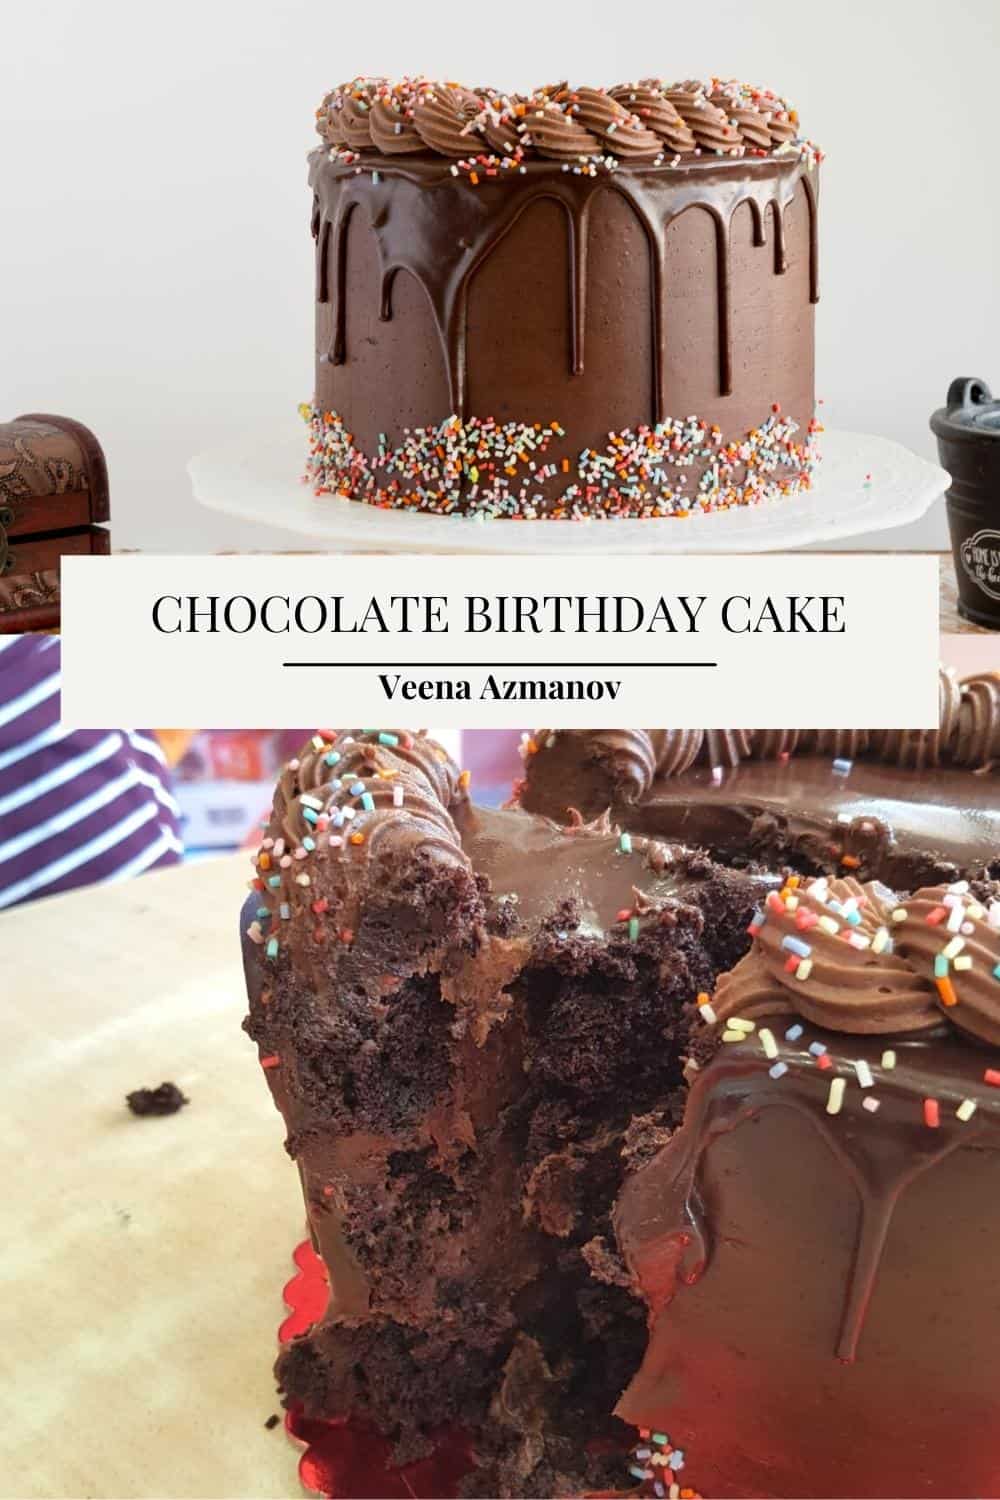
A chocolate birthday cake is a timeless classic, beloved by all ages for its rich, indulgent flavor and decadent texture. Whether you’re celebrating a child’s first birthday or a grandparent’s 90th, chocolate cake is the perfect choice to mark the occasion. Its deep, cocoa-infused taste appeals to our inner child, while its sophisticated profile satisfies even the most discerning adult palate. Chocolate cake transcends age, bringing joy and sweetness to every birthday celebration. So, whether you’re blowing out a single candle or a sky full of them, a chocolate birthday cake is the perfect way to make any age feel special. I recently made this cake for my daughter Rhea’s class assistant.
Moist and Tender Texture: The combination of oil, buttermilk, and eggs ensures a moist and tender crumb, making each bite delightful. Rich Chocolate Flavor: With a generous amount of cocoa powder, this cake is rich in chocolate flavor, perfect for chocolate lovers. Simple and Quick Preparation: This recipe is easy to follow and doesn’t require any complex techniques, making it accessible for bakers of all skill levels. Versatile: This cake can be enjoyed as is or dressed up with different frostings, fillings, or toppings to suit your preferences. No Special Ingredients: The ingredients are pantry staples, so you can whip up this cake whenever a chocolate craving strikes. Crowd-Pleaser: This cake is likely to be a hit with family and friends, making it a great choice for gatherings or special occasions.
Best chocolate cake recipe
Cake
Oven – Preheat the oven to 325℉/ 165℃ or Gas Mark 3 Pans – Grease and line 3 x 8-inch round cake pans or 2 x 9-inch round cake pans with parchment paper and dust with cocoa powderPro tip – Dusting with cocoa powder instead of flour gives a darker rather than white crumb.
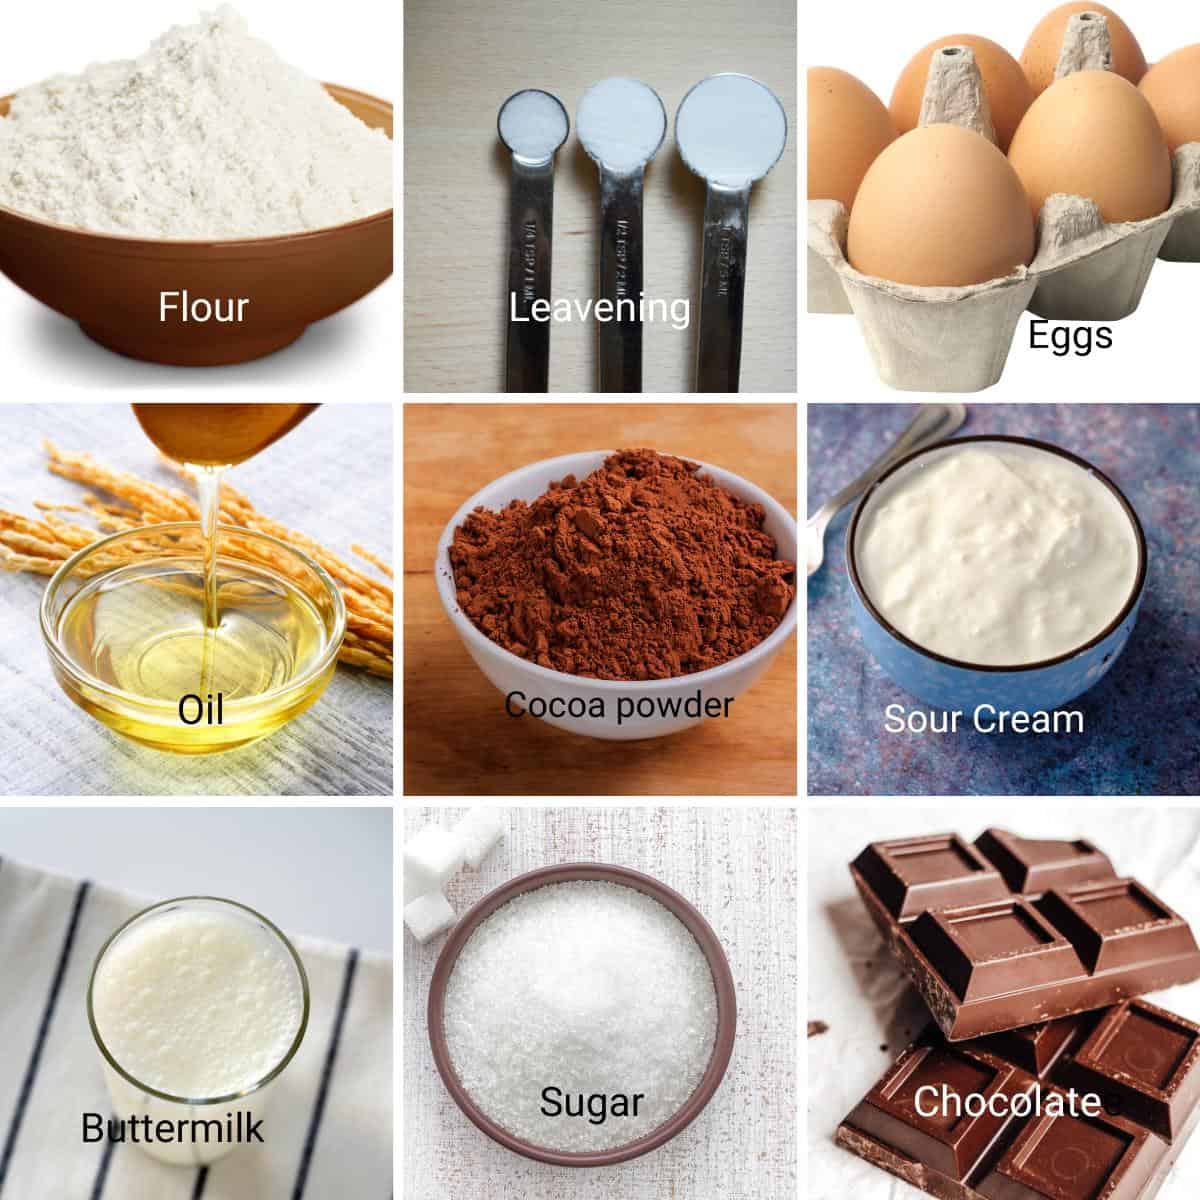
Dry ingredients – In a large bowl, sift or combine together the flour, baking powder, baking soda, and salt. Set aside Cocoa paste – In a medium bowl, combine the hot water with cocoa powder and coffee. Set aside to cool.Pro tip – Adding hot water to the cocoa powder will deepen the chocolate brown color of the baked cake.
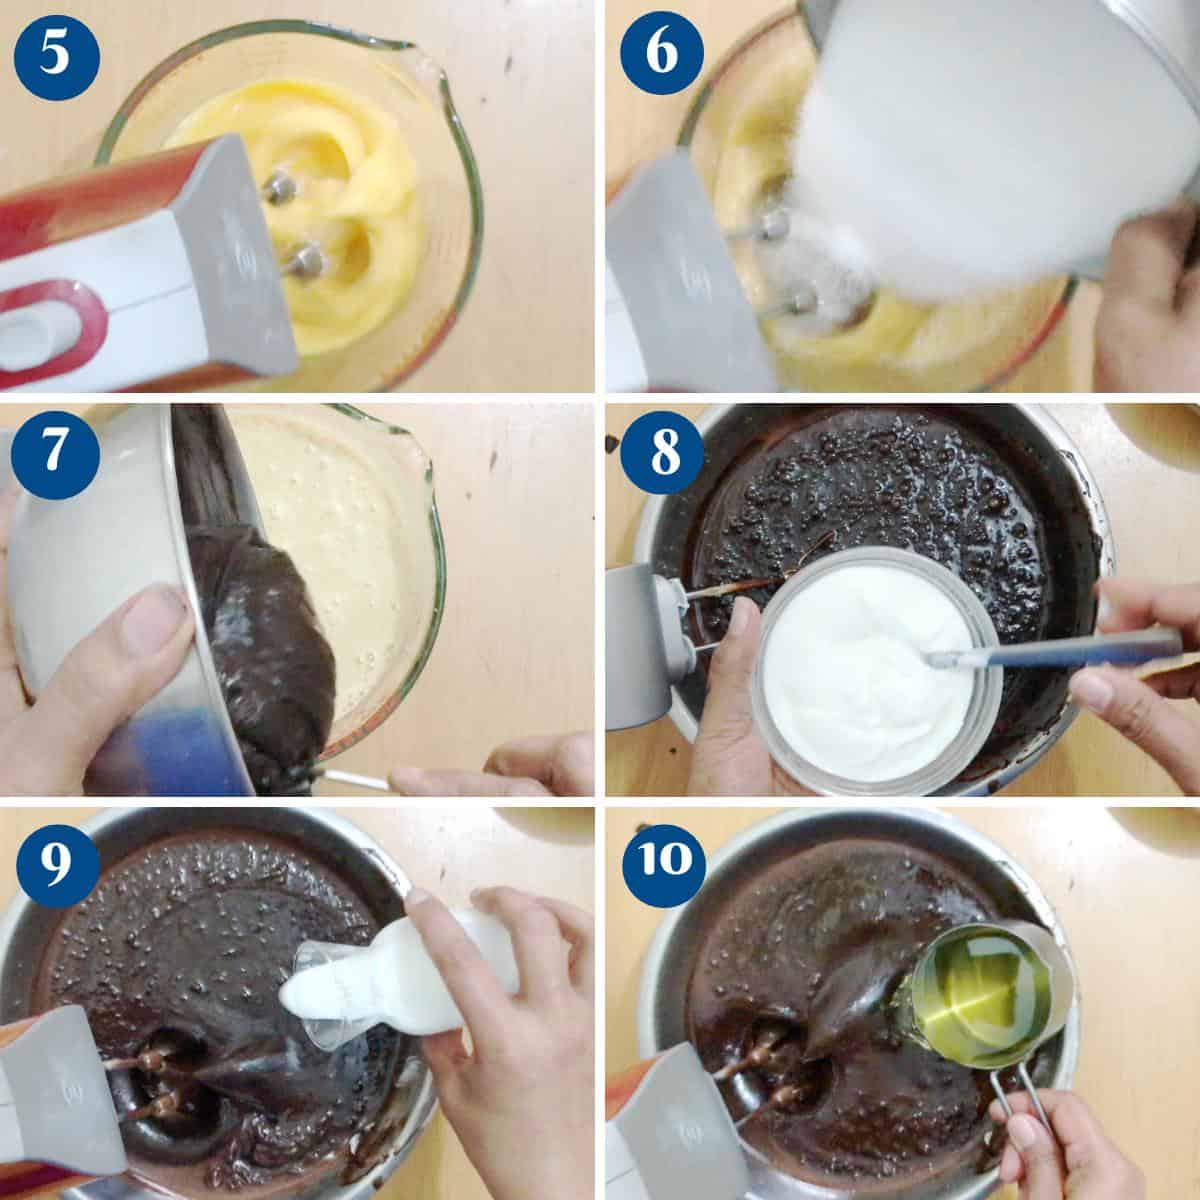
Whip – In the bowl of a stand mixer with the whisk attachment, on medium speed, whip the eggs for a minute. Then, gradually add the sugar a few tablespoons at a time. Once all the sugar is in, whip until the eggs are light and foamy or ribbon stage.Pro tip – Make sure the eggs are at room temperature and adding the sugar gradually will give the whipped eggs a good volume. Wet ingredients – Next, add the cocoa paste to the whipped egg mixture, followed by the sour cream, buttermilk, and vanilla extract. Then, gradually add the oil, and do not overmix.Pro tip – Before adding the sour cream and buttermilk whip them together with a whisk to make sure there are no lumps.
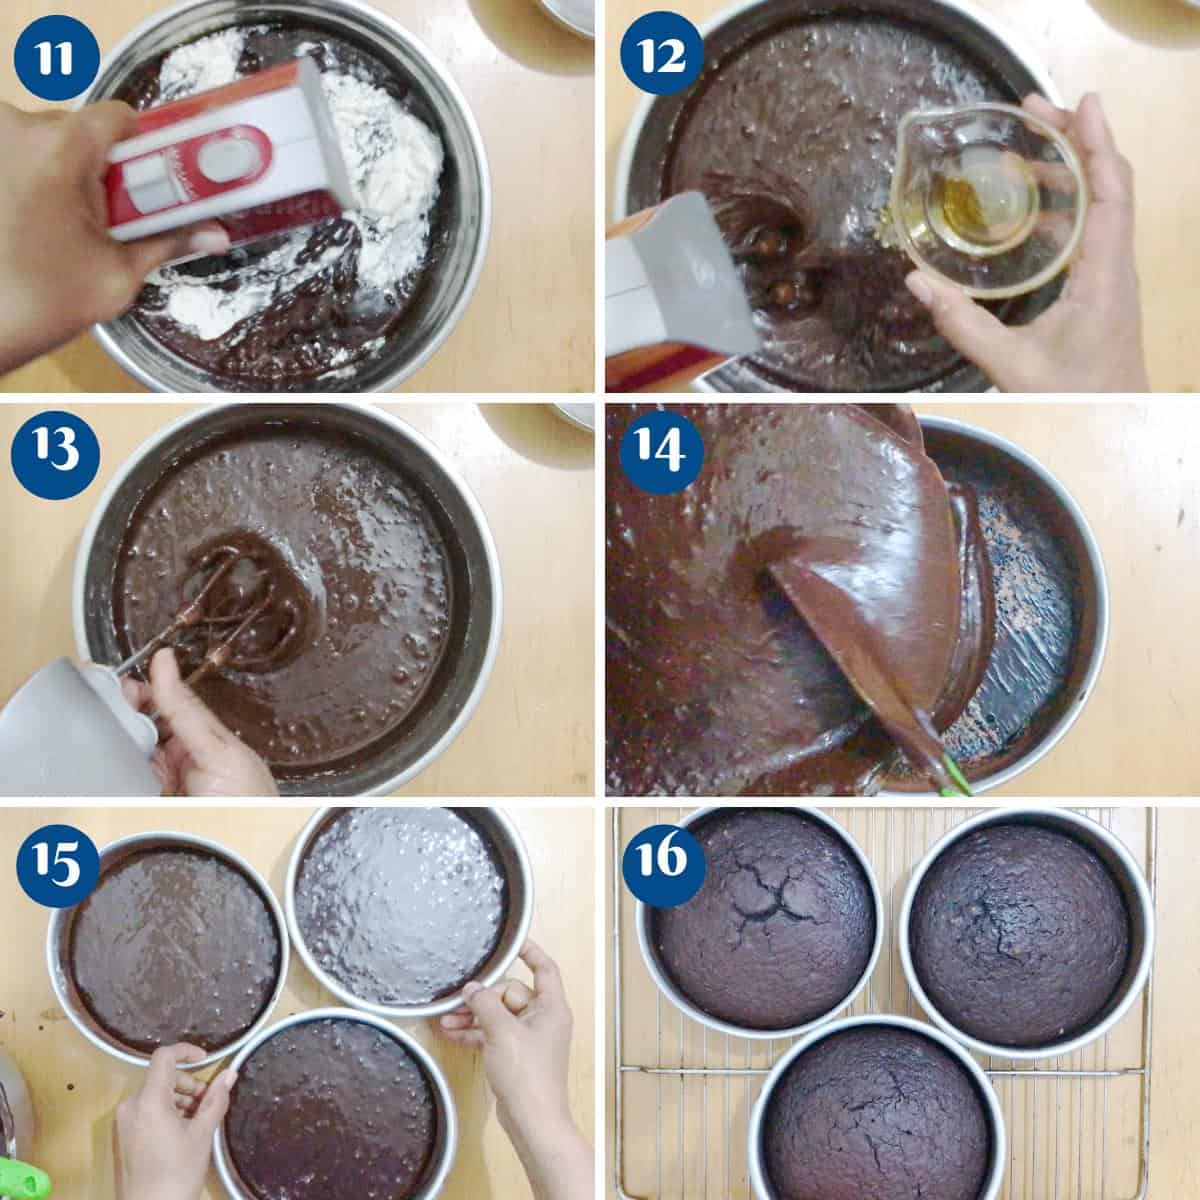
Wet to dry – Add the flour mixture to the wet ingredients and combine well. But, do not overmix.Pro tip – Scrape the sides and bottom of the bowl to ensure no lumps. Pans – Divide the batter equally between the prepared cake pans.Pro tip – If you want flat cakes without domes wrap the cake pans with wet cake strips. Bake – transfer the pans to preheated oven on the center rack. Bake for about 30 to 35 minutes until a toothpick inserted in the center comes out clean. Cool – When baked cool in the pan for 10 minutes then invert on a cooling rack and cool completely before baking.Pro tip – You must cool the cakes completely before decorating.
Buttercream
Chocolate – In the microwave-safe bowl or double boiler melt the chocolate – set aside to cool until barely warm.Pro tip – To prevent grainy chocolate buttercream make sure the chocolate is barely warm or almost cooled but not set. Cream – In the bowl of a stand mixer with the paddle attachment, cream the butter for a minute. Add salt, whipping cream, and vanilla extract – continue to whip for a minute more. Sugar – Next, add the powdered sugar one cup at a time. Once all the powdered sugar has been incorporated, turn the mixer up to medium-high. Continue to mix for 2 to 3 minutes more until you have a light and fluffy buttercream that looks similar to a whipped cream consistency. Chocolate buttercream – Now, add the melted and cooled chocolate. Make sure to scrape the bottom and sides to ensure you have a smooth chocolate buttercream with no white streaks.Pro tip – If the chocolate is not cooled, it will seize when added to the buttercream and you will end up with small shards of chocolate in the buttercream. So, make sure the chocolate is cooled.
Ganache
Microwave – In a microwave-safe bowl, add the chopped chocolate and heavy cream. Melt for a minute or two until smooth. Next, add the butter and vanilla extract. Combine well.Stovetop – Place the cream in a saucepan and bring it to an almost boil. Then, pour the heavy cream over the chopped chocolate into a large bowl. Combine until smooth. Next, add the butter and vanilla extract. Combine well.Pro tip – Never boil the cream when making ganache as it can cause the fat in the chocolate to separate. Rest – Cover with ganache with plastic wrap making sure to cover the surface of the chocolate to prevent any skin from forming. Leave to set in the fridge for 2 to 3 hours or on the counter for 4 to 6 hours until it’s about peanut butter consistency.
Assemble
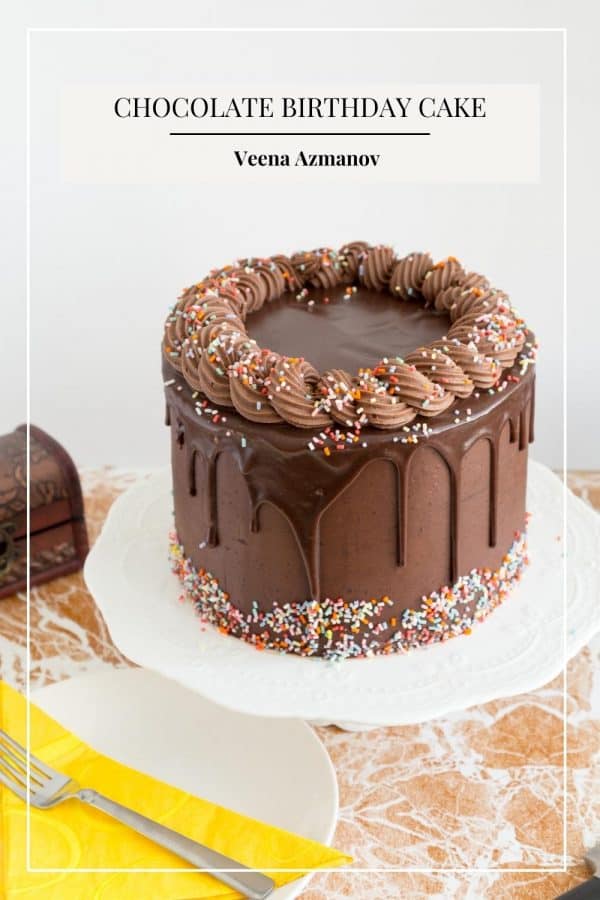
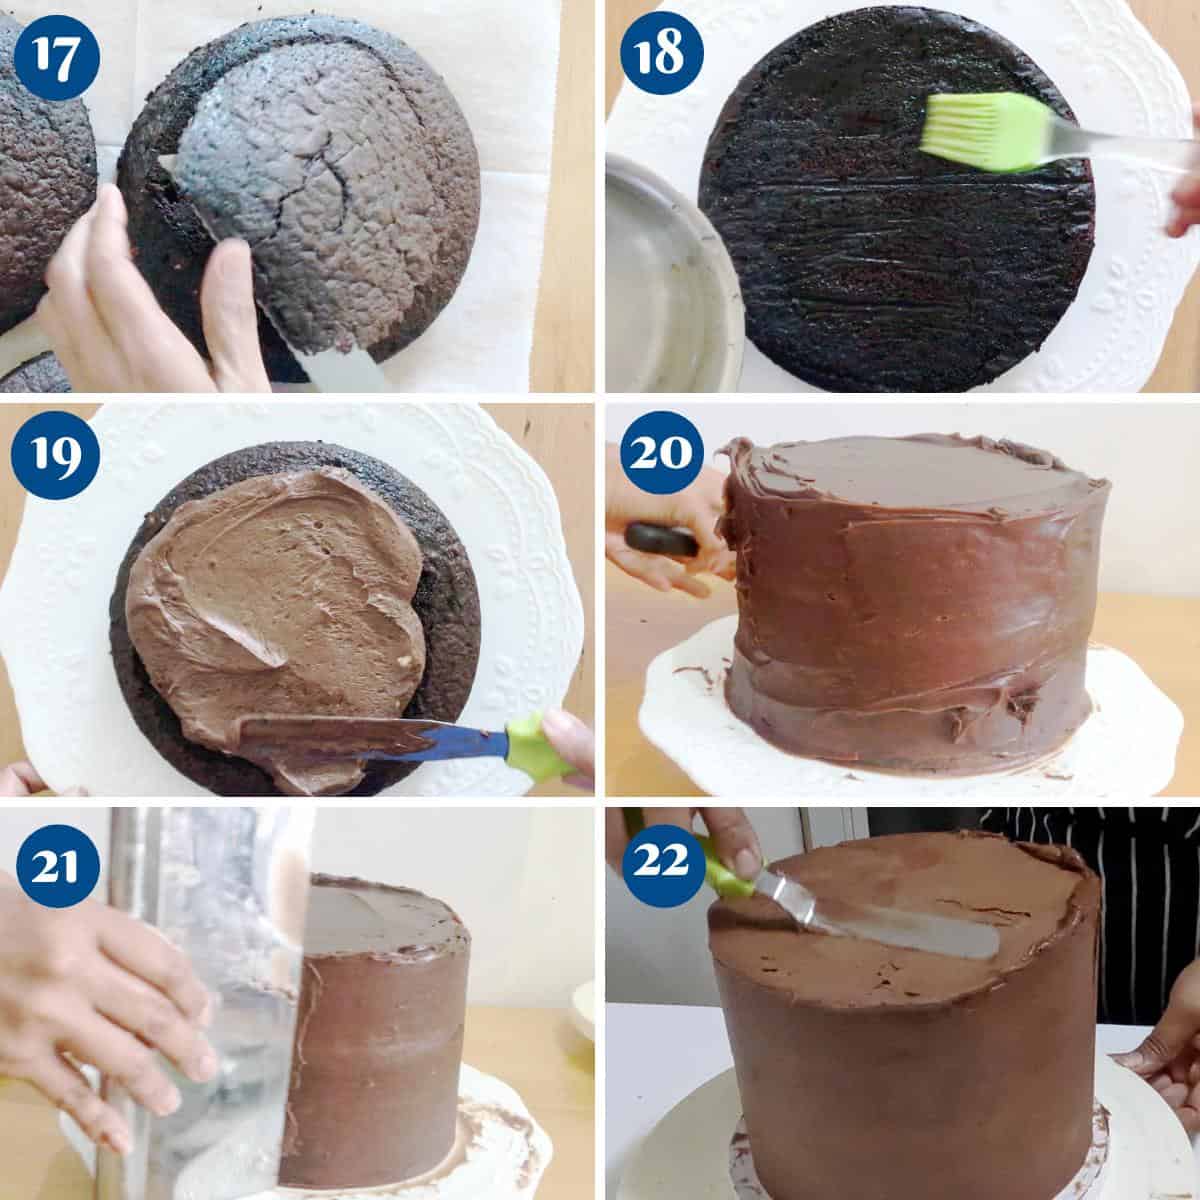
Level – Once cooled, cut the domes off the cake layers with a serrated bread knife or cake leveler. Next, brush each layer with simple syrup on both sides.Pro tip – Simple syrup is just water and sugar boiled and then cooled. This keeps the cake moist. Stack – Place a cake layer on the cake board or cake stand. Top with about a large dollop of buttercream and spread evenly using a spatula. Then, place the second layer followed by more buttercream and then the last layer. Chill – Transfer the stacked cake layers to the fridge and chill for 10 minutes so the buttercream holds the layers together.Pro tip – If you need to chill the layers for longer make sure to wrap them in plastic to prevent them from drying out. Frost – Add a large heap of ganache on the top of the cake. Spread evenly with an offset spatula. Add more ganache on the sides with a straight-edge spatula. Then, use a bench scraper to smooth the sides. Place in the fridge while you make the drip.Pro tip – Dipping the bench scraper in hot water will give a nice smooth side.
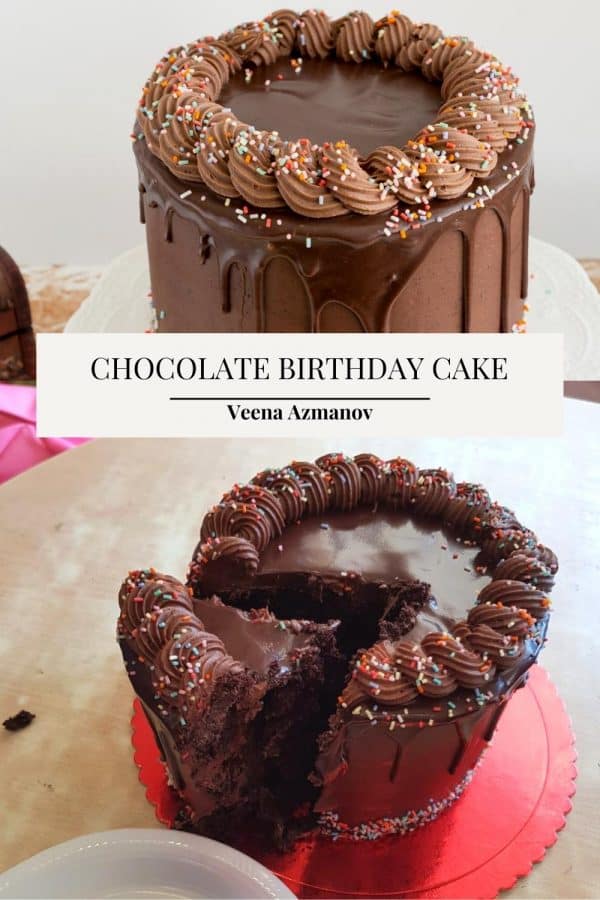
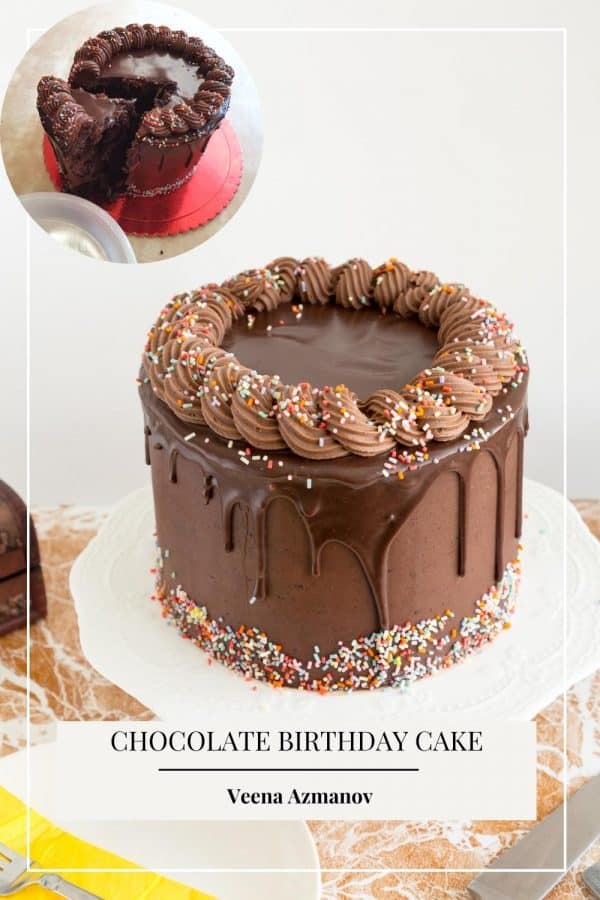
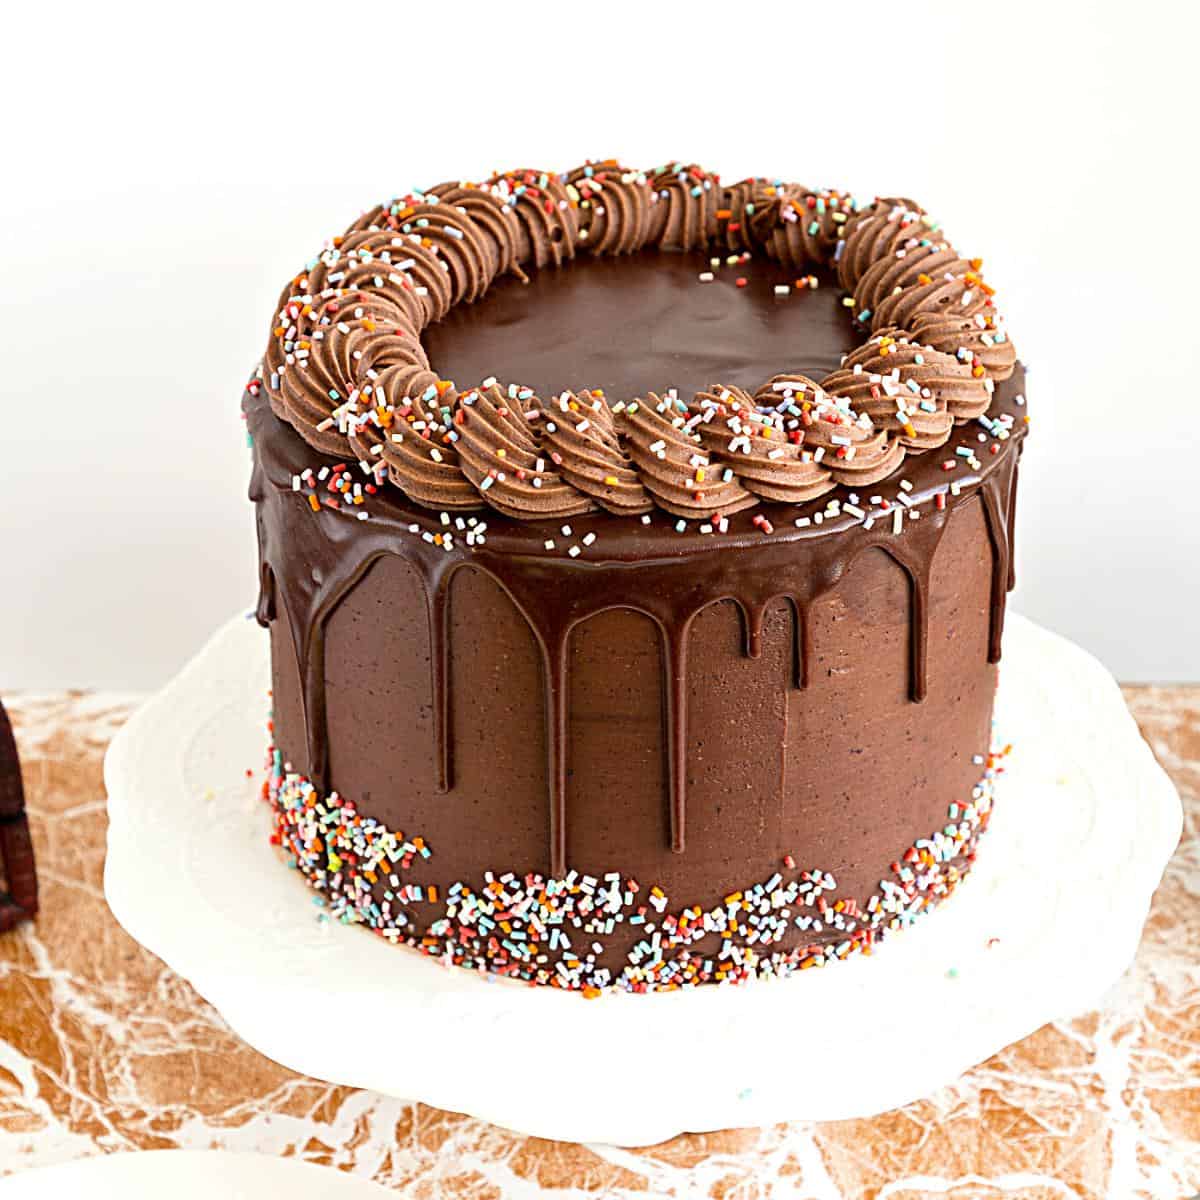
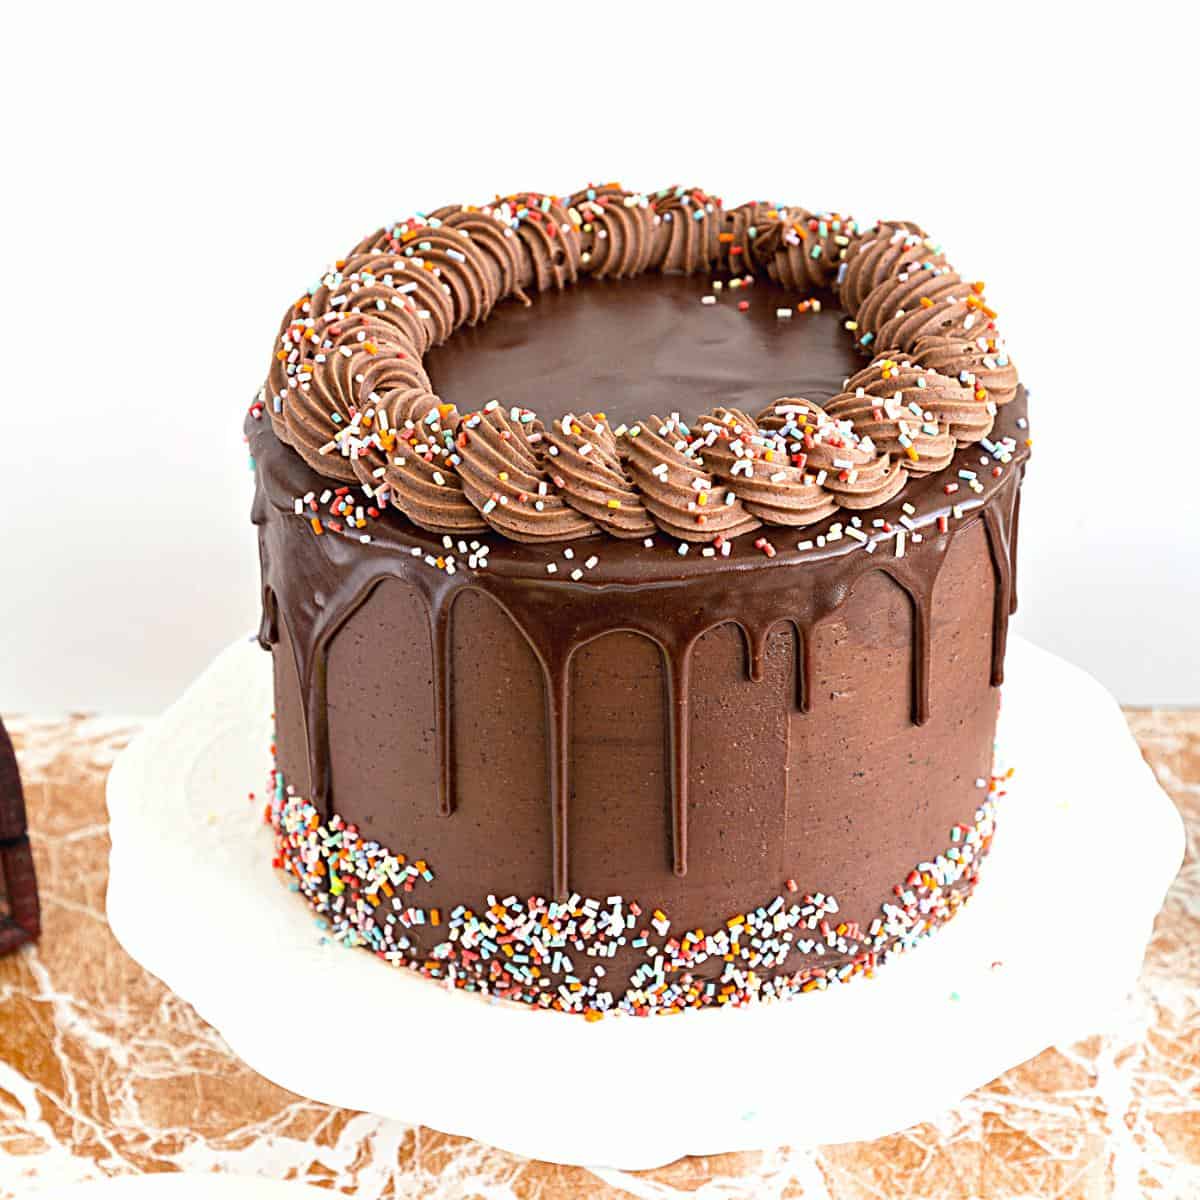
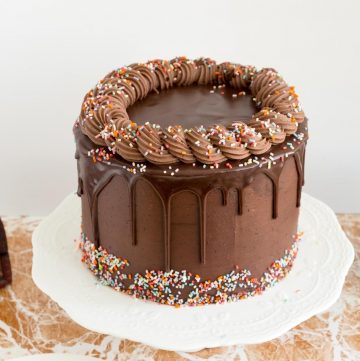
Drip – Melt about a cup of the leftover ganache in the microwave for 10 seconds until runny and smooth. And let cool until barely warm. Then, place the melted ganache in a piping bag. Make a small hole so you are in control of the bag. Chill until set (30 minutes at least).Pro tip – It is important that you let the drip cool to a pouring consistency. A small hole will keep you in control of the drip. Pipe – Place the remaining chocolate buttercream in a piping bag with a large star piping tip. And pipe a border. I made circular swirls as shown in the video. Sprinkles – Decorate the top and bottom with sprinkles or similar as desired. Happy Birthday!
Creative variations
Add Some Spice: Mix in a teaspoon of ground cinnamon, nutmeg, or cayenne pepper to the cake batter for a spicy kick. Mint Chocolate: Add a teaspoon of peppermint extract to the frosting for a refreshing twist. Raspberry Filling: Spread a layer of raspberry preserves between the cake layers before frosting for a fruity surprise. Coconut Chocolate: Mix in some shredded coconut to the cake batter for a tropical flavor. Espresso Chocolate: Use espresso powder in place of some of the coffee in the cake batter for a stronger coffee flavor. Chocolate Orange: Add a tablespoon of orange zest to the cake batter for a citrusy touch. Nutty Chocolate: Fold in some chopped nuts, such as almonds or pecans, to the cake batter for added crunch. Salted Caramel: Drizzle some salted caramel sauce over the top of the frosted cake for a sweet and salty combination. Chocolate Ganache: Instead of the chocolate frosting, top the cake with a rich chocolate ganache for an extra decadent treat. Chocolate Chips: Mix in some chocolate chips to the cake batter for extra chocolatey goodness.
Creative ways to serve chocolate cakes
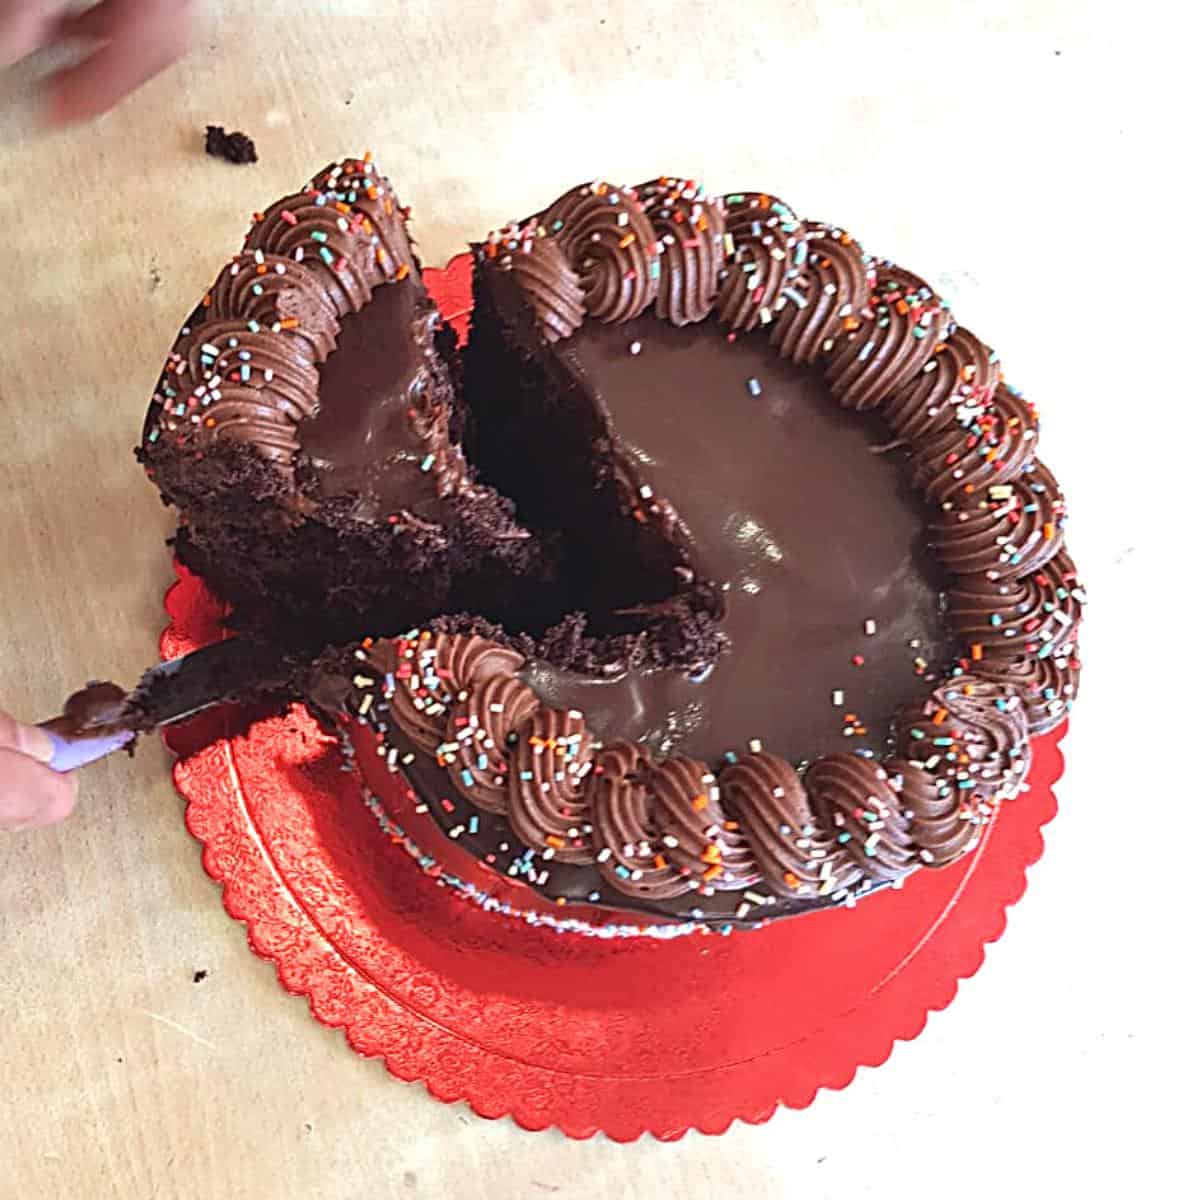
Warm with Ice Cream: Serve slices of the cake warm with a scoop of vanilla or chocolate ice cream for a delicious contrast of temperatures and flavors. Layered with Mousse: Create a layered dessert by alternating slices of cake with layers of chocolate mousse or whipped cream. Stuffed with Cream: Cut the cake into layers and fill it with a layer of sweetened whipped cream or chocolate ganache before stacking it back together. Trifle: Cube the cake and layer it in a trifle dish with layers of whipped cream, berries, and chocolate sauce for a beautiful and decadent dessert. Cake Pops: Crumble the cake, mix it with frosting, and form into balls. Dip the balls in melted chocolate and decorate with sprinkles or nuts for gluten-free cake pops. Mini Cakes: Cut the cake into mini rounds using a round cookie cutter. Stack the rounds with layers of frosting in between for individual mini cakes. Ice Cream Sandwiches: Cut the cake into squares and use them as the “bread” for ice cream sandwiches, filling with your favorite ice cream flavor. Mug Cakes: Make individual mug cakes by mixing a small amount of cake batter with some milk or water in a mug and microwaving for a quick and easy treat.
Frequently asked questions
Thank you for sharing - Save for later