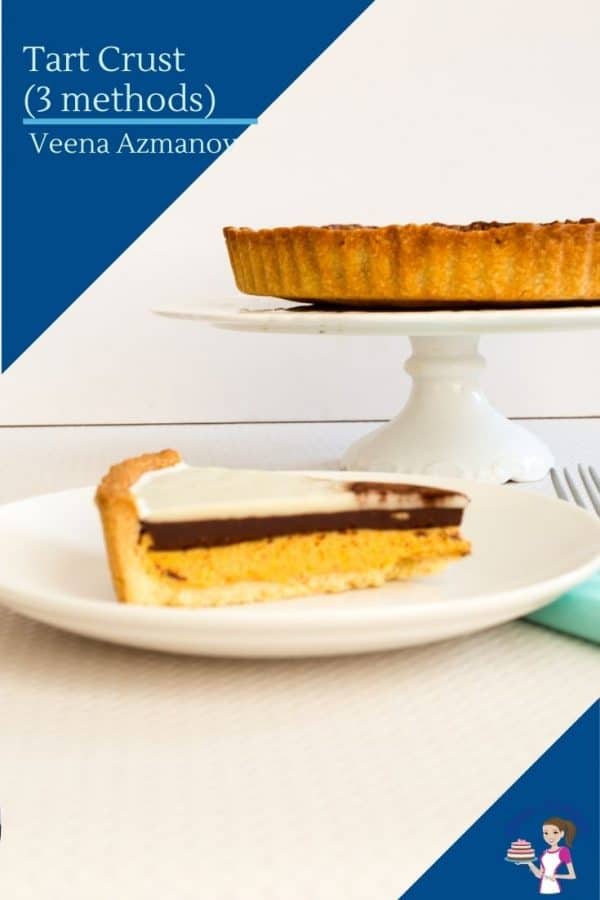
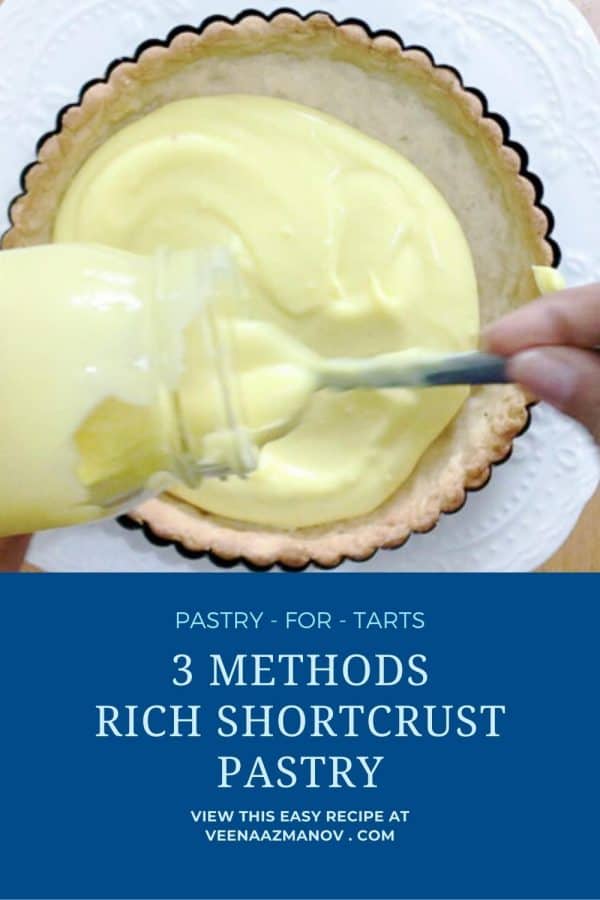
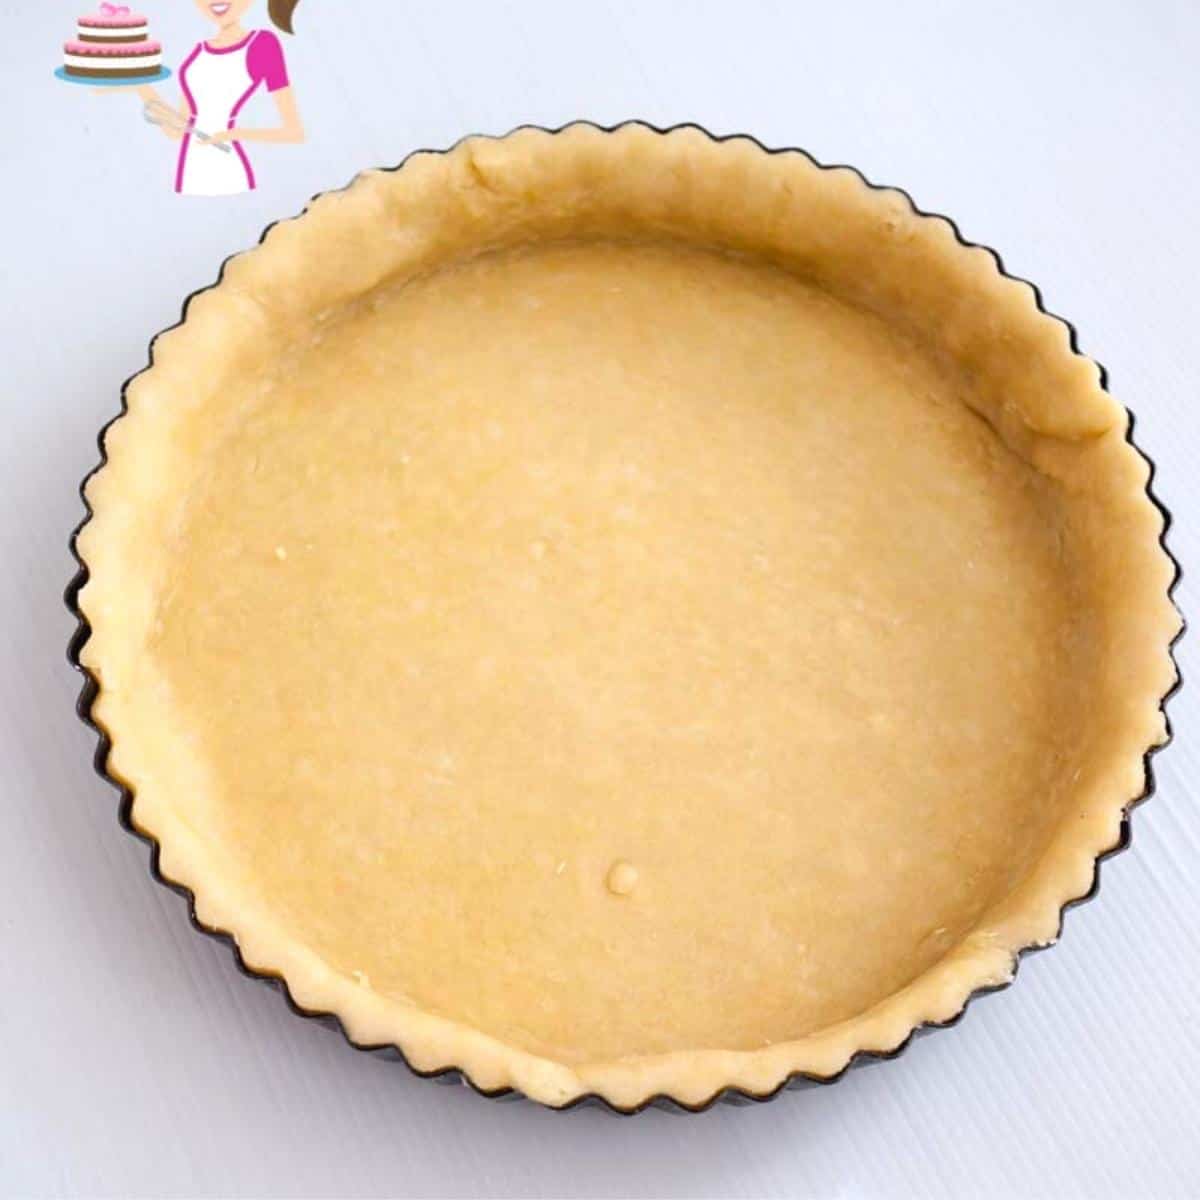
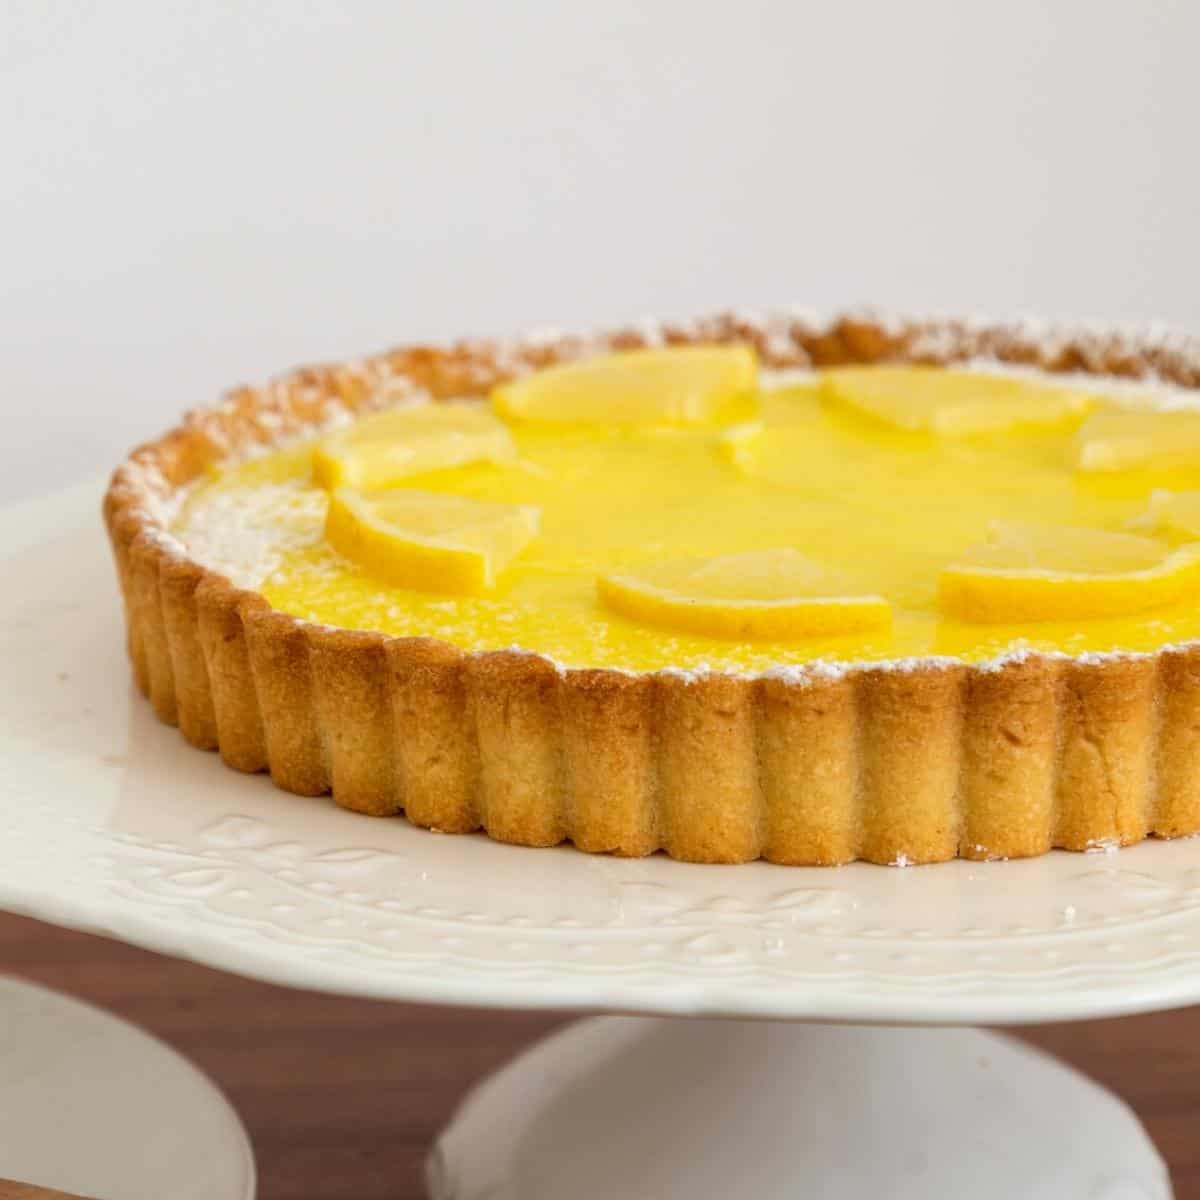
Remember that delicious fruit tart you ordered at a fancy restaurant? A buttery crust that crumbled as soon as you dug in with a fork. Perhaps filled with a mixture of sweet vanilla pastry cream and berries. That wonderful shortbread-like crust underneath is yours truly…. rich shortcrust pastry or Pâte sablée in French. Shortcrust pastry, a cornerstone of baking, is prized for its versatility and delicate texture. Composed of simple ingredients—flour, butter, sugar, and sometimes egg yolks—it achieves its characteristic crumbly yet tender consistency through precise preparation methods like the creaming method. Renowned for its adaptability, shortcrust pastry lends itself to both sweet and savory applications. Its neutral flavor profile enhances the taste of any filling, whether it be luscious fruit compotes, creamy custards, or savory meat and vegetable mixtures. When baked, it forms a golden-brown, crisp shell that encases fillings while maintaining its structural integrity. Popular in cuisines worldwide, Pâte sablée’s appeal lies in its ability to complement a vast array of flavors and textures. From classic apple pies to delicate lemon tarts and savory quiches, its versatility knows no bounds. Home cooks and professional bakers alike appreciate its forgiving nature, allowing for creativity and experimentation in the kitchen. Mastering the art of shortcrust pastry made using the creaming method requires attention to detail and patience. Yet, the rewards—a perfect balance of buttery richness, crispness, and melt-in-your-mouth texture—make it a worthwhile pursuit for any culinary enthusiast seeking to elevate their baking repertoire.
Step-by-step: Rich shortcrust pastry recipe
Dough
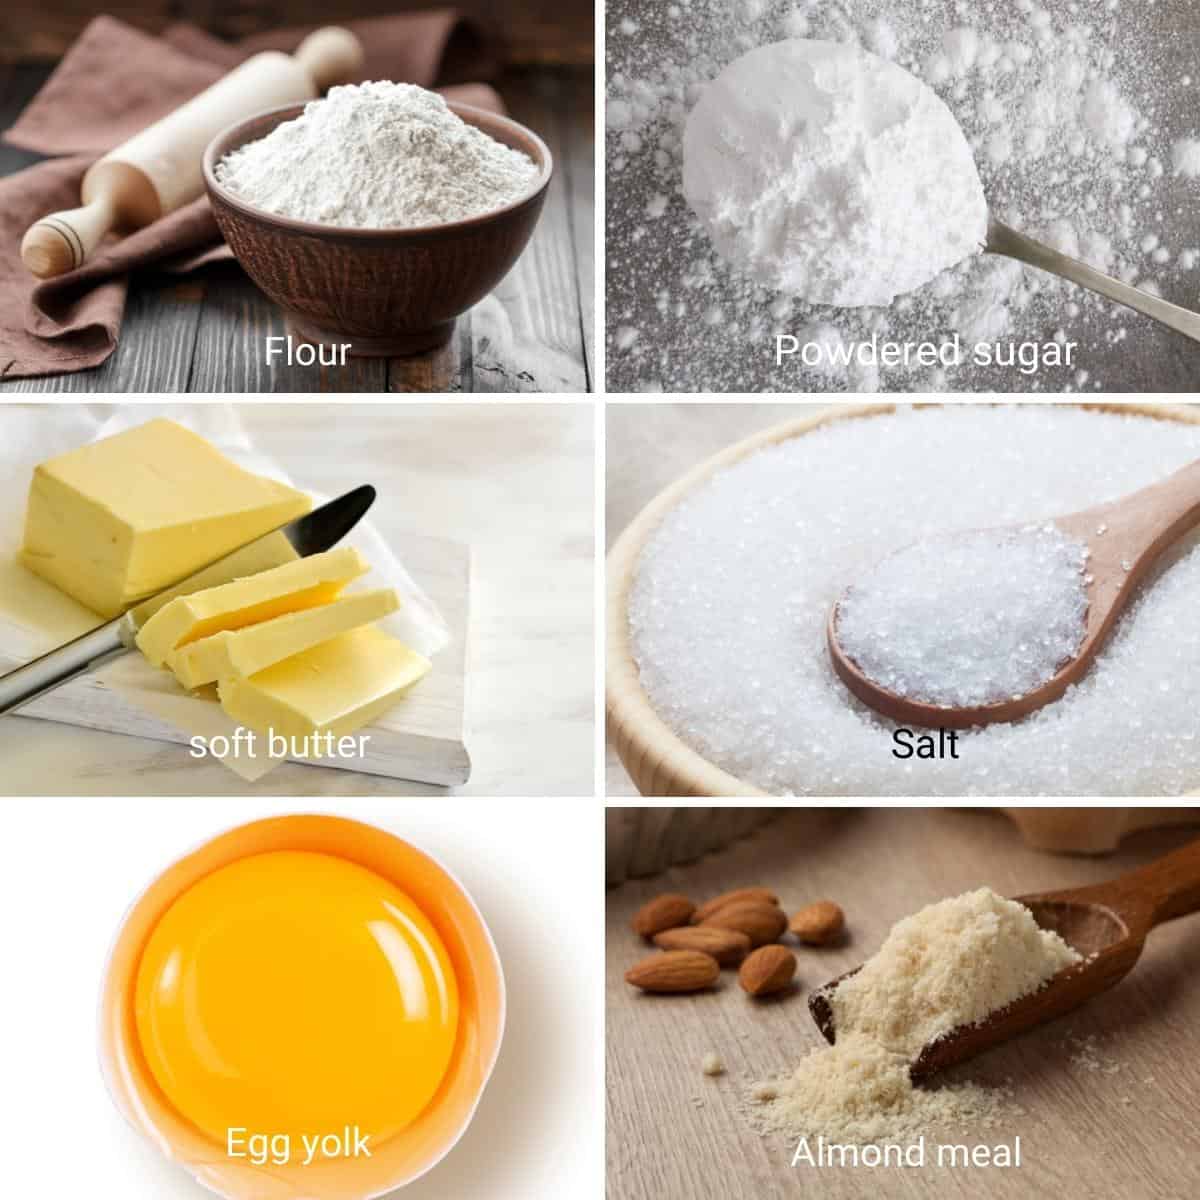
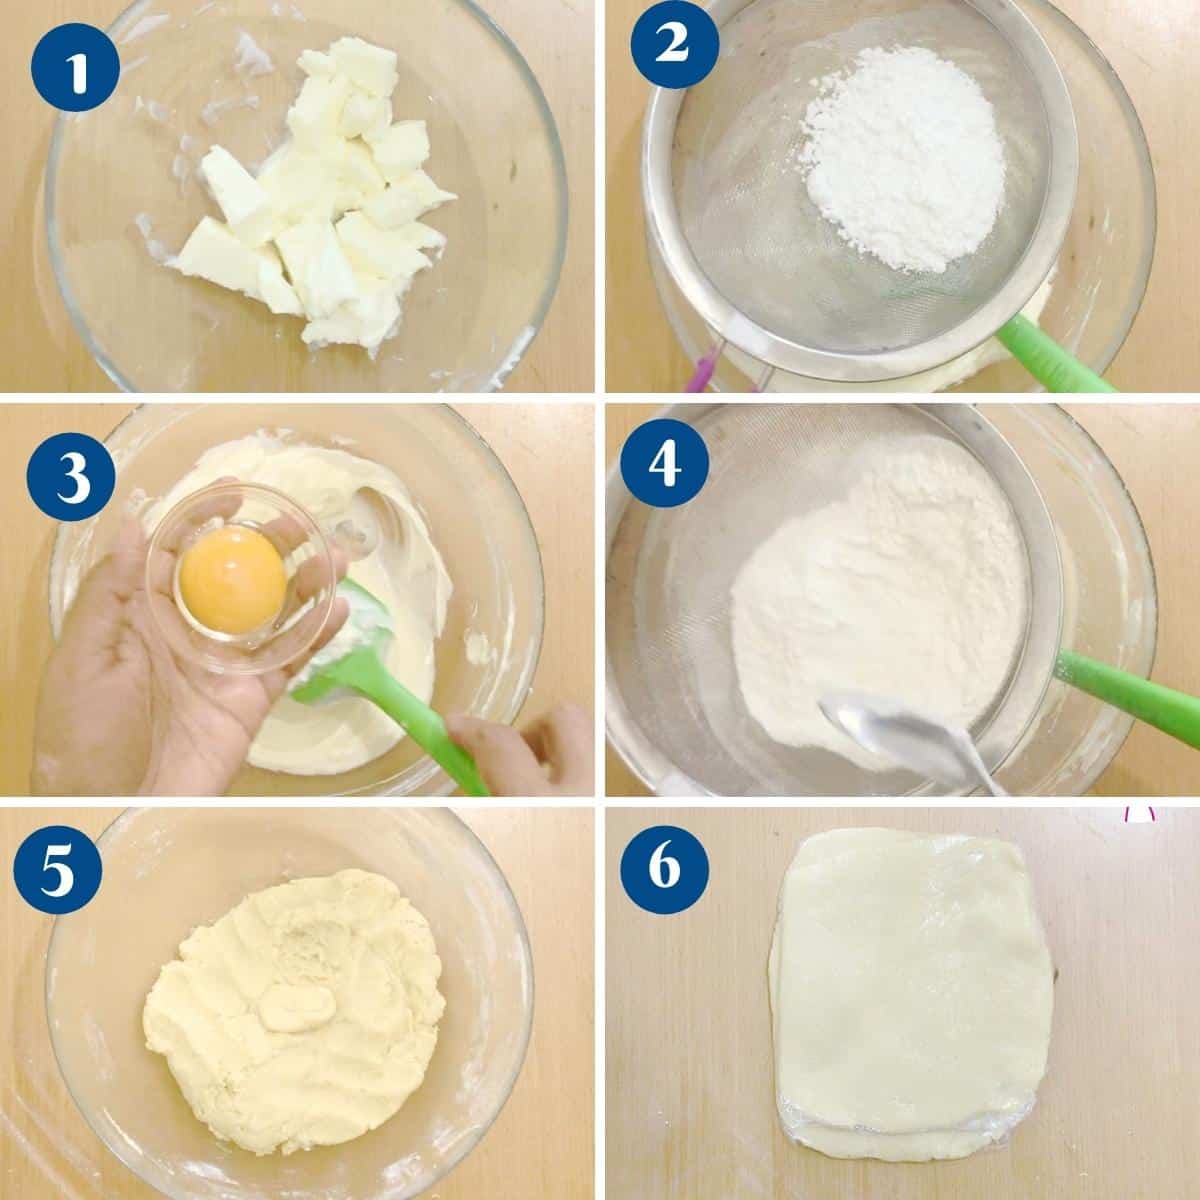
Wet ingredients: In a mixing bowl, cream the softened butter and sugar until smooth and creamy. For this step, you can use a hand mixer or stand mixer fitted with the paddle attachment. Add the egg yolk, vanilla, and almond extract and mix well. Scrape down the sides of the bowl to ensure everything is evenly mixed. Dry ingredients: Sift the flour, almond flour, and salt into the bowl with the butter mixture. Mix on low speed or by hand until the dough comes together. If the dough seems dry or crumbly, add 1-2 tablespoons of cold water, a little at a time, until the dough forms a cohesive ball. Only add as much water as needed to bring the dough together. Chilling the Dough: Shape the dough into a disc, wrap it tightly in plastic wrap, and refrigerate for at least 30 minutes to 1 hour. Chilling helps relax the gluten and makes the dough easier to roll out.
Rolling Method 1 (with a rolling pin)
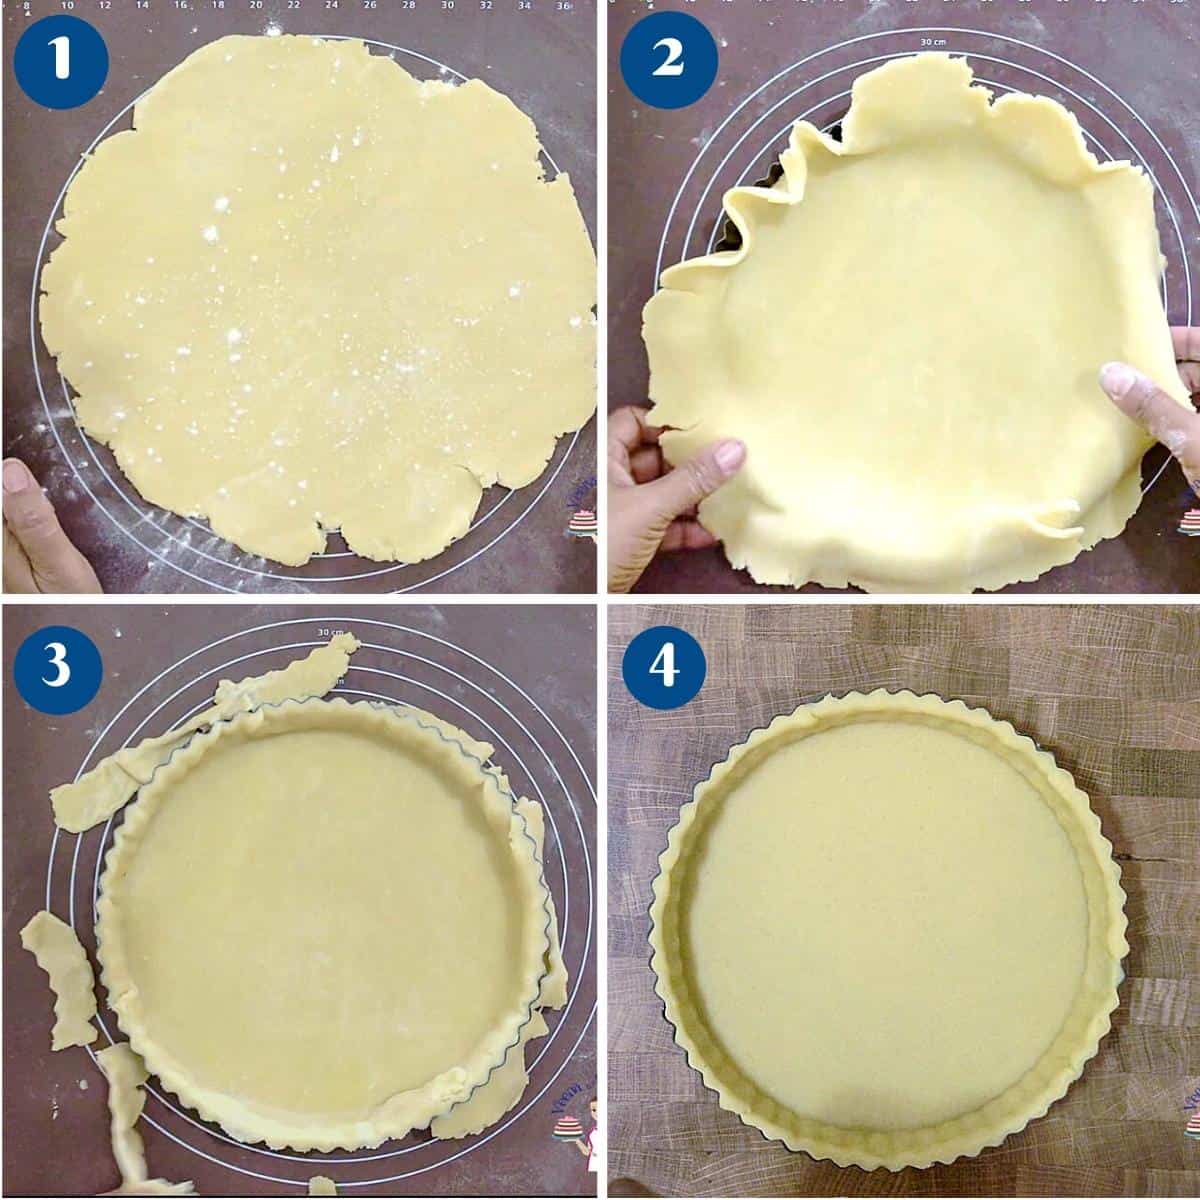
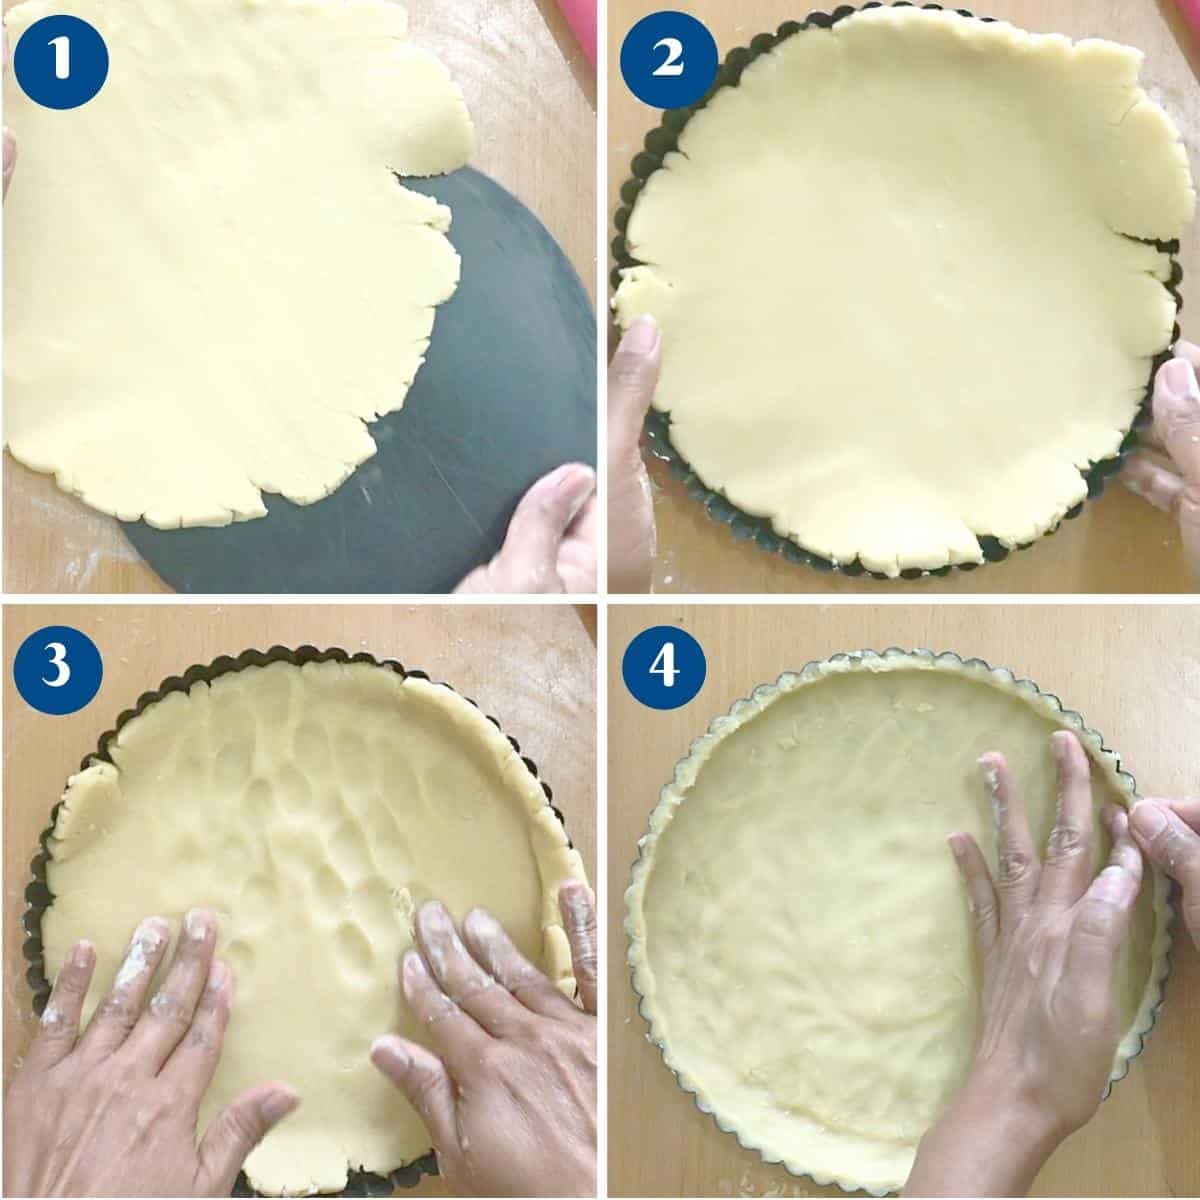
Chilled Dough with Rolling Pin: Lightly flour your work surface and rolling pin. Place the chilled dough disc on the floured surface. Start rolling from the center outwards, turning the dough 90 degrees after each roll to ensure even thickness. Roll the dough to the desired size and thickness. Use a pastry cutter or sharp knife to trim any excess dough for a neat edge. Carefully lift the rolled dough using a rolling pin or by folding it gently over the pin, then unfurl it onto your pie dish or tart pan. Press it gently into the pan.
Rolling Method 2 (parchment paper)
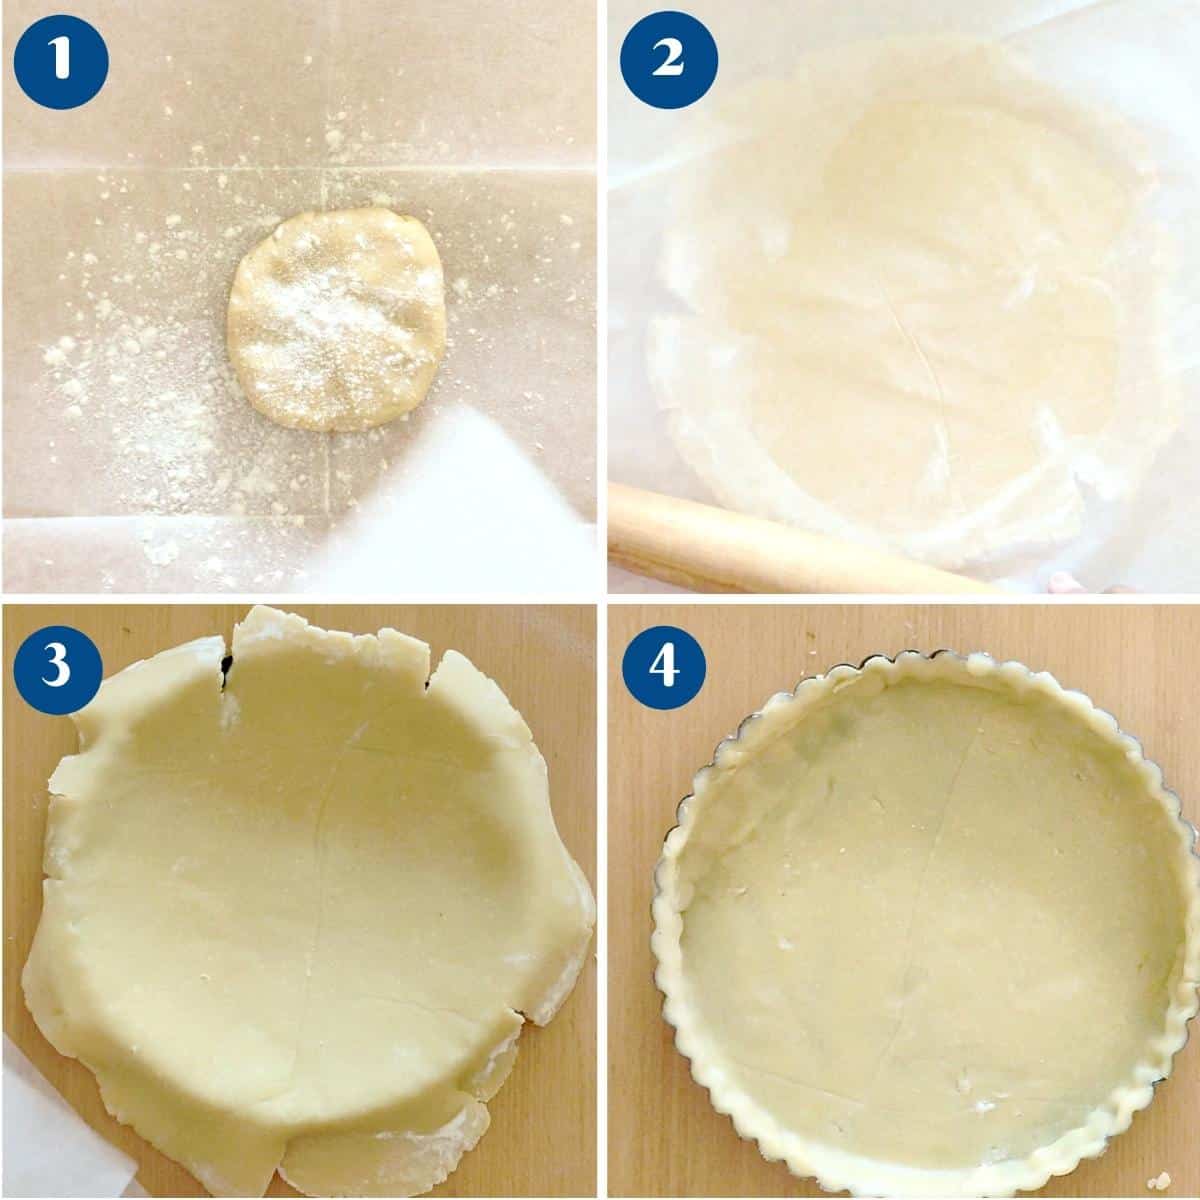
Between Tow Parchment Papers: Place a sheet of parchment paper on your work surface and dust lightly with flour to prevent sticking. Place the chilled dough disc on the parchment paper and dust the top lightly with flour. Place another sheet of parchment paper on top. Roll out the dough gently and evenly into a circle or rectangle, about 1/8 to 1/4 inch thick, depending on your recipe’s requirements. Remove the top parchment paper. Carefully flip the dough over onto your pie dish or tart pan. Gently peel off the parchment paper from the other side and press the dough into the pan.
Rolling Method 3 (finger spread)
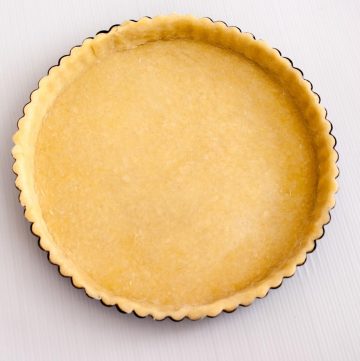
Press-In: Divide the chilled dough into smaller portions according to your tart or mini pie pans. Take a portion of the dough and press it evenly into the bottom and up the sides of the pan using your fingers. Ensure it’s evenly distributed and pressed firmly. Use the back of a spoon or a small measuring cup to smooth out the surface and create an even layer of dough. Once the dough is pressed into the pan, you can chill it again for about 15-30 minutes before filling and baking, especially if your recipe requires a pre-baked crust.
Prepare for baking
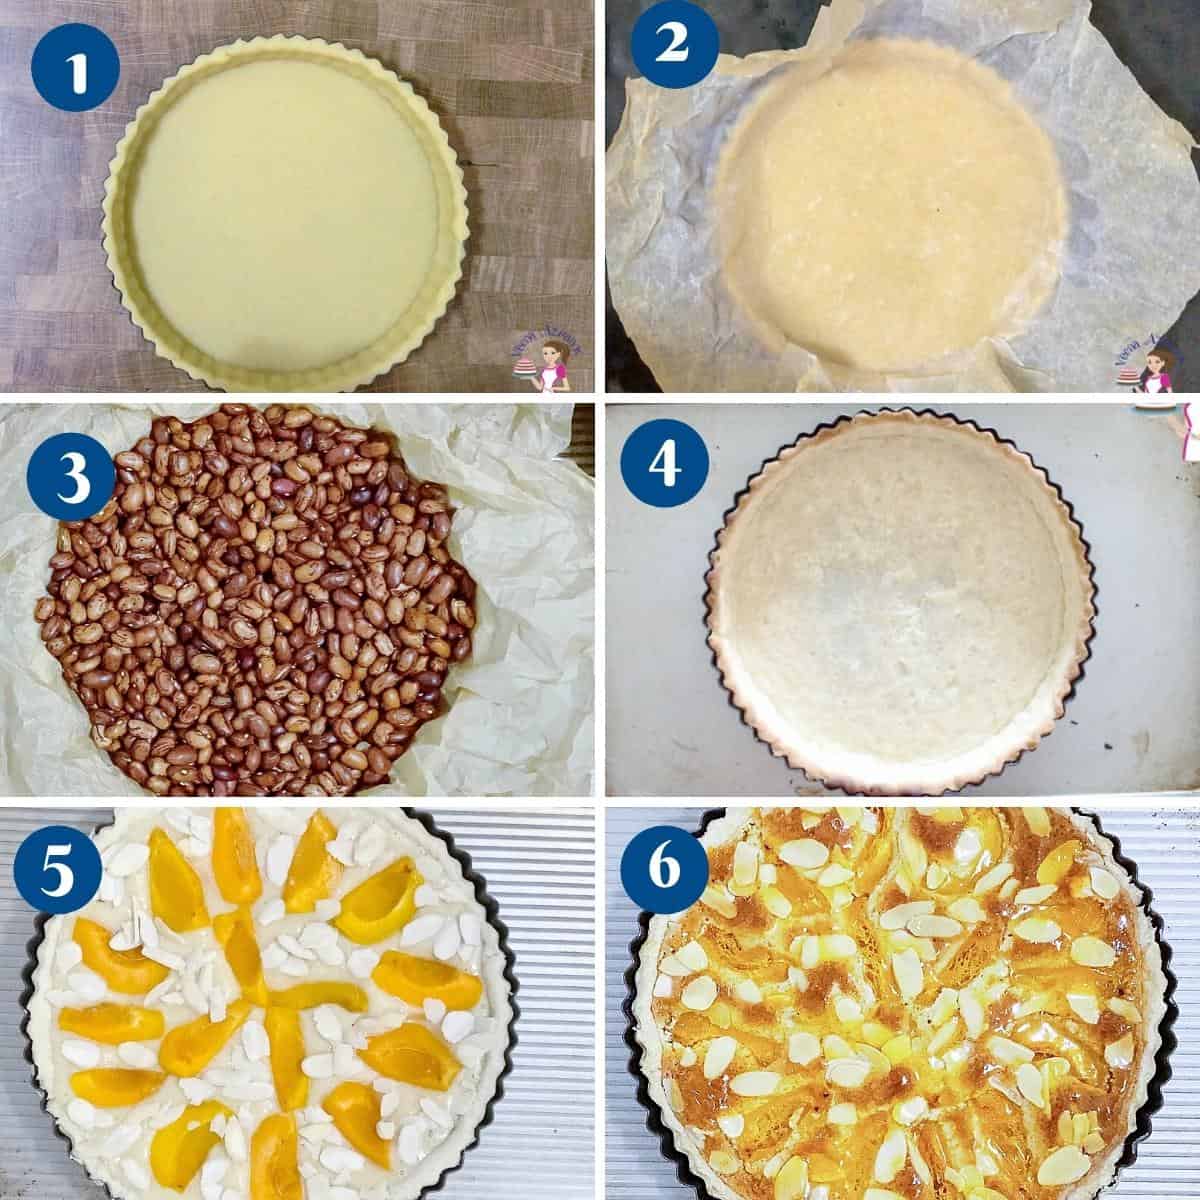
Chilling: Chill the lined tart or pie pan in the refrigerator for about 15-30 minutes. This helps prevent shrinkage during baking. Preheat your oven to 375°F (190°C) or as specified in your recipe. Docking: Once the pastry is fitted into the pan, prick the base all over with a fork. This prevents the pastry from puffing up during baking. Line and Weigh Down: Line the chilled pastry with parchment paper or aluminum foil, covering the bottom and sides completely. To weigh it down, fill the lined pastry with baking weights, dried beans, or rice.
Blind Bake: Place the weighted pastry in the preheated oven and bake for about 15-20 minutes, or until the edges are set and starting to lightly brown. Carefully remove the parchment paper and weights from the partially baked crust. Add the filling and return to the pan to continue baking for as long as described in your recipe.
Fully baked crust: Return the crust to the oven without filling for another 10 -15 minutes or until the base is dry and golden brown. This step ensures a fully cooked crust, especially if your filling doesn’t require additional baking. Cooling: Allow the baked crust to cool completely on a wire rack before filling as per your recipe’s instructions.
What rolling method do I choose?
The choice of rolling method for shortcrust pastry can depend on the specific recipe, the type of baking dish you’re using, and personal preference for handling the dough.
Some recipes may specify a preferred method based on the intended texture or appearance of the pastry. For example, a delicate dessert tart might benefit from the parchment paper method to preserve its shape, while a rustic galette might be better suited to the press-in method for a more casual appearance.
Alternatively, your comfort level with handling pastry dough can also influence your choice of rolling method. Experiment with different methods to find which one you find easiest and most effective for your baking style. Here’s a guideline on when each rolling method might be most suitable:
With a Rolling Pin: Rolling out the dough directly on a lightly floured surface with a rolling pin gives you more control over the thickness and shape of the pastry. It’s suitable for most standard tart or pie recipes where you need to achieve a uniform thickness throughout. Use this method when making a classic fruit pie or a quiche where you need a consistent thickness for the base and sides of the pastry. Between Two Sheets of Parchment Paper: This method is ideal when you want to prevent the dough from sticking to the rolling pin or work surface. It’s particularly useful for delicate or sticky doughs, or when you need to transfer the rolled-out dough intact into a tart or pie pan without stretching or tearing. Use this method when making a delicate fruit tart where you want to ensure the pastry remains intact and easy to handle. Press-In Method: This method is convenient when working with tart pans that have removable bottoms or shallow pie dishes. It allows you to quickly and evenly distribute the pastry dough into the pan without the need for rolling. Use this method when making a quick savory tart or a tart where you want a rustic appearance with a slightly uneven edge.
Tips for Success
Temperature of ingredients: Use softened butter at room temperature for the creaming method. This allows the butter to mix evenly with the sugar and egg yolks, creating a smooth and creamy texture in the pastry dough. Handle Gently: Overworking the dough can lead to tough pastry. Mix and knead the dough only until it comes together. Use a light touch when rolling out the dough to avoid overstretching it. Resting Time: Allow the dough to rest in the refrigerator before rolling it out. This helps relax the gluten and prevents shrinkage during baking. Proper Rolling Technique: Roll the dough evenly and to the desired thickness. Rotate the dough regularly while rolling to maintain a round shape and prevent sticking. Docking and Weighing Down: For blind baking, dock (prick) the pastry with a fork to prevent it from puffing up. Use parchment paper and pie weights or dried beans to weigh down the pastry while blind baking. Baking Temperature: Preheat your oven adequately. A hot oven ensures that the pastry cooks quickly and evenly, resulting in a crisp and golden crust. Ventilation: Ensure proper ventilation during baking, especially for filled pastries like quiches and tarts. This helps steam escape and prevents a soggy bottom. Cooling: Allow baked pastry to cool completely on a wire rack before filling. This prevents condensation and keeps the crust crisp. Experiment with Flavors: Don’t hesitate to experiment with different flours, sugars, and flavorings (like vanilla or spices) to customize your pastry for sweet or savory recipes. Practice Makes Perfect: Like any baking skill, practice improves technique. Don’t be discouraged if your first attempt isn’t perfect; learn from each experience to refine your pastry-making skills.
Easy Strawberry Tart RecipeBlueberry Tart (custard filled)Blueberry Cream Cheese TartletsLemon Cheesecake TartletsSimple Ways to Make Mini Tart Shells for Delicious Treats
Frequently asked questions
Creative ways to use shortcrust pastry
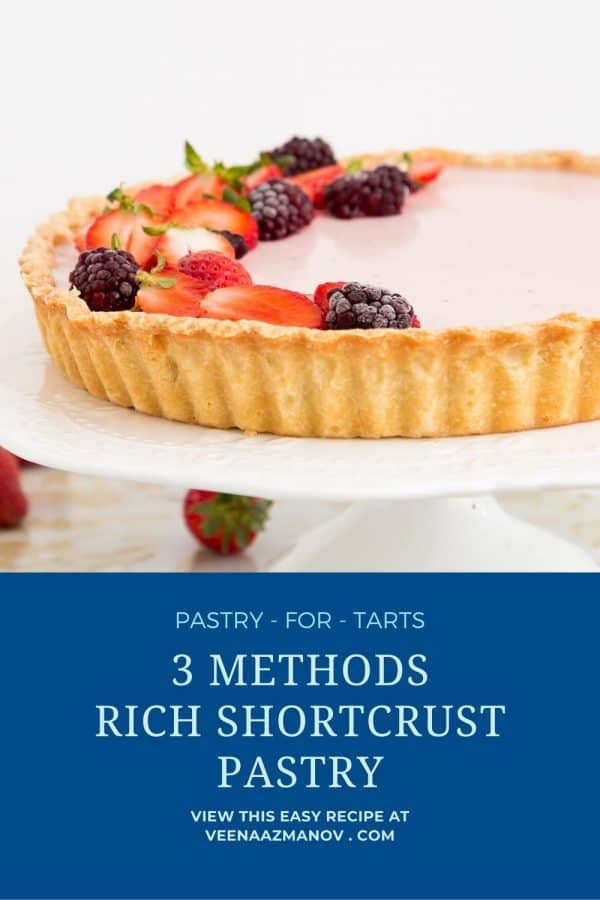
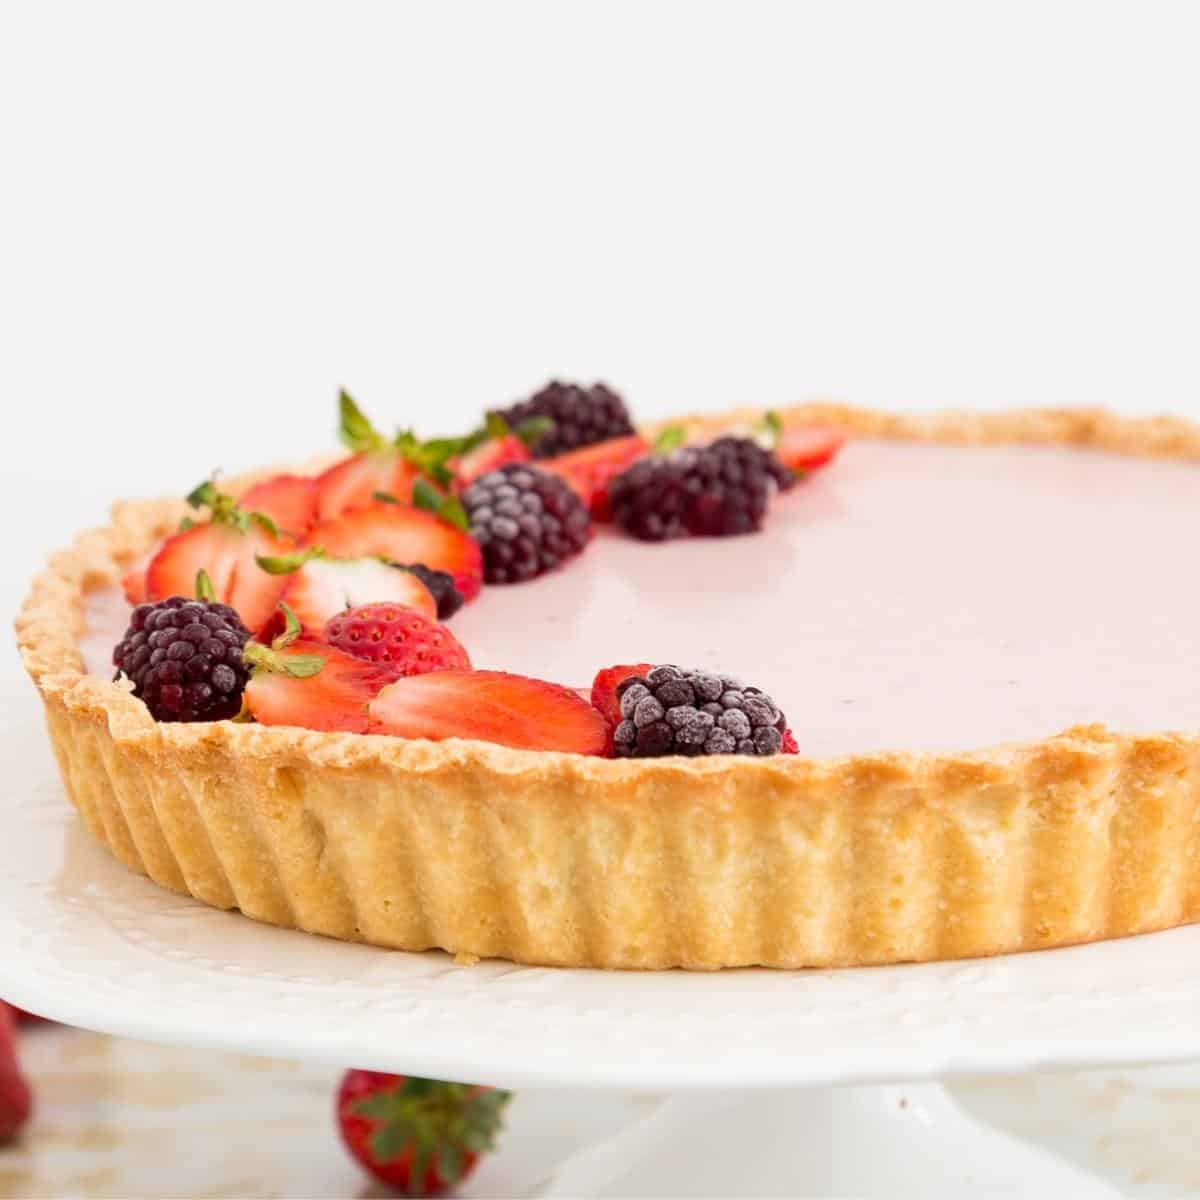
Fruit Tarts: Create elegant fruit tarts by lining tart pans with shortcrust pastry, then filling them with pastry cream or custard and arranging fresh fruits like berries, sliced peaches, or figs on top. Brush with apricot glaze for a glossy finish. Tartlets: Prepare bite-sized tartlets using mini muffin tins or tartlet pans. Fill them with lemon curd, ganache, or caramelized onions and blue cheese for elegant appetizers or dessert bites at parties. Galettes: Make rustic galettes by rolling out shortcrust pastry into a free-form circle, then folding the edges over a mound of seasonal fruits or savory ingredients like tomatoes and herbs. Bake until the pastry is golden and crisp. Decorative Pie Crusts: Use shortcrust pastry to create decorative pie crusts by cutting out shapes like leaves, hearts, or lattice strips. Arrange them over fruit pies or quiches for a visually stunning presentation before baking.
Apricot Tart Mango Tart, Parisian Flan Parisian Flan French Custard Tart Apple Crumble Tart Mango Panna Cotta Tart Sweet Shortcrust Pastry – Pate Sucree’ See all tart recipes
Thank you for sharing - Save for later