Halloween is the time of year when magic fills the air, and spooky fun is all around. From ghostly decorations to thrilling costumes, it’s a celebration that brings out the creativity in everyone. Whether hosting a haunted party or trick-or-treating with the kids, Halloween is the perfect excuse to get festive and indulge in some delightfully eerie treats. Madeleines are a classic French pastry known for their delicate, shell-like shape and light, buttery texture. These soft, cake-like cookies are perfect for any occasion and are often enjoyed with tea or coffee. Their golden crust and tender crumb make madeleines an irresistible bite-sized indulgence, whether plain or flavored with zesty citrus or rich chocolate. Take your Halloween treats to the next level by baking madeleine batter into spooky, lifelike skulls using a skull-shaped cake pan. The soft, buttery texture of the madeleines contrasts wonderfully with the creepy shape, making these Skull Madeleines both delicious and visually striking. With a center filled with raspberry jam, each bite offers a fun surprise—perfect for any Halloween celebration. Cover your skull madeleines in edible silver, gold, or pearl dust for an extra touch of eerie elegance. The shimmering dust adds a hauntingly beautiful glow, turning your simple madeleines into eye-catching, haunted skulls that shimmer under the light. The metallic colors give them a spooky yet sophisticated flair. Get the kids involved in the fun by letting them dust the skull madeleines with edible dust. Watch as they bring the skulls to life with shimmering colors, transforming them into magical, spooky treats. It’s a fun activity that lets their creativity shine while turning your Halloween dessert table into something extraordinary.
Why are these the Halloween treats?
Unique Presentation: The skull shape adds a spooky and impressive visual element, making these madeleines perfect for Halloween-themed parties and celebrations. Delicious Filling: The raspberry jam filling provides a delightful contrast to the light and fluffy Madeline batter, adding a fruity surprise with each bite. Luxurious White Chocolate Coating: The white chocolate coating elevates the texture and flavor, giving the madeleines a creamy, rich finish that complements the soft sponge. Creative Decoration: Dusting the skulls with edible pearl, silver, or gold dust adds a touch of elegance, making them not only spooky but also visually stunning and eye-catching.
List the key ingredients and substitutes:
All-Purpose Flour: This provides structure and texture to the madeleine batter. You can substitute cake flour for a lighter texture or gluten-free flour for a gluten-free version. Unsalted Butter: Adds richness and moisture to the batter. For a dairy-free option, substitute margarine or coconut oil. Granulated Sugar: Sweetens the madeleines and helps create a tender crumb. You can also substitute with brown sugar for a more caramelized flavor or a sugar substitute like stevia for a low-sugar option. Eggs: Essential for binding and adding lightness to the batter. You can substitute with flax eggs or applesauce for an egg-free alternative. Raspberry Jam: Adds a fruity, tangy filling. You can also substitute with strawberry, apricot, or any jam of your choice. White Chocolate: Used for coating and adding a creamy texture. You can substitute with milk or dark chocolate, or use dairy-free white chocolate for a vegan option. Edible Pearl, Silver, or Gold Dust: Adds a decorative shimmer. You can also substitute with colored sugar sprinkles or leave the madeleines plain for a more subtle look.
Step-by-step: Halloween Skull Madelines
Prepare the skull pan: Grease the skull pan with butter or non-stick spray to prevent sticking. Then, lightly dust with flour and tap out the excess. This ensures the Madeleines release easily from the pan.
Melt the Butter: Melt the butter in a small saucepan over low heat or in the microwave. Allow it to cool to room temperature. This step is crucial for achieving the right texture in the final product. Then, add the lemon juice. Let cool completely. Mix Dry Ingredients: In a bowl, whisk together the flour, baking powder, and salt twice. Set aside for later. This will help evenly distribute the baking powder and salt. Beat Eggs and Sugar: Beat the eggs and granulated sugar in a separate large bowl using an electric mixer or whisk. Beat on high speed until the mixture is pale, thick, and frothy (about 5 minutes). Add Vanilla and Lemon Zest: Gently fold the honey, vanilla extract, and lemon zest using a spatula. Be careful not to deflate the egg mixture while adding these ingredients. Fold in Melted Butter: Slowly fold the cooled melted butter into the batter in two additions. Ensure the butter is evenly incorporated without overmixing. Chill the Batter: Cover the bowl with plastic wrap and refrigerate for at least 1 hour. Chilling helps thicken the batter and gives Madeleines their signature hump. Preheat the Oven: Preheat your oven to 375°F (190°C). Position a rack in the center of the oven for even baking. Fill the Skull Cake Pan: After chilling, spoon half of the batter into each skull mold cavity, filling halfway. Then, place a teaspoon of raspberry jam in the center of each. Top with more batter, filling the molds 3/4 full. Bake: Bake for 12-15 minutes or until the edges are golden and a toothpick inserted into the center comes out clean. Let the skull madeleines cool in the pan for 5 minutes. Then, transfer them to a wire rack to cool completely.
Add the White Chocolate Coating: Once cooled, melt the white chocolate in a double boiler or microwave, stirring until smooth. Next, pour a small amount of melted white chocolate into the clean and dry skull cake pan to cover the bottom of each mold. Then, place each madeleine back into the mold on top of the melted chocolate. Freeze for 15-20 minutes or until the chocolate is firm. Finish and Decorate: Remove the skull madeleines from the pan carefully. Dust some skulls with edible pearl, silver, or gold dust for a haunting shimmer effect.
Tips for success
Use Room Temperature Ingredients: Ensure the eggs and butter are at room temperature to create a smoother batter and a fluffier texture in the madelines. Don’t Overfill the Pan: Fill the molds only 3/4 full to allow the madelines to rise properly without overflowing and losing their skull shape. Freeze Before Removing: After pouring the white chocolate and placing the madelines back in the pan, be sure to freeze them fully. This will ensure the chocolate sets properly and makes it easier to remove the skulls without breaking them. Dust the Skulls After Cooling: To achieve a smooth, shiny finish when applying the edible dust, ensure the madelines are completely cooled before dusting. A small, clean brush works best for an even coating. Work Quickly with Chocolate: When pouring the melted white chocolate into the mold, work swiftly so the chocolate doesn’t harden too quickly, allowing the madelines to set in place evenly.
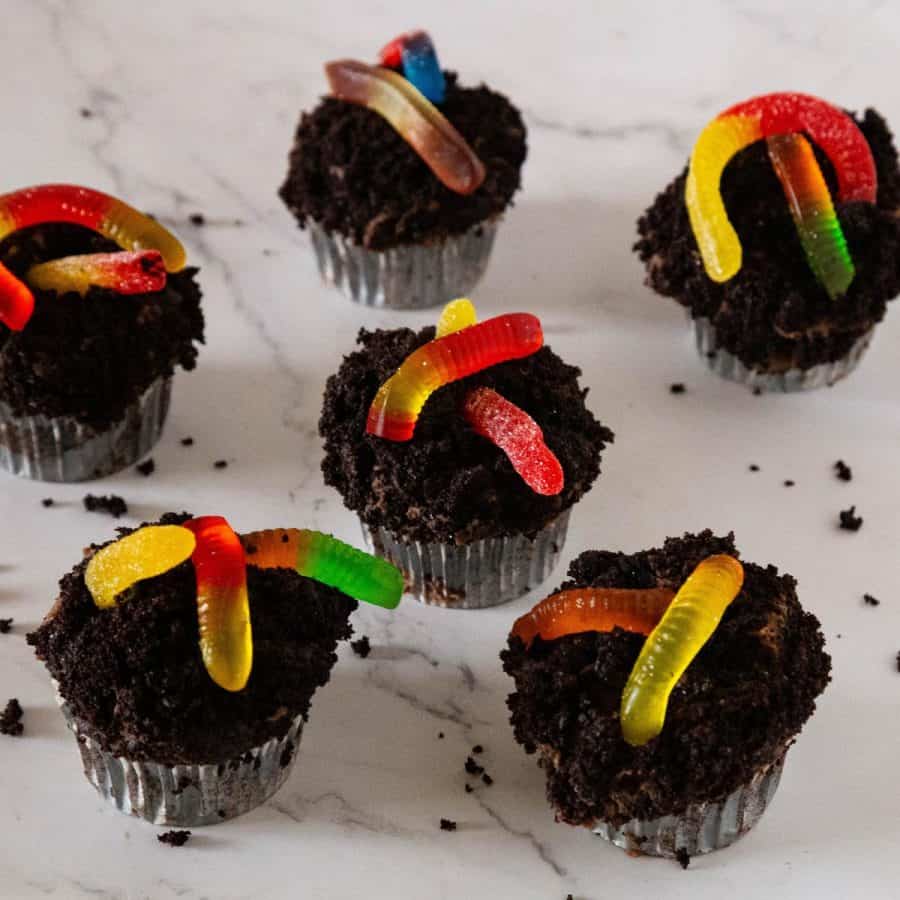
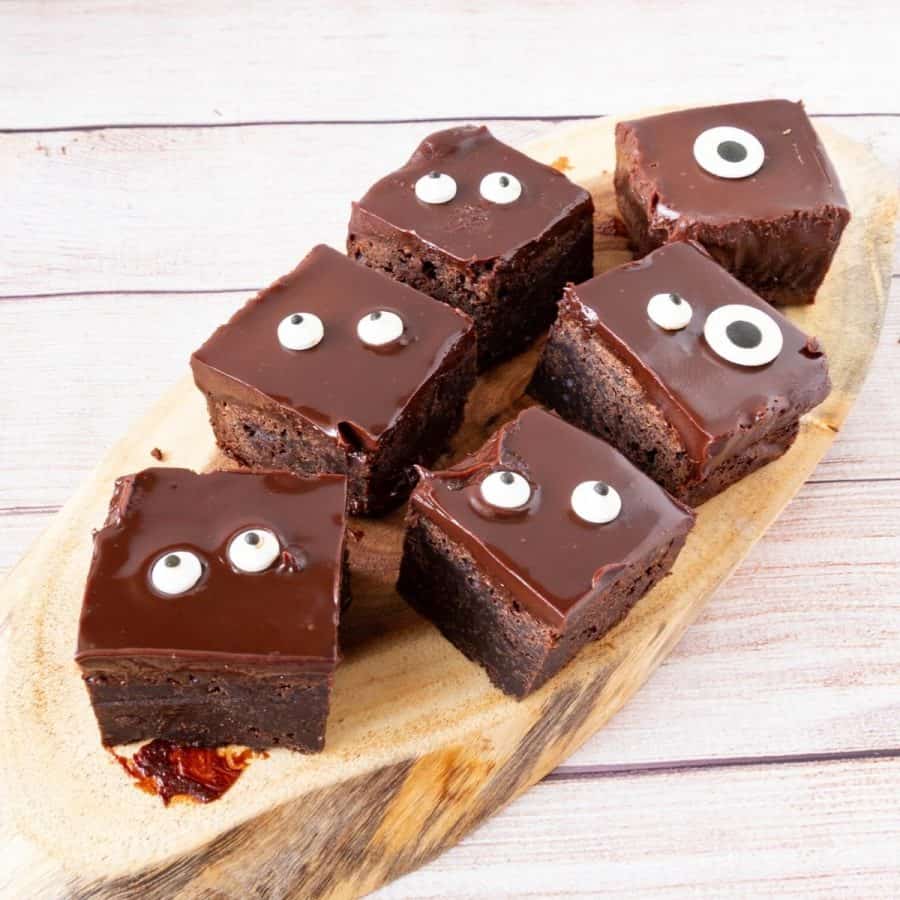
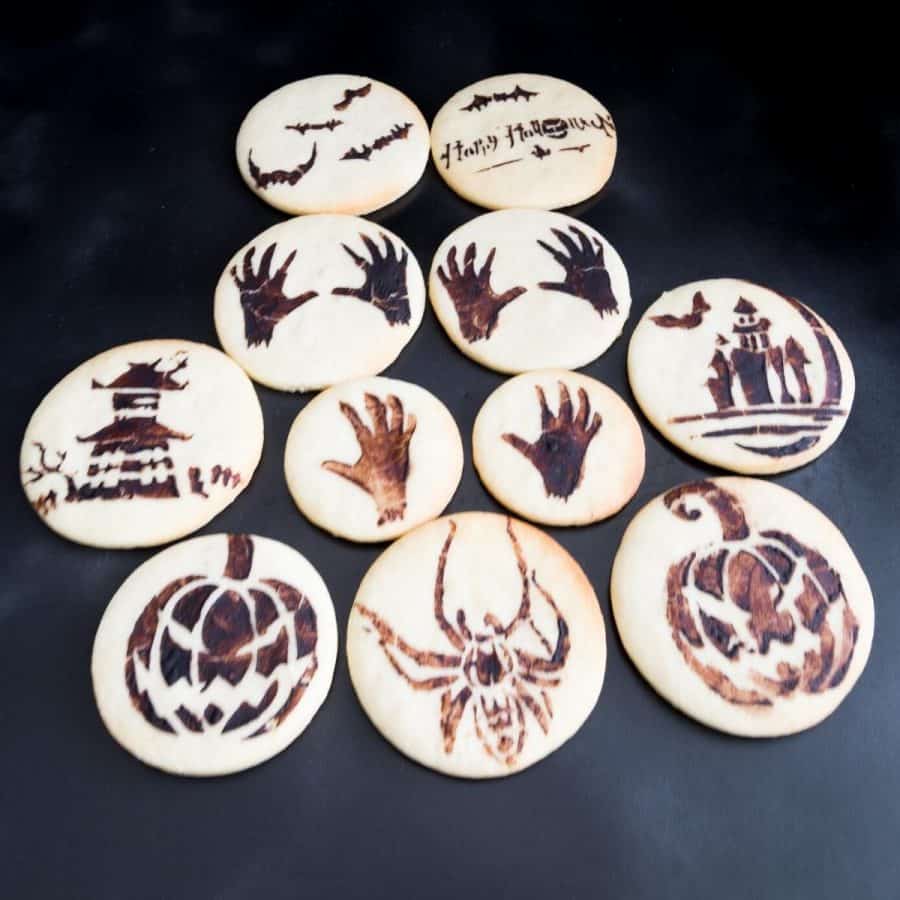
Recipe for Madelines: A Delicious French Tea Cake Halloween Wormy Dirt Cupcakes Halloween Brownies Halloween Stenciled Cookies 50 Plus Christmas Cookies Recipes
Frequently asked questions
Did you LIKE this recipe? Save it for later. You can find my recipes on Pinterest. Follow me on Facebook, Twitter, and Instagram.Subscribe, and I’ll send you new recipes right to your inbox. Thank you for sharing - Save for later