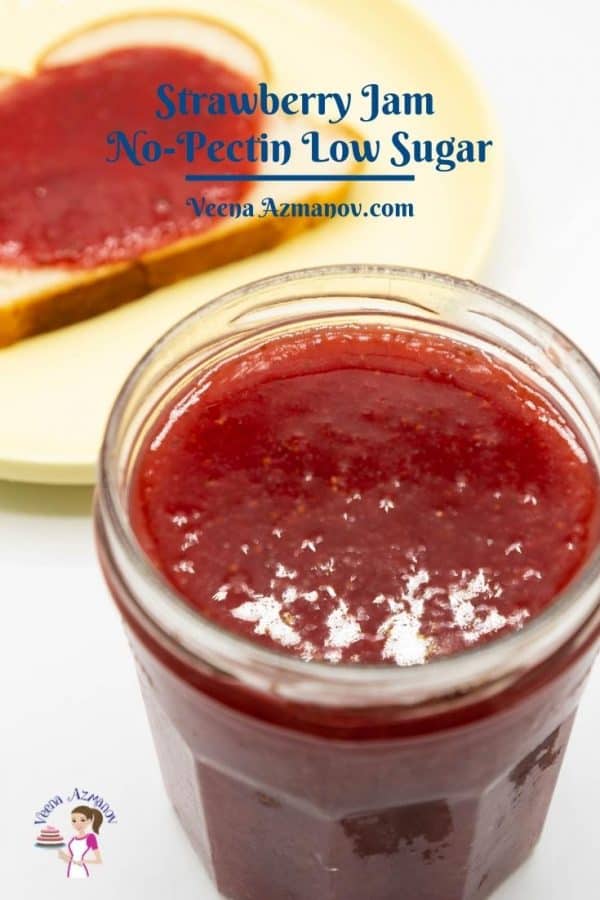
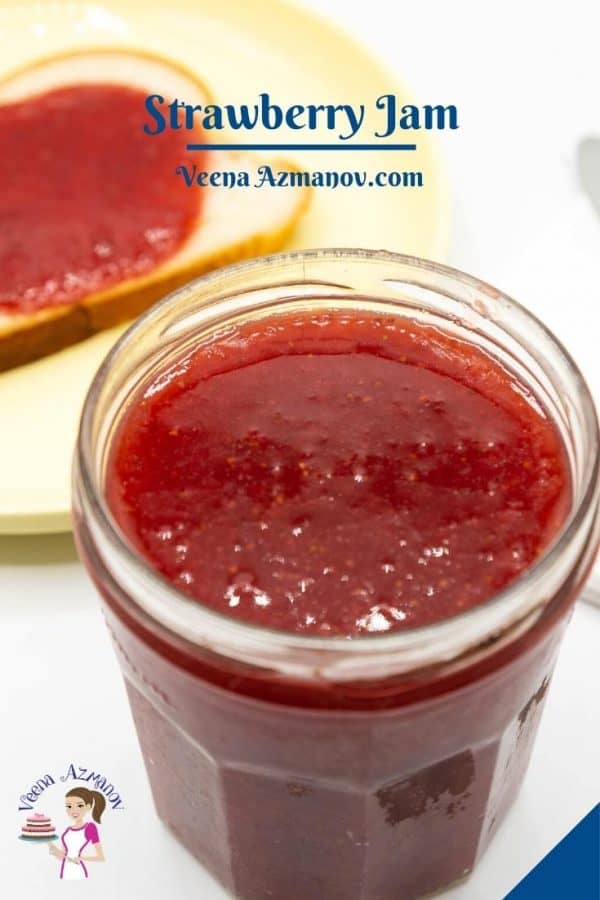
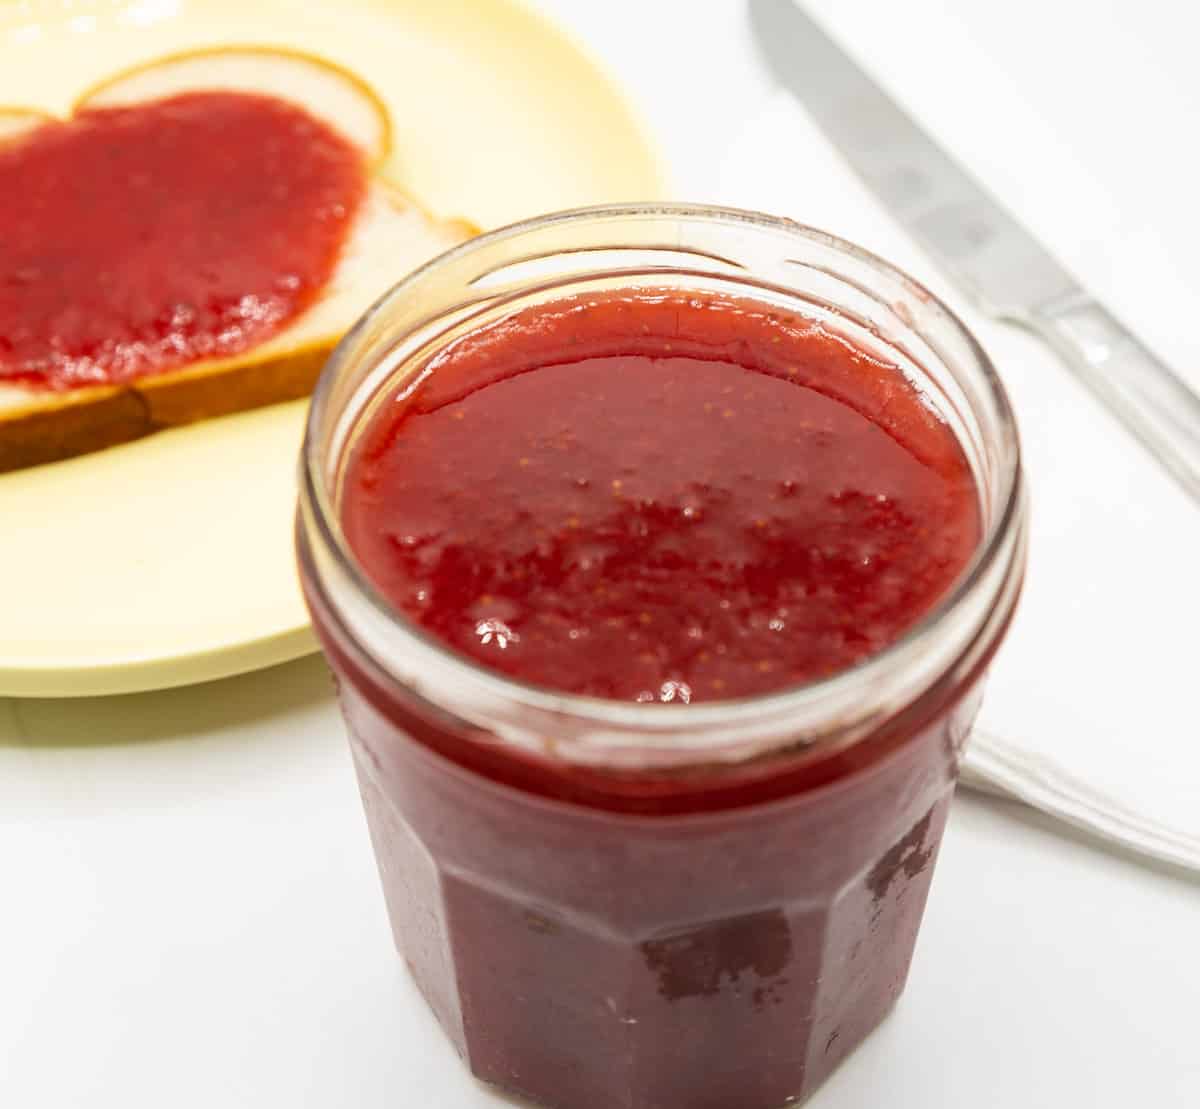
I love making jams and jellies. All kinds of jams, whatever is in season. But there is one fruit that’s most popular in our home, and that’s strawberries. I make a big batch of strawberry jam, jelly as well as strawberry filling. I usually freeze them instead of canning them. And, when this batch gets oven I even make a quick microwave jam.
Why make this jam?
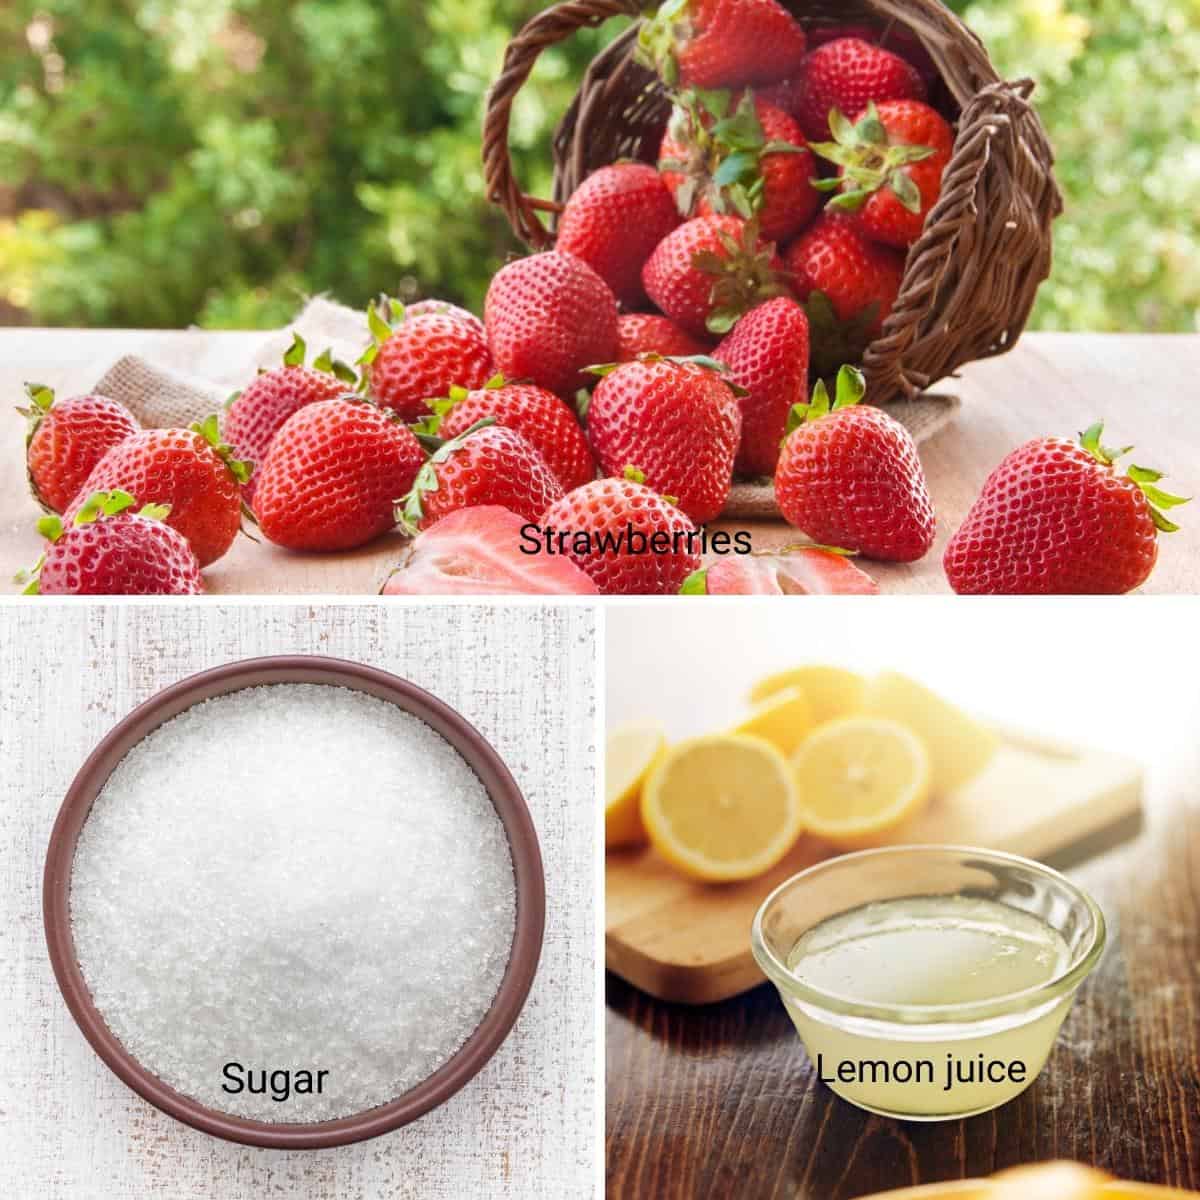
No-fail method – This recipe is simple and easy. And if you’ve ever made homemade jam, you will definitely start now. No canning – This homemade recipe does not involve canning. You can just pour the jam into sterilized jars and store them in the fridge or freezer. However, I have also provided the detailed process for canning. No pectin – Ideally, you can make strawberry jam with just two ingredients: fruit and sugar. Strawberries have natural acidity and pectin in abundance. And yet, adding lemon juice helps break down the skin. Low-sugar – Fresh strawberries are naturally soft and sweet, so you don’t need to add a lot of sugar to this jam.
Step-by-step: Homemade strawberry jam
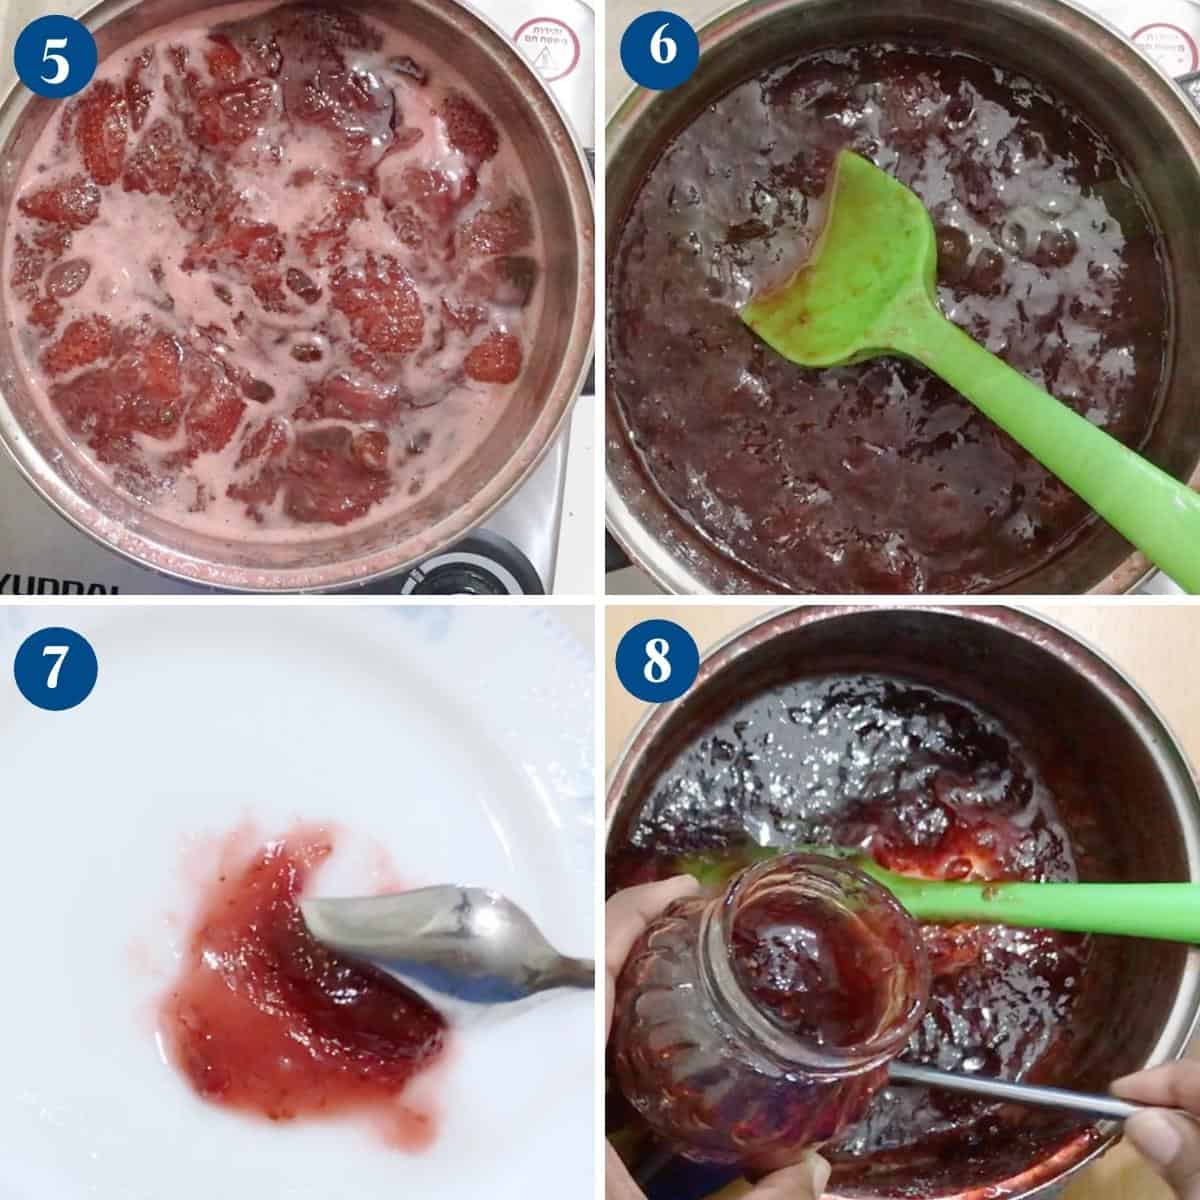
Place two small ceramic plates in the freezer so we can test the jam later. Alternatively, you can use a candy thermometer to check the jam’s doneness. Check the strawberries and remove any bad, discolored, or bruised ones. Give them a quick wash, and drain in a colander. Hull the strawberries and give them a rough chop.Pro tip – You can use soft strawberries, but discolored and bruised ones will ruin the jam. Also, don’t soak the fruit in water for too long, as they do soak up moisture. Next, in a heavy bottom pan, combine the strawberries, sugar, salt, and lemon juice.Pro tip – Time permitting, let the strawberries macerate in sugar and lemon juice for a few hours before cooking. Cook on medium heat until the sugar is dissolved. Then, turn the heat up and let the mixture come to a boil. Let it boil for two minutes on medium-high.Pro tip – Boiling the jam is essential as it releases pectin from the skin and seeds in fruits. Then, turn the heat to medium-low. The jam should still be simmering but at a low simmer, not bubbling. Use a vegetable masher to mash the fruit for a smoother, jam-like consistency.Pro tip – Mashing the fruit is optional. As it cooks, the fruit will break down into smaller chunks, similar to preserves. However, mashing will give it a smoother consistency, like jam. Continue to simmer for about 20 to 30 minutes more, stirring often so it does not stick to the bottom of the pan. The jam will continue to thicken and deepen in color as it cools.Pro tip – The cooking time will depend on the quantity of the jam and the heat applied to it. It’s okay to cook a little longer, but there must be a simmer for the fruit to release pectin.
Testing the jam
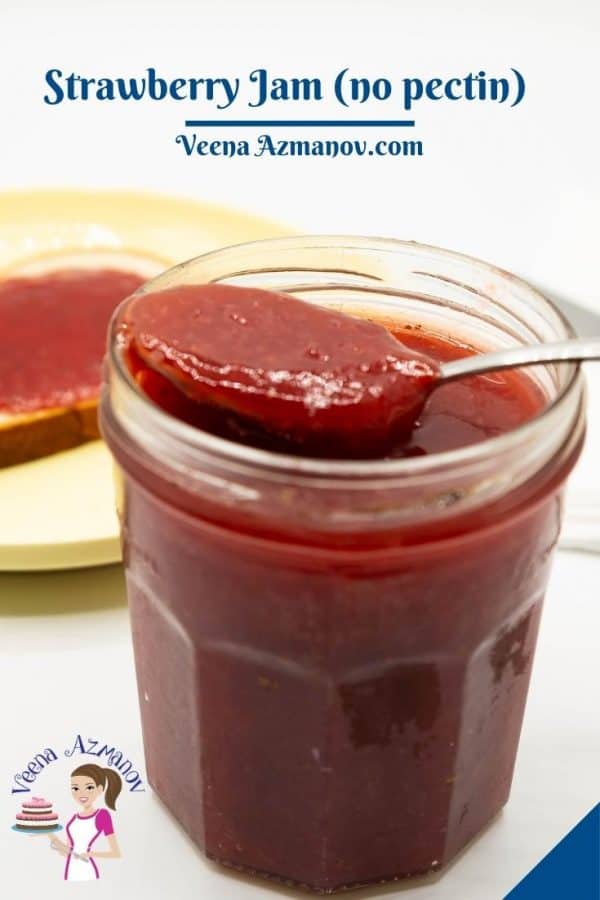
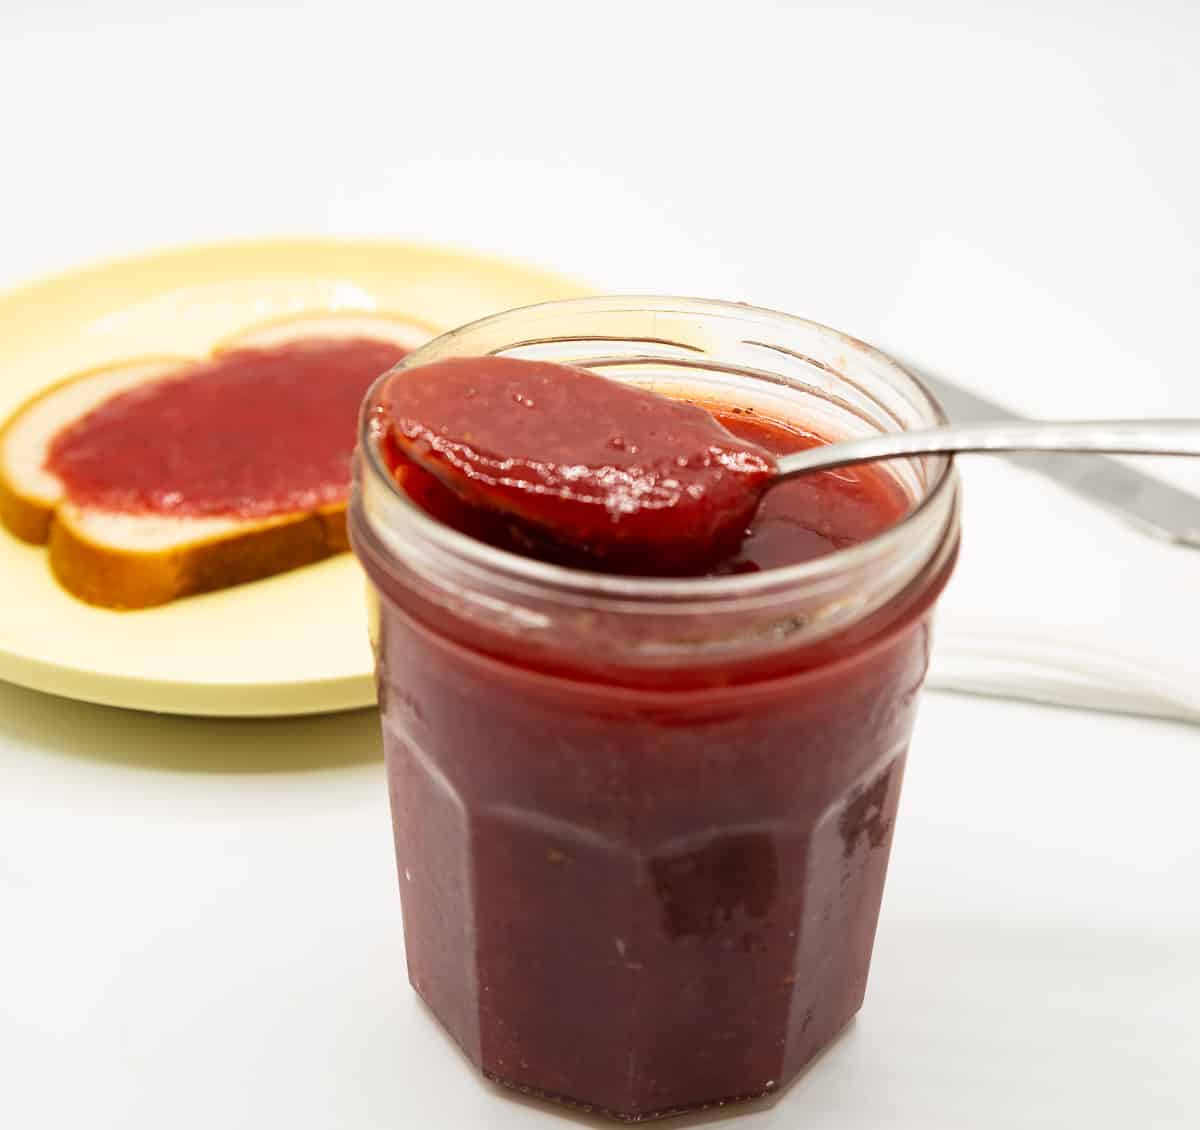
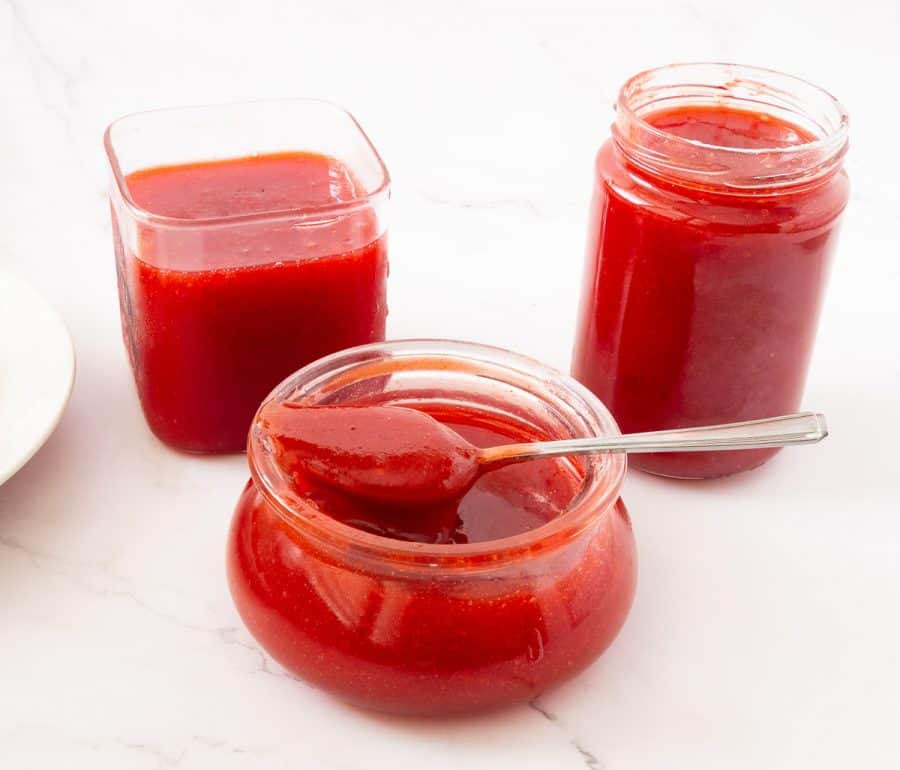
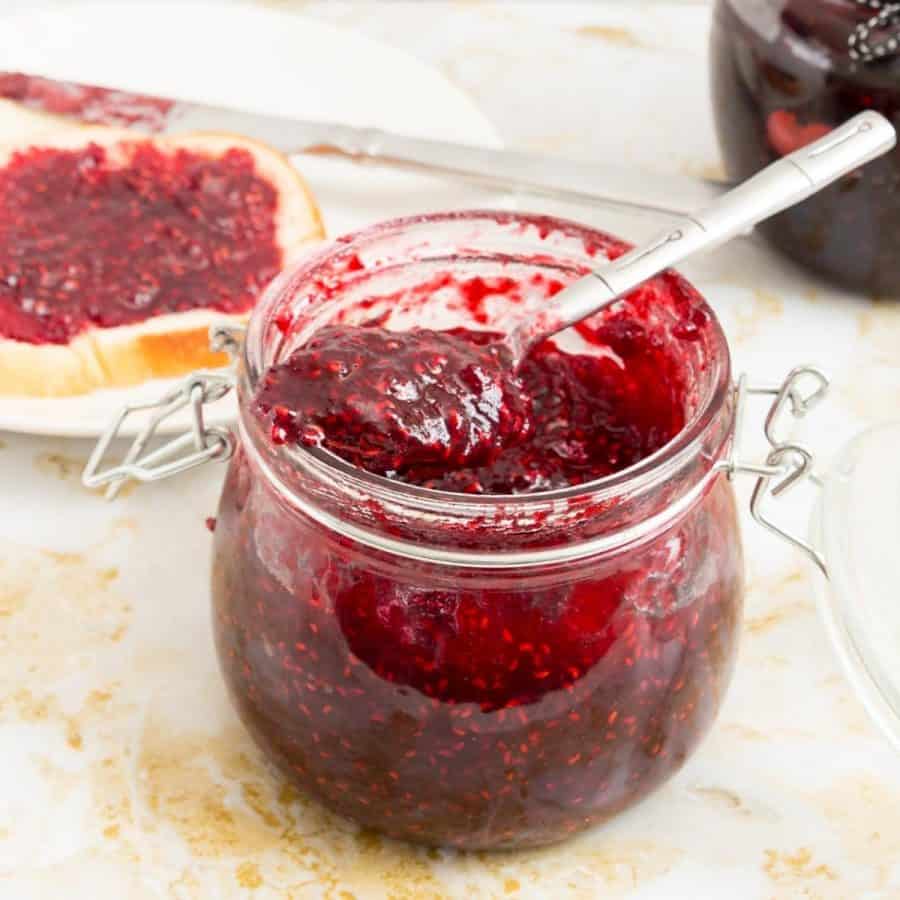
Remove one of the ceramic plates from the freezer. Place a teaspoon of jam on the cold plate.Pro tip – The cold plate will help cool the jam almost instantly and give you a good indication if it is ready. Set aside for 2 to 3 minutes. Then, test with your finger. Simply move/push the jam with your finger. If it wrinkles/crinkles, the jam is ready. If not, let the jam cook a few more minutes and test again.Pro tip – Depending on how early you start checking, you may need to test the jam on a ceramic plate more than once or a couple of times. Alternatively, you can use a candy thermometer – the jam should reach 105 C / 221 F.Pro tip – I find the thermometer the easiest and fool-proof method to check for doneness. Optional – Just when you are ready to take the jam off the heat, add a teaspoon of butter and stir well. Butter helps dissolve foam that accumulates on top of the jam.Pro tip – You don’t need more than 1 teaspoon of butter to help with the foam. It will also give you that glossy shine. Pour the jam into warm sterilized jars leaving 1/4 inch space from the top. Use a clean sterilized knife or spatula to move the jam a bit – this will remove any air pockets. Place a piece of wax paper on the top before you place the lid on tightly. Clean the rim of the jar with a clean paper towel. Top the lid.Alternatively, use the lid with screw-on rings that come with the canning jars.
The canning process (if you plan to can the jam)
Sterilize the jars
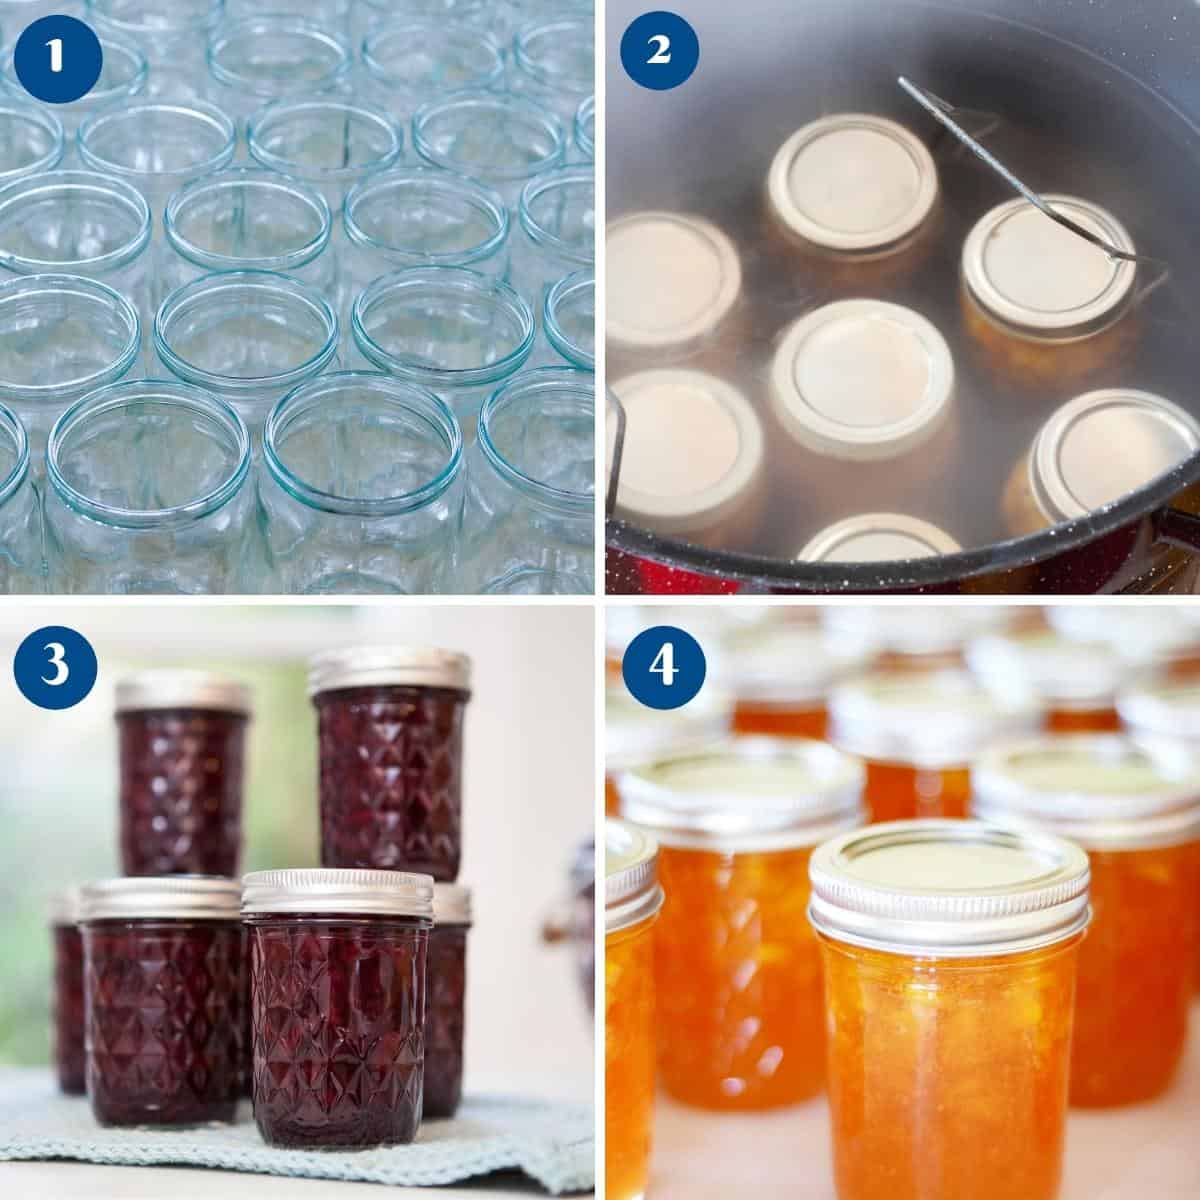
Sterilize 4 x 8 oz (250 g) jars by washing them in hot soapy water or cleaning them in the dishwasher with a gentle cycle. Then, place them in the oven for 20 minutes at a low 284 F / 140 C.Pro tip – I find the dishwasher does a good job of cleaning and the oven dries any excess moisture in the bottles. Note—Leave them in the oven until you are ready to use them (you can turn the oven off). Don’t forget to wash and sterilize the bottle lids as well.
Canning process
Place a rack in the bottom of a large stockpot. Fill half the pot with water. Bring the water in the pot to a boil on high heat. Lower the jars over the rack leaving enough space between the jars.Pro tip – The level of water should be at least an inch above the top of the jars. So if necessary pour more boiling water. Bring the water to a boil again. Cover the pot and process/simmer for 15 minutes. Then, carefully remove the jars from the stockpot and place them on a kitchen towel to absorb any excess moisture. Cool completely.Pro tip – The hot jars are very delicate so make sure to use tongs when taking them out and place them on soft towels to prevent them from breaking. Press the top of the lid to ensure the seal is tight – the lid should not move at all. Store in a cool dry place.
Storage
If canning, the canned jam will stay in a cool dry place in the pantry for up to a year or even longer. When not canned, the jam will stay at room temperature for a month or more in good weather. You can also keep the jam in the fridge for 3 to 6 months. Label the jar with the name and date so you know what is in it and when you made it.
Frequently asked questions
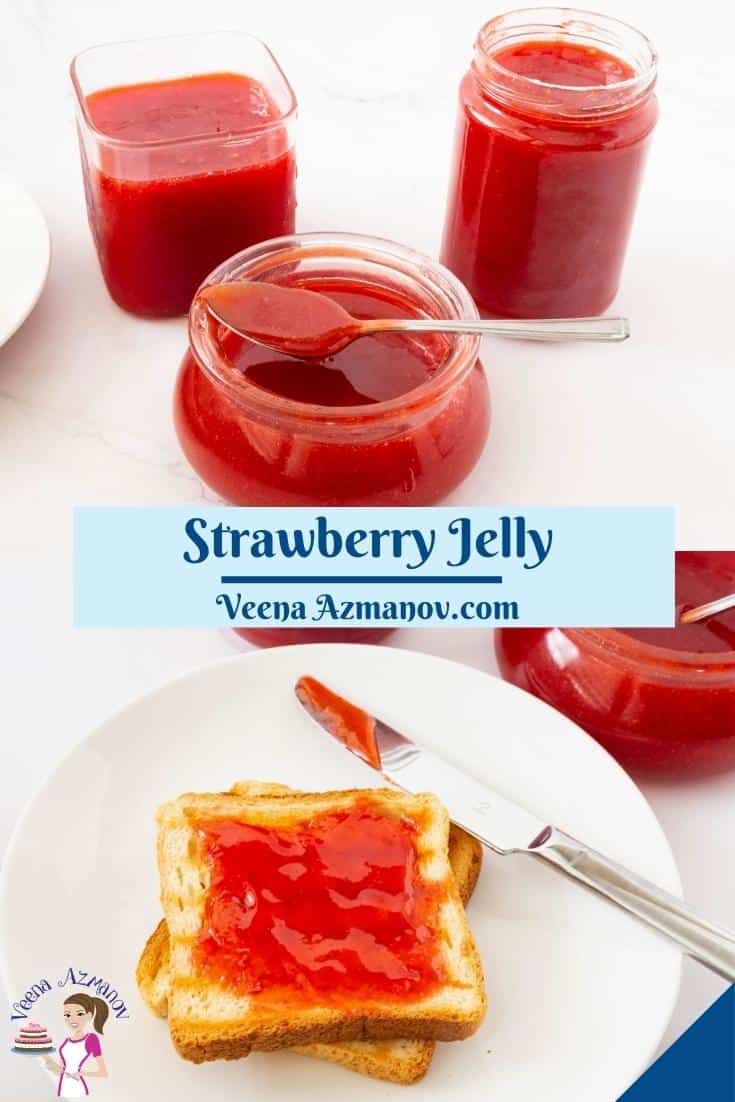
Creative ways to serve strawberry jelly.
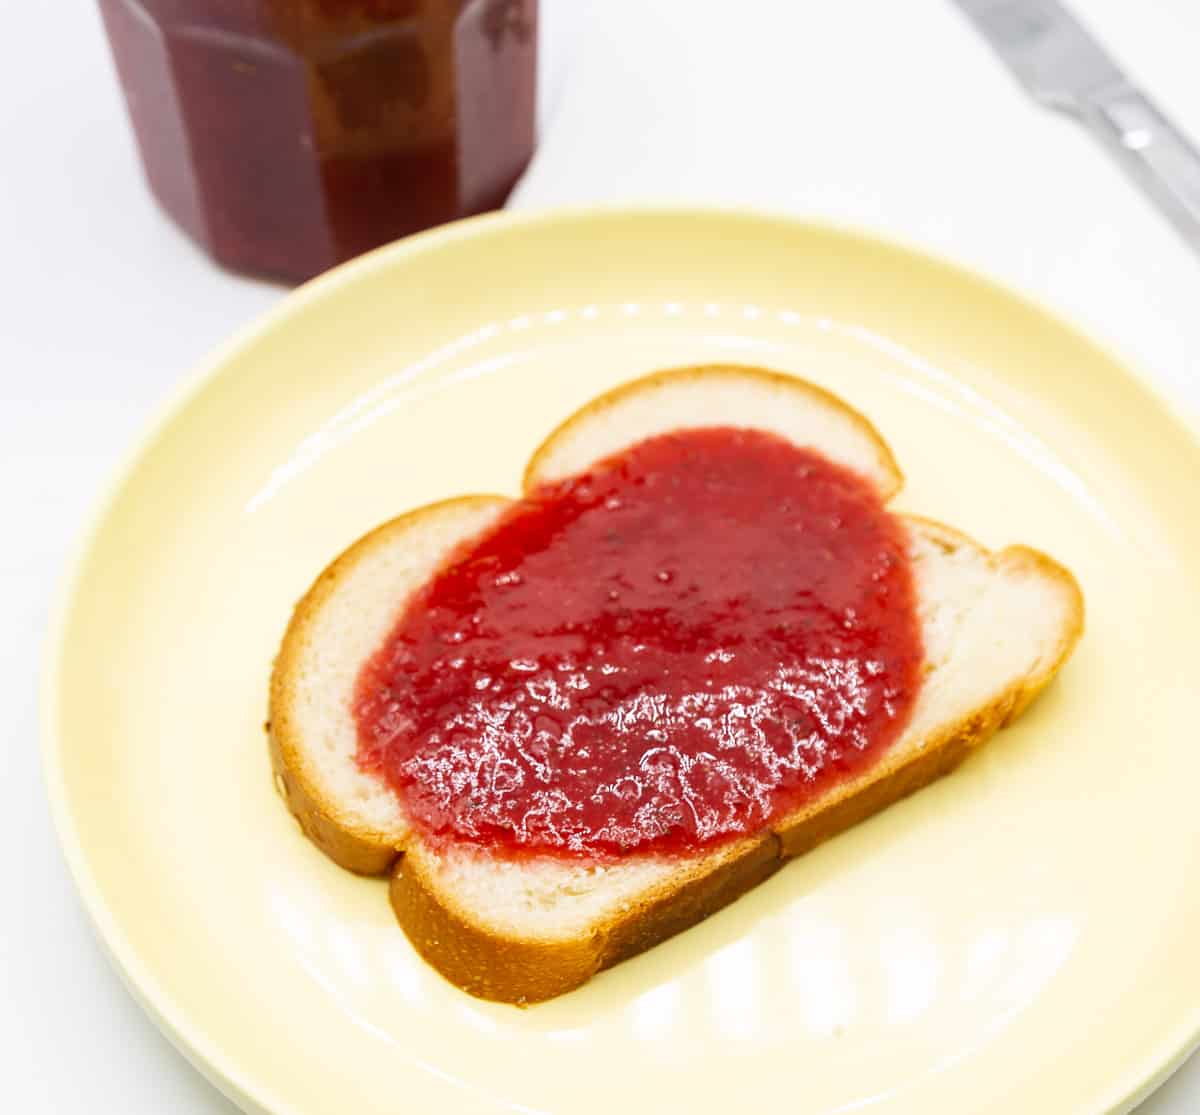
Strawberry jelly is a delicious and versatile ingredient that can be used in various creative ways to enhance your meals and treats. Here are some imaginative ideas to serve strawberry jelly:
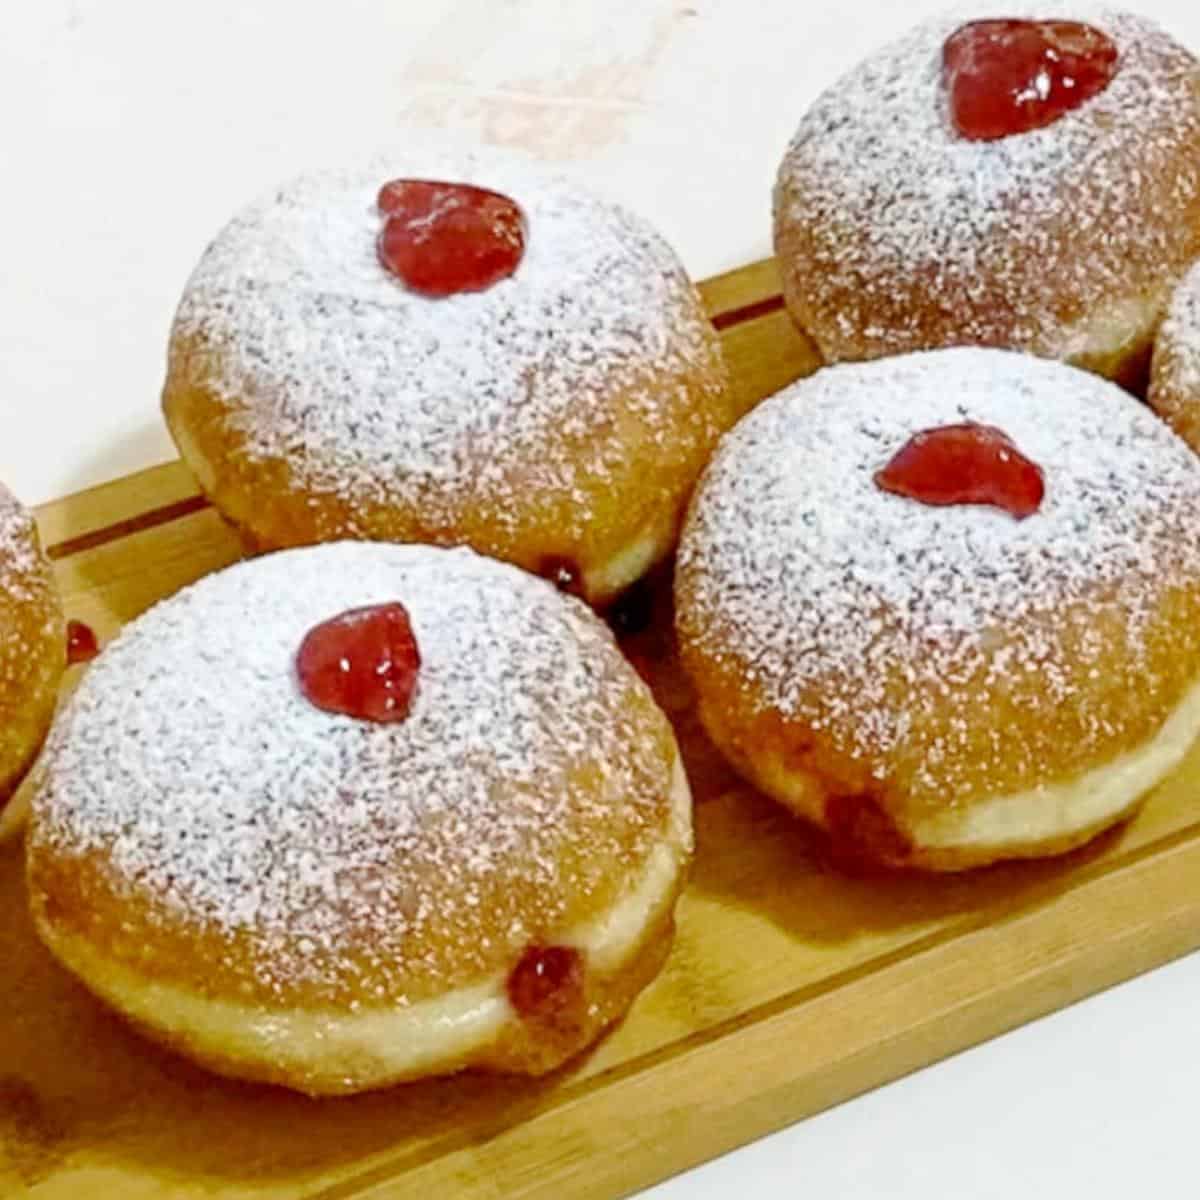
Stuffed French Toast: Create a stuffed French toast by spreading strawberry jelly between two slices of bread before dipping them in egg batter. Cook until golden brown and serve with a dusting of powdered sugar and fresh strawberries on top. Jelly Donut Holes: Fill freshly made donut holes with strawberry jelly for a delightful and fruity twist on traditional donuts. Thumbprint Cookies: Make thumbprint cookies by forming dough into small rounds, pressing a thumbprint into each one, and filling the indentation with strawberry jelly before baking. PB&J Sushi Rolls: Spread a layer of peanut butter and strawberry jelly on a tortilla, roll it up, and slice it into bite-sized PB&J sushi rolls. Jelly Glazed Meat or Tofu: Use strawberry jelly as a glaze for roasted meats (chicken, pork, or even tofu). Brush the jelly over the meat during the last few minutes of cooking for a sweet and tangy finish. Jelly Parfait: Layer strawberry jelly with yogurt and granola in a glass or jar to create a colorful and flavorful jelly parfait. Jelly-Stuffed Pancakes: Make pancakes as usual and add a dollop of strawberry jelly to the center of each pancake before flipping. The jelly will melt inside, creating a burst of fruity goodness. Jelly-filled Muffins: Fill muffin batter cups halfway, add a spoonful of strawberry jelly, and then cover with more batter before baking. The result will be muffins with a surprise jelly center. Jelly Milkshake: Blend strawberry jelly with vanilla ice cream and milk to create a luscious and flavorful jelly milkshake. Top it with whipped cream and a jelly drizzle for an extra touch. Jelly Tarts: Use pre-made tart shells and fill them with strawberry jelly. Top with whipped cream or a scoop of vanilla ice cream for a quick and tasty dessert. Jelly Salad Dressing: Mix strawberry jelly with balsamic vinegar, olive oil, and a dash of Dijon mustard to create a sweet and tangy dressing for salads. Jelly Iced Tea or Lemonade: Sweeten your iced tea or lemonade with strawberry jelly instead of sugar for a unique and refreshing drink.
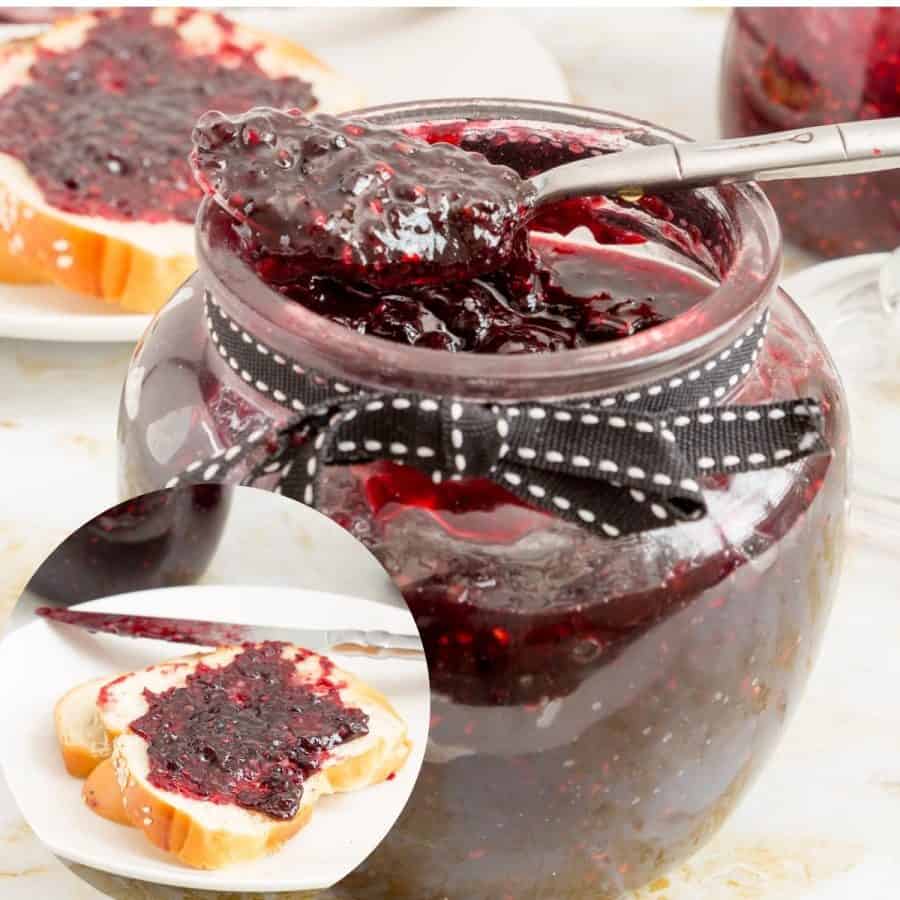
Apricot Peach Jam – No-Pectin (just 3 ingredients) Old Fashioned Raspberry Jam – No Pectin Fresh Fig Jam – No Pectin (just 3 ingredients) See all jam recipes
Thank you for sharing - Save for later