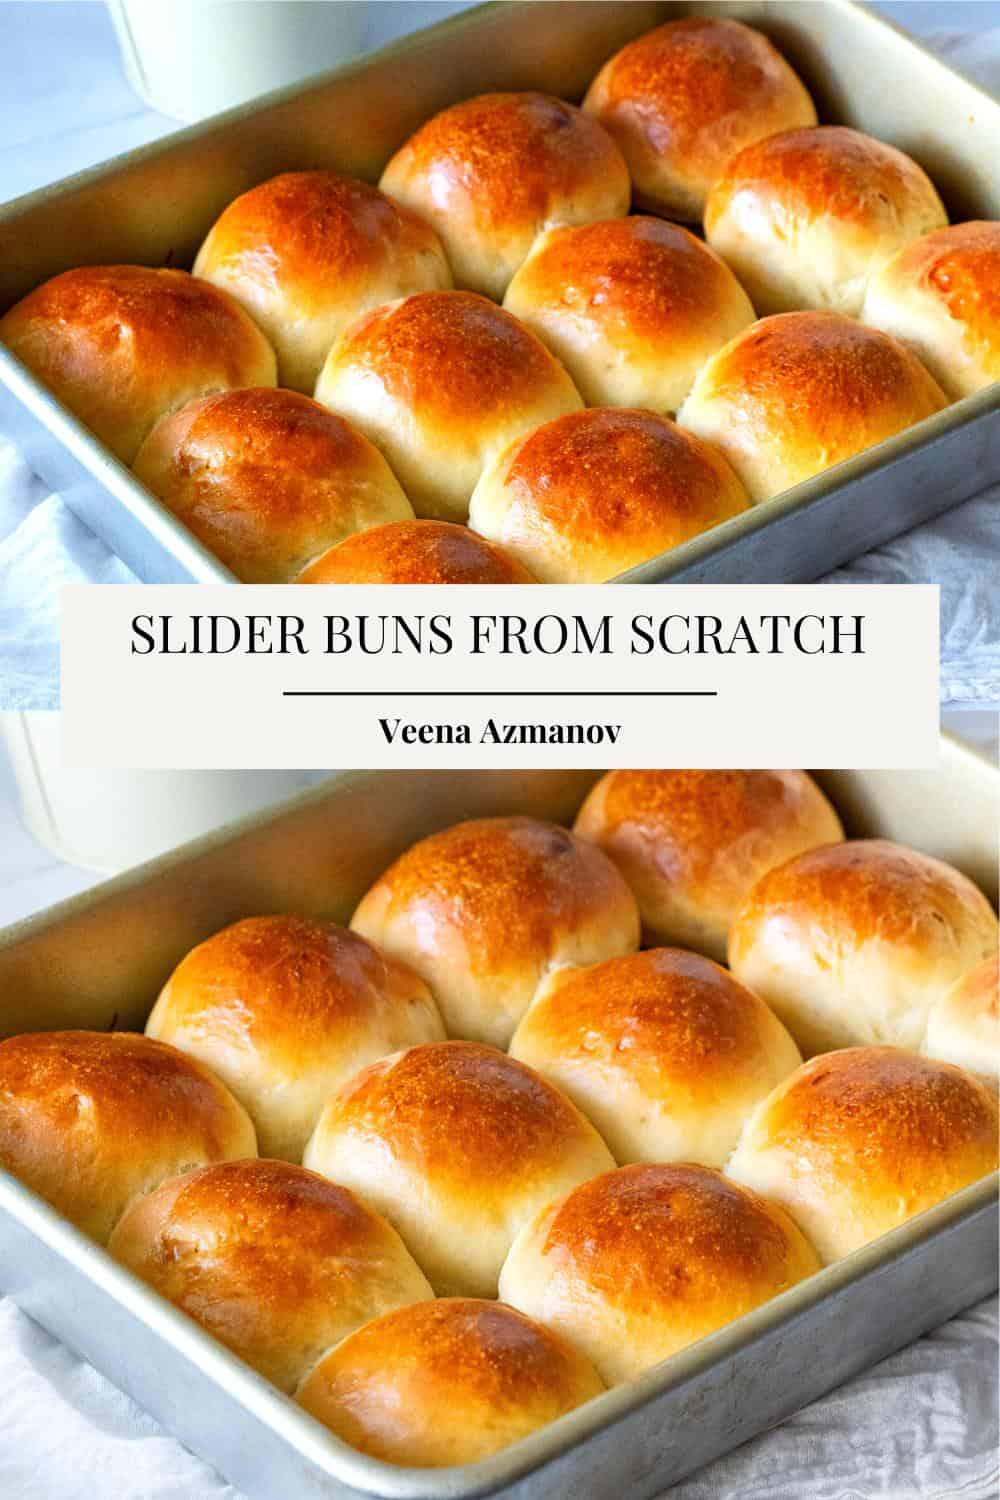
Making homemade sliders has become a cherished tradition in my kitchen, inspired by fond memories of my mom’s homemade slider buns. As a child, I watched in awe as she effortlessly whipped up batches of soft, pillowy buns from scratch, filling our home with the irresistible aroma of freshly baked bread. Following in her footsteps, I embarked on my own journey of slider-making, determined to recreate the magic of her homemade buns. Armed with her cherished recipe and a sense of determination, I dove headfirst into the world of bread baking. Whether you’re an experienced home cook or a novice in the kitchen, embarking on the journey of homemade slider buns can be an enjoyable and rewarding experience. It’s an opportunity to improve your baking skills, learn new techniques, and gain a deeper understanding of the science behind bread-making. Plus, the look of delight on your family and friends’ faces when they bite into a slider made with your homemade buns is truly priceless. From carefully measuring out the ingredients to kneading the dough and watching it rise, each step engages your senses and ignites your creativity. There’s something extraordinary about transforming a few simple ingredients into a batch of perfectly fluffy and flavorful buns. So, let’s dive in and unveil the secret to elevating your slider buns and taking your cooking skills to new heights.
What are slider buns?
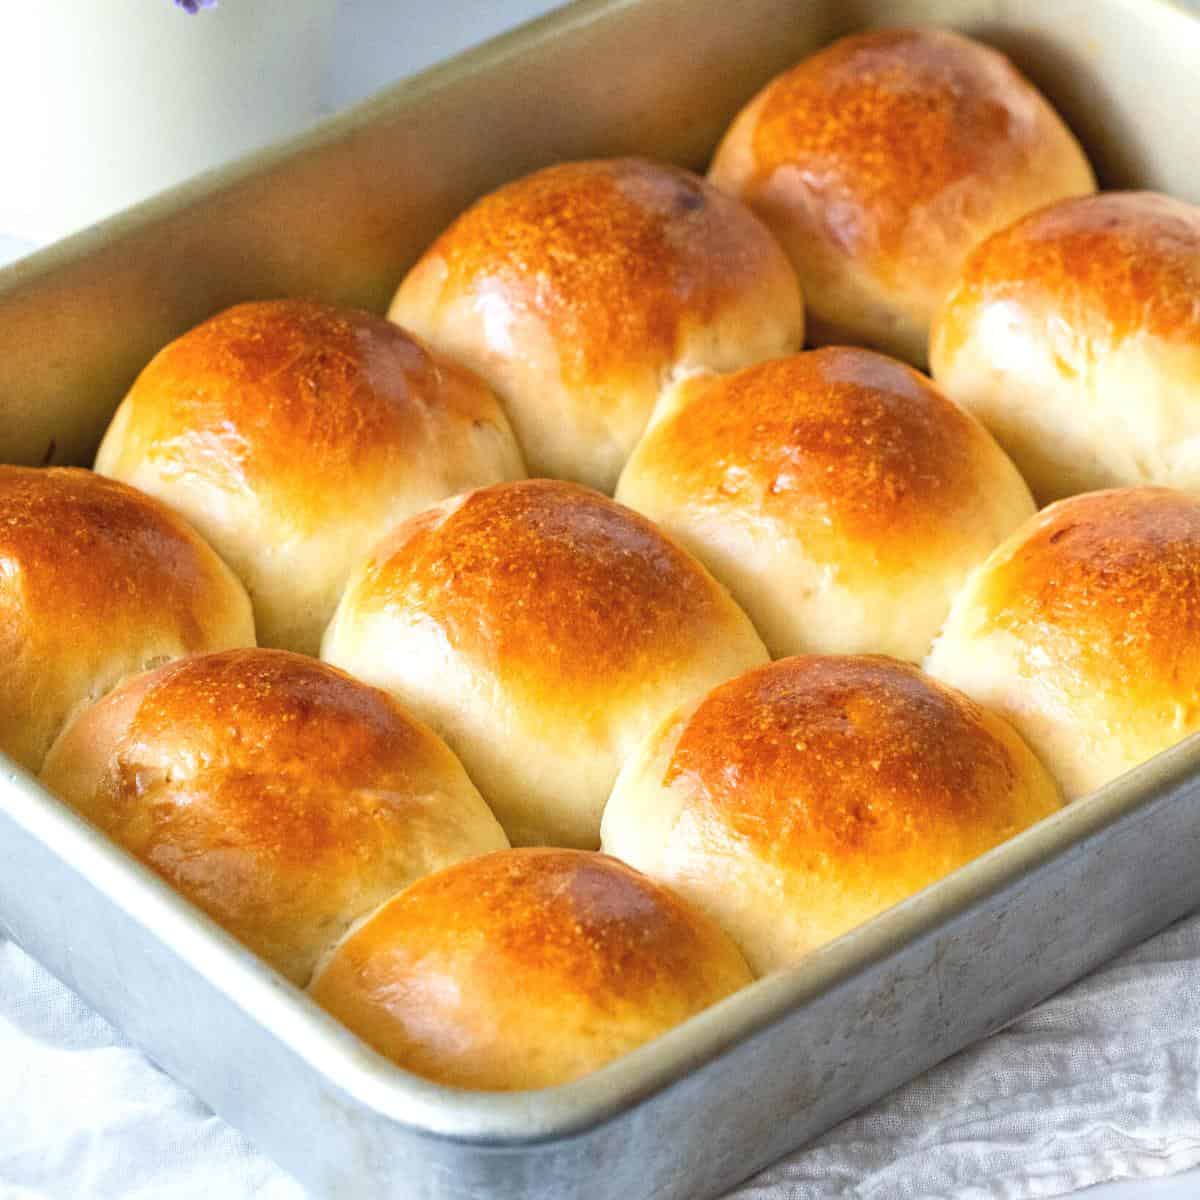
Slider buns are small, soft and fluffy buns. They are usually made with a combination of wheat and white flours. The buns are traditionally cut and then used to sandwich meats, cheese, and vegetables. Slider buns are an increasingly popular choice for sandwiches because they are lightweight, and flavorful. And they can also be toasted to perfection for an extra layer of crunch. With slider buns, you can make an endless variety of sandwiches, and have a delicious, gourmet-style meal in minutes.
Why are these slider buns worth the effort?
One of the key reasons why slider buns are worth the effort is the incredible taste and texture they bring to your sliders. Unlike their store-bought counterparts, homemade slider buns can be customized to your liking. You can experiment with different flours, incorporate herbs and spices, or even add a hint of sweetness for a delightful contrast. The result is a bun that complements your slider fillings and elevates the overall taste experience. Another factor that sets homemade slider buns apart is their freshness. When you bake your own buns, you can enjoy them at the peak of their flavor and texture. The aroma of freshly baked bread wafting through your kitchen is an added bonus that will leave your guests eagerly anticipating their first bite. By investing a little time and effort, you ensure that every slider is served on a bun that is soft, fluffy, and utterly delectable. In addition to taste and freshness, homemade slider buns offer versatility in serving options. These mini buns are not limited to just sliders; they can serve as the perfect vessels for a variety of mouthwatering creations. From mini sandwiches and appetizers to mini burgers or even as a base for breakfast sliders, homemade buns allow you to explore endless possibilities and showcase your culinary skills. Lastly, making your own slider buns is a rewarding experience. It allows you to immerse yourself in the art of baking while providing a sense of accomplishment when you see the final product. Whether you’re an experienced home cook or a novice in the kitchen, mastering the art of homemade slider buns can be an enjoyable journey that enhances your cooking skills and impresses your friends and family.
Ingredients and substitutes
First and foremost, the star of the show is all-purpose flour. However, if you prefer a healthier alternative, you can replace a portion of the all-purpose flour with whole wheat flour. This will add a slightly nutty flavor and a boost of nutrients to your buns. Just keep in mind that using solely whole wheat flour may result in a denser texture. Next up is instant yeast, which is essential for activating the dough and achieving that light and airy texture. If you don’t have instant yeast on hand, you can also use active dry yeast instead. But make sure to activate it in warm water first. Simply dissolve the required amount of active dry yeast in warm water and let it sit for a few minutes until it becomes foamy. Egg – Adds a lot of flavor to the bread, gives a tender crumb, and strengthens the texture. The egg is also a leavening agent that helps the bread rise. To add a touch of sweetness and enhance the flavor, sugar is a key ingredient. However, if you’re watching your sugar intake or prefer a less sweet bun, you can reduce the amount of sugar. You can even experiment with alternative sweeteners such as maple syrup or honey. Just keep in mind that altering the sweetener may affect the overall texture and flavor of the buns. Another important ingredient is salt, which enhances the flavors and helps to balance the sweetness. If you’re on a low-sodium diet or prefer a milder taste, you can reduce the amount of salt. But be cautious not to eliminate it entirely as it also plays a role in the dough’s structure. Lastly, the use of butter adds richness and moisture to the buns. If you’re following a vegan or dairy-free diet, you can substitute the butter with coconut oil or another plant-based alternative. This substitution will give your buns a slightly different flavor profile while maintaining a tender texture.
Step-by-step: Homemade slider buns
Yeast mixture – In a mixing bowl or measuring cup, combine warm water (110 F), yeast, honey, oil, and eggs. Stir and set aside to foam for 3 mins.Pro tip – Instant yeast does not need to be activated. But I like to ensure my yeast is good and working for me. You may choose to add all ingredients directly to the flour.
Dry mixture – Measure the flour and salt in a mixing bowl or stand mixer with the dough hook.Pro tip – If you do not like kneading, I highly recommend using a stand mixer with the hook attachment. Knead – Add the yeast mixture to the flour mixture and combine well on medium-low speed. Knead until smooth and elastic. This should take about 8 to 10 minutes on medium-low in the stand mixer or 15 to 18 minutes by hand on a lightly dusted work surface.
Bowl – When the dough is smooth, soft, and elastic, shape it into a ball. Then, place the dough in an oiled bowl seam side down. Coat the surface with oil to prevent drying. Cover with a clean kitchen cloth or plastic wrap. Rise – Leave in a warm place. Let rise for 40 to 50 minutes until it doubles in volume.Pro tip – Alternatively, you can place the dough in the fridge to be cold-proof overnight. Thaw at room temperature for an hour before shaping. Punch – When the dough is double in volume, transfer it to a well-dusted floured surface. Punch down and reshape into a ball. Then, roll it into a small log.Pro tip – At this point, there is no need for additional flour. So, use a light dusting of flour.
Divide – Using a dough scraper, divide this log into 3 portions and then each of those portions into 4 again. This should give you 12 sliders.Pro tip – These should be about 2 to 2.5 ounces each or 56 to 70 grams each. Proof – Shape the rolls into a tight ball. Place the rolls in a sheet pan lined with parchment paper. Cover with plastic wrap or clean kitchen cloth and let proof for 45 to 60 minutes.Pro tip – Spray the plastic wrap with oil to prevent it from sticking to the rolls. Oven – About 20 minutes before baking preheat the oven at 350°F /177°C / Gas Mark 4 Bake – Brush the bread with egg wash. Then, bake each loaf on the center rack of the oven for 12 to 15 minutes. When baked, leave to cool completely before filling and making sliders. Enjoy!
Tips for making the perfect sliders
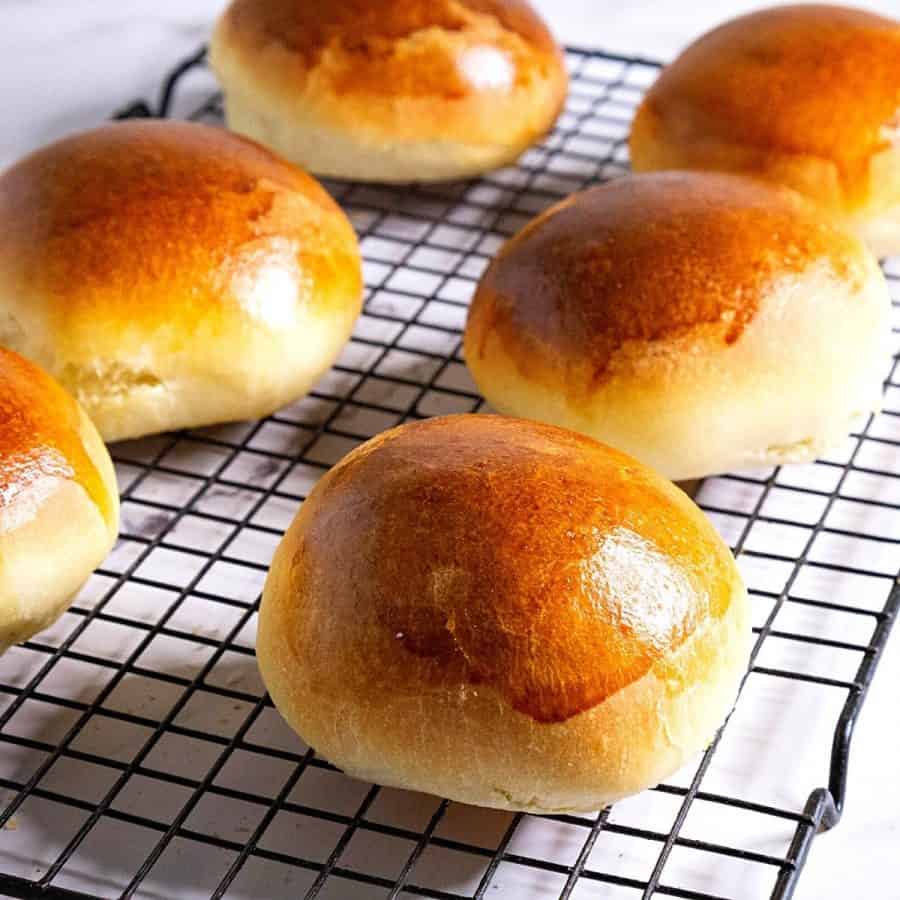
Firstly, when it comes to shaping the buns, consistency is key. Make sure to divide the dough into equal portions so that each bun is roughly the same size. This will not only give your sliders a consistent appearance but also ensure they cook evenly. Secondly, consider the texture you want for your buns. If you prefer a softer texture, you can place the formed buns close together on the baking tray to let them rise and bake into each other, creating a pull-apart effect. On the other hand, if you prefer a slightly crispier exterior, leave more space between the buns to allow for individual expansion. Next, during the baking process, keep an eye on the buns to prevent overbrowning. Sliders buns are typically smaller in size, so they have a tendency to brown more quickly. To avoid this, you can cover the buns loosely with aluminum foil halfway through baking to prevent them from getting too dark on top. Another tip is to add some flavor and aroma to your slider buns by sprinkling a pinch of your favorite seasoning or herb on top before baking. This simple addition can elevate the overall taste experience and make your sliders even more irresistible. Lastly, don’t forget to let your freshly baked slider buns cool completely before slicing them. This will help them maintain their structure and prevent them from becoming squished or falling apart when assembling your sliders.
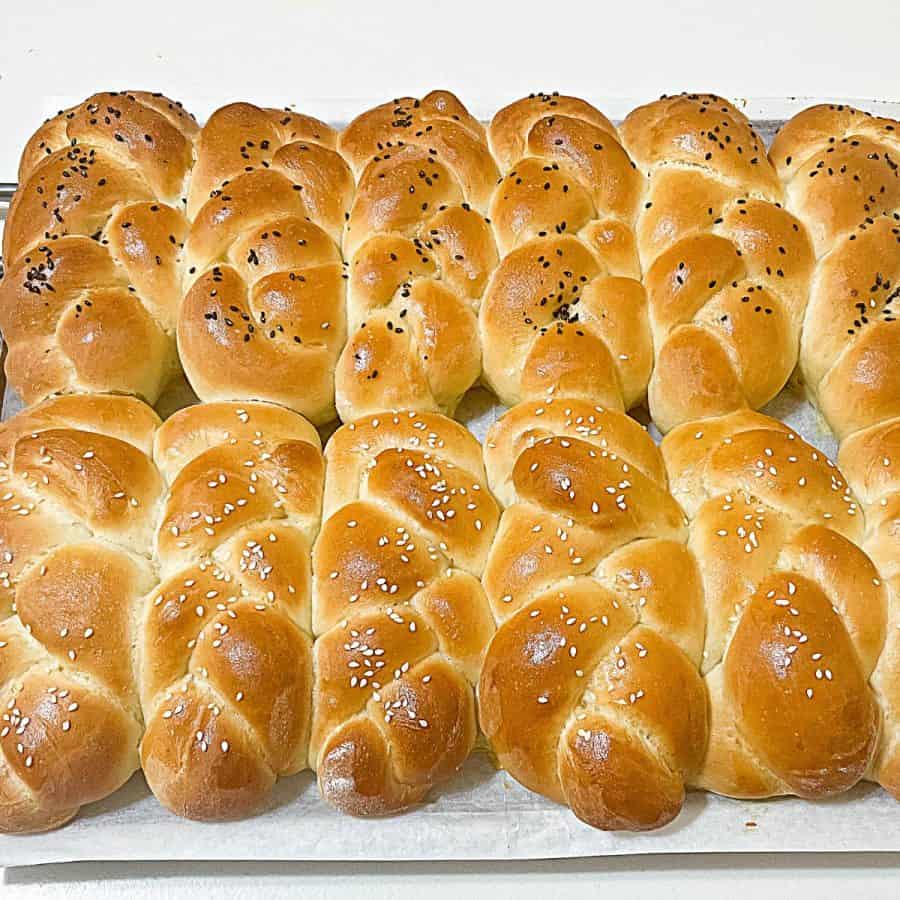
Soft Whole Wheat Burger Buns Cinnamon Buns Braided Burger Buns – Hamburger Buns Soft Brioche Buns Sourdough Brioche Buns Brioche French Toast
Frequently asked questions
Creatives ways to serve slider buns
One fun way to serve slider buns is to create a slider bar at your next gathering. Set up a station with various fillings, toppings, and condiments, allowing your guests to personalize their sliders to their liking. Offer a selection of grilled meats, such as juicy beef patties, tender pulled pork, or flavorful grilled chicken. Have an array of cheese options, like cheddar, Swiss, or even blue cheese crumbles, to add a melty touch. Don’t forget to include a variety of fresh and crispy vegetables, such as lettuce, tomato slices, pickles, and onions. And of course, provide a selection of sauces and spreads, like tangy barbecue sauce, zesty aioli, or spicy sriracha mayo. Your guests will enjoy the interactive experience of building their own sliders, and you’ll be amazed at the delicious combinations they come up with. Another creative way to serve slider buns is by experimenting with different flavors and textures. Take your sliders to the next level by incorporating unique and unexpected ingredients. For example, try filling your buns with a tangy coleslaw, adding a refreshing crunch to your sliders. Or, for a burst of flavor, consider topping your sliders with caramelized onions or sautéed mushrooms. You can also play with different types of breadings, such as coating your sliders in panko breadcrumbs or using cornmeal for a crunchy twist. The possibilities are endless, so don’t be afraid to get adventurous and think outside the box! If you’re looking for a more elegant and sophisticated presentation, consider serving slider buns as mini sandwiches at a cocktail party or a fancy brunch. Choose fillings that are slightly more refined, such as smoked salmon with dill cream cheese, or thin slices of tender roast beef with horseradish mayo. Garnish these mini sliders with a sprig of fresh herbs or a delicate drizzle of balsamic reduction to add a touch of elegance to the presentation. Your guests will be impressed by the bite-sized treats and the attention to detail.
Did you LIKE this recipe? Save it for later. You can find my recipes on Pinterest. Follow me on Facebook, Twitter, and Instagram.Subscribe, and I’ll send you new recipes right to your inbox. Thank you for sharing - Save for later