Halloween is a time of spooky fun, costumes, and, of course, delicious treats! Kids love the excitement of dressing up as their favorite characters, from ghosts and ghouls to superheroes and, a popular choice, witches. Witches have always been a hot topic with children because of their magical powers, pointy hats, and ability to fly on broomsticks. The idea of casting spells and brewing potions sparks imagination and creativity, making witches a beloved figure during Halloween festivities. Making witch fingers is a fun and engaging activity to try with kids this Halloween. These creepy yet delicious cookies look spooky and are a fantastic hands-on project for children. Shaping the dough into eerie finger-like shapes, adding almonds as the “nails,” and painting them with red food coloring allows kids to get creative while having fun. Dusting them with cocoa powder adds a realistic touch, making the cookies spookier! Perfect for Halloween parties or just a fun kitchen activity, these witch finger cookies are sure to become a festive favorite for kids and adults alike.
Why are these the best cookies?
Perfect Texture: The use of softened butter and powdered sugar in the dough creates a tender, melt-in-your-mouth cookie, perfect for shaping realistic fingers without losing the crisp edges. Realistic Appearance: Adding red food coloring around the almonds gives a creepy “bloody nail” effect, and dusting the fingers with cocoa powder and powdered sugar enhances the effect and realistic look of the cookies. Simple Ingredients: This recipe uses basic pantry ingredients like flour, butter, and egg yolks, making it easy to prepare without requiring any unusual or hard-to-find components. Customizable Decoration: The fingers can be customized with different colors or shapes of almonds, and the dough can be flavored with optional spices like cinnamon or nutmeg to suit your personal taste while keeping the spooky presentation intact.
Ingredients and substitutes
Butter: Provides richness and softness to the cookie. For a dairy-free option, you can substitute margarine or vegan butter. Powdered Sugar: Adds sweetness and a smooth texture. Granulated sugar can be used, but the texture will be slightly different. Egg Yolks: Contribute to the structure and richness of the dough. You can substitute with flaxseed or chia seed gel (1 tablespoon ground flaxseed mixed with three tablespoons water for each egg yolk) for an egg-free version. Vanilla Extract: Enhances the flavor of the cookies. Almond extract or lemon zest can also be used for a different flavor profile. Flour: The base of the cookie dough. Gluten-free flour blends can be used as a substitute to make the cookies gluten-free. Baking Powder: Helps the cookies rise slightly and keep their shape—no substitutes recommended here. Salt: Balances the sweetness and enhances flavor.
Step-by-step: Halloween Witch Finger Cookies
Make the Dough: In a large bowl, cream the softened butter and powdered sugar until light and fluffy. Add the egg yolks and vanilla extract, beating until well combined. Whisk in the flour, baking powder, and salt. Dry ingredients: Gradually add the dry ingredients to the butter mixture, mixing until a soft dough forms. Chill the Dough: Divide the dough into two portions, wrap it in plastic wrap, and chill in the refrigerator for 30 minutes to 1 hour until firm.
Oven: Preheat your oven to 350°F (175°C). Line a baking sheet with parchment paper. Remove the chilled dough from the refrigerator. Shape the fingers: Take a small piece of dough and roll it into a finger-like shape, gently pressing your fingers into the dough to create knuckle ridges. Place a whole almond at one end of each “finger” to make the nail. Bake: Arrange the shaped fingers on the prepared baking sheet, leaving some space between each cookie. Bake: Bake the cookies in the oven for 12-15 minutes or until the edges are lightly golden. Cool: Remove from the oven and let the cookies cool completely on the baking sheet.
Decorate: Once cooled, use red food coloring to paint around the base of the almond nail to create a “bloody” effect. Dust: In a small bowl, mix the cocoa powder and powdered sugar. Lightly dust the cookies with the mixture to give them a realistic, aged look. Serve and Enjoy: Your Halloween Witch Finger Cookies are ready to scare and delight your guests!
Tips for Success
Chill the Dough: Ensure the dough is well-chilled before shaping the fingers. This helps maintain the shape during baking and prevents spreading. Shape with Detail: Press lightly on the dough to create knuckles and ridges for a more realistic look. Use a knife to make small slits around the knuckles for added detail. Watch the Baking Time: Bake just until the edges are lightly golden. Overbaking will make the cookies too hard, while underbaking will prevent them from holding their shape. Almond Placement: Press the almonds firmly into the dough to ensure they stick during baking. If they come loose, you can use a bit of red food coloring to “glue” them back on. Let the Cookies Cool: Allow the cookies to cool completely before decorating. This ensures the red food coloring stays in place and doesn’t run. Use Food-Safe Brushes: When painting the nails with red food coloring, use a small brush for precision and a clean, polished look.
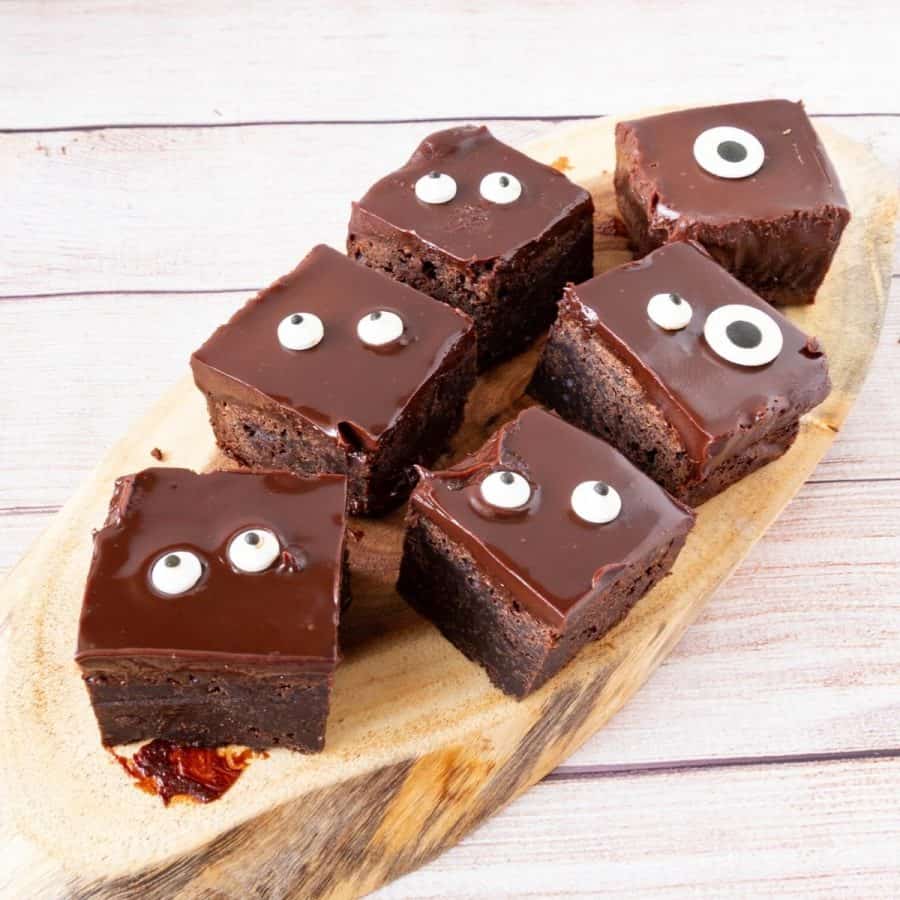
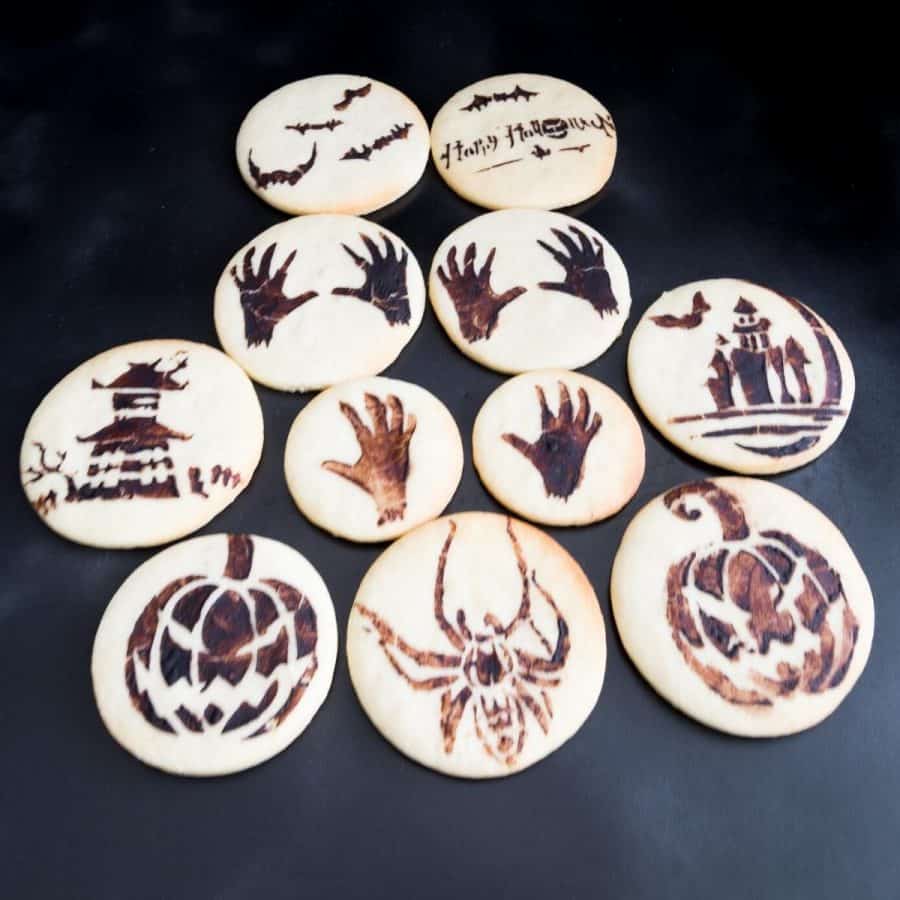
How to Make Buttercream Flowers Halloween Brownies Eyeball Halloween Cookies Halloween Stenciled Cookies Bloody Eyeball Cake Balls: Spooky Halloween Treats
Frequently asked questions
Did you LIKE this recipe? Save it for later. You can find my recipes on Pinterest. Follow me on Facebook, Twitter, and Instagram.Subscribe, and I’ll send you new recipes right to your inbox. Thank you for sharing - Save for later