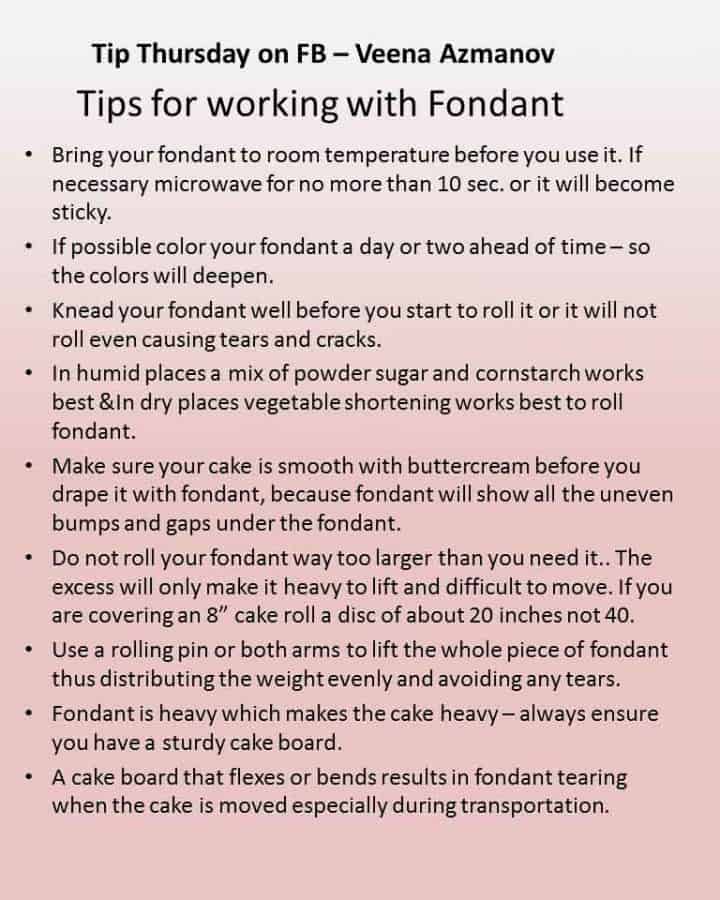
14 fondant tips you need
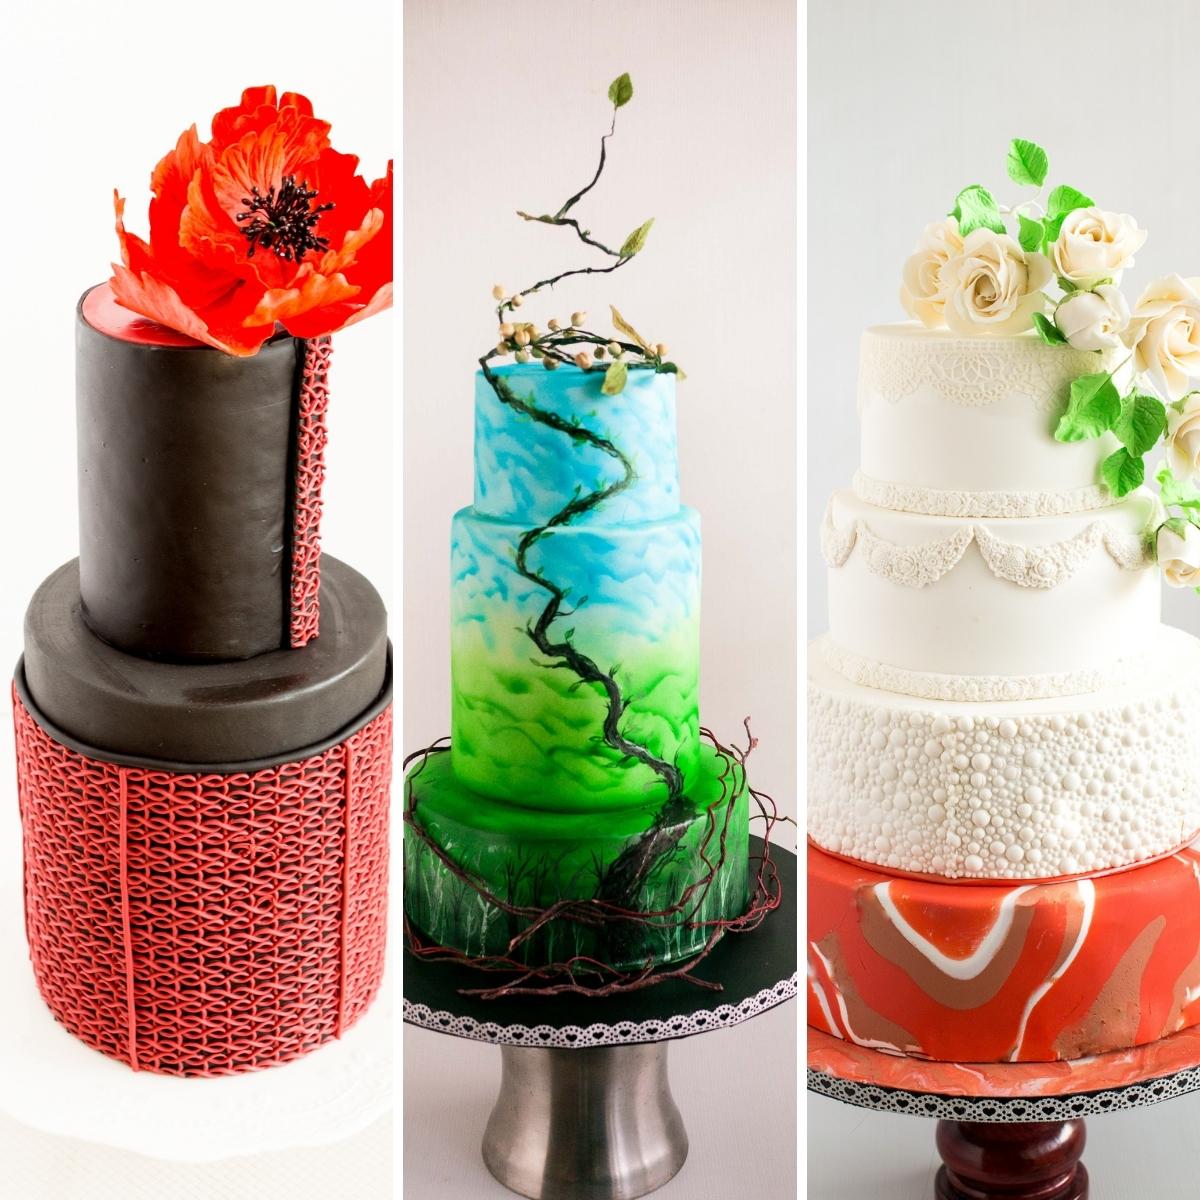
Having been a cake decorator for over 10 years now, I have some tips and tricks that make working with fondant a lot easier. And I’d love to know if any of these tips helped you with your next project. So please let me know in the comments below. So here’s a little advice for you if you just starting out. Don’t read people’s negative experiences about working with fondant. Because it doesn’t help. And if you tell yourself ‘I got this’, guess what, you will get this. Many people claim that store-bought fondant is easier to work with. While others say that homemade fondant is easy to work with. The truth? It’s just a myth. Working with fondant gets better with practice. And of course, knowing a few tips for working with fondant.
Frequently asked questions
Homemade fondant recipes
Thank you for sharing - Save for later
Remember to take note of the amounts and proportions of the gel colors you use to recreate specific shades in the future. By following these tips, you can achieve beautifully colored homemade fondant for your cake decorating projects. Vegetable shortening works great because it enhances elasticity. However, it does not work well if the fondant is too wet. So, use it if the fondant is already pliable but stiff. Powdered sugar is used best when the fondant is wet and sticky but not pliable. And cornstarch is best used in hot humid places where powdered sugar can cause more sickness rather than fixing it. 1/4 inch is way too thick. Because it will be heavy on the cake and cause the edges to crack. It will also make the cake look bulky and prevent you from getting sharp edges. A 1/8 inch is good, and yet often difficult if you are new. Sharpening the edges can cause it to tear if you’re not careful. Often, newbies tend to tear if the fondant is too thin.
Why does my fondant keep ripping?
If fondant is rolled too thin it can rip when draping a cake. Similarly, fondant, when rolled too thick, can rip because of the excess weight. That is why finding that sweet spot that works best for you is really important. By following these tips, you can help ensure that your fondant remains smooth and pliable, making it easier to work with during cake decorating.
Bakers tip – provided by Robin Apted
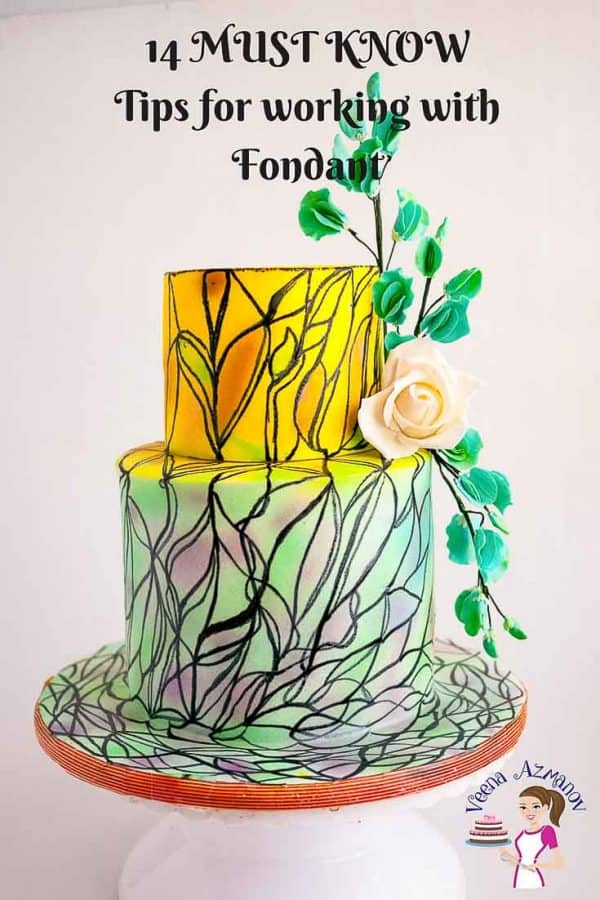
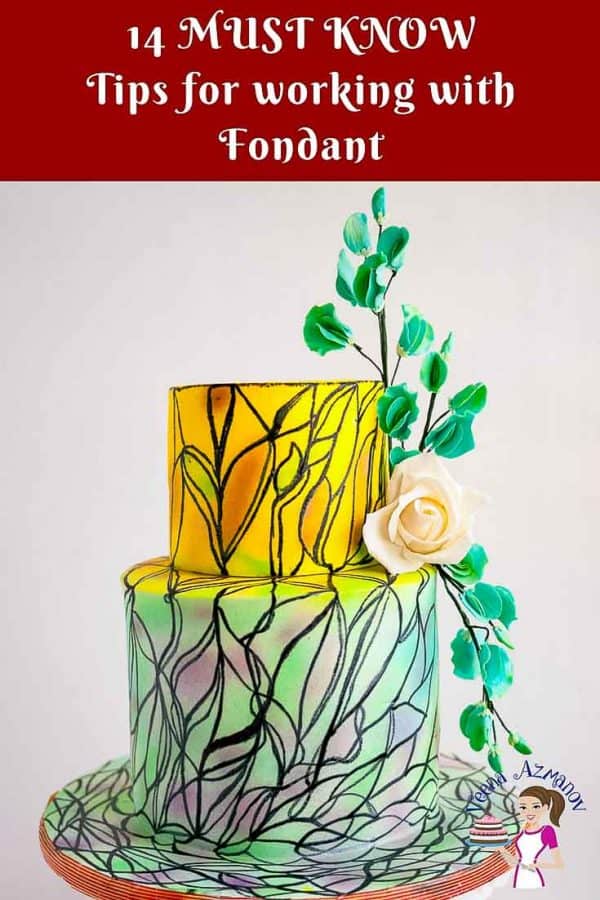
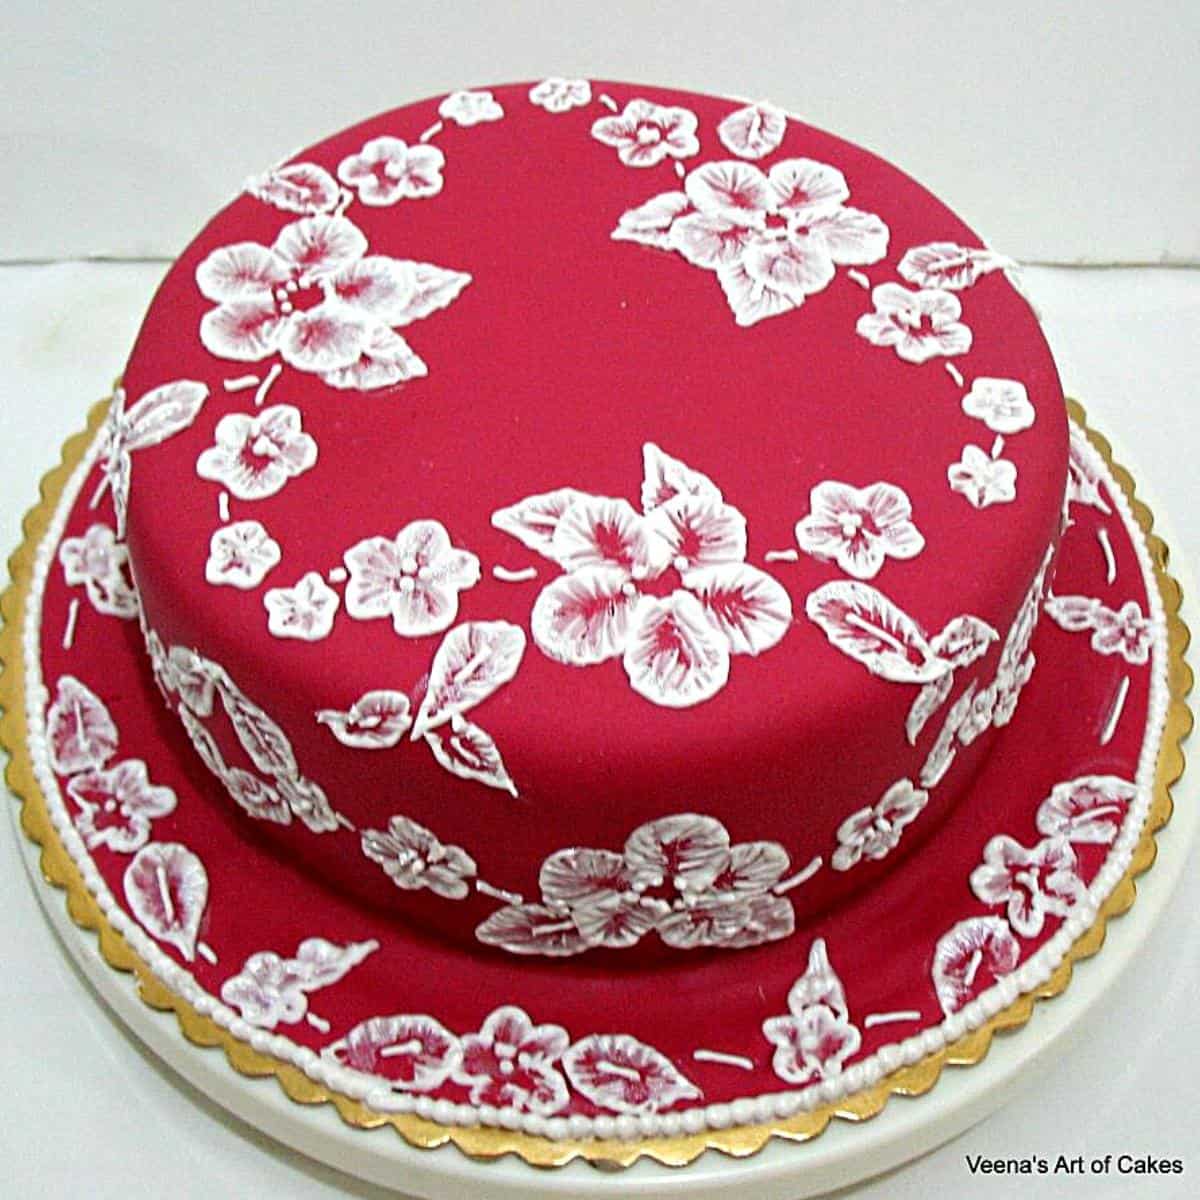
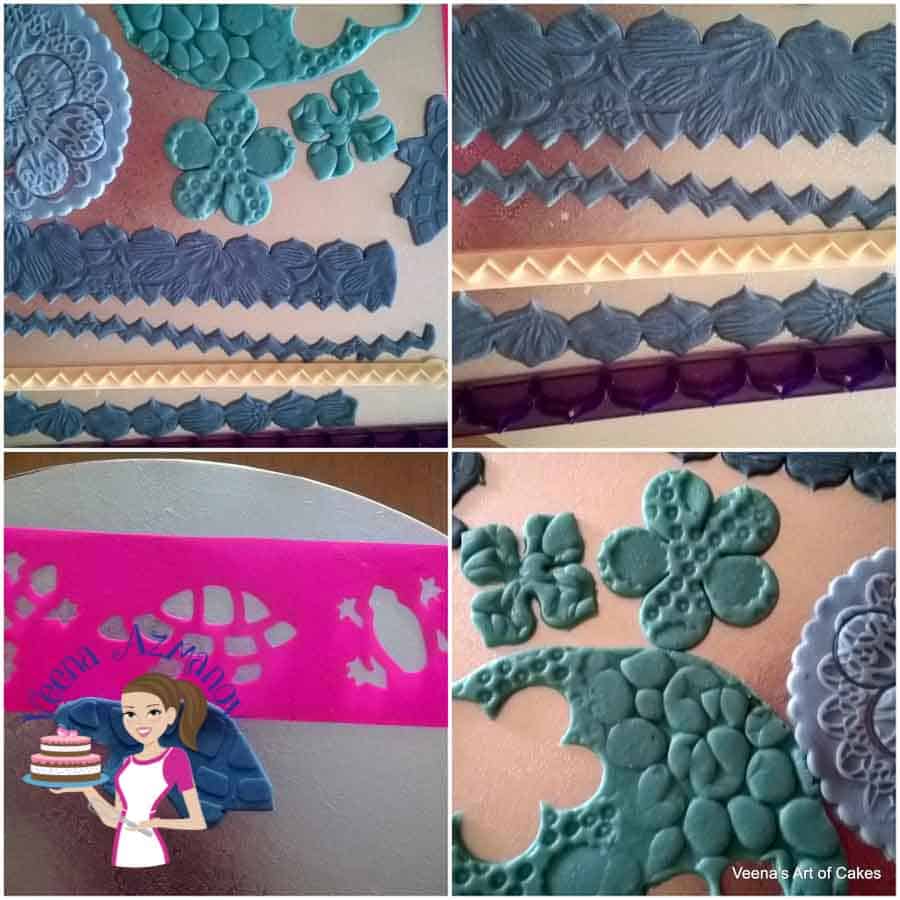
Instead of using corn flour and icing sugar to roll our fondant which makes the fondant dryer and crumblier use this tip. Not only does this tip stop you from having that dreaded icing or corn flour smudge, save you ages trying to wipe it away with alcohol., but it will stop the fondant from sticking to the bench and if you do mess up and have to roll again, you haven’t dried your fondant out with all that extra icing or corn flour and…..less elephant skin because your fondant hasn’t dried. All you have to do is grab your can (any brand) of canola oilspray the rolling area and roll out. No white smudges and smearsIf you do have any sheen on your fondant from the oil it will quickly dry out and disappear without doing anything. Personally, I like to use vegetable shortening over my ganache cake before covering it with fondant. That is because I live in a high-humidity climate. You can use a damp water brush as well. And yet, I usually prefer a light smear of vegetable shortening. For buttercream cakes, water is definitely the best way to go. However, often I do not need any water because the condensation caused by my humid climate is good enough. And yet, those of us that live in hot humid climates need to be careful. Because bringing the cake out from the fridge usually causes condensation. You don’t need to do anything. Just leave the cake alone until the temperature in the cake equalizes and the fondant automatically dries. It’s often when people try to fix fondant with condensation that causes issues. Depending on the weather, it can take from a few minutes to a few hours for the cake to dry out. It is said, a well-stored sponge cake has a shelf life of about 2 weeks. I have never kept my sponge cakes that long outside the fridge. My sugar syrup is created with the intention of moisture rather than sweetness. You may also want to try my simple syrup for fondant cakes. Many of my cakes are less sweet than traditional ones because they do take into account the sugar syrup added to the cakes. You can emboss fondant with almost anything as long as it is clean and food safe. You can buy textured rolling pins and mats etc. For example, you can use table mats, stencils, shelf liners, fabric, lace materials – as long as they are clean and safe with no wax or harmful powders on them. In fact, I use silicon doilies, table mats, thick embossed fabric. I even have a threaded rod that I have cleaned really well and can use it to texture my fondant. In fact you can also use everyday things and kitchen gadgets, such as foil or forks to create texture.
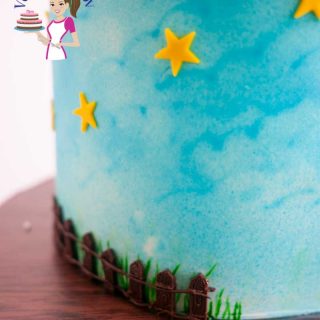
Cover a whole cake with a embossed fondant or you could use it on certain areas only. You can texture fondant before you drape the cake or you can add the texture later when the fondant is still soft. Embossed fondant can be used to add more character to your cake – for example, embossed flowers, borders, lace cutouts and even shapes.
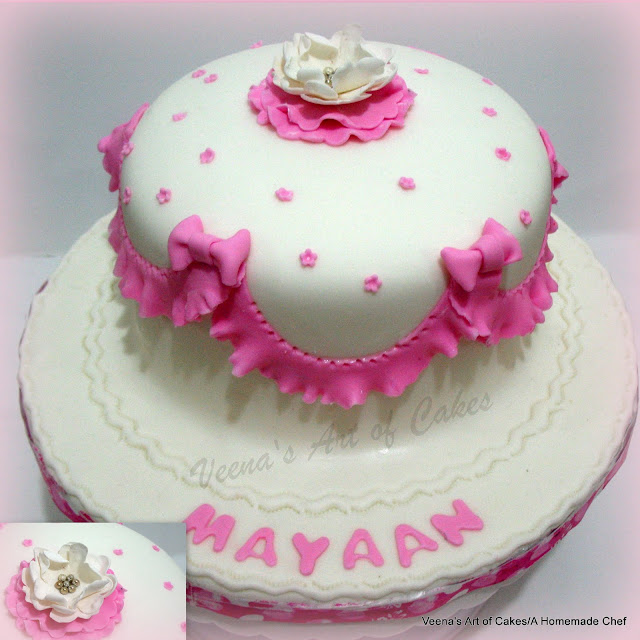
Remember to practice and experiment with different techniques to achieve the desired look. Creating fondant ruffles and frills takes some patience and precision, but with practice, you’ll be able to create stunning cake decorations.
Always use only a damp not wet brush. A little water goes a long way. Unless necessary do not apply water to a big area of the cake. Instead apply water/alcohol to the piece of fondant attachment. If your attachment is large apply water in smaller sections to the cake, and only to places you know ;will be covered. You can always add more. When attaching small flowers to larger areas of a cake such as when using a plunger cutter, have a wet sponge near us.. Dip the plunger in powder sugar, dust off any excess. Cut out your flower and before you apply the flower to you cake. Lightly touch it to the wet sponge , then apply to the cake. This will help stick the flower with any water marks around it. Never put your buttercream cakes in the freezer to chill before applying fondant. The small ice crystals that melt between the buttercream and fondant leave marks of small water droplets.
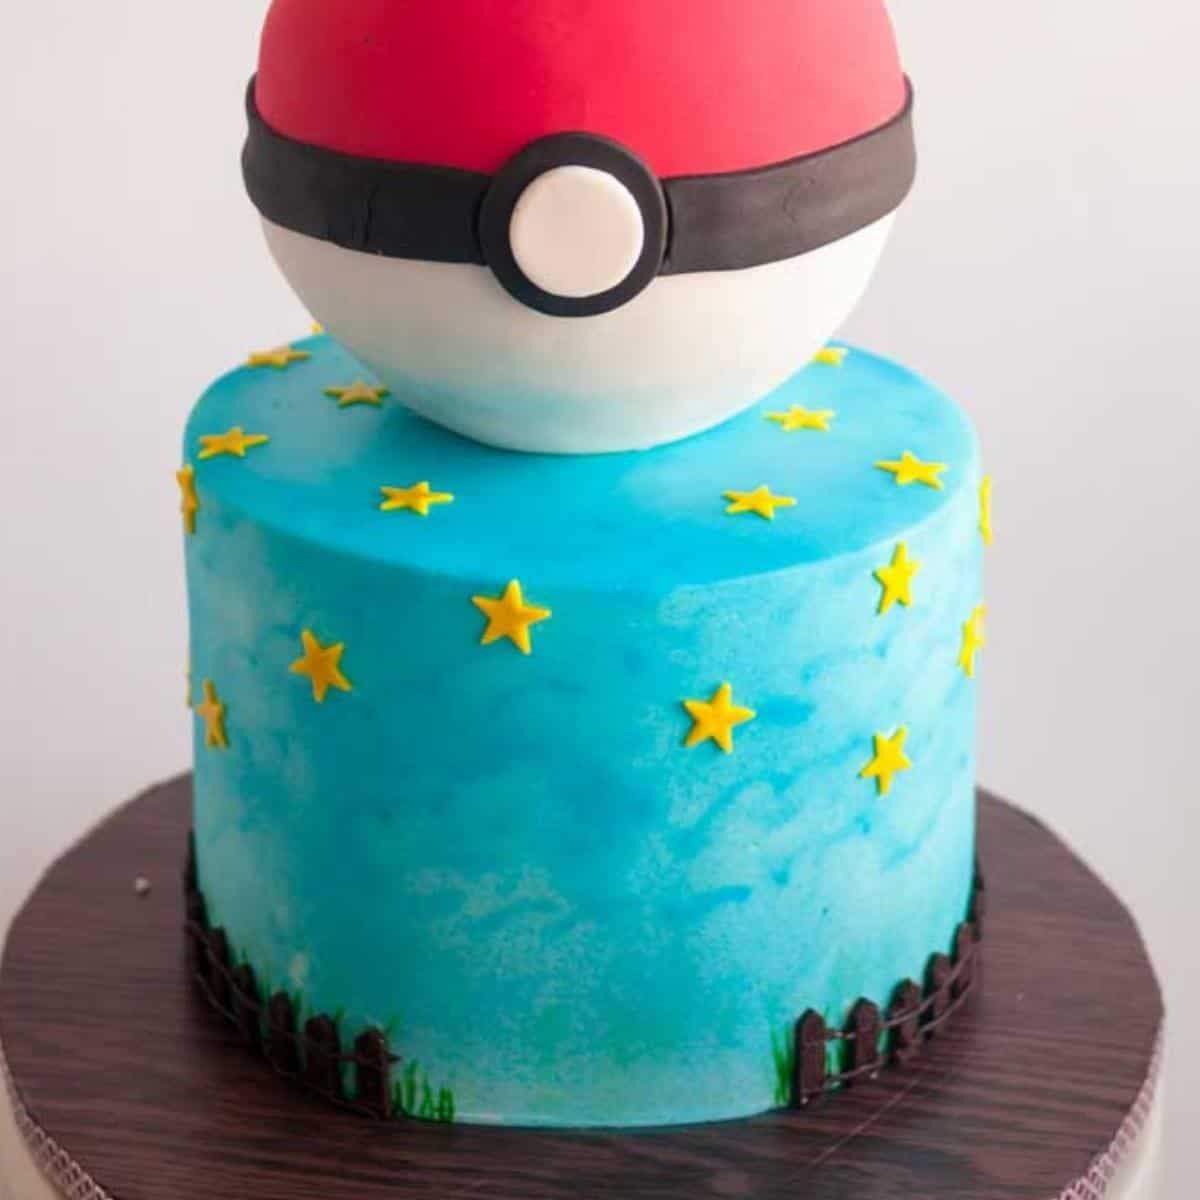
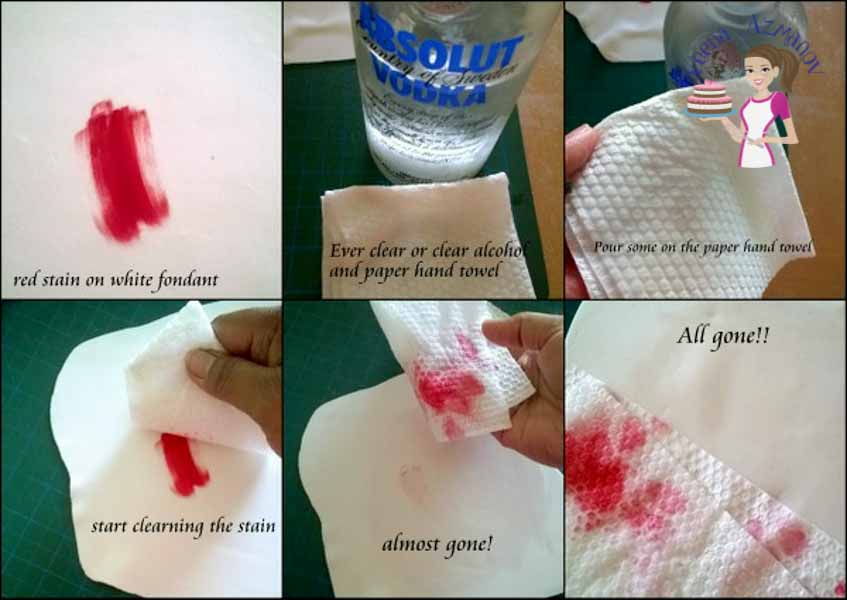
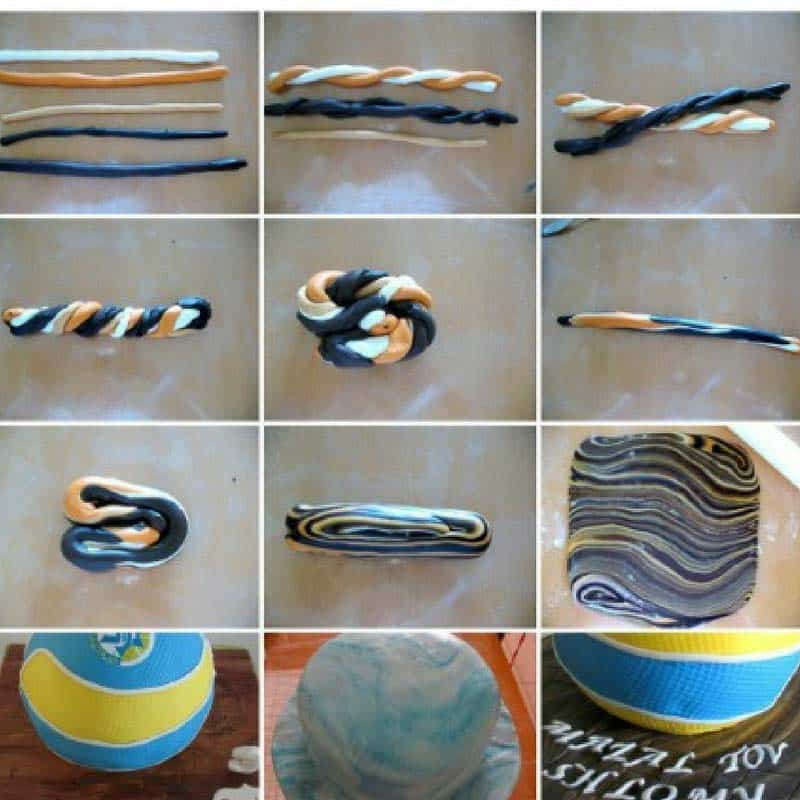
There are a few methods you can use but this simple, easy, and effortless trick for how to remove watermarks and stains on fondant will save u heartache the next time you need a quick fix. Remember to test any method on a small, inconspicuous area first to ensure it doesn’t cause any unwanted effects on the fondant. Prevention is always better than trying to remove stains, so it’s essential to protect your fondant-covered cake from water or excessive moisture whenever possible. Remember, practice is key when it comes to marbling fondant. Experiment with different color combinations, rolling techniques, and amounts of fondant to create unique and beautiful marbled effects on your cakes.